manuals.online logo
Brands
  1. Home
  2. •
  3. Brands
  4. •
  5. Matco Tools
  6. •
  7. Tools
  8. •
  9. Matco Tools GG-60 Product manual

Matco Tools GG-60 Product manual

GG-60 1 Rev. 01/29/04
Operating Instructions • Warning Information • Parts Breakdown
GG-60
Continuous Shot Air
Grease Gun
w/Swivel Head
• 360˚ Swivel head allows incredible access to
grease fittings
• Simple, durable construction for years of
consistent, reliable service
• True continuous grease feed with one trigger pull
• Quiet, dependable operation
• Includes 18" high pressure grease hose and
durable 6" bent metal spout
FEATURES
FOR YOUR SAFETY
AND TO PREVENT INJURY:
High pressure hazard.
Wear safety goggles.
Do not exceed 60 psi
with hose or 90 psi with
solid extension. To do so
may cause personal
injury.
FOR YOUR SAFETY
AND TO PREVENT INJURY:
EXTREME PRESSURE MAY CAUSE WHIP HOSE TO BURST. USE ONLY
APPROVED HOSES AND FOLLOW THE HOSE INSTRUCTIONS AND
WARNINGS.
THIS AIR OPERATED GREASE GUN CAN DEVELOP HIGH PRESSURES - UP
TO 6,000 PSIG (414 BAR). USE SAFETY GLASSES AND GLOVES WHILE
OPERATING THE GUN. KEEP HANDS CLEAR OF THE EXPOSED RUBBER
PORTION OF THE HOSE WHILE OPERATING THE GUN WITH HOSE.
IF FLUID APPEARS TO PENETRATE THE SKIN, SEEK IMMEDIATE MEDICAL
ATTENTION. DO NOT TREAT AS A SIMPLE CUT.
BE SURE THE TRIGGER IS NOT DEPRESSED WHEN ATTACHING THE GUN
TO AN AIR INLET HOSE.
AVOID ACCIDENTAL STARTING.
HOLD THE HOSE ONLY BY THE METAL SPRING GUARDS ON THE END.
DO NOT ALLOW THE HOSE TO KINK. DO NOT BEND THE HOSE IN A
TIGHT RADIUS.
REPLACE THE HOSE AT FIRST SIGN OF WEAR, KINK OR DAMAGE TO THE
OUTSIDE JACKET.
USE ONLY HIGH PRESSURE GREASE GUN HOSE AS A REPLACEMENT.
Read and carefully study the operating instructions before unpacking and operating the
Continuous Shot Air Grease Gun. The gun must be operated, maintained and repaired
by a person who is familiar with the operating instructions. Operate the gun only after
you have read and understand this operation manual.
The Matco Air Operated Continuous Shot
Grease Gun is a fully pneumatic powered
tool. The gun is designed for manual
lubrication of grease points in automotive
and truck applications. The gun has a
single action pump that delivers grease
each time the trigger is depressed and the
plunger moves forward.
GG-60 2 Rev. 01/29/04
PRIMING THE CONTINUOUS SHOT
GREASE GUN
With the gun loaded with grease and the gun hooked to an
air supply, activate the trigger until grease flows from the
hose or pipe. To relieve air pockets, operate the air vent
valve #31 while depressing the trigger. If grease does not
flow after 10-15 seconds of operation, remove the hose or
pipe and activate the trigger until grease flows from the
hose/pipe outlet. Make sure the bearing, fitting and
lubrication line are clear and free flowing before operating
the gun. If the bearing, fitting or lubrication line is blocked,
the gun can stall.
REMOVING AN EMPTY GREASE
CARTRIDGE
1. Pull the T handle until the rod is fully extended. Hook the
rod into the rod notch in the end cap.
2. Unscrew the grease tube from the gun.
3. Carefully center the grease rod and eject the empty
cartridge from the grease barrel.
INSTRUCTIONS FOR CARTRIDGE
LOADING
1. Pull the T handle until the rod is fully extended, lock rod
into cap notch and remove the barrel assembly from
the gun.
2. Remove the plastic cap from the grease cartridge and
insert the cartridge into the barrel assembly.
3. Remove the pull-tab from the grease cartridge.
4. Screw the barrel assembly on to the gun assembly.
5. Release the rod by centering the rod.
6. Prime the gun and remove any air pockets per the
instructions on priming the gun.
SUCTION FILLING
1. Remove the barrel assembly from the gun.
2. Insert the open end of the barrel assembly into the
grease bucket.
3. Pull the T handle until it is fully to the rear and engage it
in the rod notch, making sure to keep the open end of
the barrel well within the grease.
4. When the barrel assembly is full of grease, screw it back
on to the gun assembly.
5. Release the rod by centering the rod.
6. Prime the gun and remove any air pockets per the
instructions on priming the gun.
USING A FILLER PUMP
1. Attach the bulk load fitting to the bulk container.
2. Operate the filler pump.
3. When the T handle and rod are fully extended (about
8-1/2"), the barrel is full.
4. Remove the gun from the bulk load container.
5. Release the rod by centering the rod.
6. Prime the gun and remove any air pockets per the
instructions on priming the gun.
Proper Grease Gun Use...
This Air Powered Continuous Shot Grease Gun was developed
for the specific purpose of dispensing grease by using
pneumatic power.
The maximum rating listed below should not be exceeded.
This tool should only be used for its designed purpose and
according to the instructions in this manual.
Specifications...
Pump ratio (max) ...........................................................40:1
Output per stroke......................................... .038 in (cubed)
Pneumatic inlet pressure (min).....................................40 Psig
Pneumatic inlet pressure (max)..................................150 Psig
Grease output pressure .........................................6,000 Psig
Grease reservoir capacity.........................................14.5 oz.
Operating temperature range ...............................0 to 120° F
Weight (empty).........................................................4.74 lbs
Weight (full) .............................................................4.84 lbs
Lubricant up to NLGI .............................................#2 Grease
Pneumatic port inlet ..........................................1/4 - 18 NPT
Grease port outlet ..........................................1/8 - 27 UNPT
General Cautionary Notes...
Do not allow bystanders, children or other on-lookers in the
work area as they can cause distractions, which may lead to
mistakes and accidents.
Carefully inspect the equipment for damaged, loose or missing
parts. If the unit is worn or damaged, do not use it and contact
an authorized service center for evaluation or repair.
The Continuous Shot Grease Gun must be primed after each
refill or grease cartridge change. You should also check the
priming of the gun before each use.
For best performance and to extend product life, add a few
drops of air tool oil through the air fitting at the bottom of the
handle if gun begins to cycle slowly or erratically.
CAUTION!
Air pockets in the cartridge will cause the gun to lose prime.
GG-60 3 Rev. 01/29/04
PARTS BREAKDOWN - GG-60
Ref. # Item # DESCRIPTION QTY
01 RSGG01M Handle (Black) 1
02 RSGG02 Piston Assembly 1
03 RSGG03 O-Ring 2
04 RSGG04 Plunger Assembly 1
05 RSGG05 Spring 1
06 RSGG06 O-Ring 1
07 RSGG07 Retaining Ring 1
08 RSGG08 Wiper Rod 1
08-01 RSGG08-01 Retaining Rod 1
09 RSGG09M Head ( Black) 1
10 RSGG10 Seat Ball 1
11 RSGG11 Ball 1
12 RSGG12 Spring Ball Check Valve 1
13 RSGG13 Body Check Valve 1
14 RSGG14 Coupler Extension 1
15 RS901123 18" Whip Hose 1
16 RSGG16 Spring 1
17 RSGG17 Trigger Stem 1
Ref. # Item# DESCRIPTION QTY
18 RSGG18 O-Ring 1
19 RSGG19 Rubber Seal 1
20 RSGG20 Trigger Body 1
21 RSGG21 O-Ring 1
22 RSGG22 Trigger 1
23 RSGG23 Roll Pin 1
*24 Packing 1
*25 RSGG25ASSY Barrel/Follower Assembly
(Incl. #24, 25-30) 1
*26 Follower Assembly 1
*27 Spring Compr. 1-3/4" 1
*28 Rod Follower 1
*29 Cap Tube 1
30 RSGG30 T-Handle 1
31 RSGG31 Air Vent Valve 1
32 RSGG32 Bulk Load Grease Fitting 1
33 RSGG33 Nipple 1/4" Air Coupler 1
34 RSGG34 Grip (Black) 1
*Only Available In RSGG25ASSY Barrel/Follower Assembly
GG-60 4 Rev. 01/29/04
Matco warrants its air tools for a period of 1 year to the consumer. We will repair any air tool covered under this warranty
which proves to be defective in material or workmanship during the warranty period. In order to have your tool repaired,
return the tool to any Matco Authorized Warranty Center, freight prepaid. Please include a copy of your proof of purchase
and a brief description of the problem. The tool will be inspected and if any part or parts are found to be defective in
material or workmanship, they will be repaired free of charge and the repaired tool will be returned to you freight prepaid.
This warranty gives you specific rights. You may also have other rights which vary from state
to state.
The foregoing obligation is Matco's sole liability under this or any implied warranty and under no circumstances shall Matco
be liable for any incidental or consequential damages.
Note: Some states do not allow the exclusion or limitation of incidental or consequential damages so the above limitation or
exclusion may not apply to you.
MATCO TOOLS™ 1 YEAR LIMITED
WARRANTY FOR AIR TOOLS

Other Matco Tools Tools manuals

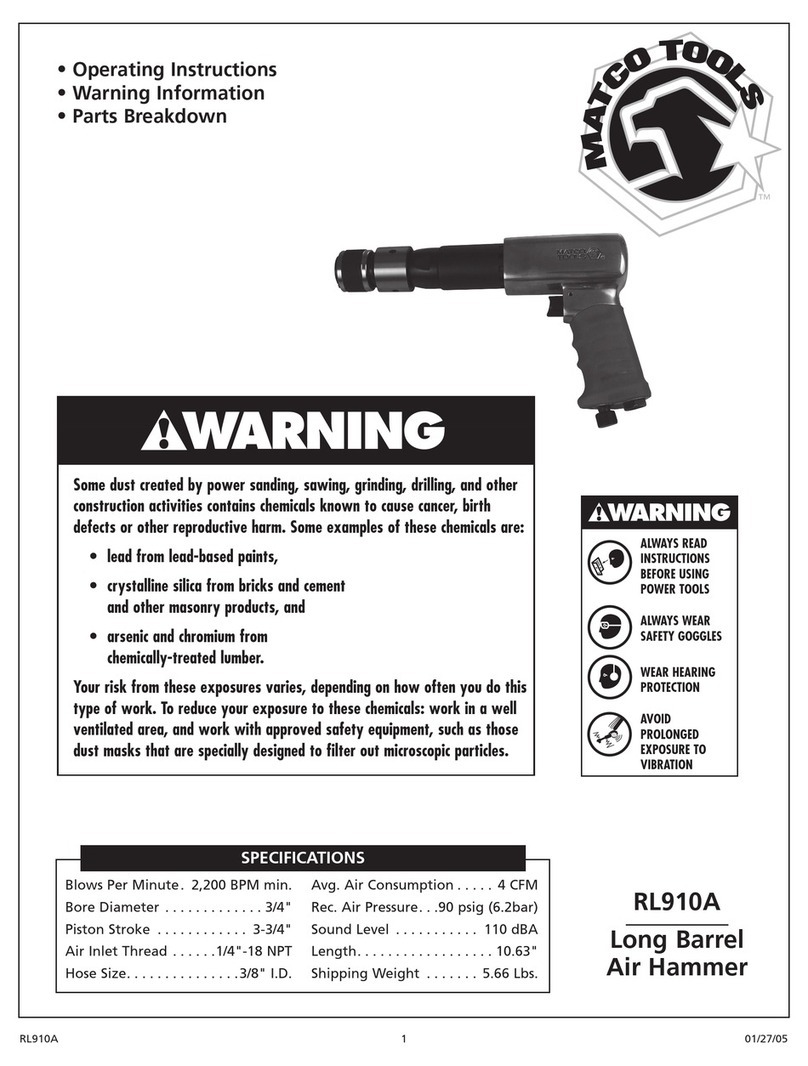
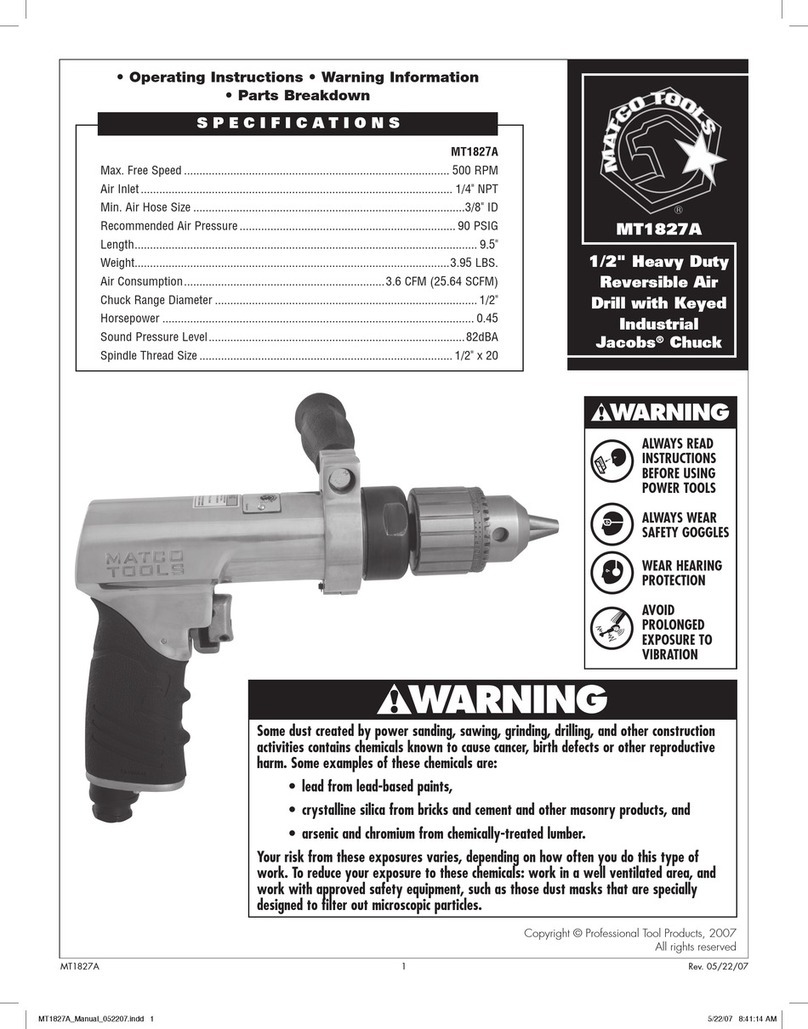
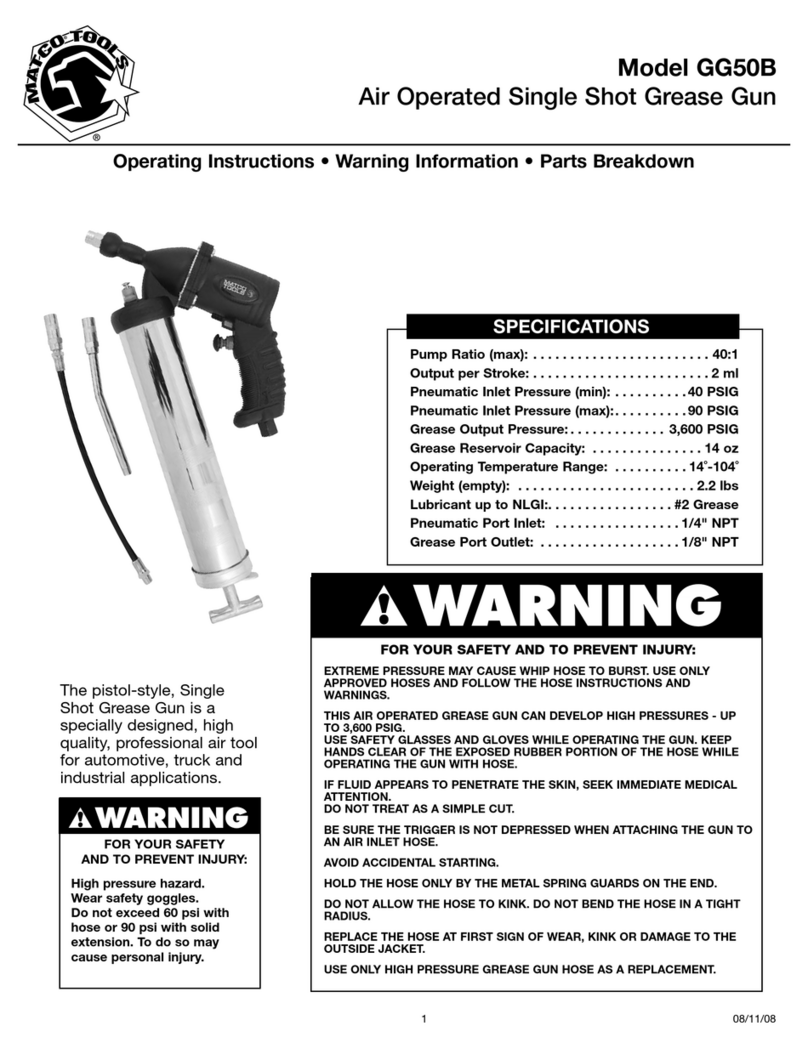
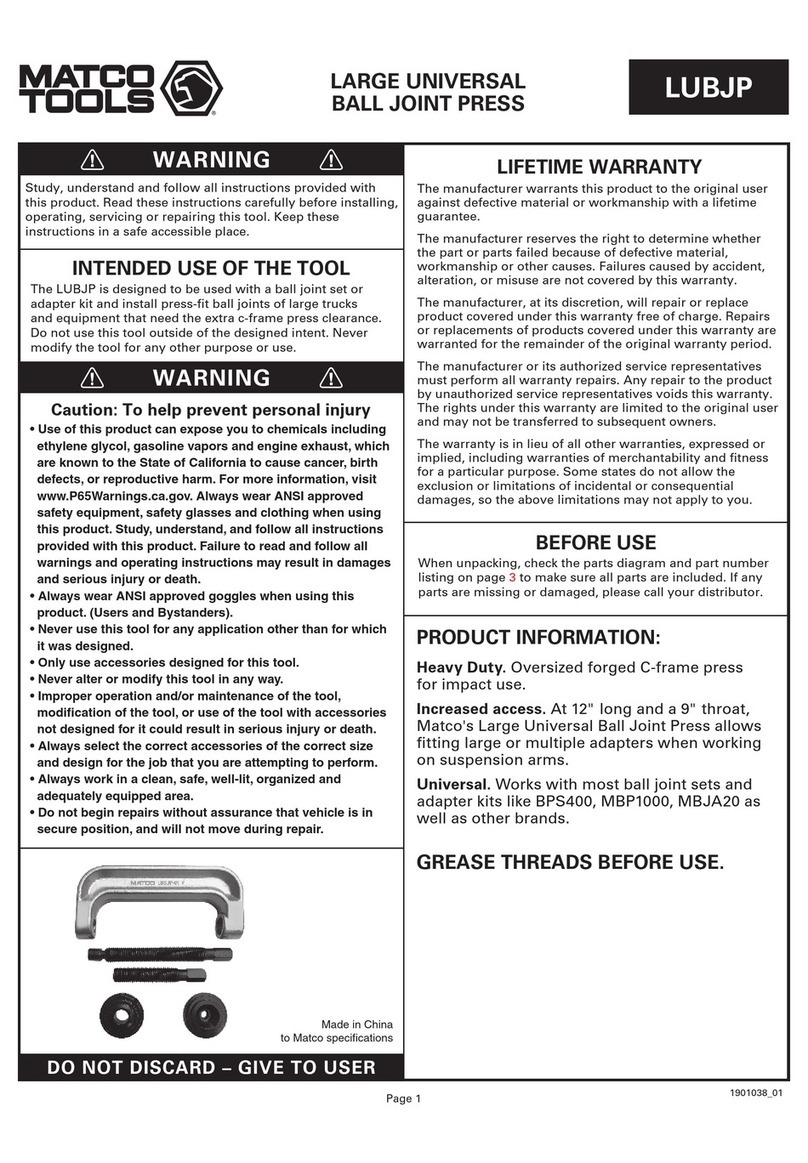
Matco Tools BRK4TB User manual

Matco Tools

Matco Tools BRK4TB User manual

Matco Tools MC3014 User manual

Matco Tools

Matco Tools MC3014 User manual

Matco Tools HG10S User manual

Matco Tools

Matco Tools HG10S User manual

Matco Tools MT2816 User manual

Matco Tools

Matco Tools MT2816 User manual

Matco Tools HG11S User manual

Matco Tools

Matco Tools HG11S User manual

Matco Tools MT1811 User manual

Matco Tools

Matco Tools MT1811 User manual

Matco Tools MST75B User manual

Matco Tools

Matco Tools MST75B User manual

Matco Tools MST7899 User manual

Matco Tools

Matco Tools MST7899 User manual

Matco Tools MWL900L User manual

Matco Tools

Matco Tools MWL900L User manual

Matco Tools MCL16GG User manual

Matco Tools

Matco Tools MCL16GG User manual

Matco Tools TSB700A User manual

Matco Tools

Matco Tools TSB700A User manual

Matco Tools MT2812 User manual

Matco Tools

Matco Tools MT2812 User manual

Matco Tools MT2814 User manual

Matco Tools

Matco Tools MT2814 User manual

Matco Tools BRK4TA Product manual

Matco Tools

Matco Tools BRK4TA Product manual

Matco Tools MTCPUBSTOOL User manual

Matco Tools

Matco Tools MTCPUBSTOOL User manual

Matco Tools WIRELESS ChassisEAR WCE60643 User manual

Matco Tools

Matco Tools WIRELESS ChassisEAR WCE60643 User manual

Matco Tools MT2875R User manual

Matco Tools

Matco Tools MT2875R User manual

Matco Tools RL900A User manual

Matco Tools

Matco Tools RL900A User manual

Matco Tools MST7843 User manual

Matco Tools

Matco Tools MST7843 User manual

Matco Tools PFCAH1 User manual

Matco Tools

Matco Tools PFCAH1 User manual

Matco Tools BCILMD User manual

Matco Tools

Matco Tools BCILMD User manual

Matco Tools LUBJP User manual

Matco Tools

Matco Tools LUBJP User manual

Matco Tools RV14S User manual

Matco Tools

Matco Tools RV14S User manual

Matco Tools MST11880A User manual

Matco Tools

Matco Tools MST11880A User manual

Popular Tools manuals by other brands

RASOR FP503MT Use manual

RASOR

RASOR FP503MT Use manual

Echo Power Pruner PPSR-2122 Operator's manual

Echo

Echo Power Pruner PPSR-2122 Operator's manual

Sealey MK66.V3 instructions

Sealey

Sealey MK66.V3 instructions

Jokari 10160 user guide

Jokari

Jokari 10160 user guide

Yokota RED ROOSTER RR-24N manual

Yokota

Yokota RED ROOSTER RR-24N manual

Enerpac SWE189DTTA Operation and maintenance manual

Enerpac

Enerpac SWE189DTTA Operation and maintenance manual

Kreg r3 Instructional manual

Kreg

Kreg r3 Instructional manual

Greenlee JRF-4EPR instruction manual

Greenlee

Greenlee JRF-4EPR instruction manual

Denzel CSL-3.6-02 user manual

Denzel

Denzel CSL-3.6-02 user manual

Habasit AT-306 General manual

Habasit

Habasit AT-306 General manual

RectorSeal UpperCut IV Operating, Safety and Parts Manual

RectorSeal

RectorSeal UpperCut IV Operating, Safety and Parts Manual

EINHELL DLST 9m+1m Original operating instructions

EINHELL

EINHELL DLST 9m+1m Original operating instructions

RIDGID FlexShaft K9-306 Replacement instructions

RIDGID

RIDGID FlexShaft K9-306 Replacement instructions

Makita BHR202 instruction manual

Makita

Makita BHR202 instruction manual

Gimatic GS Series operating instructions

Gimatic

Gimatic GS Series operating instructions

Desoutter EAP-TFlex Operator's manual

Desoutter

Desoutter EAP-TFlex Operator's manual

Stanley S32 Operation and maintenance manual

Stanley

Stanley S32 Operation and maintenance manual

Cheyenne SOL NOVA ULTIMITED 2.5 operating instructions

Cheyenne

Cheyenne SOL NOVA ULTIMITED 2.5 operating instructions

manuals.online logo
manuals.online logoBrands
  • About & Mission
  • Contact us
  • Privacy Policy
  • Terms and Conditions

Copyright 2025 Manuals.Online. All Rights Reserved.