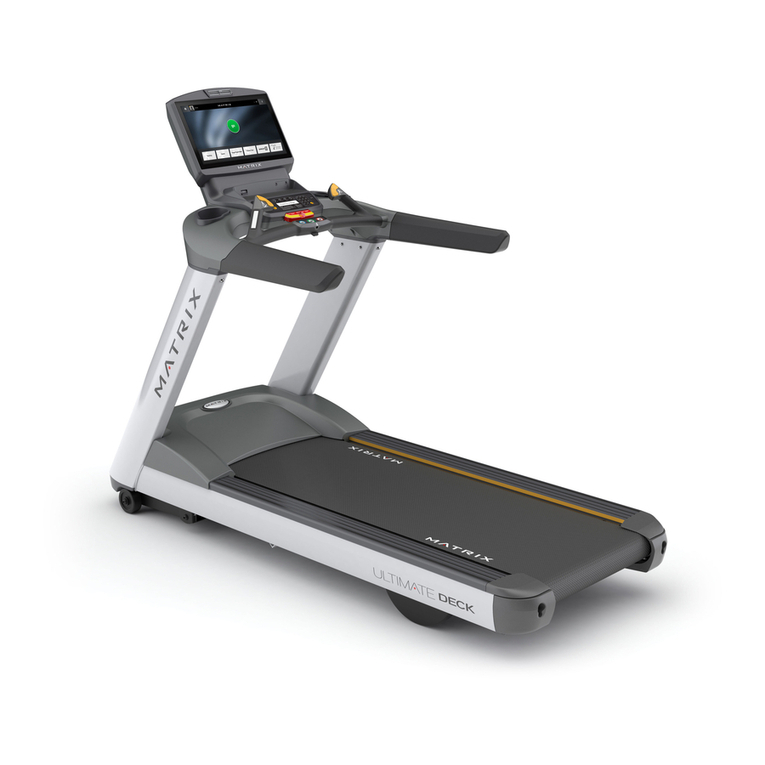
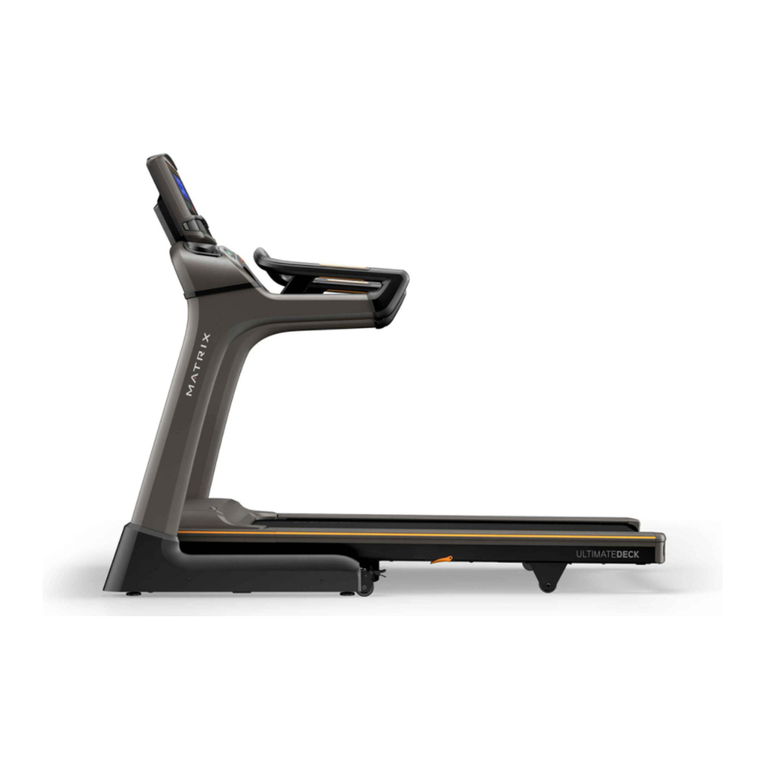
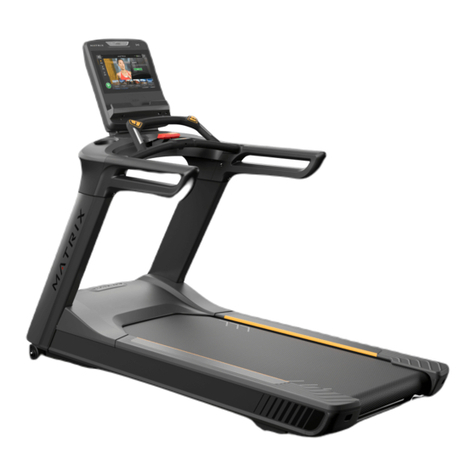
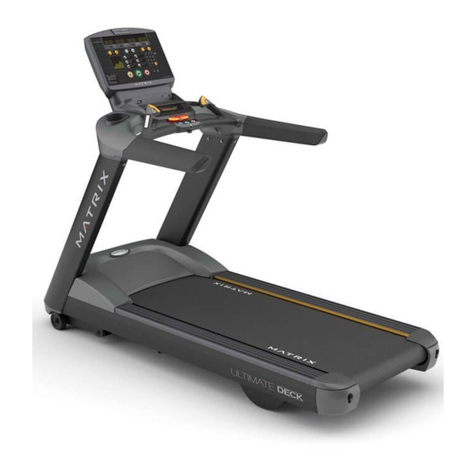
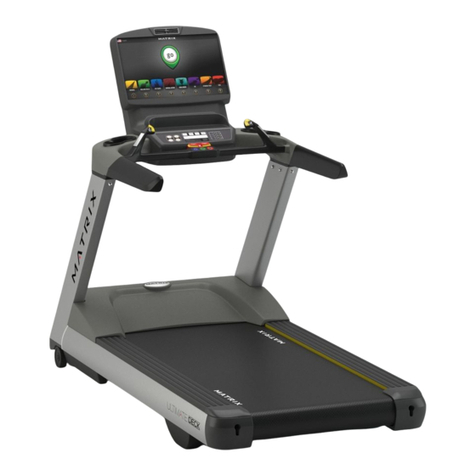
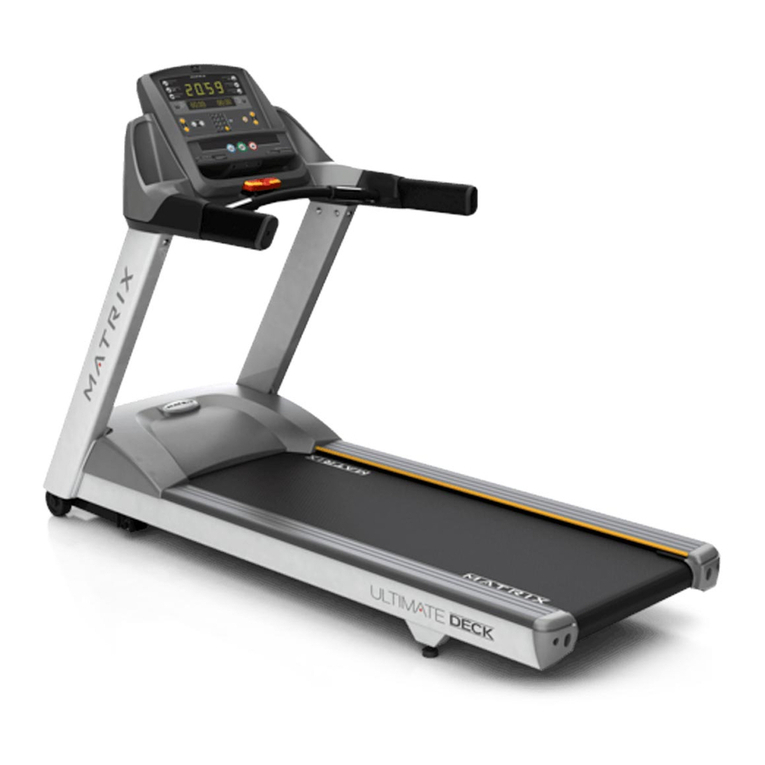
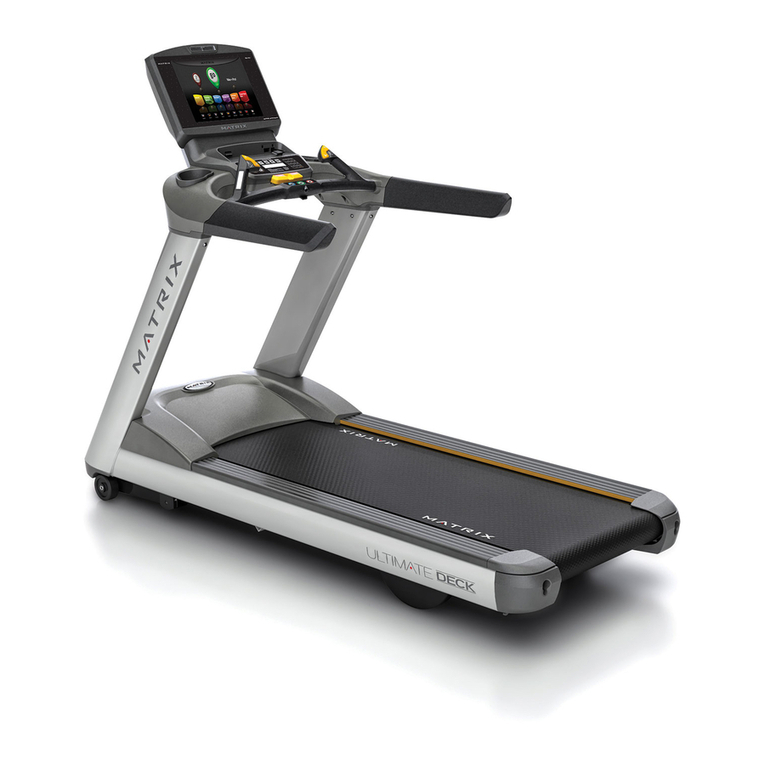
Matrix MX-T3x User manual

1
MX-T3x(TM94E)
AC SYSTEM
SERVICE MANUAL

2
TABLE OF CONTENTS
SECTION 1:
::
:SERIAL NUMBER LOCATION
SECTION 2:
::
:MOVING THE UNIT
SECTION 3:
::
:IMPORTANT SAFETY INSTRUCTIONS
SECTION 4:
::
:PREVENTATIVE MAINTENANCE
4.1 Maintenance check list
4.2 Recommended cleaning tips
4.3 Deck and belt replacement
4.4 Check for damaged parts
4.5 Adjusting the belt
4.6 Clean the grooves procedures
SECTION 5:
::
:MANAGER MODE
SECTION 6:
::
:TROUBLESHOOTING
6.1 Electrical block diagram
6.2 Wire pin definition
6.3 MCB LED instructions
6.4 Error messages on the console
6.5 Hand pulse can not work
6.6 MX-T3x maintenance lamp

3
TABLE OF CONTENTS
SECTION 7:
::
:PART REPLACEMENT GUIDE
7.1 Removal of plastic shroud
7.2 Rear roller removal
7.3 Side rail removal
7.4 Deck Removal/Replacement
7.5 Deck cushion replacement
7.6 Front roller removal
7.7 Running belt replacement
7.8 Incline power board removal
7.9 Inverter removal
7.10 Motor Removal
7.11 Drive Belt Removal
7.12 Incline motor removal/replacement
7.13 PCB Removal
7.14 PCB software installation SOP
SECTIOM8:
::
:UPGRADES

4
SERIAL NUMBER LOCATION
SECTION 1

5
Matrix T3x(TM94E)
Serial Number Location

6
MOVING THE UNIT
SECTION 2

7
UNPACKING THE TREADMILL :
The MATRIX treadmill is inspected before it is packaged. It is shipped in two separate
pack- ages: the frame and the console. Carefully unpack the unit and dispose of the box
material.
CAUTION:
This unit weights 487 lbs / 221 kgs pounds. Be sure to have proper assistance to
remove and move the unit, to avoid injury to the user and the unit.
Frame :
1.Treadmill Base
2.Console Supports
3.Hardware Fasteners and Washer Bag
Console :
1.Handle Bar Set
2.Console
OPTIONAL EQUIPMENT
Optional equipment may be available for the users of MATRIX product. Please visit our
web site at www.Johnsonfitness.com for more information.

8
IMPORTANT SAFETY
I N S T R U C T I O N S
SECTION 3

9
1.1 Before getting Started
It is the sole responsibility of the purchaser of Matrix Fitness Systems products to instruct all
individuals, whether they are the end user or supervising personnel, on proper usage of the equipment. It
is recommended that all users of Matrix Fitness Systems exercise equipment be informed of the
following information prior to its use.
1.2 proper usage
1. Do not use the equipment in any way other than designed or intended by the manufacturer. It is
imperative that all Matrix Fitness Systems equipment is used properly to avoid injury.
2. Keep hands and feet clear of moving parts at all times to avoid injury.
3. Unsupervised children must be kept away from this equipment.
4. Do not wear loose clothing while on equipment.
5. When it is necessary to immobilize the treadmill, set the display to read “CHOOSE PROGRAM
USING QUICK KEYS OR SPEED UP OR DOWN KEYS”, then hold down the RESET &
ENTER keys. The treadmill will now display “IMMOBILIZED.” In this state the treadmill can
not be operated; both the drive motor & elevation motor are disabled. The treadmill will remain in
this state across power cycles, resets, etc. To return to normal operation mode repeat the same key
sequence, hold down the RESET & ENTER keys. The display will now read “CHOOSE
PROGRAM USING QUICK KEYS OR SPEED UP OR DOWN KEYS”

10
1.3 Before getting Started
This Treadmill is intended for commercial use. To ensure your safety and protect the equipment,
read all instructions before operating the MATRIX treadmill.
When using an electrical product, basic precautions should always be followed including the
following:
DANGER: To reduce the risk of electric shock: Always unplug this equipment from the
electrical outlet immediately after using and before cleaning.
WARNING : To reduce the risk of burns, fire, electrical shock or injury to persons that may be
associated with using this product.
•An appliance should never be left unattended when plugged in. Unplug from outlet when not in
use and before putting on or taking off parts.
•This product must be used for its intended purpose described in this lower case owner’s manual.
Do not use other attachments that are not recommend by the manufacturer. Attachments may cause
injury.
•To prevent electrical shock, never drop or insert any object into any opening
•Do not remove the console covers. Service should only be done by an authorized service
technician.
•Never operate the treadmill with the air opening blocked. Keep the air opening clean, free of lint
and hair.
•Never operate product if it has a damaged cord or plug, if it is working properly, if it has been
damaged, or immersed in water. Return the unit to a service center for examination and repair.
•Do not carry this unit by it’s supply cord or use the cord as a handle.
•Keep any power cord away from heated surfaces.
•Close supervision is necessary when treadmill is used by or near children or disable persons.
•Do not use outdoors
•Do not operate where aerosol (spray) products are being used or when oxygen is being
administered.
•To disconnect, turn all controls to the off position, then remove plug from outlet.
•Connect this treadmill to a properly grounded outlet only.
Caution: If you experience chest pain, nausea, dizziness or shortness or breath, STOP exercising
immediately and consult a physician before continuing.

11
1.4 Electrical Requirements
For your safety and treadmill performance, the ground on this circuit must be non-looped. Please
refer to NEC article 210-21 and 210-23. Your Treadmill is provided with a power cord with a
plug and requires a dedicated line according to the electric configurations listed in the chart
below. Any alteration of this power cord could void all warranties of this product.
1.5 grounding instructions
The treadmill must be grounded. If it should malfunction or breakdown, grounding provides a path
of least resistance for electric current to reduce the risk of electric shock. The treadmill is equipped
with a cord having an equipment- grounding conductor and a grounding plug. The plug must be
plugged into an appropriate outlet that is properly installed and grounded in accordance with all
local codes and ordinances. If the user does not follow these grounding Instructions, the user could
void the Matrix limited warranty.
danger:
Improper connection of the equipment-grounding conductor can result in a risk of electric shock.
Check with a qualified electrician or serviceman if the user is in doubt as to whether the product is
properly grounded. Do not modify the plug provided with the product if it will not fit the outlet;
have a proper outlet installed by a qualified technician.

12
PREVENTATIVE MAINTENANCE
SECTION 4

13
FOR BEST PERFORMANCE WE RECOMMEND THE FOLLOWING
MAINTENANCE SCHEDULE:
4.1 MAINTENANCE CHECKLIST
Assure
Tighten
Running Belt
TightenDrive Belt
TightenDeck Bolts
InspectMotor Drive Belt
InspectStop Key
InspectFront / Rear Roller
InspectHandlebars Bolts
InspectCleanHandlebars
CleanBottle Holders
InspectCleanConsole
InspectPower Code
InspectCleanRunning Belt
InspectCleanFrame
InspectConsole Bolts
AnnuallyBI-annuallyMonthlyWeeklyItem

14
4.2 RECOMMENDED CLEANING TIPS
1. Use a soft, clean cotton cloth. DO NOT use paper towels to clean surfaces on the treadmill. Paper
towels are abrasive and can damage surfaces.
2. Use a mild soap and damp cloth. DO NOT use ammonia based cleaner. This will cause
discoloring of the aluminum and plastics it comes into contact with.
3. Do not pour water or cleaning solutions on any surface. This could cause electrocution.
4. Wipe the console and side rails after every use.
5. Brush away any wax deposits from the deck and belt area. This is a common occurrence until the
wax is worked into the belt material.
6. Be sure to remove any obstructions from the path of the elevation wheels including power cords.
7. Monthly, unplug the treadmill and remove the motor cover. Check for debris and clean with a dry
cloth or small vacuum nozzle.
WARNING:
Do not plug the treadmill in until the motor cover has been reinstalled.
CAUTION :
T5x-02 Weighs 450 lbs / 204 kg. Be sure to have proper assistance to install and move the unit in order
to avoid injury to you or the unit.

15
4.3 DECK AND BELT REPLACEMENT
One of the most common wear and tear items on a treadmill is the Deck and Belt combination. If
these two items are not properly maintained they can cause damage to other components. This product
has been provided with the most advanced maintenance free lubricating system on the market.
WARNING:
Do not run the treadmill while cleaning the belt and deck. This can cause serious injury and can
damage the machine.
Maintain the belt and deck by wiping the sides of the belt and deck with a clean cloth. The user can
also wipe under the belt 2 inches / 5 centimeters on both sides removing any dust or debris.
The deck can be flipped and reinstalled or replaced by an authorized service technician. Please contact
Matrix Fitness Systems or authorized dealers for more information.

16
4.4 CHECK FOR DAMAGED PARTS
DO NOT :
use any equipment that is damaged or has worn or broken parts. Use only replacement parts supplied
by Matrix Fitness Systems.
MAINTAIN LABELS AND NAMEPLATES :
Do not remove labels for any reason.. They contain important information. If unreadable or missing,
contact local service window for a replacement.
MAINTAIN ALL EQUIPMENT:
Preventative maintenance is the key to smooth operating equipment, as well as keeping the users
liability to a minimum. Equipment needs to be inspected at regular intervals. Defective components
must be replaced immediately. Improperly working equipment must be kept out of use until it is
repaired. Ensure that any person making adjustments or performing maintenance or repair of any kind is
qualified to do so. Matrix Fitness Systems will provide service and maintenance training at our
corporate facility upon request or in the field if proper arrangements are made.

17
After placing the treadmill in the position it will be used, the belt must be checked for proper tension
and centering. The belt might need to be adjusted after the first two hours of use. Temperature,
humidity, and use cause the belt to stretch at different rates. If the belt starts to slip when a user is on it,
be sure to follow the directions below.
STEP 1:
Locate the two hex head bolts on the rear of the treadmill. The bolts are located at each end of the
frame at the back of the treadmill. These bolts adjust the rear belt roller. Do not adjust until the
treadmill is on. This will prevent over tightening of one side.
STEP 2 :
The belt should have equal distance on either side between the frame. If the belt is touching one side,
do not start the treadmill. Turn the bolts counter clockwise approximately one full turn on each side.
Manually center the belt by pushing the belt from side to side. Tighten the bolts the same amount as
when the user loosened them, approximately one full turn. Inspect the belt for damage.
STEP3 :
While the treadmill is running at 3 mph / 4.8 kph, observe the belt position. If it is moving to the right,
tighten the right bolt by turning it clockwise ?turn, and loosen the left bolt turn. If it is moving to the
left, tighten the left bolt by turning it clockwise ?turn and loosen the right ?turn. Repeat Step 3 until
the belt remains centered for several minutes.
STEP 4 :
Check the tension of the belt. The belt should be very snug. When a person walks or runs on the belt, it
should not hesitate or slip. If this occurs, tighten the belt by turning both bolts clockwise ?turn. Repeat
if necessary.
4.5 ADJUSTING THE BELT

18
Frequency: Every 3 months
Procedure:
1.Remove the drive belt and check the grooves in belt
for dirt or dust and clean it.
3.Check the grooves in roller pulley for dirt or dust and
clean it.
If dirty grooves in the drive belt, motor and roller pulley, there will be noises while
running.
Caution:
2.Check the grooves in motor pulley for dirt or dust and
clean it
4.6 CLEAN THE GROOVES PROCEDURE

19
SECTION 5
MANAGER MODE

20
ENGINEERING MODE
Engineering screens allow the viewing and editing of variables that would be necessary
for a club operator/manager to customize. Unless otherwise noted, engineering screens
consist of the initial screen, the editing or action screen, and the saving screen. The
initial screen displays the variable type, and in most cases, the current value. Edit or
action screens are where the editing of the variable take place. The saving screen
indicates the variable is being saved.
To access the Engineering screens press and hold the ELEVATION UP and SPEED
DOWN buttons for three seconds. The display will now display 'Engineering Mode'.
Use the ELEVATION UP or DOWN arrows to scroll through the different engineering
screens.
Press SELECT to edit the selected engineering screen.
Use the SPEED UP or DOWN arrows to set the variable.
Press START to save the selected variable.
MX-T3x OPERATION MANUAL- Engineer mode
How to enter into the engineering mode?
1. Press & Hold both “ELEVATION
UP” and “SPEED DOWN” at the
same time for 3-5 sec. Then, the
display will show “MANAGER
MENU”.
2. Press the "ELEVATION UP or
DOWN" to select you want and press
the “SELECT" key enter.
Other manuals for MX-T3x
1
This manual suits for next models
1
Table of contents
Other Matrix Treadmill manuals

Matrix
Matrix LIFESTYLE TOUCH XL User manual

Matrix
Matrix T130 XI User manual

Matrix
Matrix T5 User manual

Matrix
Matrix S-DRIVE P User manual

Matrix
Matrix T3X-02 User manual

Matrix
Matrix T7xe User manual

Matrix
Matrix T7XE-01 User manual

Matrix
Matrix T7xe-04 User manual

Matrix
Matrix T3xe User manual

Matrix
Matrix T5 User manual

Matrix
Matrix MX-T5 User manual

Matrix
Matrix T30 User manual

Matrix
Matrix MX-A5 Series User manual

Matrix
Matrix T3X-05 User manual

Matrix
Matrix TF30 User manual

Matrix
Matrix TF30 User manual

Matrix
Matrix MX-T4x User manual

Matrix
Matrix TOUCH XL User manual

Matrix
Matrix T3x Administrator guide

Matrix
Matrix T1x User manual