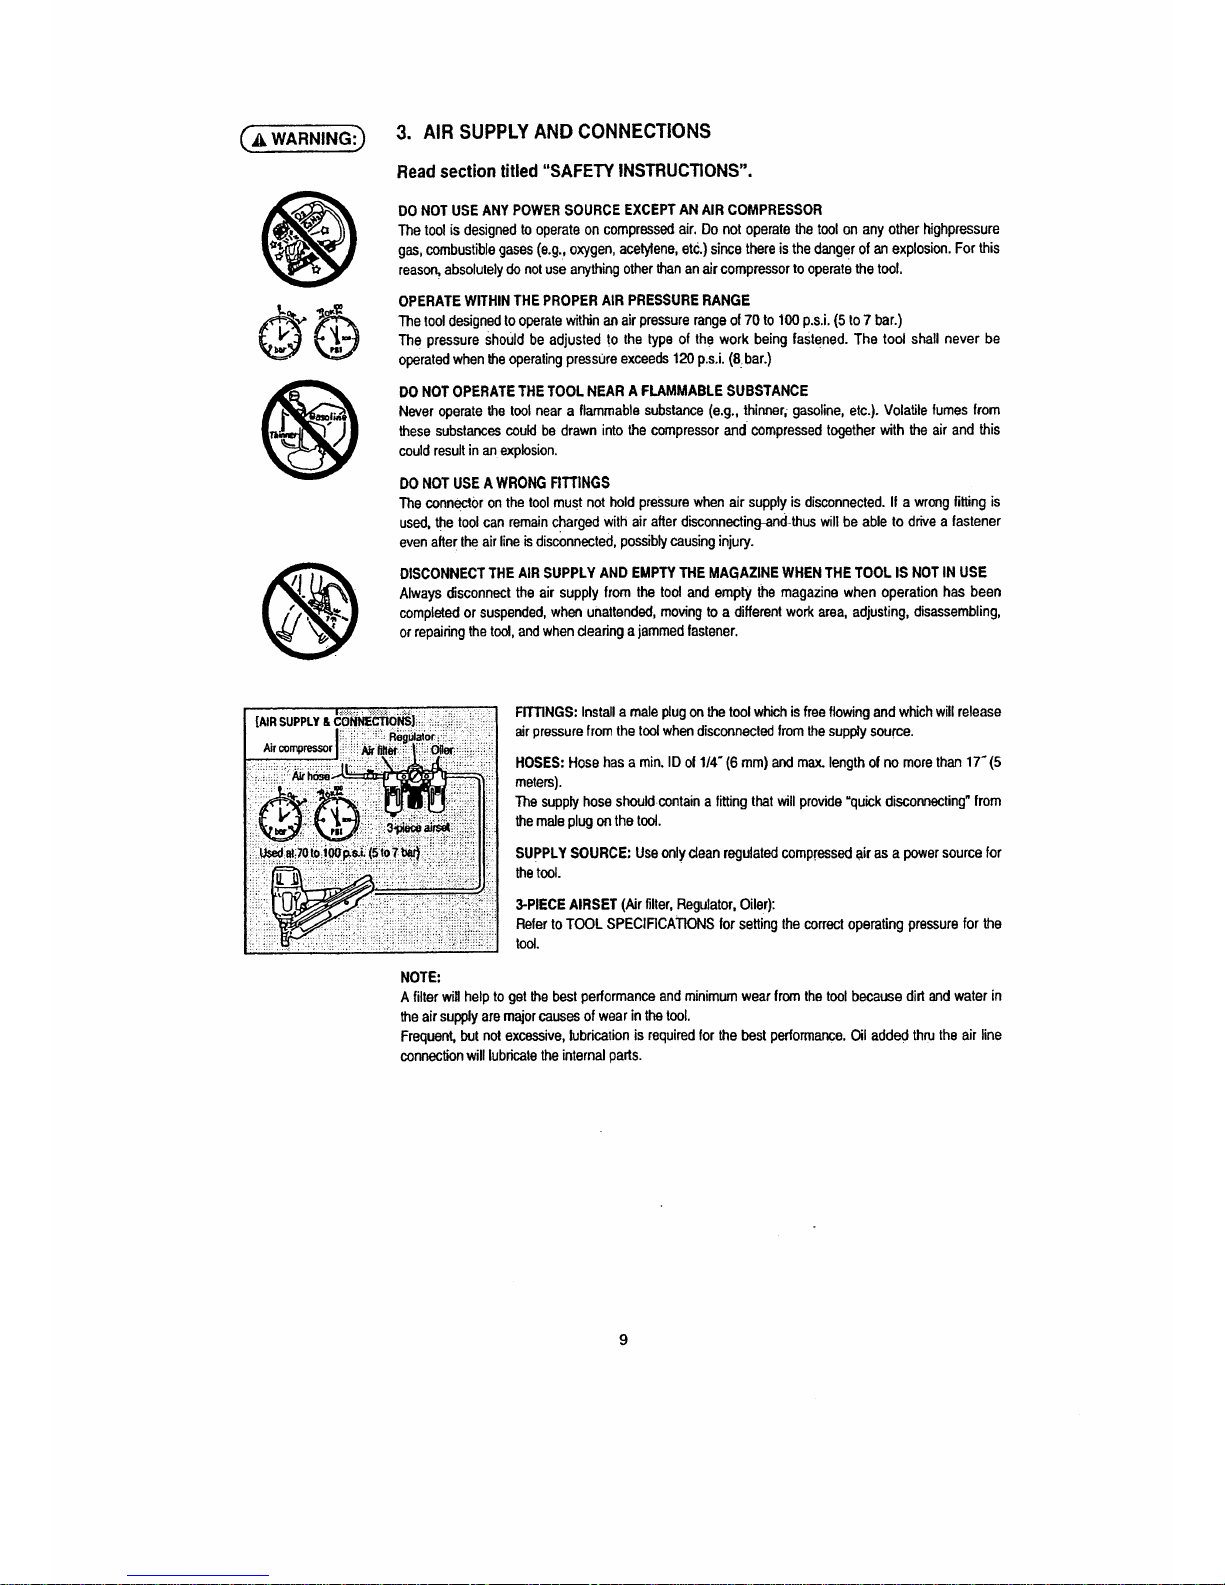
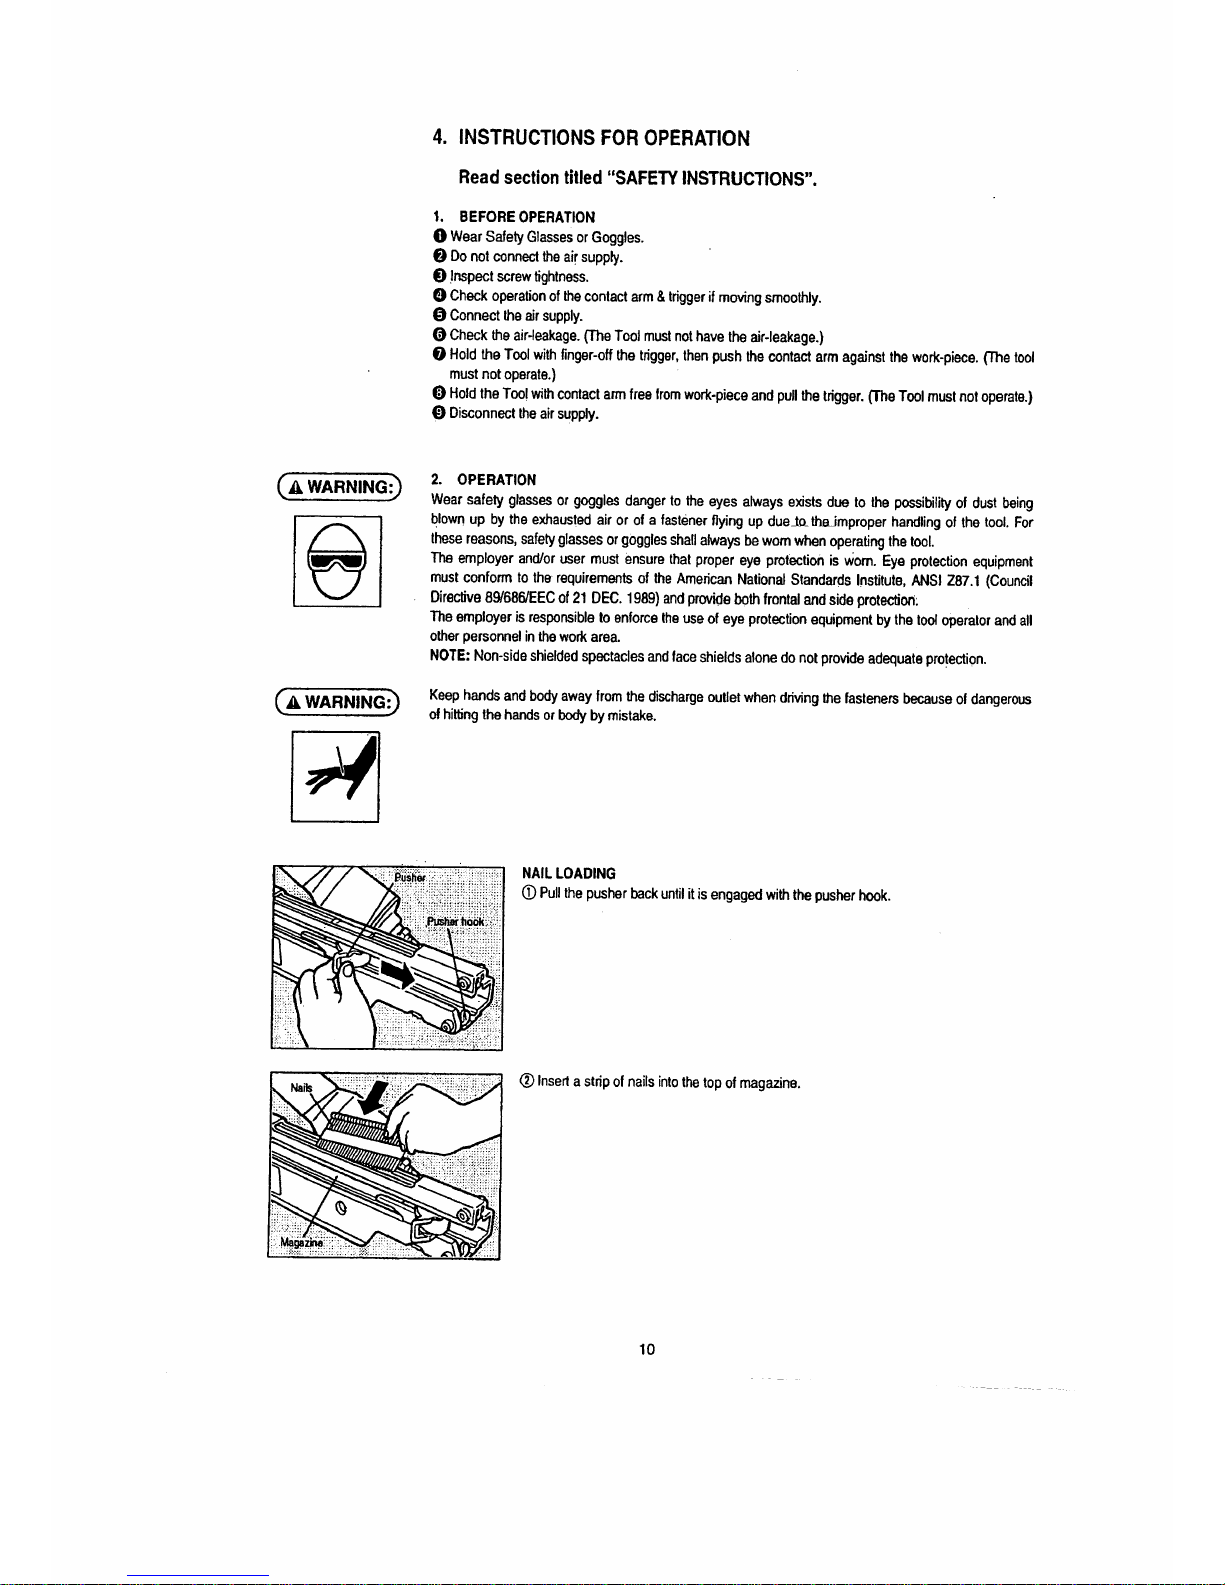
Max SN890CH/34 Operating instructions
Other Max Nail Gun manuals

Max
Max SN883RH Operating instructions

Max
Max CN650M Operating instructions

Max
Max CN450R Operating instructions

Max
Max NF201/18-35 Operating instructions

Max
Max NF255SF-ST Operating instructions

Max
Max SuperRoofer CN445R2 Operating instructions
 Installation and operation manual")
Max
Max SN890CH2(CE) Installation and operation manual

Max
Max PowerLite HA65Q/15-11 Instruction Manual

Max
Max PowerLite HN65 Instruction Manual
 Operating instructions")
Max
Max SuperSider CN565S2(CE) Operating instructions

Max
Max GS732C LT Operating instructions

Max
Max CN890S Operating instructions

Max
Max SN890CH/34 Operating instructions

Max
Max NF550/15-65 Operating instructions
 Operating instructions")
Max
Max SN883CH/34 (CE) Operating instructions

Max
Max GS865E Operating instructions

Max
Max SuperLocator SN438J Instruction Manual

Max
Max NF665/15 Operating instructions

Max
Max NF565/16 Operating instructions

Max
Max CN80 Operating instructions

 Operating instructions")


Popular Nail Gun manuals by other brands

Performance Tool
Performance Tool M643 owner's manual

Hitachi
Hitachi VH650 - Fencing Nailer, Full Head instruction manual

Parkside
Parkside PET 25 B1 Operation and safety notes

Senco
Senco Fusion Technology F-35XP operating instructions

Grizzly
Grizzly G1847 instruction manual

Ryobi
Ryobi R18N18G Original instructions

Black & Decker
Black & Decker 492848-00 instruction manual

HOLZMANN MASCHINEN
HOLZMANN MASCHINEN TN90 user manual

Metabo HPT
Metabo HPT NR 3690DC Instruction and safety manual

Surtek
Surtek CN650 User manual and warranty

Makita
Makita GF600 instruction manual

Parkside
Parkside PET 25 B1 Operation and safety notes