Press on handset :
or
Call from redial list
Press DOWN / REDIAL to access the redial list and press UP / DOWN to select the desired redial
number.
Press to dial out the selected redial number. Press again to turn on the
speakerphone.
Make a call from direct memory keys (M1‐M3)
A direct memory key, M1, M2, or M3 must be programmed with a number before it can be used.
(See section “Set the direct memory keys”for details.)
In idle, press and hold <M1>/<M2>/<M3> to dial the number pre‐stored into the respective key.
Press if you wish to turn on the speakerphone.
Note: If no number is stored, you will hear a double beeps tone.
2
Answer a call
If the handset is not on the charging cradle:
When the phone rings, press to answer a call. Press again to turn on the
speakerphone.
Note: If AUTO ANS is set to ON, then lifting the handset off the base or charger will
answer the call automatically, and no buttons need to be pressed.
OR
Use base to answer a call, Press base answer call button to answer a Call.
3
End a call
During a call, press to end the
call. OR
Put the hand
set
on the ba
se
station
or charger to end the call
OR
Use base, Press to end the call.
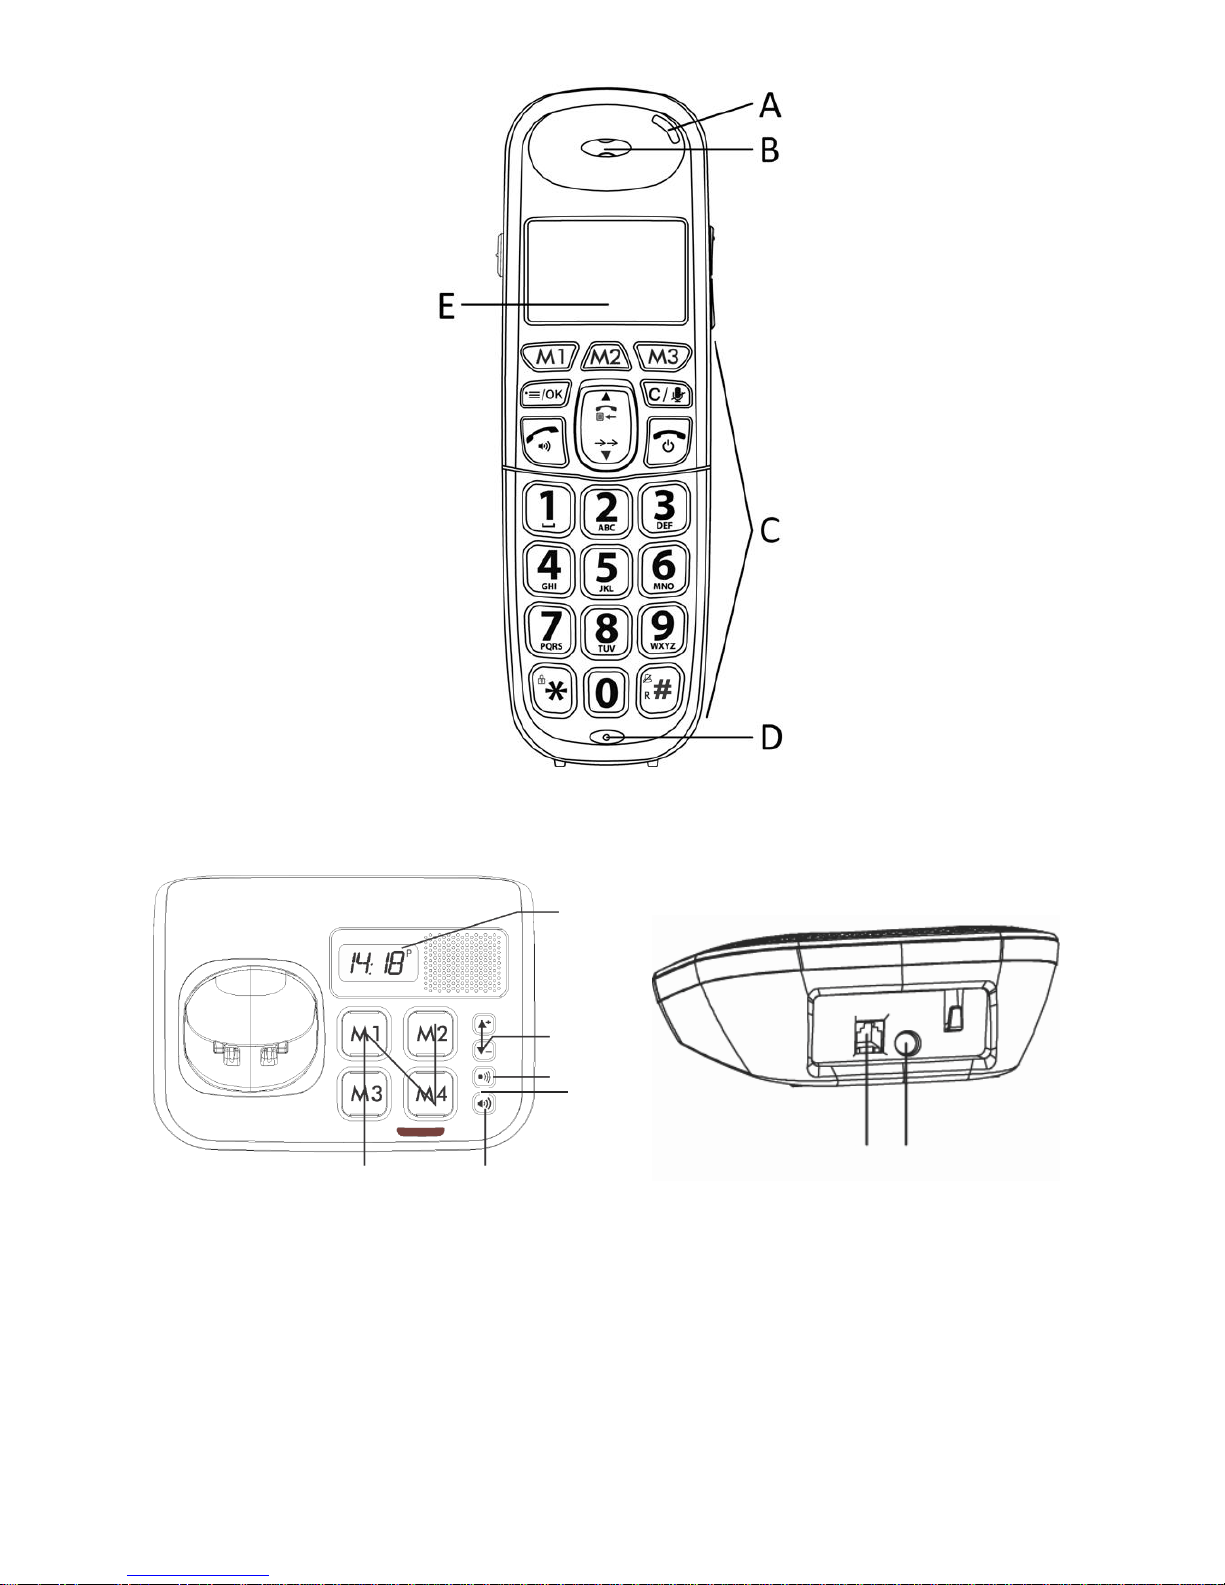
Discover your new phone
Presentation
A LED
B Earpiece
C Keypad
D Microphone
E LCD screen
F Clock
G Volume up/Down
H Page
button