en
it
de
es
fr
nl
pt
da
no
sv
pl
ru
cs
hu
sl
tr
hr
lt
lv
et
ro
sk
bg
uk
bs
el
zh
INDEX
1... INTRODUCTION
2... GENERAL DESCRIPTION OF THE UNIT
3... PRELIMINARY OPERATIONS
4... START-UP
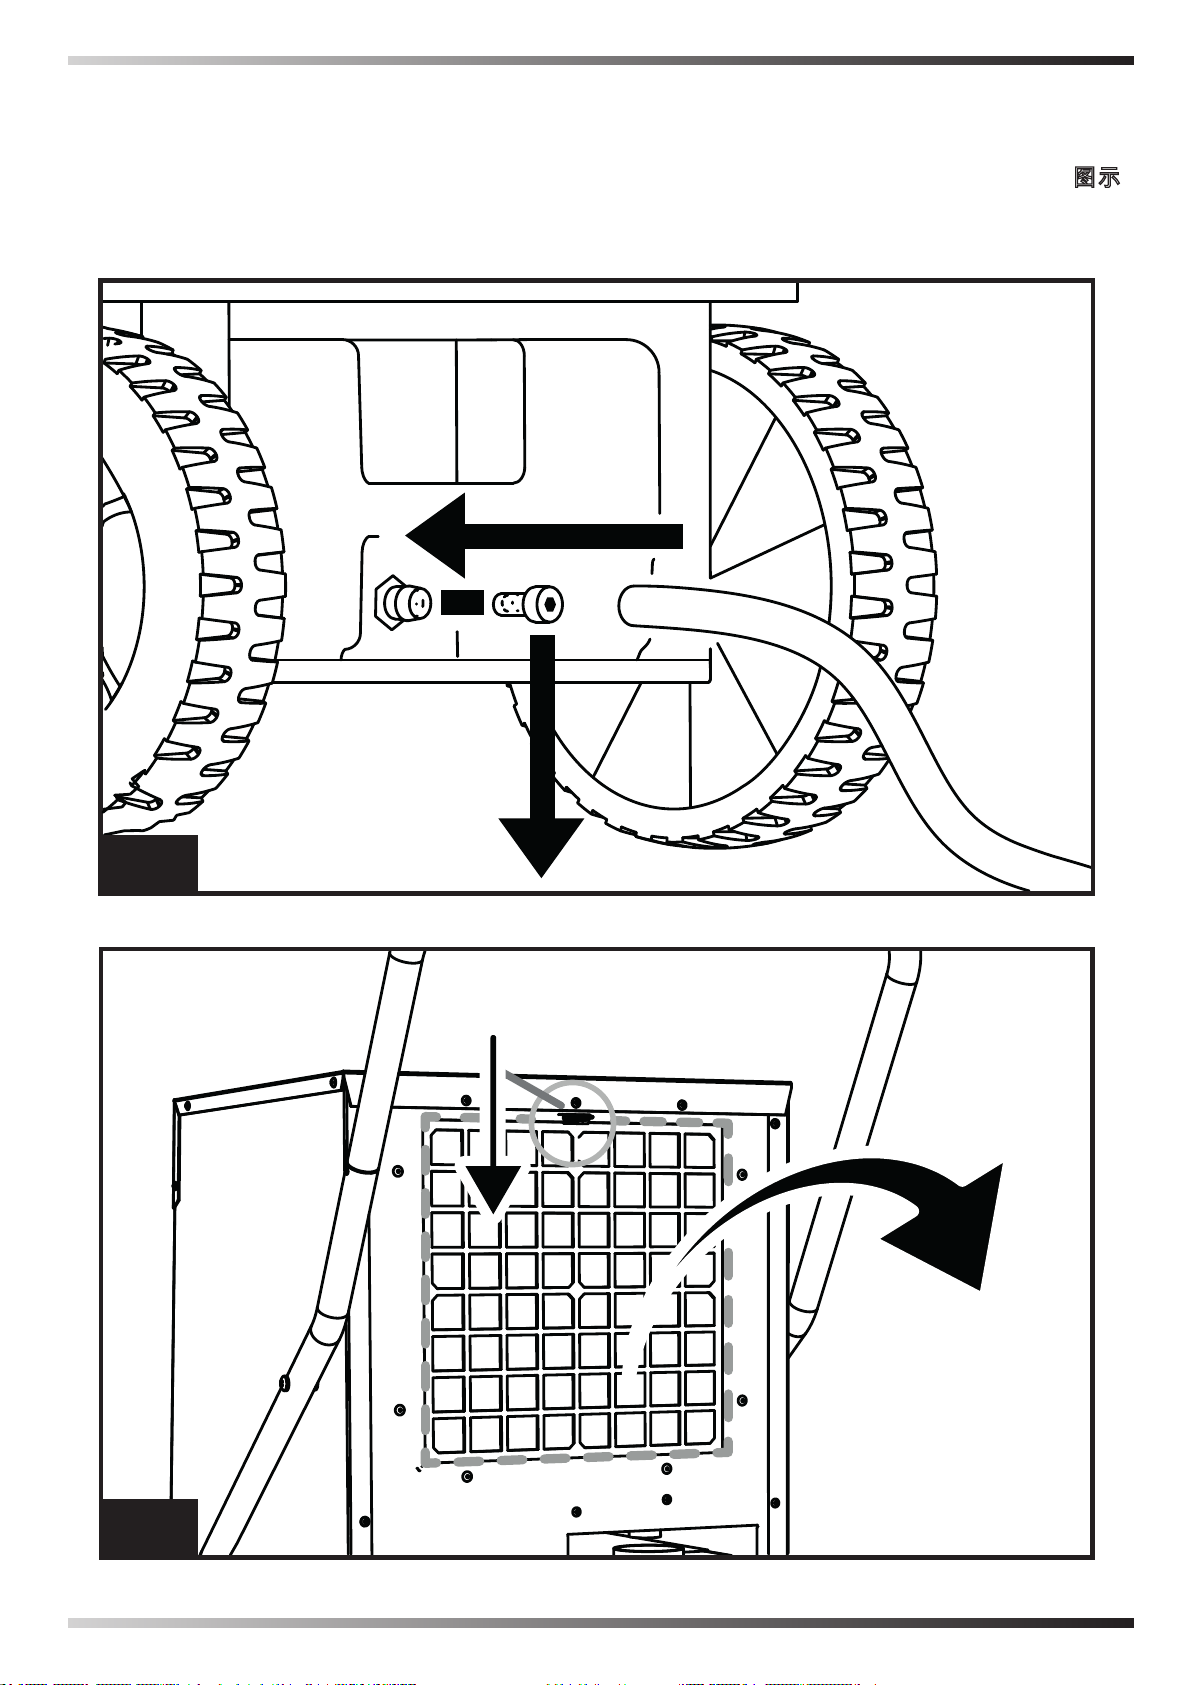
5... MAINTENANCE
6... ALARM LIST
The manual is intended for the end user only
in regard to operations that can be performed
with closed panels. The operations that re-
quire to open doors or panels with tools must
only be performed by expert personnel. Each
appliance must be connected to the power
supply via a cable with a power plug supplied
with the unit. For maintenance operations, the
power plug must always be disconnected to
allow the operator to intervene in safe condi-
tions.
If assistance or spare parts are required, read
unit to identify the appliance (model and serial
number).
The purpose of the manual and of the entire
documentation supplied is to allow both the
installer and operator to correctly perform the
installation, start-up and maintenance of the
equipment, without causing damage to the
personnel in charge and to the unit.
Each appliance is subject to a risk assessment
carried out in compliance with current legisla-
implements the protective measures required
to achieve the risk reduction objectives.
All activities regarding the operation and main-
tenance of the unit must be performed:
Only by properly trained people, who must
implement safe working practices and use
the personal protective equipment appropri-
Only by properly trained people who have
read and fully understood the manuals,
technical documents and safety documents.
Use of the appliance must not be allowed to
anyone who is not adequately trained and
skilled.
This manual, the technical documents and
any security documents attached must be
read and stored for the entire lifespan of the
appliance:
-
-
-
-
-
-
-