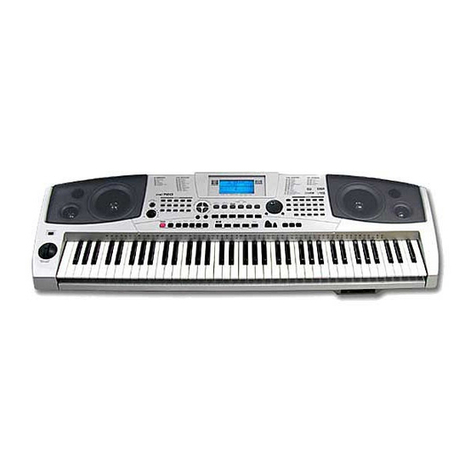
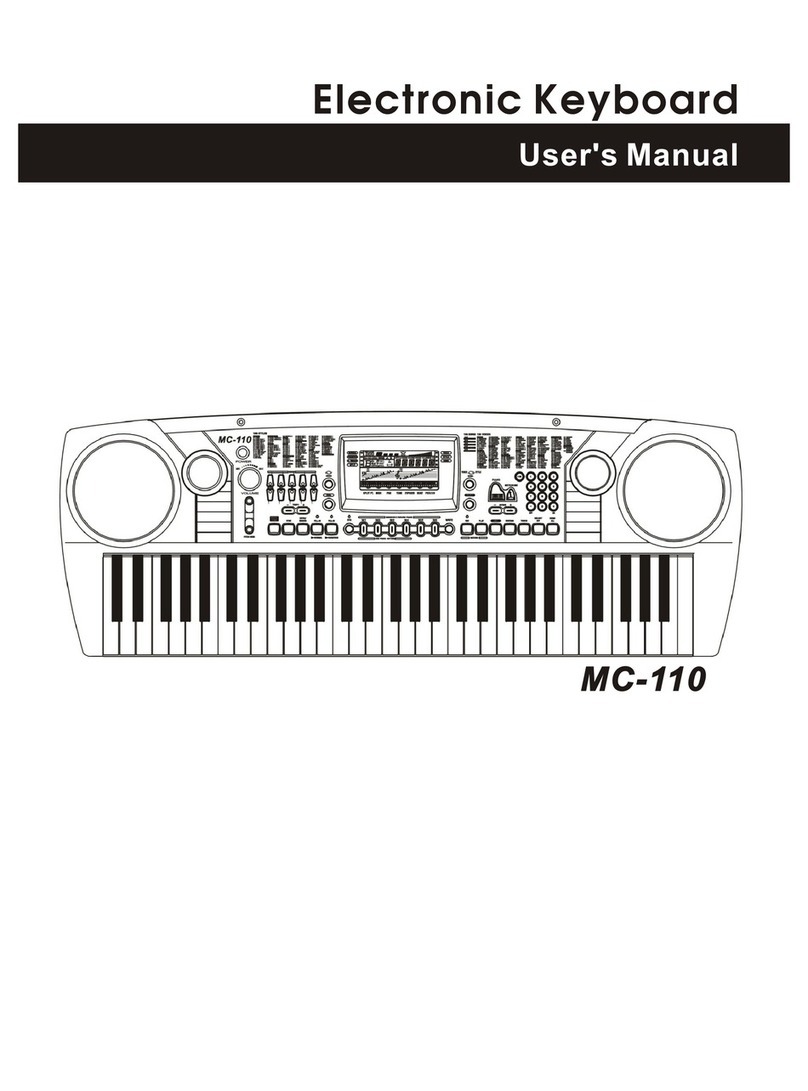
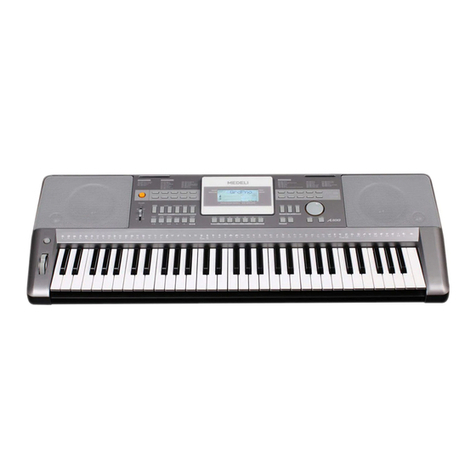
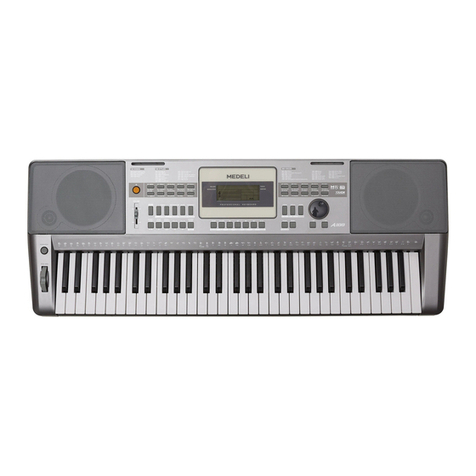
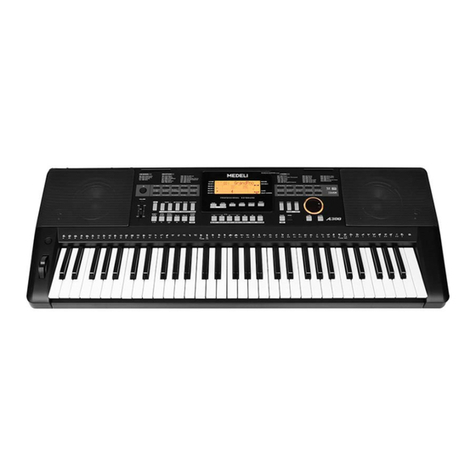
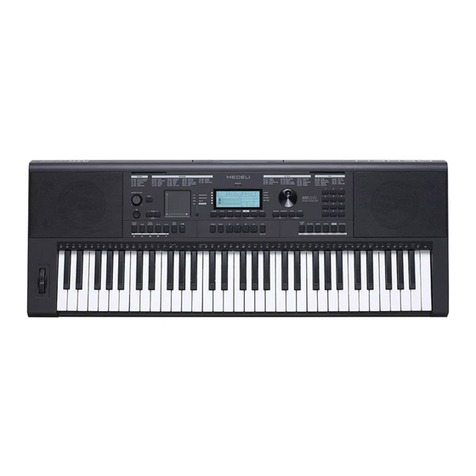
Medeli mc 620 User manual

3
FD
DRIVE

Content
General Guide
1. Front Panel
2. Rear Panel Jack
3. LCD Display
Main features
Introduction
Care of your electronic keyboard
Power supply
Connections
-The headphone jack
- The damper jack
- The Aux. Out jack
- The volume jack
- The MIDI IN/OUT jacks
Play voice
-Select the desired voice numeber
-Play two voices synchronously
-Lower voice
-Split point
-The keyboard function
-Harmony
Auto accompaniment
-Using auto accompaniment(Only drum)
-Using auto accompaniment(All tracks)
-The accompaniment section
-Selecting a style
-Accompaniment operation
Chord recognize
Volume control
-Accomp volume control
-keyboard volume
Adjust the tempo
Metronome
One touch setting
Memory
-Data stored by the memory
-Select a memory
-Store memory
-Recall your memory
Synth
-Select a user voice
-Edit a PCM voice
Demo
Song
ALBUM
Function
-Metro on/off
-Transpose
-Tune
-Octave
-Touch
3
3
3
3
4
5
5
5-6
6-7
6
6
7
7
7
8-10
8
8
9
9
9-11
11
12-18
12
13
14
14
14-18
18-19
19-21
19-20
21-22
22
22
23
24
24
24
24
24
25
25
25
26
27-28
28
29-35
29
30
30
30
30

-Pad assign
-DSP on/off
-Reverb type
-Reverb level
-Chorus type
-Chorus level
-Local on/off
-Receive
-Transmit
-Default parameters
-Using floppy disks
-Disk utility
-Disk save
-Realtime recording
-Step recording
DISK
Recording
Specification
Appendix 1-Voice list
Appendix2-Style list
Appendix3-Demo list
Appendix4-Song list
Appendix5-Chord table
Appendix6-MIDI implementation chart
Appendix7-album list
-Split point
-Pitch bend range
-Key select
-Portamento time
32
33
33
33
33
34
34
34
34
35
35-37
37-40
41-42
42-44
44-48
35-42
42-48
49
50
51
51
52
53
54
55
31
31
31
31

General Guide
1. FRONT PANEL
POWER SWITCH
MASTER VOLUME
MIXER CONTROL
HARMONY
SUSTAIN
DEMO
NEXT
BACK
TEMPO +
TEMPO -
ACCOMPANIMENT CONTROL
-STARTSTOP
-SYNC
- INTRO
- FILL-IN A
- FILL-IN B
- ENDING
A.B.C/MELODY OFF
SONG
ALBUM
STYLE
VOICE
DATA DIAL
SYNTH
PLAY
ACCOMP TRACK
4 MELODY TRACKS
RECORD
ONE TOUCH SETTING
-BANK
-STORE
- M1-M4
O.T.S.
UTILTY
SAVE
DISK
NUMERIC KEYPAD
1
2
3
4
5
6
7
8
9
10
11
12
13
14
15
16
17
18
19
20
21
22
23
24
25
29
26
30
27
31
33
28
32
34
DC 12VPHONES
AUX
OUT
DAMPERMIDI OUTMIDI IN VOLUME
2. REAR PANEL JACK
MIDI IN
MIDI OUT
DAMPER
VOLUME
AUX.OUT
PHONES
DC 12V
3. LCD DISPLAY
1
2
3
4
5
678910 11
12
13
14
15 16
A.B.C
LOWER
DUAL
KEYBOARD
VOICE LR12/STYLE/
SONG/ALBUM
CHORD
TEMPO
MEASURE
BEAT
1
2
3
4
5
6
7
8
9
MEMORY
DSP
TOUCH
SUSTAIN
HARMONY
BASS CLEF
TREBLE CLEF
DISK
10
11
12
13
14
15
16
17
3
FD
DRIVE
STEP RECORD
LOWER
DUAL
LCD DISPLAY
MODULATION/PORTAMENTO
PITCH BEND
17
3

Main Features
61 keys touch keyboard, 3 touch level.
Multi-functional LCD which can display the key board and staff.
Use number function key or wheel to select voice, style and song.
Function feature that includes transpose, tune, octave, split point, pedal select, touch, DSP,
midi etc.
155 high quality voice at all, include 128 GM Voice, 13 Chinese Voice ,6 Percussion Voice
(1 Chinese Percussion) and 8 User Voice.
100 auto accompaniment styles, from 001 to 100.
3 demos of different style.
50 songs that have melody off mode.
100 albums that offer you some good classic music setting.
8 banks with 4 memories in each bank.
Both Single finger detect and fingers detect.
There are 2 record modes: RECORD and STEP RECORD. Each record song has 5 tracks--1
ACCOMP track and 4 melody tracks.
Pitch bend wheel and 12 level pitch bend sensitivity.
Portamento and Modulation,3 level portamento sensitivity.
Expect drum kit voice, you can edit148 voices with Synth function.
Mixer function including the volume adjustment of Voice R1, Voice R2, Voice L1, Drum, Bass,
Chord1,Chord2,Chord3,Accomp.
Padel selection function including sustain, soft, accomp start, tempo tap, and memory select.
3 harmony effect.
DSP function that can set Reverb type and level, Chorus type and level.
MIDI IN and MIDI OUT function, and you can select which channel receive or transmit midi
message.Dual, Lower voice, Sustain, Piano, O.T.S etc.
A floppy disk driver. You can play standard midi music files(format 0,format 1),and save midi
files from recording data with it.
4
Introduction
Thank you for purchasing the electronic keyboard. This electronic keyboard provides you with the
following features and functions.
155 Voices
100 Styles
100 Albums
50 songs and 3 demo songs with playing along feature
M
F
ulti-functional LCD which can display the key board and staff
2 record modes: RECORD and STEP RECORD
loppy disk driver which can play standard midi music files(format 0,format 1),
and saves midi files from recording data with it
Care of your electronic keyboard
Your keyboard will give you much pleasure if you follow the simple rules given below:
Do not expose the electronic keyboard to the high temperature, direct sunlight, and excessive
dust places.
Avoid physical shocks caused by dropping , bumping, or placing heavy objects on the electronic
keyboard.
Never use cleaners such as alcohol or thinner to clean the electronic keyboard.
Always turn power off when making any connections.
Power supply
This electronic keyboard can be powered by current from a standard household wall outlet
(using the specified AC adaptor) or by batteries.
Using the AC adaptor
Make sure that only the specified AC adaptor for this
electronic keyboard is used. The adaptor shall be
12V DC output, 3000mA, and center positive type.
Make sure to turn off the electronic keyboard before
you connect the adaptor into the AC wall outlet and
the cord into the unit.
Cautions:
Use only the specified AC adaptor. Use of another type of adaptor creates a danger of fire and
electrical shock.
For safety sake, make sure to unplug the AC adaptor from the wall outlet whenever leaving the
electronic keyboard unattended for a long time.
Using batteries
Always make sure to turn the keyboard off before inserting new batteries or replacing old ones.
DC 12V
To insert the batteries
Open the battery compartment underneath the keyboard.1.
OPEN
5

Insert 8 "D" size batteries into the battery compartment by following the polarity markings on the
cabinet.
2.
Close the battery compartment, make sure the battery compartment cover locks firmly.3.
Cautions:
Improper handling of the batteries can cause them to burst or leak, creating the danger of
personal injury or damage of the keyboard. Make sure to take the following important
precautions when using batteries:
Never use batteries of different types.
Never mix old batteries with new ones.
Always make sure to remove the batteries from the keyboard's battery compartment.
When the keyboard is not expected to be used for a long period of time, remove the batteries
from the keyboard.
Replace the batteries as soon as possible after any sign of discharge.
Low battery indications
Any of the following symptoms indicate low battery power. Replace the batteries as soon as
possible whenever any of the following occurs.
A dim and difficult-to-read LCD display
Abnormally low speaker/headphone volume.
Distortion of the sound output.
Sudden power failure when playing at high volume
Abnormal playing of the rhythms or demo songs.
Dimming of the display when playing at high volume.
Connections
DC 12V
The headphone jack
A pair of stereo headphones can be plugged into the PHONES jack for private practice or late
night playing. The internal speaker system is automatically turn off when the headphones is
plugged into the PHONES jack.
PHONES
AUX
OUT
DAMPERMIDI OUTMIDI IN
The damper jack
An optional footswitch can be plugged into the DAMPER jack for sustain control. The footswitch
functions like the damper pedal on a piano-press for sustain, release for normal sound.
VOLUME
DC 12VPHONES
AUX
OUT
DAMPERMIDI OUTMIDI IN VOLUME
6

The Aux. Out jack
The AUX. OUT jack delivers the output of the keyboard for connection to an external amplifier.
Using an audio cord, plug into AUX. OUT jack located on the rear panel. Then plug the other
end of the cord into LINE IN or AUX. IN of the amplifier.
Stereo
System
DC 12VPHONES
AUX
OUT
DAMPERMIDI OUTMIDI IN VOLUME
The volume jack
An optional volume control can be plugged into the VOLUME jack for adjusting the volume of sound.
DC 12VPHONES
AUX
OUT
DAMPERMIDI OUTMIDI IN VOLUME
The MIDI IN/OUT jacks
The MIDI IN connector receives MIDI data from an external MIDI device. The MIDI OUT connector
transmit MIDI data generated by the electronic keyboard to an external MIDI device.
MIDI OUTMIDI IN
7

Play voice
[VOICE]
The voice mode features 155 authentic voices(including 128 General MIDI voices, 13 Chinese
Voice ,6 Percussion Voice (1 Chinese Percussion) and 8 User Voice.(See appendix 1VOICE LIST)
Press button,you can switch three separate voice modes: VOICE R1,VOICE R2,
VOICE L.
Select the desired voice number
Select the desired voice number with the , and .dial [+/YES], [-/NO] [0]-[9]
8
1
2
3
Play two voices synchronously:VOICE1,VOICE2.
Press key to turn on the DUAL VOICE, " VOICE R2" and dual flag are both lighten.
The dual voice name is also displayed on the LCD.
[DUAL]
Press key, the wheel or number key to select the dual voice number. The
default dual voice number is No. 50: Strings2.
Press button again to turn off the DUAL VOICE.
[+/YES]/[-/NO]
[DUAL]
Note:
In DUAL VOICE status,there is dual voice in both right and left area of keybaord.

LOWER VOICE
[LOWER]
You can split the keyboard to right and left area in this function.
Press button to turn on the lower voice.LCD lights the lower voice flag and displays
"VOICE L" and the lower voice name.
Split Point
In the Split Voice mode, you can assign two different Voices to opposite sections of the key
board, and play one Voice with your left hand while your right hand plays another.
#F3 is the default split point. Every keys can be set as the split point, and stored in memory.
(See function SPLIT POINT SELECT).
9
3
4

5
Press button, use the wheel or number key to select the lower voice number. The
default lower voice number is No. 50: Strings2.
Press again to turn off the lower voice.
[+/YES]/[-/NO]
[LOWER VOICE] button
The Keyboard Function
Accomp on
The keyboard not only plays three voices at the same time, but also has other necessary
functions.
The left area below the split point is the chord area by pressing the "A.B.C" button.
The bass and the chord voice phonate when playing the chord.
SPLIT POINT(#F3)
SPLIT POINT(#F3)
VOICRE R1/R2
VOICRE R1/R2
VOICE L
ACCOMP

Naming
When you save one midi file, you can name this file with the keyboard.(See the following)
10
Portamento and modulation
To have portamento effect,press and hold [PORTAMENTO] button and play the keyboard.
There are four types portamento time(0-4).The default time setting is 2.(You can modify the potamento
time with function menu)
You can set button to modulation function.(See FUNCTION MENU on p.29).[PORTAMENTO]
holding down the button before playing the keyboard. The note will have[PORTAMENTO]
modulation effect.
Pitch change
You can also adjust the tuning, octave , and change the transposition (key) of the entire sound
with the Transpose and Tuning, Octave functions.(see FUNCTION MENU ).
Pitch bend wheel
The PITCH BEND wheel to the left of the keyboard allows to the change of pitch of notes on
the keyboard by bending up or rolling down.
The actual pitch bend range can be adjusted via the "PB Range" function in the FUNCTION MENU.
SHIFT
DELETE
BDEGIKLNPQSUWXZ124689#
%&( -@{-
AC FHJMO RTV Y 0 3571
$,)

Sustain
[SUSTAIN]Press the button to turn the SUSTAIN effect on (the sustain icon will appear next to
"sustain" on the display).All played notes on the keyboard have a sustained effect.
Harmony
[STYLE]
[A.B.C]
[START/STOP] [SYNC]
[HARMONY]
[+]
Press any one note above split point on keyboard,there will be duet,trio or octave effect.
Press button to choose your desired style.
Press button.
Press or to play the style with accompaniment.
Press button.
Play any keys by your right hand above the split point after you press button to
modify the harmony setting as follows:
To turn on the SUSTAIN effect ,press [SUSTAIN] button.
11
6
The default harmony setting "OFF HARMONY" is shown on the LCD.
Press to change the default harmony settion to "001 DUET", "002 TRIO",
"003 OCTAVE"..
[+] button
3

Auto accompaniment
[STYLE]
Using auto accompaniment(only drum)
Press the button.
1
select a style.
dial [+/YES] [-/NO] [0]-[9]Select the desired style number with the , , or .
(See the appendix 2 style list)
3
Press the button to start playing the style(only drum).
Press the button to stop playing the style.
[START/STOP]
[START/STOP]
[STYLE]
Using auto accompaninent(all tracks)
Press the button.
2
12

select a style.
the dial [+/YES] [-/NO] or [0]-[9]Select the desired style number with , , .
(See the appendix 2 style list)
3
A.B.C (ATUO BASS CHORD)
[ABC MELODY/OFF]Press the button after choosing the style.
Any fingers play on the left side of keyboard can be recognized as a chord.
The recognized chord name will be shown on the display.
Press the button. The Beat display will flash at the current tempo when a
synchronized start mode has been selected.
SYNC Start
[SYNC]
The accompaniment style start to play while any keys is pressing on the keyboard.
Press the button to stop playing the style.[START/STOP]
13

The accompaniment section
3
4
Accompaniment consists of Intro, normal, variation, fill a, fill b, ending. Using different sections
based on the structure of songs enable you to create a song.
Press the button before you start playing to select an intro section. The intro section
is followed by the main section.
There are two main sections, normal and variation. It has its own two or four measure section.
While the accompaniment is playing, you can add fill in the rhythm/accompaniment by pressing
the button or the button. This automatically plays the fill section, and
smoothly leads into the next section-even if it is the same section.
When you press the button, the mc620 plays the ending section appropriate for the
style.
INTRO
[INTRO]
NORMAL and VARIATION
FILL A and FILL B
[FILL A] [FILL B]
ENDING
[ENDING]
Selecting a Style
The keyboard has 100 different auto-accompaniment styles that can be used to provide
fully-orchestrated accompaniment. Its sophisticated Auto Accompaniment system can
provide automated bass and chord backing that is perfectly matched to the selected
accompaniment style.
When the keyboard is turned on, it is in Voice mode. To enter the Style mode, press the
button. A word "STYLE" appears on the display and you can select another style
with the or the buttons afterward.
[STYLE]
[DATA DIAL] [-/NO]/[+/YES]
Note:
If you select a style number, the number will flash 3 times and change to your choice. If
you select 0, the style number will not change.
For example the based style is 042 JAZZTRIO
3
Press 00
Press 2
Display
Display
-00 JAZZTRIO
--2 JAZZTRIO
Flash 2 seconds and display
042 JAZZTRIO
0028 BEAT2
14

Accompaniment operation
5
Press the [STYLE] button.
Select a style.
Select the desired style number with , , ,and .dial [+/YES] [-/NO] [0]-[9]
(See the Appendix 2 style list)
Start accompaniment.
Start immediately:Press the button, the rhythm starts playing without bass
and chord accompaniment.
[START/STOP]
To start with an intro section:Press the button to actually start the intro section and
accompaniment. Once the intro section finishs, the
selected main section is currently playing.
[INTRO]
Sync Start:Press the button, The Beat display will flash at the current tempo.
To start the main section and accompaniment ,play any keys on the keyboard.
(When A.B.C is turned on, play a key or chord on the auto accompaniment section of the keyboard).
[SYNC]
Playing the intro section, the LED is flashing above the [FILL] button.
Press the [I ] button, the intro will begin from the first beat of the next measure.NTRO
3
15

Press the button, the fill A will begin immediately and smoothly lead into the normal.
The LED will light up above the button.
[FILL A]
[FILL A]
Press the button, the fill B will begin immediately and smoothly lead into the
VARIATION. The LED will light up above the button.
[FILL B]
[FILL B]
Press the button, the ending will begin from the first beat of the next measure.[ENDING]
Playing the Main(normal/variation) section, the LED lights up above the [FILL] button.
Press the button, the intro will begin from the first beat of the next measure.[INTRO]
Press the button, the fill A will begin immediately and smoothly lead into the normal.
The LED will light up above the button.
[FILL A]
[FILL A]
Press the button, the fill B will begin immediately and smoothly lead into the
VARIATION. The LED will light up above the button.
[FILL B]
[FILL B]
Press the button, the ending will begin from the first beat of the next measure.[ENDING]
16

Playing the FILL section, the LED is flashing above the [FILL] button.
Press the button, the fill A will begin immediately and smoothly lead into the normal.
the LED will light up above the button.
[FILL A]
[FILL A]
Press the button, the fill B will begin immediately and smoothly lead into the
VARIATION. The LED will light up above the button.
[FILL B]
[FILL B]
It is no effect by pressing the button.[ENDING]
Press the button, the intro will begin from the first beat of the next measure.[INTRO]
In FILL B section, press the button and the fill A will begin immediately and
smoothly lead into the normal. The LED will light up above the button.
[FILL A]
[FILL A]
In FILL A section, press the button, the fill B will begin immediately and
smoothly lead into the VARIATION. The LED will light up above the button.
[FILL B]
[FILL B]
Press the button, the ending will begin from the first beat of the next measure.[ENDING]
Note:
If holding down the [FILL A] or [FILL B] button,mc620 will play the fill section all along.
Playing the ENDING section, the LED is flashing above the [FILL] button.
Press the button, the intro will begin from the first beat of the next measure.[INTRO]
17

Sync stop:press the button, stop playing, and the synchronized start mode has
been selected.
[SYNC]
Stop playing the style.
The accompaniment can be stopped at any time by pressing the [START/STOP] button.
Press the [ENDING] button if you want to go to the ending section and then stop. The ending
section will begin from the top of the next measure.
[ABC ON/OFF]Press the button, the A.B.C icon will appear next to "A.B.C" on the display.
Chords can be produced by pressing any keys below the split point.
Chord Recognize
1
2
split point
18

Fingered Chords (the following chart):
3
4
5
1
You can change the chords of the accompaniment by playing keys on the auto accompaniment section
of the keyboard using either the " Single Finger" or "Fingered" method.
Single Finger Chords:
C: to play a major chord: Press the root note of the chord.
Cm: to play a minor chord: Press the root note together with the nearest black key to the left of it.
C7: to play a seventh chord: Press the root note together with the nearest white key to the left of it.
Cm7: to play a minor seventh chord: Press the root note together with the nearest white and black
keys to the left of it(three keys altogether).
Note:
When A.B.C is set to ON, press the keys to the left of the split point.
Singer finger chords is recogniged next to fingered chords.
If a chord has been recognized, you press one or more keys.
The new chord will be recognized again.
Volume Control
Accomp Volume Control
MC620 has 5 accompaniment tracks: CHORD 1, CHORD2, CHORD 3, BASS, and DRUM. You can
adjust the volume of each accompaniment track.
TRACK CHANNEL PARAMETER DEFAULT
ACCOMP CH1, CH3, CH5,
CH7, CH10
0 127 112
CHORD 1 CH1 0 127 94
CHORD 2 CH3 0 127 98
CHORD 3 CH5 0 127 94
DRUM CH10 0 127 90
BASS CH7 0 127 94
19
-
-
-
-
-
-
Table of contents
Other Medeli Electronic Keyboard manuals

Medeli
Medeli MC 860 User manual

Medeli
Medeli A810 User manual

Medeli
Medeli M5 User manual

Medeli
Medeli MC-49 User manual

Medeli
Medeli M20 User manual

Medeli
Medeli A100S User manual

Medeli
Medeli MK200 User manual

Medeli
Medeli MC560 User manual

Medeli
Medeli Millenium Series Installation guide

Medeli
Medeli AK603 User manual

Medeli
Medeli mc710 User manual

Medeli
Medeli A1000 User manual

Medeli
Medeli A300 User manual

Medeli
Medeli Millenium Series User manual

Medeli
Medeli ELECTRONIC KEYBOARD User manual

Medeli
Medeli A100 User manual

Medeli
Medeli M311 User manual

Medeli
Medeli MC49A User manual

Medeli
Medeli MK401 User manual

Medeli
Medeli MC760 User manual