Service Manual 1533-2001-S 14 of 112 Version 1.0.2/2020
Medema Production A/S
Designation Description
Key switch To start the vehicle:
Turn the key to driving position (1) When the Mini Crosser is
turned on, the control system performs a safety check of the
electrical system. The check lasts half a second. If the accelera-
tor is operated during this time, the Mini Crosser will not be able
to move until you have turned the key to 0 and back to 1.
Speed selector The tortoise in minimum position indicates the lowest speed
range. 0-6 km/h
The hare in maximum position indicates the highest speed
range. Up to 15 km/h
Battery indicator Lights up when the key is turned. Indicates, after half a second,
the battery charge level. It gives a more precise indication after
approx. 1 minute of driving. When the red, amber and green
sections are lit, the batteries are fully charged. When the indi-
cator is at the bottom of the amber section, the batteries should
be charged as soon as possible. If only the red section is lit or
ashing, the batteries must be charged immediately.
Hand brake Acts on the rear wheel and should only be used as an extra /
emergency brake and parking brake. It can be secured in
locked position.
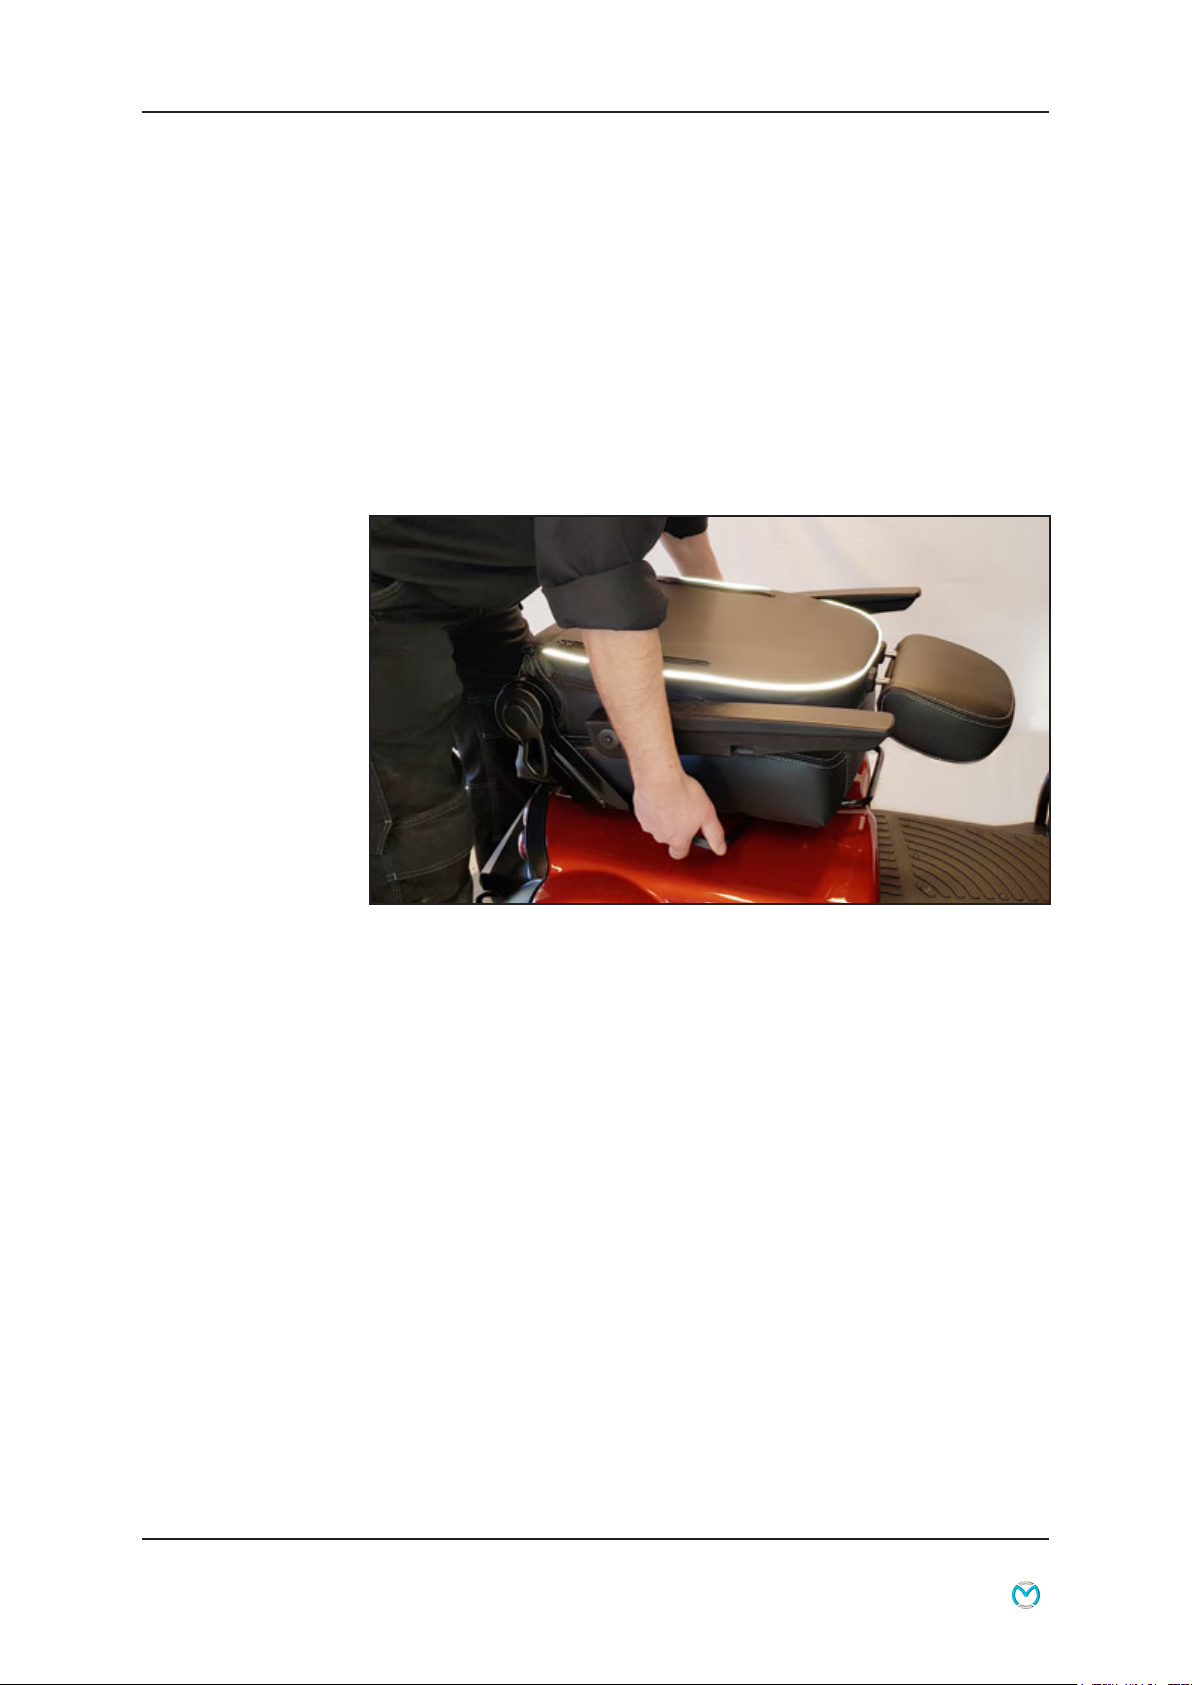
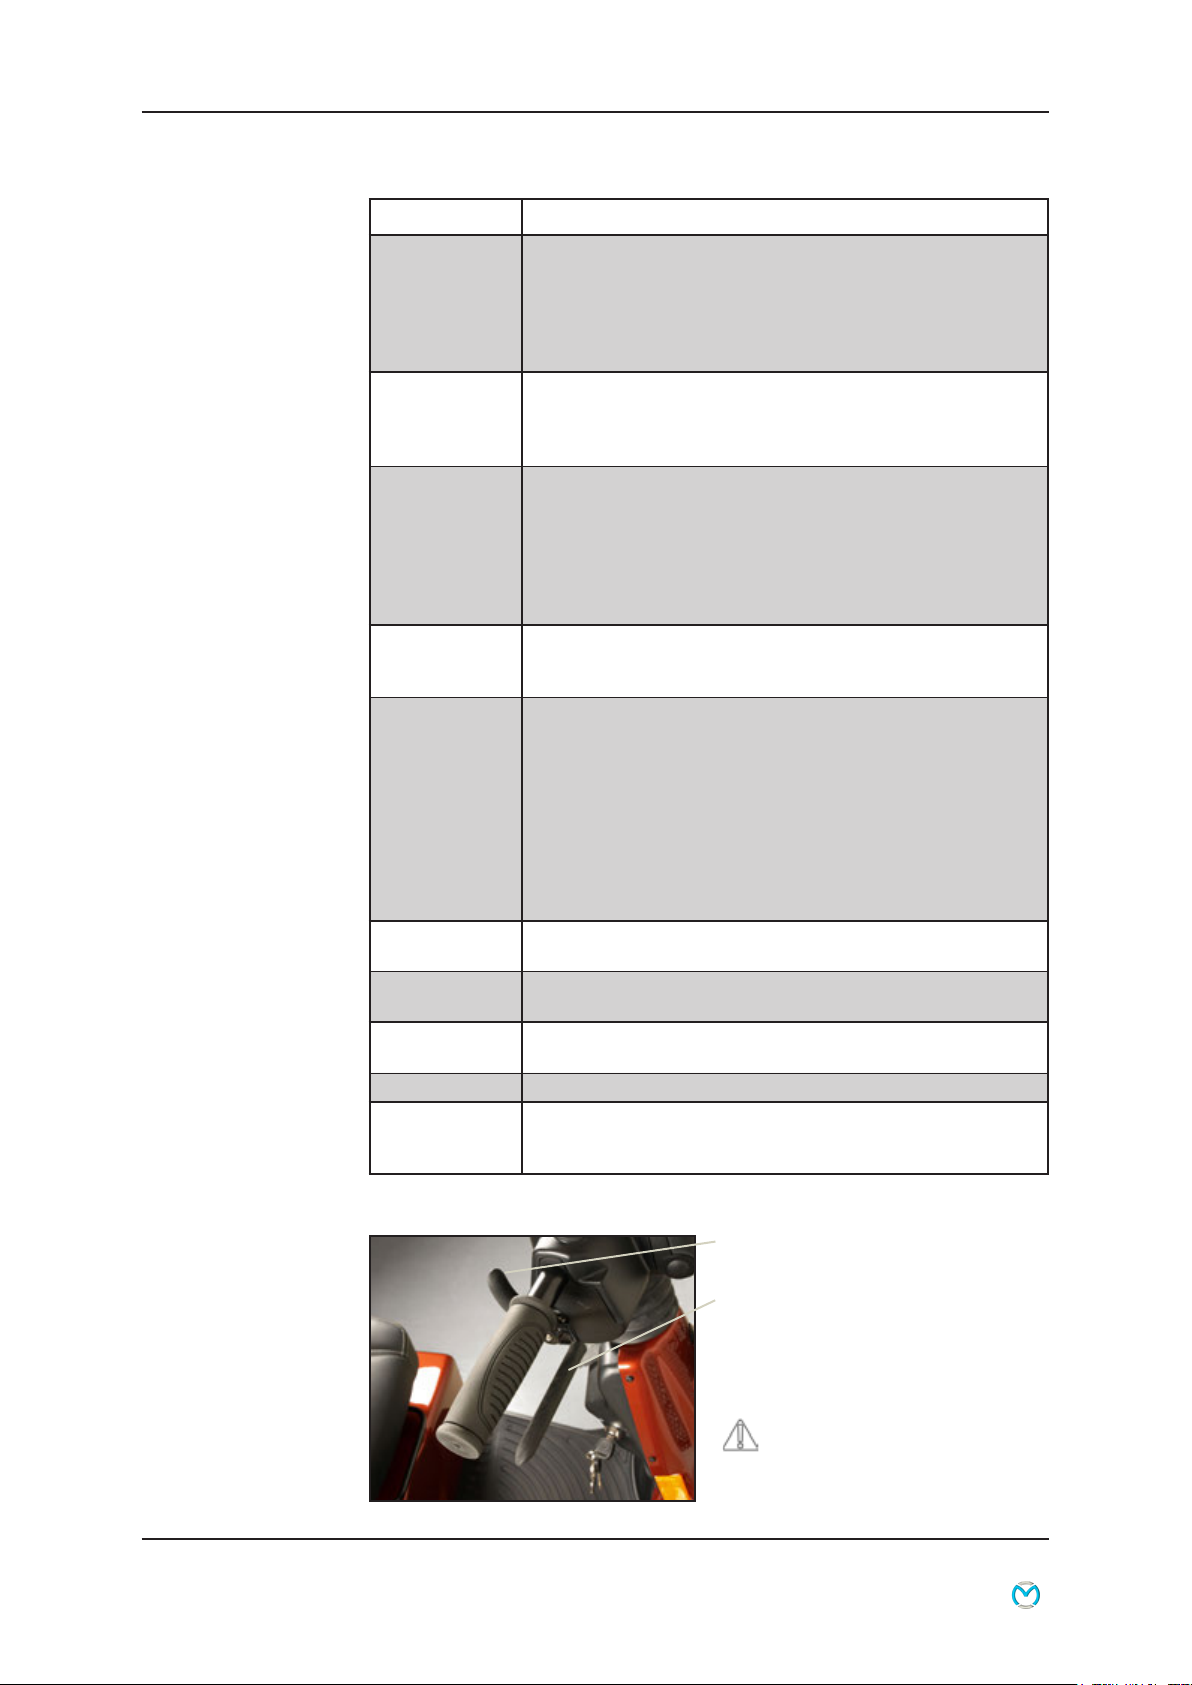
Accelerator
(See picture
below)
Activate the arm at the front slowly and the Mini Crosser will
start to move forwards. The more the arm is pressed, the faster
the Mini Crosser will move. When the arm is released, it will
ip back to starting position of its own accord and the Mini
Crosser will stop. Activating the rear arm will cause the Mini
Crosser to reverse. The magnetic brake on the rear wheels will
engage when the Mini Crosser is stationary and is equivalent
to the parking brake on a car. The accelerator can also be used
to control speed downhill. In this case the motor will act as a
brake.
Light switch Turns on the front and rear lights. The key switch must be in
position 1 (driving position).
Hazard warning
lights
Turns on all the indicator lights at once. Also works when the
key is removed or turned to position 0 (stop position).
Indicator switch Left arrow: indicator, left-hand side. Right arrow: indicator, right-
hand side. Activate the same switch to turn the indicators off.
Horn Powerful electric horn. Press the horn switch to activate.
Charging socket Turn off the key switch during charging. Please note that it is
not possible to drive the Mini Crosser while the batteries are
charging. See also the section entitled “Batteries and charging”.
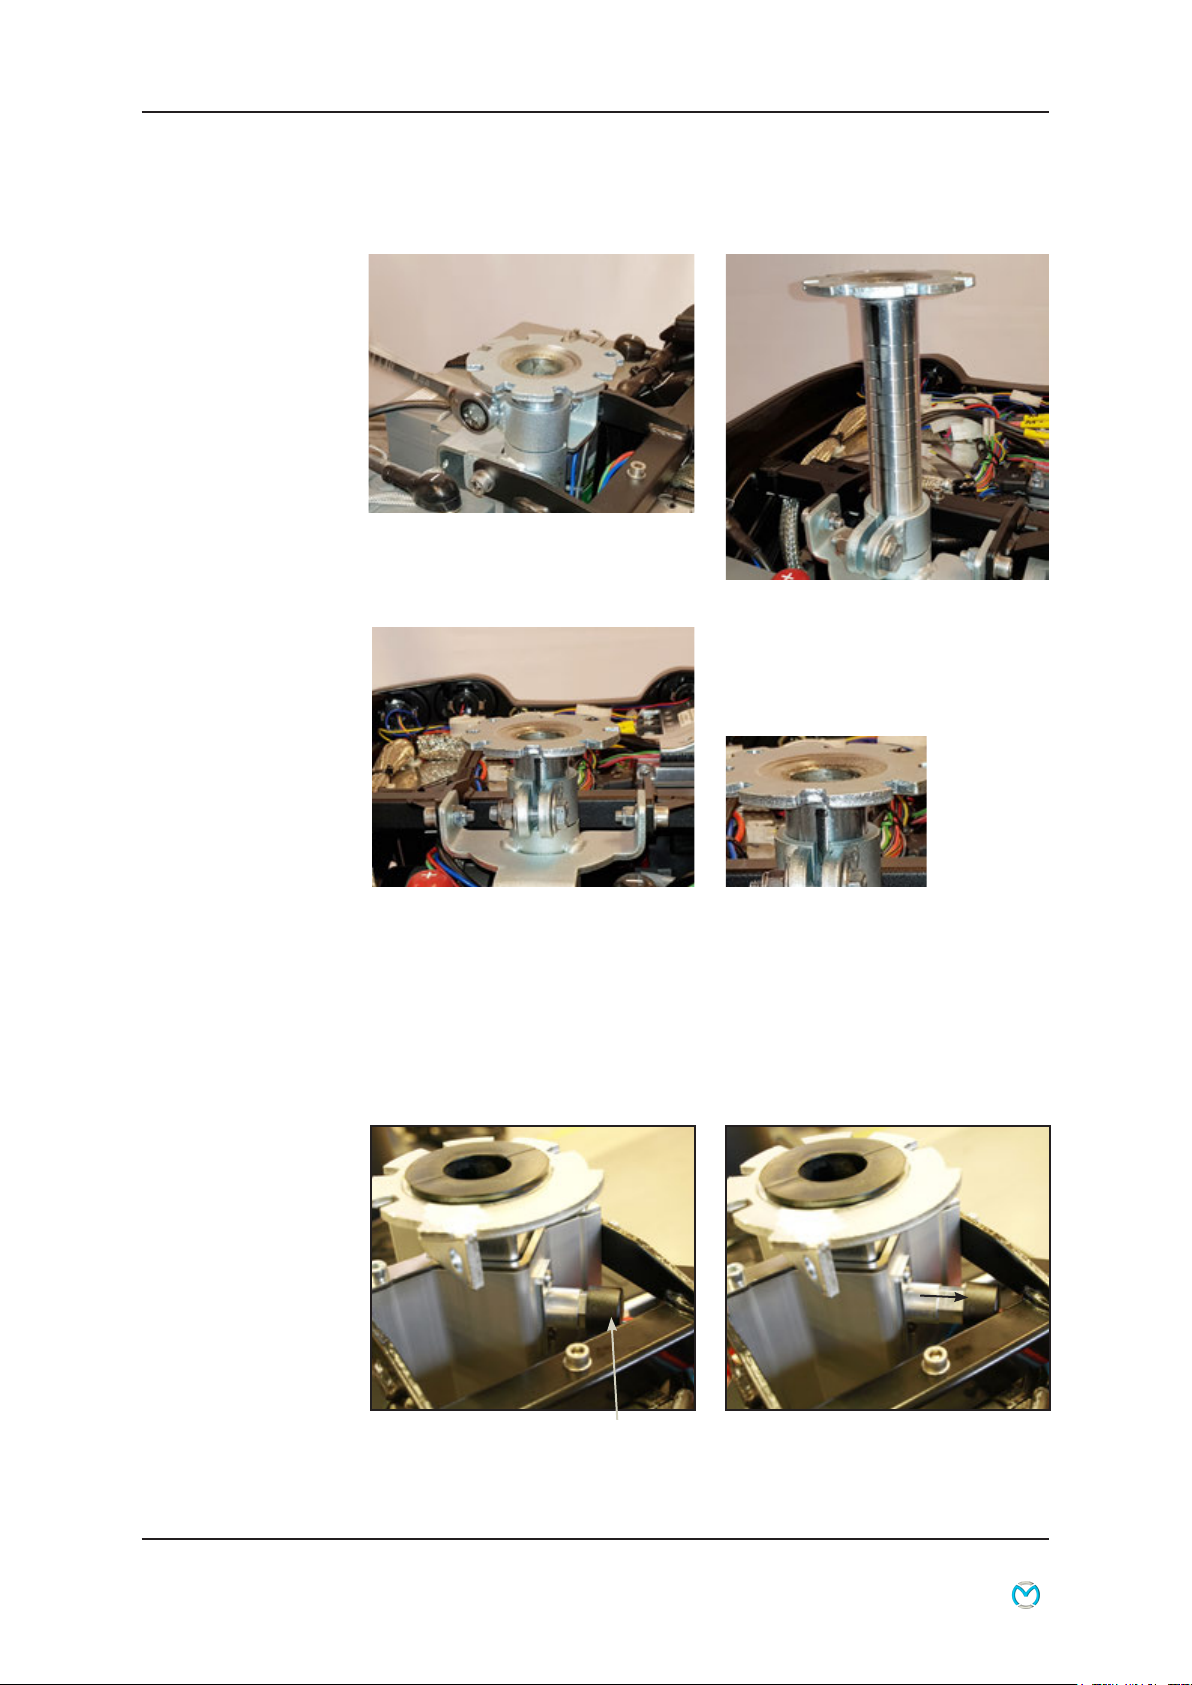
Accelerator back (thumb control)
Accelerator (four-nger control)
The accelerator forward and backwards
are physically connected, which means
that when one or the other is activated,
the other will move the opposite way.
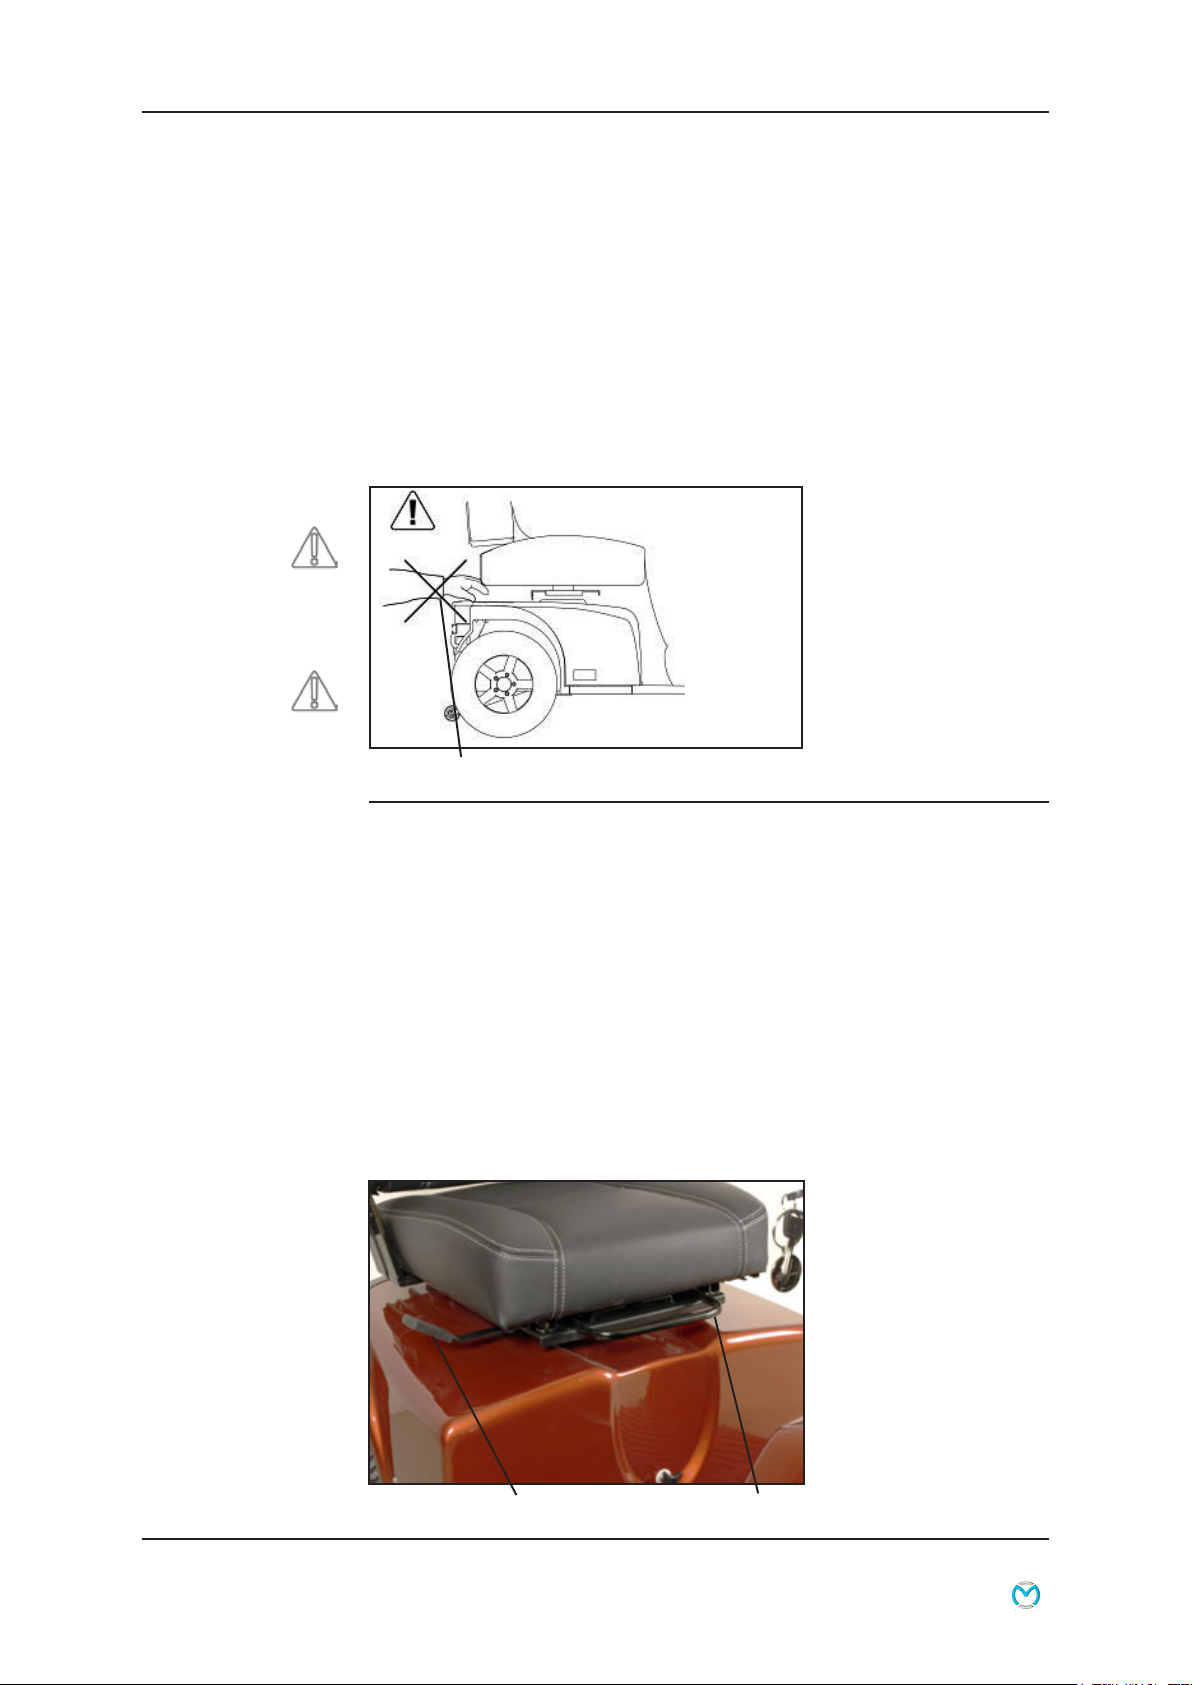
Warning!
When the handlebar is moved closer to
your body, there is a risk for the leg to
touch the accelerator by mistake.