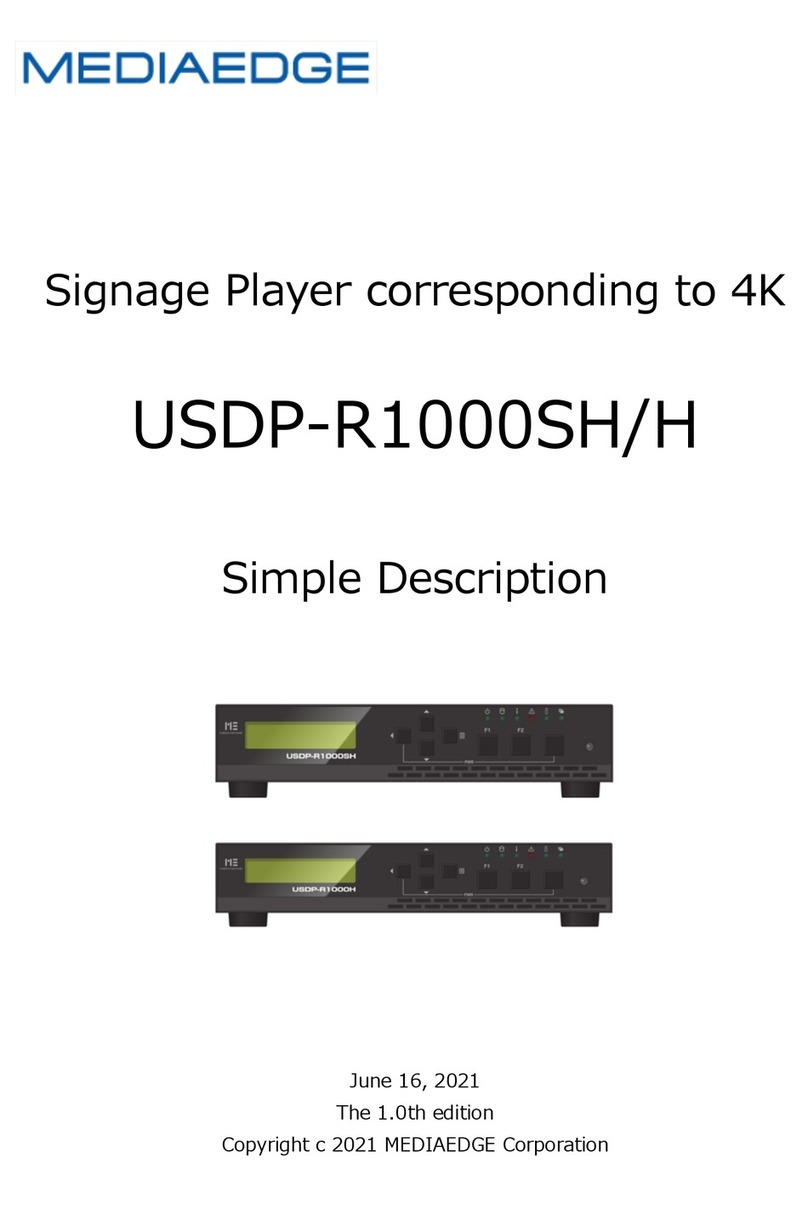
Mediaedge USDP-R1000SH/H User manual

4K Compatible Signage Player
USDP-R1000SH/H
Simplified User Manual
June 16, 2021
Version 1.0
Copyright © 2021 MEDIAEDGE Corporation

1
I-1. Before Using This Product
Thank you for purchasing USDP-R1000SH/USDP-R1000H. This section describes the items to
be checked before using or setting up the equipment.
■I-1-1. Check package contents
Make sure that USDP-R1000 package contains the following accessories. We make every effort
to pack our products carefully. However, in the unlikely event that something is missing, please
contact the store where you purchased the product or contact Customer Support listed below.
MEDIAEDGE Co., Ltd.
Customer Support
TEL: 078-265-1552
FAX: 078-265-1550
Mail: support@mediaedge.co.jp
(Monday to Friday 10:00 to 12:00 and 13:00 to 17:00
*Closed on national and company-designated holidays)
USDP-R1000SH/USDP-R1000H Included Items
USDP-R1000SH/H main unit: 1 pc
AC adapter, power cable: 1 each
Remote control (with 2 AAA batteries) × 1
Simplified User Manual (this document): 1 copy
*The user manual is available for download from our website.
■I-1-2. Product Registration
Register your product to ensure you receive warranty, technical support, and other services.
Access the following link and register as a new user by using the serial number on the product
label. http://www.mediaedge.co.jp/enq/u-reg.html
■I-1-3. Gather Documents Necessary for Setting Up This Product
Check our webpage for the latest information and manual data before using the product.
https://www.mediaedge.co.jp/
You can download the latest user manuals from the Download page on the link below.
https://www.mediaedge.co.jp/product/usdp-r1000/

2
I-2. Overview of USDP-1000
■I-2-1. Overview
This is a 4K UHD player that playback content files in the unit's internal storage, USB storage, or
streams (data encoded in H.265, H.264, or MPEG-2) delivered by a server or live encoder. You
can update the content via USB storage as well as over the network.
The DCM (Display Content Manager: sold separately) enables scheduled playback and playlist
playback with videos, still images, and captions displayed on a single screen. You can collectively
manage content updates and status monitoring for multiple units of this product. All functions
including control, monitoring, and content update are available over the network. These functions
can also be linked to our cloud services.
MEDIAEDGE-SVS server
Network camera
Live encoder
Video encoder
Content can be updated
via network
USDP-R1000 main unit
Web console
screen
4K/2K monitor for playback
USB memory
DCM cloud (cloud streaming)
Markus (weather, news, etc.)
Tweet sign (tweet display)
Internet
BB router
USDP-R1000 main unit
Telop
4K/2K monitor for playback
DCM console
screen
Content can be
updated via network
News

3
■I-2-2. USDP-R1000SH/USDP-R1000H Front Side
(1) Power lamp······································· Displays the status associated with power
operations such as startup and shutdown.
Lamp off····································· Power is off.
Blinking green (every 0.5 seconds) ··· The unit is starting or ending.
Green light·································· Operation status.
Orange light ································ In shutdown state.
Blinking orange ···························· Updating firmware.
(2) Built-in storage lamp ··························· Lights up when reading from or writing on the
Internal storage. (Models with SSD only)
(3) Information lamp ································ Displays the access status of the external and the
internal storage.
Lamp off ······························· External storage is not connected or is mounted in
read-only state.
Flashing ······························· Writing on the external or the internal storage.
Light on ···················· ················ The external storage is mounted in a read-only state.
(4) Error lamp ········································ Displays error conditions caused by hardware.
Lamp off····································· The unit is operating properly.
Flashing ····································· A fan error was detected.
LCD screen
[RIGHT/MENU/ENTER] key
[UP] key
[DOWN] key
[LEFT/CANCEL] key
Power lamp
Built-in storage lamp
Information lamp
Error lamp
Remote control lamp
Idle lamp
Remote control receiver
[PWR] key
[F2] key
[F1] key
LCD screen
[RIGHT/MENU/ENTER] key
[UP] key
[DOWN] key
[LEFT/CANCEL] key
Power lamp
Built-in storage lamp
Information lamp
Error lamp
Remote control lamp
Idle lamp
Remote control receiver
[PWR] key
[F2] key
[F1] key

4
(5) Remote control lamp ··························· Lights up upon receiving light from the remote control.
(6) Not-in-Use lamp ································· Not used.
(7) Remote control receiver ······················· It has a built-in infrared receiver for the remote control.
(8) LCD screen······································· Displays status and settings menu.
(9) [UP] key··········································· Moves to the upper item when operating the
Settings menu.
(10) [DOWN] key ····································· Moves to the lower item when operating the
Settings menu.
(11) [LEFT/CANCEL] key ·························· Moves the key to the one previous item when
operating the settings menu or used as a cancel key
(12) [RIGHT/MENU/ENTER] key·················· Confirms items/actions when operating the settings
menu.
(13) [F1] key ··········································· Not used.
(14) [F2] key ··········································· Not used.
(15) [PWR] key········································ Hold down the [LEFT/CANCEL] key and press
the [PWR] key to start up or shut down the main
unit.
Error lamp
The error lamp lights up or blinks when a device failure is detected. In this case, please
contact our customer support.
■I-2-3. USDP-R1000SH/USDP-R1000H Rear of Main Unit
USDP-R1000SH
USDP-R1000H
Power connector
Power connector

5
(1) Power connector ···············This is a slot for connecting the AC adapter included in the
package.
*Do not use any product other than the AC adapter included in
the package.
(2) COM ······························Used for serial connections.
(3) LAN ·······························This a slot for connecting the LAN cable.
(4) SDI OUT 1/2 ····················3G/HD-SDI output terminal. (USDP-R1000SH only)
*SDI OUT1 and 2 output the same signal.
*Video and audio output are simultaneously given to the SDI
OUT terminal.
*SDI output does not support 4K output (12G-SDI).
(5) HDMI OUT·······················HDMI
(6) OUT terminal. (USDP-R1000SH only)
*Video and audio output are simultaneously given to the HDMI
OUT terminal.
(7) HDMI OUT 1/2··················This is a HDMI output terminal. (USDP-R1000H only)
*Video and audio output are simultaneously given to the HDMI
OUT terminal.
(8) LINE OUT ·······················This is an analog audio output.
(9) MIC IN····························This is a microphone input jack.
(10) USB 3.0 ··························This is a terminal for connecting USB storage. The upper slot is
USB1 and the lower slot is USB2.
(11) USB 2.0 ··························Connect a UPS or USB keyboard.
*Even if the USB storage is connected to this port, it cannot be
recognized as a content drive.
■I-2-4. Device Connection
Refer to the following connection example (for USDP-R1000H) to connect USDP-R1000 and
peripheral devices.
To output sound from HDMI
AC adapter
Monitor
LAN port
LAN port

6
To output sound from the analog audio terminal
●Connect the USDP-R1000 to the monitor.
●You can select SDI/HDMI/analog audio output for the audio output in the settings.
To listen to the sound through external speakers, set the audio output to analog audio output,
and connect the speakers to the LINE OUT jack of the USDP-R1000 using an analog audio
cable.
●Connect the network cables, if necessary.
You need not connect a network cable to merely playback media content from the internal
storage or USB storage.
●When using the network to update the content, or when controlling or configuring the unit
over a network, a network connection is required.
●Make sure to disconnect the AC plug (outlet side) of the AC adapter and connect the DC plug
(main unit side) of the AC adapter to the power terminal of the main unit. Connect the AC plug
to the power outlet to power on the USDP-R1000 and start up the device.
Caution when connecting the AC adapter
Follow the steps below to connect the AC adapter to the main unit.
(1) Unplug the AC plug if it is connected to the outlet.
(2) Plug in the DC plug to the main unit.
(3) Plug in the AC plug to the outlet.
■I-2-5. Start-up and Shutdown
Startup
Follow the method below to start up the USDP-R1000:
●Plug in the AC adaptor to the outlet.
●Press the POWER key on the remote control.
●Press the [PWR] key while holding down the [LEFT/CANCEL] key on the front panel.
When the unit completes startup, the power indicator turns green.
The LCD screen displays the status as shown on the right.
USDP-R1000SH
STOP
Monitor
Speaker
Analog voice
AC adapter
LAN port
LAN port

7
Shutdown
Follow the method below to shutdown USDP-R1000:
●Press the POWER key on the remote control.
●Press the [PWR] key while holding down the [LEFT/CANCEL] key on the front panel.
●Select [5. SHUTDOWN] > [Power off] from the front panel settings menu.
●Perform [Shutdown] from the [Device Management] > [Reboot/Shutdown] screen of the
web console.
The power lamp lights orange when the unit shuts down. Nothing will be displayed on the LCD
screen.
Caution When Shutting Down
Never shut down the unit while the firmware is being updated.
When turning off the power supply, make sure to shut down and confirm that the power
lamp on the front panel is lights orange before unplugging the AC adapter from the
power outlet. If the power is turned off before shutting down the unit, the system may not
boot up. Doing so may lead to internal storage failure or corrupted content files.
You can long press the [PWR] key while holding down the [LEFT/CANCEL] key to force
the power down. However, do not use this method unless you cannot shut down the unit.
I-3. Initial Settings
■I-3-1. Network Settings
I-3-1-1. Settings on Front Panel
●When USDP-R1000 starts up, the status is displayed as
shown on the right.
●Press the [RIGHT/MENU/ENTER] key to switch to the
settings menu.
●Press the [DOWN] key to select [2. NETWORK] and press
the [RIGHT/MENU/ENTER] key.
●Press the [DOWN] key to select [2. IPv4] and press the
[RIGHT/MENU/ENTER] key.
●Press the [DOWN] key to select [Manual] and press the
[RIGHT/MENU/ENTER] key.
USDP-R1000SH
STOP
MENU
1.VIDEO
NETWORK
1.IPv6
IPv4
DHCP
Manual setting
1.IP address

8
●Select [1. IP address] and press the
[RIGHT/MENU/ENTER] key.
●Set the IP address.
Use the [LEFT/CANCEL] and [RIGHT/MENU/ENTER]
keys to change the number of digits and use the [UP] and
[DOWN] keys to change the numbers. Press the
RIGHT/MENU/ENTER key at the 12th digit to complete the
IP address settings.
Example: 192.168.0.20
●Select [2. Subnet mask] and press the
[RIGHT/MENU/ENTER] key to set the subnet mask.
Use the [LEFT/CANCEL] and [RIGHT/MENU/ENTER]
keys to change the number of digits and use the [UP] and
[DOWN] keys to change the numbers. Press the
[RIGHT/MENU/ENTER] key at the 12th digit to complete
the subnet mask settings.
Example: 255.255.255.0
●Select [3. Gateway] and press the RIGHT/MENU/ENTER
key to set the default gateway.
Use the [LEFT/CANCEL] and [RIGHT/MENU/ENTER]
keys to change the number of digits, and use the [UP] and
[DOWN] keys to change the numbers. Press the
[RIGHT/MENU/ENTER] key at the 12th digit to complete
the default gateway setting.
Example: 0.0.0.0 ("0.0.0.0" indicates unspecified.)
●Press the [LEFT/CANCEL] key until the screen on the right
appears.
●Select [Yes] and press the [RIGHT/MENU/ENTER] key to
save the settings and reboot the USDP-R1000.
Select [No] and press the [RIGHT/MENU/ENTER] key to
discard the settings and return to the status display. When
selected No, perform the settings again.
I-3-1-2. Setting From Web Console
Settings of the USDP-R1000 are performed from the web console.
Connect the LAN of the PC and the USDP-R1000 to the same network, and follow the method
below to check the settings and status from the web console.
●In Windows 10, the host name of the USDP-R1000 connected to the same network is
displayed in [Network] > [Other Devices] in File Explorer. Double-click the device to launch
the browser.
When the host name is not set, an automatically host name generated from the MAC address,
such as "USDP-xxxxxx".
IP address
000.000.000.000
IP address
192.168.000.020
Subnet mask
255.255.255.000
Gateway
000.000.000.000
Save config?
Yes
Reboot...

9
●It can be detected by connecting the PC and USDP-R1000 to the same network and using
the MEDIAEDGE Finder installed on the PC.
Click the [PRESENTATION URL] of the detected USDP-R1000 to launch the browser.
*You can download MEDIAEDGE Finder from our website.
In addition to USDP-R1000, HDMA-4100, MEDIAEDGE-STB4H, MEDIAEDGE LEB
Pro2/Pro/Express/Recorder, MEDIAEDGE Decoder are detected.
●Enter the username and password when the following screen is displayed.
*According to default settings, the user name is admin and the password is none (not set).
Go to [Settings] > [Network] to open the Network Settings screen and set [IPv6], [Wired LAN],
[Host Name], and [NTP]. The network settings configured on this screen are reflected in the LAN
port.

10
■I-3-2. Display Settings
I-3-2-1. Settings on Front Panel
●When USDP-R1000 starts up, the status is displayed as
shown on the right.
●Press the [RIGHT/MENU/ENTER] key to switch to the
settings menu.
●Press the [RIGHT/MENU/ENTER] key.
●Press the [UP]/[DOWN] key to select appropriate video
output settings and press the [RIGHT/MENU/ENTER] key.
●Press the [LEFT/CANCEL] key until the screen on the right
appears.
●Select [Yes] and press the [RIGHT/MENU/ENTER] key to
save the settings. Then, the unit will automatically reboot.
I-3-2-2. Settings Using Web Console
Connect the USDP-R1000 and the monitor with an SDI or HDMI cable.
●Configure the settings from the Web console after checking that the monitor to be used is
properly connected. The settings will be reflected after the system reboots.
●Note that if the monitor cable is unplugged during operation, the monitor may not display as
per the settings.
●Moreover, the monitor may not display anything if the connected monitor does not support the
selected display mode or the refresh rate. In such a case, configure the settings on the front
panel.
For details on how to configure, see Web Console .
USDP-R1000SH
STOP
MENU
1.VIDEO
VIDEO
1.Video format
Video format
1920x1080/59p
VIDEO
1.Video format
Save config?
Yes
Saving...

11
I-4. Web Console
Open USDP-R1000 in a web browser (Microsoft Edge, Internet Explorer 11, Google Chrome, or
Mozilla Firefox that runs on Windows). If you do not know the IP address of the USDP-R1000, first
go to Network Settings.
Example: If the IPv4 address of USDP-R1000 is 192.168.0.20, enter the URL as follows:
http://192.168.0.20 or 192.168.0.20
Enter the username and password when the following screen is displayed.
*According to default settings, the username is admin and the password is none (not set).
The following web console screen will be displayed next.
You can select the display language as Japanese or English from [Language] at the bottom
left of the menu.
Download the user manual from our website for details on other settings and operations.
Other Mediaedge Media Player manuals