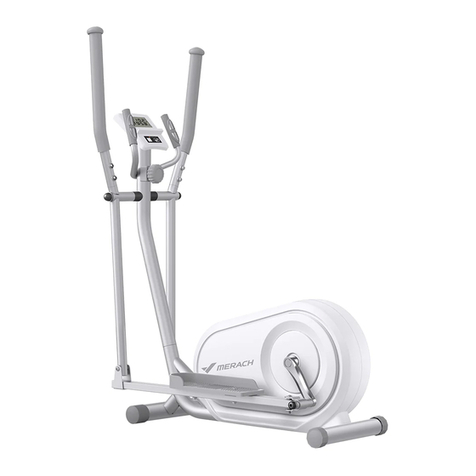
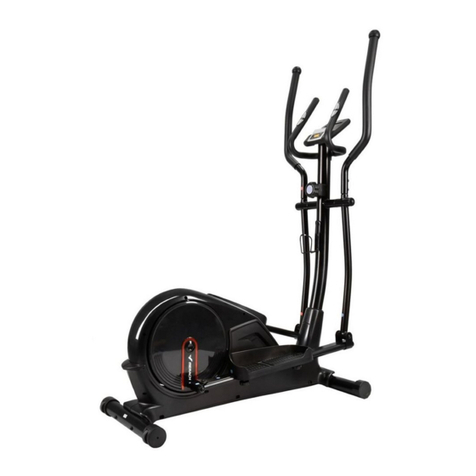
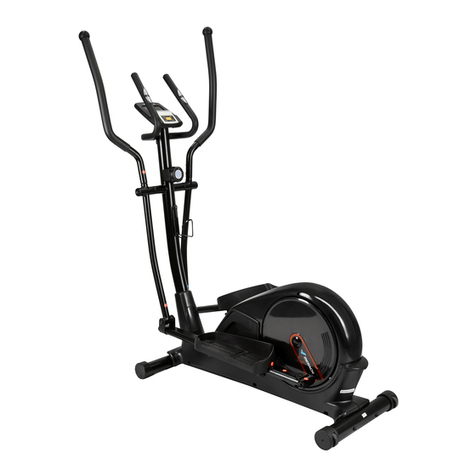
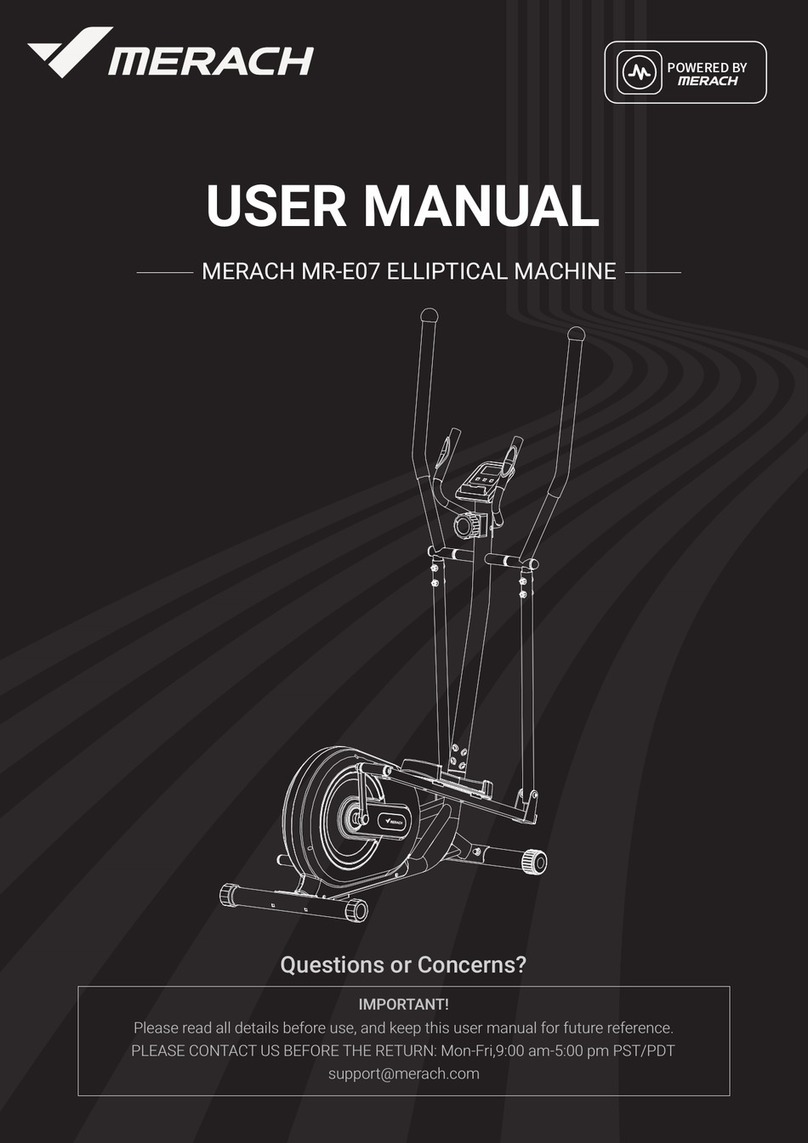
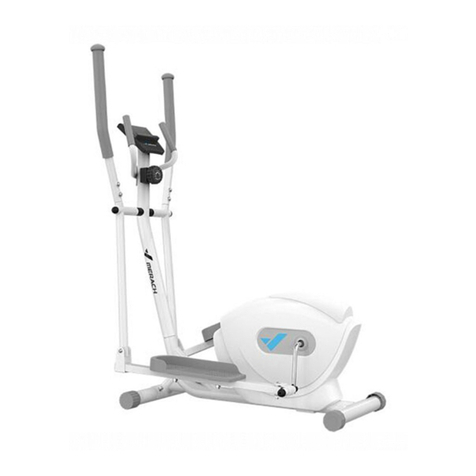
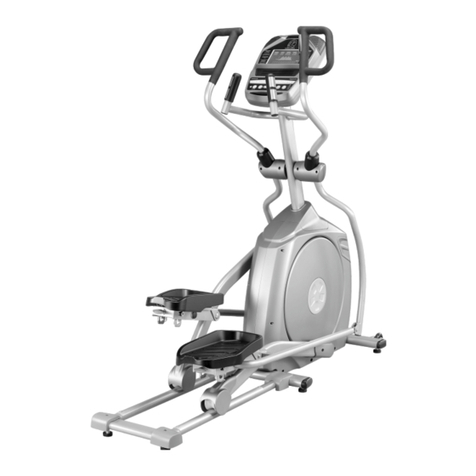
Merach MR-632 User manual

全国热线:400-189-1969
用户说明书
User ’s Guide
MR-632 动感单车
官方网站:www.merach.com
公司名称:麦瑞克(杭州)健康科技有限公司

*
*1
*
*
*
*
150
2
110公斤

1:1
⠶⛨മ
ㅜ亥
1
3
4
16
18
19
17
23
23
28
30
25
45
22
22
24
29
31
26
26
9
65
34
38
27
27
35
66
41
36 20
43
60
61
61
61
42
67
42
44
43
44
48
48
57
46
46
46
61
46
45
56
56
56
56
59
55
53
54
51
51
51
51
52
52
52
50
50
2
10
60
45
12
11
45
60
60
51
69
5
13
6
14
49
37
37
58 62
15
33
32
40
30
21
7
51
8
31
63
64
39
39
52
61
61
61
61
61
61
47
47
47
68
45
45
14
14
14
14
14

1:1
䴦Ԧঅ
ㅜ亥
1 1
2 1
3 1
4 1
5 1
6 1
7 1
8 1
9 1
10 1
11 1
12 1
13 2 M8 x 30mm
14 7 M8
15 1
16 1
17 1 C
18 1
19 1
20 1
21 1
22 2
23 2
24 1
25 1
26 2
27 2
28 1
29 1
30 2
31 2
32 1
33 1
34 1
35 1
36 1
37 2
38 2
39 2
40 1
41 1
42 2
43 2
44 2
45 7 M8
46 4 M8
47 3 M8 x 16mm
48 4 M8 x 65mm
49 1 M5 x 45mm
50 6 M3 x 12mm
51 7 M4 x 20mm
52 7 M4 x 20mm
53 1 M6 x 100mm
54 1 M8 x 60mm
55 1 M8 x 16mm
56 4 M10
57 1 M6 x 45mm
58 1 M5
59 2 M6
60 6 M8
61 11 M8
62 2 M5 x 12mm
63 1
64 1
65 1
66 1
67 1 M10
68 2 M8 x 65mm
69 2 M4 x 16mm
* – N/A
* – N/A
* – N/A

1:1
䴦Ԧ䇶࡛മ
俘ᨀ⽪˖ሩ➗лമࠪ㓴㻵ᡰ䴰Ⲵሿ䴦ԦDŽ⇿ᑵമлᯩᤜᕗѝⲴᮠᆇᱟ䈕䴦Ԧ൘Ā䴦Ԧঅā
ѝⲴ㍒ᕅDŽ㍒ᕅ䶒Ⲵᮠᆇ㺘⽪㓴㻵ᡰ䴰䈕䴦ԦⲴᮠ䟿DŽδ⌞ᝅφྸ䴬Ԭу൞䴬Ԭѣθ
䈭Ỷḛެᱥᐨ㔅人ݾ㓺㻻Ⱦε
M8
(45)–5
M8
(46)–4
M8
(61)–11
M8
(60)–5
M8
(14)–7
M8 x 16mm
(47)–3
M8 x 30mm
(13)–2
M4 x 16mm
(69)–2
M8 x 65mm
(48)–4
M8 x 65mm
(68)–2
M5 x 12mm
(62)–2
ㅜ亥

1:1
ᆹ㻵䈤᰾
1
2
348
61
46
1
ㅜ亥
⭘єњ0PP傜䖖㷪э˄˅ǃєњ0䶽ᖒෛസ
˄˅ԕ৺єњ0ⴆᖒ㷪⇽˄˅ᢺっᇊಘ˄˅
䘎᧕㠣᭟˄˅˗ᖵєњ傜䖖㷪ṃޘ䜘㻵ޕ
ᤗ㍗ⴆᖒ㷪⇽DŽ
⭘єњ0PP傜䖖㷪э˄˅ǃєњ0䶽ᖒෛസ
˄˅ԕ৺єњ0ⴆᖒ㷪⇽˄˅ᢺࡽっᇊಘ˄˅
䘎᧕㠣᭟˄˅˗ᖵєњ傜䖖㷪ṃޘ䜘㻵ޕ
ᤗ㍗ⴆᖒ㷪⇽DŽ
4
23
23
61
61
46
46
48
1

1:1
3
⌞ᝅφу㾷ࡦ㓵ᶕ
ૂ⭫㔼έ
ᆹ㻵䈤᰾
ㅜ亥
ᢺ・ḡ㓯ᶏ˄˅䘎᧕㠣ᕩ㉗ᔰޣ㓯ᶏ˄˅DŽ
᧕⵰ˈ᤹➗лࡇ↕僔䘎᧕䱫࣋㓯˄˅઼л䜘
䱫࣋㓯˄˅˖
৲㿱മ$˖ሶл䜘䱫࣋㓯˄˅кⲴ䠁ᢈ
˄$˅кˈ❦ሶ䱫࣋㓯˄˅Ⲵㄟ䜘ᨂޕ
䈕䠁ᢈⲴ㓯ᶏཀྵDŽ
৲㿱മ%˖⭘࣋к䱫࣋㓯˄˅ᒦሶަ━ޕ
䠁ᢈ˄$˅Ⲵ亦䜘DŽ
ᴰሶ㓯ᶏ઼⭥㔶ཊ։Ⲵ䜘࠶ຎޕ᭟˄˅DŽ
20
21
1
2
40
7
A
B
21
20
20
A
A

1:1
4A
B
ㅜ亥
ᆹ㻵䈤᰾
2
2
1
61
61
61
61
68
68
61
61
47
47
47
61
14
14
14
14
14
45
45
⌘˖н㾱ཀྵࡠ㓯ᶏ
઼⭥㔶ʽ
ሶ・ḡ㇑˄˅ᨂࡠ᭟˄˅кDŽ
৲㿱മ$˖⭘й仇0PP㷪э˄˅ǃй
њ0ᔰෛസ˄˅઼йњ0䶽ᖒෛസ˄˅
䘎᧕ࡠ・ḡ㇑˄˅˗ݸᆹ㻵ᡰᴹ㷪эˈն
н㾱ᆼޘᤗ㍗DŽ
৲㿱മ%˖⭘єњ0PP㷪ṃ˄˅ǃഋ
њ0䶽ᖒෛസ˄˅ǃєњ0ᔰෛസ˄˅
ǃєњ0䱢ᶮ㷪⇽˄˅ᆼᡀ䘎᧕・ḡ˄˅˗
ݸᆹ㻵䱢ᶮ㷪⇽ˈ❦ᤗ㍗DŽ

1:1
5
ㅜ亥
ᆹ㻵䈤᰾
⭘ᆇᢣє仇0PP˄˅⌅ޠ䶒㷪эˈ
ሶ≤༦᭟˄˅പᇊ൘・ḡ㇑˄˅кDŽ
6
7
⭘є仇0PP㷪э˄˅ǃєњ0ᔰෛസ˄˅઼
єњ0ෛസ˄˅ˈሶᢺ˄˅䘎᧕ࡠ・ḡ㇑˄˅кDŽ
ݾሼޞ䜞㷰ѓ㻻ޛ൞ᤝ㍝Ⱦ
ݸሶ᧗ࡦ˄˅䵢ࠪᶕⲴ㓯&о・ḡ˄˅㇑༴Ⲵ㓯
˄˅䘎ˈ❦ሶ᧗ࡦᆹ㻵ࡠ・ḡ㇑кⲴᯩᖒ䫱⡷
кˈєњ0㷪эሶަപᇊDŽ
ᴰሶᢺкⲴ㜹ᨿ㓯ᶏ˄˅᧕ཤᨂࡠ᧗ࡦ㛼䜘Ⲵ
䠁ശᆄᓗDŽ
⌘˖
ʽ
36
69
2
14
60
13
2
6
2
5
40
62
39
C

1:1
8
ㅜ亥
ᆹ㻵䈤᰾
9
ሶᵶ˄˅ᨂޕ᭟˄˅ˈ❦ᢺ䖖ᓗ䫞˄˅
ᨂޕࡠ᭟✺᧕㷪⇽ˈᒦሶަᨂޕࡠᵶкⲴањ
䈳㢲ᆄ˄'˅DŽぃᗤрс〱ࣞආᵼθ⺤ؓ䖜ᓝᰁ䫤㻻
䘑ҼެѣжѠ䈹㢸ᆊȾ❬ᤝ㍝䖜ᓝᰁ䫤Ⱦ
用三颗M8防松螺母(45)和三个M8垫圈(60)
将车座(10)连接至坐杆(11);ݾሼᡶᴿ䱨ᶴ
㷰∃㻻ޛ߃ᤝ㍝Ⱦ
10
11
11
15
1
45
45
60
60
D

1:1
ㅜ亥
ᆹ㻵䈤᰾
10
֯⭘ᢣ⋯亪ᰦ䪸ᯩሶ䐿ᶯ˄˅⢒⢒ᤗ㍗
ࡠ䗩ᴢ㟲˄˅кDŽ
ሶᐖ䐿ᶯ˄മѝᵚᱮ⽪ࠪᶕ˅⋯䘶ᰦ䪸ᯩ⢒⢒
ᤗ㍗ࡠᐖ䗩ᴢ㟲˄˅кDŽ
❦ˈሶ䐿ᶯᶏᑖ˄(˅ᆹ㻵ࡠ䐿ᶯкDŽ⭘
ṧⲴᯩ⌅ሶᐖ䐿ᶯᶏᑖ˄മѝᵚᱮ⽪ࠪᶕ˅䘎
᧕㠣ᐖ䐿ᶯ˄മѝᵚᱮ⽪ࠪᶕ˅DŽ
ᨀ⽪˖䐿ᶯᶏᑖкᴹ/5˄ᐖǃ˅ḷ䇠DŽ
ڛ䓡䖜㓺㻻ᇂ∋θ䈭Ỷḛ⺤䇚㓺㻻ᱥ↙⺤θ
ࣕ㜳ᱥ↙ᑮȾ
ֵ⭞ڛ䓡䖜ࢃθ䈭ؓ䇷ᡶᴿ䴬Ԭ䜳ᐨ㔅↙⺤㍝രȾ
33
E
18

Time
Speed
Distance
Calories
Total Distance
Pulse
SCAN
1.
2.
MODE
TIME DST CAL
PUL
SCAN
DIST
CAL
ODO
PUL
MODE
SCAN
TIME
SPD
ㅜ亥
⺞؍᧗ࡦᆹ㻵Ҷ⭥⊐˄ᵚ䲿ᵪ䱴ᑖ˅DŽ㤕᧗ࡦ㺘
䶒㾶ᴹກᯉ㮴㟌ˈ䈧ሶަлDŽ
䈕⁑ᔿԕ㤡䟼Ѫঅսᱮ⽪ᛘ൘䇝㓳
ѝ僁㹼Ⲵ䟼〻DŽ⌘˖ྲᛘ䇮㖞Ҷ䟼〻ⴞḷˈ䈕ᱮ⽪
ฏՊᱮ⽪ᛘ࢙։Ⲵ䇝㓳䟼〻DŽ
䈕⁑ᔿᱮ⽪ᛘ൘䇝㓳ѝ⎸㙇Ⲵབྷ
㠤䐟䟼ᮠDŽ⌘˖ྲᛘ䇮㖞Ҷ䐟䟼⎸㙇ⴞḷˈ
䈕ᱮ⽪ฏՊᱮ⽪ᛘ൘䇝㓳ѝ䘈䴰⎸㙇Ⲵ䐟䟼ᮠDŽ
䈕⁑ᔿ൘ᛘᨑտᔿᗳ⦷ⴁ⍻ಘᰦˈ
⇿࠶䫏䐣ࣘ⅑ᮠѪঅսᱮ⽪ᛘⲴᗳ⦷ˈᖃᛘⲴᗳ⦷儈Ҿ
ⴞḷ٬ᰦˈ䈕ᱮ⽪ฏՊ䰚⛱DŽ
䈕⁑ᔿᱮ⽪ᐢ⭘ᰦ䰤DŽ⌘˖ྲᛘ䇮
㖞Ҷᰦ䰤ⴞḷˈ䈕ᱮ⽪ฏՊᱮ⽪ᛘ࢙։Ⲵ䇝㓳ᰦ䰤DŽ

Before you undertake any programme of exercise that will increase cardiovascular activity
please be sure to consult with your doctor. Frequent strenuous exercise should be
approved by your doctor and proper use of your product is essential. Please read this
manual carefully before commencing assembly of your product or starting to exercise.
Storage and Use
Your product is intended for use in clean dry conditions. You should avoid storage in
excessively cold or damp places as this may lead to corrosion and other related
problems that are outside our control.
Weight Limit
110 kg maximum
Beginning Exercising
How you begin to exercise will vary from person to person. If you have not exercised for
a long period of time, have been inactive for a while, or are severely overweight you must
start slowly, increasing your exercise time gradually, by perhaps only a few minutes for each
session per week.
Combine a carefully structured nutritious diet with a simple but effective exercise routine and
this can help make you feel better, look better and will almost certainly enable you to enjoy
life more.
Safety Information
Page1
Please keep all children away from exercise products when in use. Do not allow
children to climb on them when they are not in use.
For your own safety, always ensure that there is at least 1 Metre of free space in all
directions around your product while you are exercising.
Regularly check to see that all nuts, bolts and fittings are securely tightened.
Periodically checking all moving parts for obvious signs of wear or damage.
Clean only with a damp cloth, do not use solvent cleaners.
Before use, always ensure that your product is positioned on a solid, flat surface.
If necessary, use a rubber mat underneath to reduce the possibilty of slipping in use.
Always wear appropriate clothing and footwear such as training shoes when
exercising. Do not wear loose clothing that could become caught or trapped during
exercise.
*
*
*
*
*
*

1:1
EXPLODED VIEW
Page2
1
3
4
16
18
19
17
23
23
28
30
25
45
22
22
24
29
31
26
26
9
65
34
38
27
27
35
66
41
36 20
43
60
61
61
61
42
67
42
44
43
44
48
48
57
46
46
46
61
46
45
56
56
56
56
59
55
53
54
51
51
51
51
52
52
52
50
50
2
10
60
45
12
11
45
60
60
51
69
5
13
6
14
49
37
37
58 62
15
33
32
40
30
21
7
51
8
31
63
64
39
39
52
61
61
61
61
61
61
47
47
47
68
45
45
14
14
14
14
14

1:1
PART LIST
Page3
1 1 Frame
2 1 Upright
3 1 Front Stabilizer
4 1 Rear Stabilizer
5 1 Console
6 1 Handlebar
7 1 Reed Switch/Wire
8 1 Clamp
9 1 Spiral Nut
10 1 Seat
11 1 Seat Post
12 1 Sleeve
13 2 M8 x 30mm Screw
14 7 M8 Split Washer
15 1 Seat Knob
16 1 Flywheel
17 1 C-magnet
18 1 Pulley/Crank
19 1 Idler
20 1 Resistance Control/Cable
21 1 Lower Resistance Cable
22 2 Transport Wheel
23 2 Leveling Cap
24 1 Resistance Spring
25 1 Tension Spring
26 2 Bearing Cup
27 2 Ball Bearing
28 1 Left Shield
29 1 Right Shield
30 2 Large Accent Ring
31 2 Small Accent Ring
32 1 Left Pedal
33 1 Right Pedal
34 1 Right Bearing Race
35 1 Right Crank Spacer
36 1 Water Bottle Holder
37 2 Handgrip
38 2 Crank Nut
39 2 Pulse Sensor/Wire
40 1 Upright Wire
41 1 Flywheel Axle
42 2 Flywheel Bearing
43 2 Snap Ring
44 2 Star Washer
45 7 M8 Locknut
46 4 M8 Acorn Nut
47 3 M8 x 16mm Screw
48 4 M8 x 65mm Carriage Bolt
49 1 M5 x 45mm Screw
50 6 M3 x 12mm Screw
51 7 M4 x 20mm Self-tapping Screw
52 7 M4 x 20mm Screw
53 1 M6 x 100mm Bolt
54 1 M8 x 60mm Bolt
55 1 M8 x 16mm Hex Bolt
56 4 M10 Jam Nut
57 1 M6 x 45mm Bolt
58 1 M5 Curved Washer
59 2 M6 Nut
60 6 M8 Washer
61 11 M8 Curved Washer
62 2 M5 x 12mm Screw
63 1 Drive Belt
64 1 Pulley Magnet
65 1 Left Bearing Race
66 1 Left Crank Spacer
67 1 M10 Wave Washer
68 2 M8 x 65mm Bolt
69 2 M4 x 16mm Flange Screw
* – N/A
* – N/A
* – N/A
noitpircseD .ytQ .oN yeK noitpircseD .ytQ .oN yeK

1:1
PART IDENTIFICATION CHART
Use the drawings below to identify the small parts needed for assembly. The number in
parentheses below each drawing is the key number of the part, from the PART LIST near
the end of this manual. The number following the key number is the quantity needed for
assembly.
Note:If a part is not in the hardware kit, check to see if it has been preassembled.
Extra parts may be included.
M8 Locknut
(45)–5
M8 Acorn Nut
(46)–4
M8 Curved Washer
(61)–1
M8 Washer
(60)–5
M8 Split Washer
(14)–7
M8 x 16mm
Screw
(47)–3
M8 x 30mm
Screw (13)–2
M4 x 16mm
Flange Screw
(69)–2
M8 x 65mm
Carriage Bolt (48)–4
M8 x 65mm
Bolt (68)–2
M5 x 12mm
Screw
(62)–2
Page4

1:1
ASSEMBLY INSTRUCTION
1
2
348
61
46
1
Page5
4
23
23
61
61
46
46
48
1
Attach the Rear Stabilizer (4) to the Frame (1)
with two M8 x 65mm Carriage Bolts (48), two
M8 Curved Washers (61), and two M8 Acorn
Nuts (46); insert both Carriage Bolts, and then
tighten the Acorn Nuts.
Attach the Rear Stabilizer (3) to the Frame (1)
with two M8 x 65mm Carriage Bolts (48), two
M8 Curved Washers (61), and two M8 Acorn
Nuts (46); insert both Carriage Bolts, and then
tighten the Acorn Nuts.

1:1
3
Avoid pinching the
wires and cables
ASSEMBLY INSRUCTION
Page6
20
21
1
2
40
7
A
B
21
20
20
A
A
Connect the Upright Wire (40) to the Reed
Switch Wire (7).
Next, connect the Resistance Cable (20) to the
Lower Resistance Cable (21) in the following
way:
See drawing A: Pull upward on the metal
bracket (A) on the Lower Resistance Cable (21),
and insert the tip of the Resistance Cable (20)
into the wire clip inside the metal bracket.
See drawing B: Firmly pull the Resistance
Cable (20) upward and slide it into the top of the
metal bracket (A).
Insert the excess wire and cable into the Frame (1).

1:1
4A
B
Page7
ASSEMBLY INSTRUCTION
2
2
1
61
61
61
61
68
68
61
61
47
47
47
61
14
14
14
14
14
45
45
Avoid pinching the
wires and the cables
Tip: Avoid pinching the wires and the cables.
Slide the Upright(2) onto the Frame(1).
See the upper drawing. Attach the Upright
(2) with three M8x 16mm Screws (47), three
M8 Split Washers (14), and three M8 Curved
Washers (61); start all the Screws, but do not
fully tighten them yet.
See the lower drawing. Finish attaching
the Upright (2) with two M8 x 65mm Bolts (68),
four M8 Curved Washers (61), two M8 Split
Washers (14), and two M8 Locknuts (45); start
both Locknuts, and then tighten them.
See the upper drawing. Tighten the three
M8 x 16mm Screws (47).

1:1
5
Page8
ASSEMBLY INSTRUCTION
Attach the Water Bottle Holder (36) to the
Upright (2) with two M4 x 16mm Flange Screws
(69); start both Flange Screws, and then tighten them.
6
7
Tip: Avoid pinching the wire. Attach the Handlebar(6)
to the Upright(2) with two M8x30mm Screws(13), two
M8 Split Washers(14), and two M8 Washers(60); start
both Screws, and then tighten them.
Connect the wire (C) on the Console to the Upright Wire (40).
Insert the excess wire into the Upright.
Tip: Avoid pinching the wire. Attach the Console(5) to the
Upright (2) with two M5x12mm Screws (62); start both Screws,
and then tighten them.
Then, plug the Pulse Wire (39) into the receptacle on the back
of the Console (5).
Avoid pinching the wire.
36
69
2
14
60
13
2
6
2
5
40
62
39
C
Table of contents
Other Merach Elliptical Trainer manuals
Popular Elliptical Trainer manuals by other brands
BLADEZ
BLADEZ ION 490E owner's manual

Body Flex Sports
Body Flex Sports Rider BR 1830 owner's manual
NordicTrack
NordicTrack E4.2 Elliptical Manuale d'istruzioni
NordicTrack
NordicTrack Cxt 950 Elliptical Manuel de l'utilisateur

Spirit
Spirit Esprit EL255 owner's manual
BH FITNESS
BH FITNESS X9 ELLIPTICAL owner's manual
