manuals.online logo
Brands
  1. Home
  2. •
  3. Brands
  4. •
  5. Metra Electronics
  6. •
  7. Car Receiver
  8. •
  9. Metra Electronics 99-9604B User manual

Metra Electronics 99-9604B User manual

Installation instructions for part 99-9604
CAUTION!
All accessories, switches, climate controls panels, and
especially air bag indicator lights must be connected before cycling
the ignition. Also, do not remove the factory radio with the key in the
on position, or while the vehicle is running.
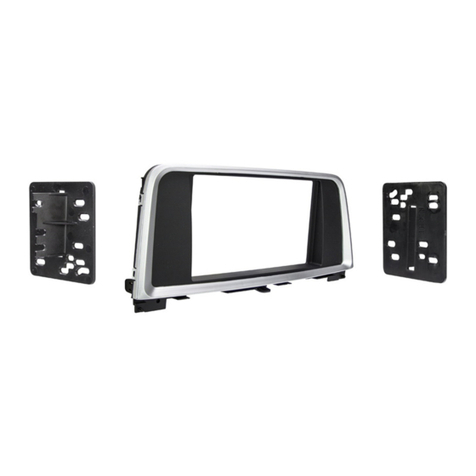
• ISO DIN radio provision with pocket
• ISO DDIN radio provision
•Painted matte black
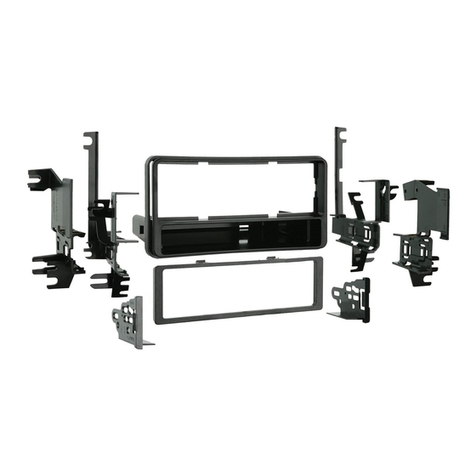
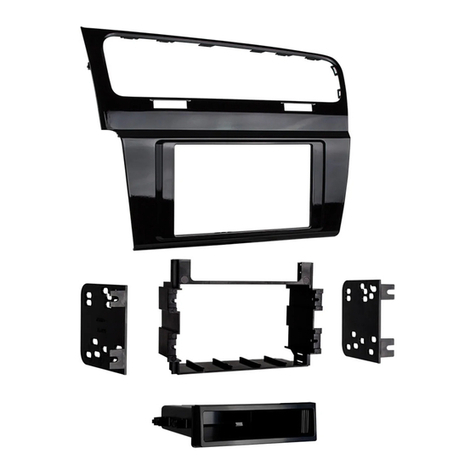
• A) Radio trim panel • B) Radio brackets
• C) Pocket
• D)
(8) #8 x 3/8”
Phillips pan-head screws
• E) (4) Phillips 5mm x 12mm flat-head screws
KIT FEATURES
KIT COMPONENTS
WIRING & ANTENNA CONNECTIONS (sold separately)
Wiring Harness: • N/A
Antenna Adapter: • 40-EU10
• Panel removal tool • Phillips screwdriver
• Torx T-20 screwdriver • Pick tool
TOOLS REQUIRED
Porsche Cayenne 2003-2010
99-9604B
A B CD
E
99-9604
1.
Unsnap and remove the trim panel
around the outside of the radio, switches,
and climate controls. (Figure A)
2. Remove (4) T-20 Torx screws to remove
the radio. (Figure B)
There are (2) different methods for
installing this kit. Option 1 does not require
the kit to be secured to the sub-dash
bracket whereas option 2 does. If choosing
option 1, skip to kit assembly. If choosing
option 2, proceed to the next step.
3.
Using a pick tool, release (2) clips securing
the climate control switches
. (Figure C)
3. Remove (6) T-20 Torx screws to remove
the radio sub-dash bracket: (2) at the
top, (2) at the bottom, and (2) inside the
cavity at the bottom. (Figure D)
Note:
It is not necessary to completely
remove the bracket and connectors. Kit
assembly can be performed inside the
vehicle to avoid this if so desired
.
Continue to kit assembly
Dash Disassembly
(Figure B) (Figure D)
(Figure A) (Figure C)
99-9604
Kit Assembly
ISO DIN radio provision with pocket
Option 1
1. Remove the metal DIN sleeve and
trim ring from the aftermarket radio.
2. Attach the pocket to the lower
section of the radio brackets using
the (4) #8 x 3/8” Phillips pan-head
screws provided. (Figure A)
3.
Slide the radio into the bracket/pocket
assembly, and then secure it using the
screws supplied with the radio. (Figure A)
Note: The screws must be flush in
the radio brackets in order to properly
slide into the factory sub-dash. (4)
5mm x 12mm Phillips flat-head
screws have been supplied if the radio
does not supply these type of screws
.
4.
Locate the factory wiring harness and
antenna connector in the dash and
complete all necessary connections
to the radio. Metra recommends
using the proper mating adapter from
Metra and/or AXXESS. Test the radio
for proper operation
.
5. Slide the completed assembly into
the dash.
Note: The radio will simply
compress in.
6. Attach the radio trim panel over the
radio and then secure it using the
(4) factory screws removed in dash
disassembly.
7. Reassemble the dash in reverse
order of disassembly.
Option 2
1. Remove the metal DIN sleeve and
trim ring from the aftermarket radio.
2. Attach the pocket to the lower
section of the radio brackets using
the (4) #8 x 3/8” Phillips pan-head
screws provided. (Figure A)
3. Slide the radio into the bracket/
pocket assembly, and then secure it
using the screws supplied with the
radio. (Figure A)
Note:
The screws must be flush in
the radio brackets in order to properly
slide into the factory sub-dash. (4)
5mm x 12mm Phillips flat-head
screws have been supplied if the radio
does not supply these type of screws
.
4.
Slide the completed assembly into the
factory sub-dash bracket removed in
dash disassembly, and then secure it
with the (4) #8 x 3/8” pan-head Phillips
screws provided, (2) on each side.
5. Locate the factory wiring harness
and antenna connector in the
dash and complete all necessary
connections to the radio. Metra
recommends using the proper
mating adapter from Metra and/or
AXXESS. Test the radio for proper
operation.
6. Install the radio/sub-dash assembly
back into the dash using the (4)
factory screws removed in dash
disassembly.
Note: The (2) screws inside the
cavity will not be reused.
7. Attach the radio trim panel over the
radio and then secure it using the
(4) factory screws removed in dash
disassembly.
8. Reassemble the dash in reverse
order of disassembly.
(Figure A)
99-9604
Kit Assembly
ISO DDIN radio provision
Option 1
1. Secure the radio brackets to the
radio using the screws supplied with
the radio. (Figure A)
Note:
The screws in the top section
of the radio must be flush in the radio
brackets in order to properly slide
into the factory sub-dash. (4) 5mm x
12mm Phillips flat-head screws have
been supplied if the radio does not
supply these type of screws
.
2.
Locate the factory wiring harness and
antenna connector in the dash and
complete all necessary connections
to the radio. Metra recommends
using the proper mating adapter from
Metra and/or AXXESS. Test the radio
for proper operation
.
3. Slide the completed assembly into
the dash.
Note: The radio will simply
compress in.
4. Attach the radio trim panel over the
radio and then secure it using the
(4) factory screws removed in dash
disassembly.
5. Reassemble the dash in reverse
order of disassembly.
Option 2
1. Secure the radio brackets to the
radio using the screws supplied with
the radio. (Figure A)
Note:
The screws in the top section
of the radio must be flush in the radio
brackets in order to properly slide
into the factory sub-dash. (4) 5mm x
12mm Phillips flat-head screws have
been supplied if the radio does not
supply these type of screws
.
2.
Slide the radio into the factory
sub-dash bracket removed in dash
disassembly,and then secure it with
the (4) #8 x 3/8” Phillips pan-head
screws provided, (2) on each side.
3.
Locate the factory wiring harness and
antenna connector in the dash and
complete all necessary connections to
the radio. Metra recommends using
the proper mating adapter from Metra
and/or AXXESS. Test the radio for proper
operation.
4. Install the radio/sub-dash assembly
back into the dash using the (4)
factory screws removed in dash
disassembly.
Note:
The (2) screws inside the
cavity will not be reused.
5. Attach the radio trim panel over the
radio and then secure it using the
(4) factory screws removed in dash
disassembly.
6. Reassemble the dash in reverse
order of
disassembly.
(Figure A)

Other Metra Electronics Car Receiver manuals
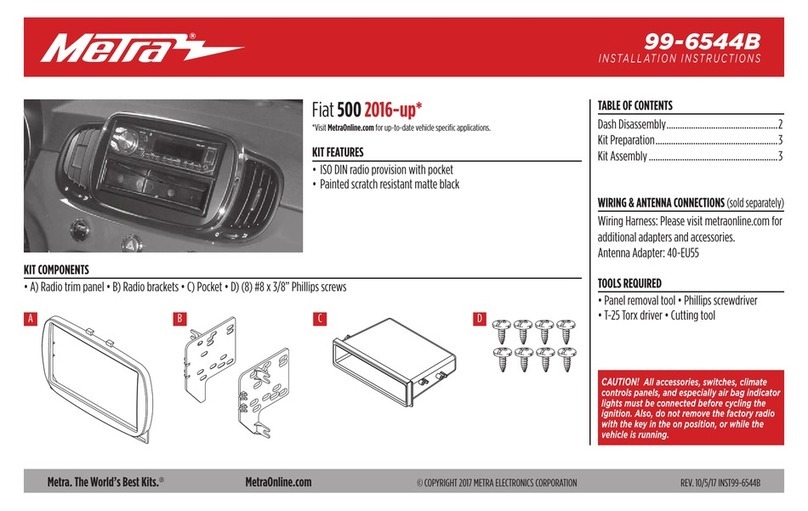
Metra Electronics 99-5810 Parts list manual

Metra Electronics

Metra Electronics 99-5810 Parts list manual

Metra Electronics 95-9310B User manual

Metra Electronics

Metra Electronics 95-9310B User manual

Metra Electronics 99-8163 User manual

Metra Electronics

Metra Electronics 99-8163 User manual

Metra Electronics 99-7427 User manual

Metra Electronics

Metra Electronics 99-7427 User manual

Metra Electronics 95-8210 User manual

Metra Electronics

Metra Electronics 95-8210 User manual

Metra Electronics 99-8249 User manual

Metra Electronics

Metra Electronics 99-8249 User manual

Metra Electronics 99-7397B User manual

Metra Electronics

Metra Electronics 99-7397B User manual

Metra Electronics 99-3400 User manual

Metra Electronics

Metra Electronics 99-3400 User manual

Metra Electronics 95-7863 User manual

Metra Electronics

Metra Electronics 95-7863 User manual

Metra Electronics 99-8219 User manual

Metra Electronics

Metra Electronics 99-8219 User manual

Metra Electronics BUICK Lacrosse 2005-2009 User manual

Metra Electronics

Metra Electronics BUICK Lacrosse 2005-2009 User manual

Metra Electronics 99-6519B User manual

Metra Electronics

Metra Electronics 99-6519B User manual

Metra Electronics 95-7510 User manual

Metra Electronics

Metra Electronics 95-7510 User manual

Metra Electronics MDF-8202-1 User manual

Metra Electronics

Metra Electronics MDF-8202-1 User manual

Metra Electronics 99-7888 User manual

Metra Electronics

Metra Electronics 99-7888 User manual

Metra Electronics 99-6544B User manual

Metra Electronics

Metra Electronics 99-6544B User manual

Metra Electronics 99-3010S-LC User manual

Metra Electronics

Metra Electronics 99-3010S-LC User manual

Metra Electronics Nissan Pathfinder 2013-up User manual

Metra Electronics

Metra Electronics Nissan Pathfinder 2013-up User manual

Metra Electronics 99-7607B User manual

Metra Electronics

Metra Electronics 99-7607B User manual

Metra Electronics 99-3311B User manual

Metra Electronics

Metra Electronics 99-3311B User manual

Metra Electronics 99-7313 User manual

Metra Electronics

Metra Electronics 99-7313 User manual

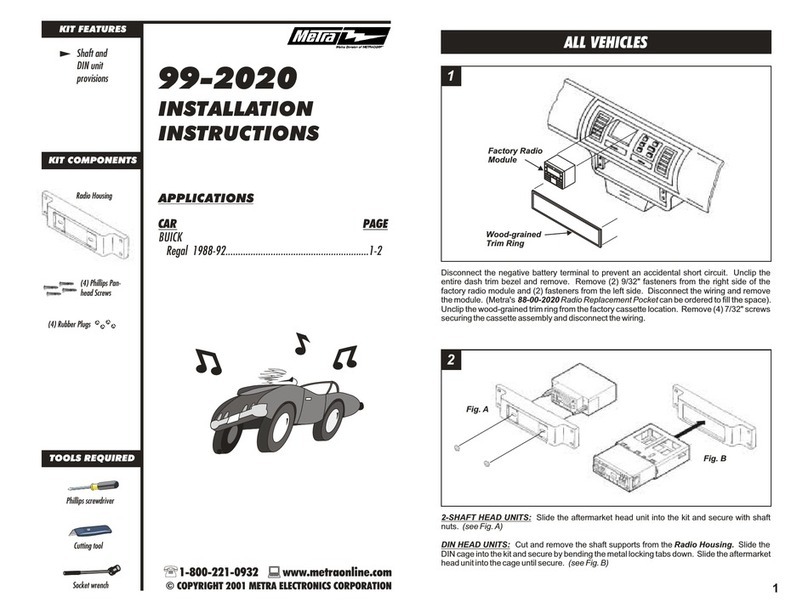
Metra Electronics 99-7382HG User manual
Metra Electronics

Metra Electronics 99-7382HG User manual

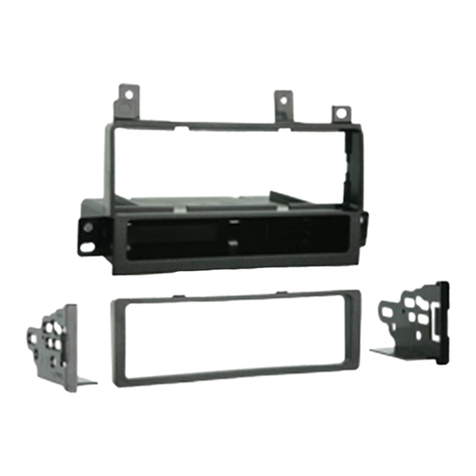
Metra Electronics 99-6537B User manual
Metra Electronics

Metra Electronics 99-6537B User manual

Metra Electronics 99-5722 User manual

Metra Electronics

Metra Electronics 99-5722 User manual
Popular Car Receiver manuals by other brands

Kenwood KRC-365L instruction manual

Kenwood

Kenwood KRC-365L instruction manual

JVC GET0117-003B Installation & connection manual

JVC

JVC GET0117-003B Installation & connection manual

Pioneer DEH-P6100BT - Radio / CD Operation manual

Pioneer

Pioneer DEH-P6100BT - Radio / CD Operation manual

JVC KW-AVX840 Specifications

JVC

JVC KW-AVX840 Specifications

Clarion VS738 owner's manual

Clarion

Clarion VS738 owner's manual

Philips CEM1000/51 quick start guide

Philips

Philips CEM1000/51 quick start guide

JVC KS-F345 Service manual

JVC

JVC KS-F345 Service manual

Focal Utopia Be Series user manual

Focal

Focal Utopia Be Series user manual

VDO CR 2200 datasheet

VDO

VDO CR 2200 datasheet

Jensen VX7020A operating instructions

Jensen

Jensen VX7020A operating instructions

Kenwood kdc-z939 instruction manual

Kenwood

Kenwood kdc-z939 instruction manual

Clarion DXZ366MP owner's manual

Clarion

Clarion DXZ366MP owner's manual

Kenwood KDC-MPV622H3 instruction manual

Kenwood

Kenwood KDC-MPV622H3 instruction manual

Philips CEM3000B/05 quick start guide

Philips

Philips CEM3000B/05 quick start guide

Profile PCD920 Installation instructions & owner's manual

Profile

Profile PCD920 Installation instructions & owner's manual

Sony XAV-65 Brochure & specs

Sony

Sony XAV-65 Brochure & specs

Connects2 Adaptiv Lite ADVL-BM2 FITTING & USER GUIDE

Connects2

Connects2 Adaptiv Lite ADVL-BM2 FITTING & USER GUIDE

Pioneer F-Z94L Service manual

Pioneer

Pioneer F-Z94L Service manual

manuals.online logo
manuals.online logoBrands
  • About & Mission
  • Contact us
  • Privacy Policy
  • Terms and Conditions

Copyright 2025 Manuals.Online. All Rights Reserved.