METRUM Onyx User manual
Made by
ALL Engineering
NOS Differential DAC "
Onyx
OnyxOnyx
Onyx
"
User manual
Updated 03-10-2017

Made by
ALL Engineering
Introduction
With the goal of creating a very affordable, yet superior AC in mind the designers of
Metrum Acoustics have developed a new AC, the ONYX By Metrum Acoustics.
It was an unprecedented challenge, which was eventually solved by using an entirely new
chip, which has been exclusively developed by Metrum Acoustics and was first used in the
PAVANE.
The parallel driven R2R ladder networks as used in the four AC modules performs ,
especially when combined with our FPGA-driven “forward correction module”, on a higher
level. This module splits up the audio samples for each channel into new separate data
streams. Each dac cluster processes a portion of the data in the most linear region of the dac
chips. The result of this process is an extremely high linearity, right down to -145 dB, which
gives the ONYX a realistic 24 bit dynamic range. ue to the new motherboard design an
extremely high channel separation of 120 dB is realized over the entire frequency range. This
contributes to the flawless positioning of instruments.
In short, the ONYX is a AC that has taken all the lessons and experiences that her designer
has learned over the years, and combined them in an ambitious AC that can fit in every
system. It is musical, honors the Non-oversampling principle while simultaneously
incorporating the technological progress that has been made over the years.
Remark
The Onyx will reach its maximum performance after a three to four weeks
of intensive use!

Made by
ALL Engineering
IMPORTANT SAFETY INSTRUCTIONS
1. Read Instructions.
. Keep these Instructions.
3. Heed all Warnings.
4. Follow all Instructions.
5. o not use this apparatus near water.
6. Clean only with a dry cloth.
7. o not install near any heat sources such as radiators, heat registers, stoves, or other apparatus
(including amplifiers) that produce heat.
8. Unplug this apparatus during lightning storms or when unused for long periods of time.
9. Refer all servicing to qualified service personnel. Servicing is required when the apparatus
has been damaged in any way, such as a power-supply cord or plug is damaged, liquid has
been spilled or objects have fallen into the apparatus, the apparatus has been exposed to
rain or moisture, does not operate normally, or has been dropped.
10. The Onyx AC must be placed on a firm, level surface where it is not exposed to dripping
or splashing.
11. Before making connections to the dac, ensure that the power is off and other components
are in mute or stand-by mode. Make sure all cable terminations are of the highest quality,
free from frayed ends, short circuits, or cold solder joints.
1 . THERE ARE NO USER SERVICEABLE PARTS INSI E THE "Onyx" ac.
Please contact All Engineering if you have any questions not addressed in this guide.
13. All Engineering cannot be held accountable and/or responsible for any form of damage or health
issues inflicted to you, other people, pets, companies and non-living objects, that are caused by any
form of usage of the product which is not described in this manual.
14.By actually using this product and turning it on for the first time, you agree to these terms

Made by
ALL Engineering
What is in the Box
•The Onyx dac
•Power cord (only Euro or USA based power cords)
•USB cable
• USB stick with user manual and USB drivers
Made by
ALL Engineering
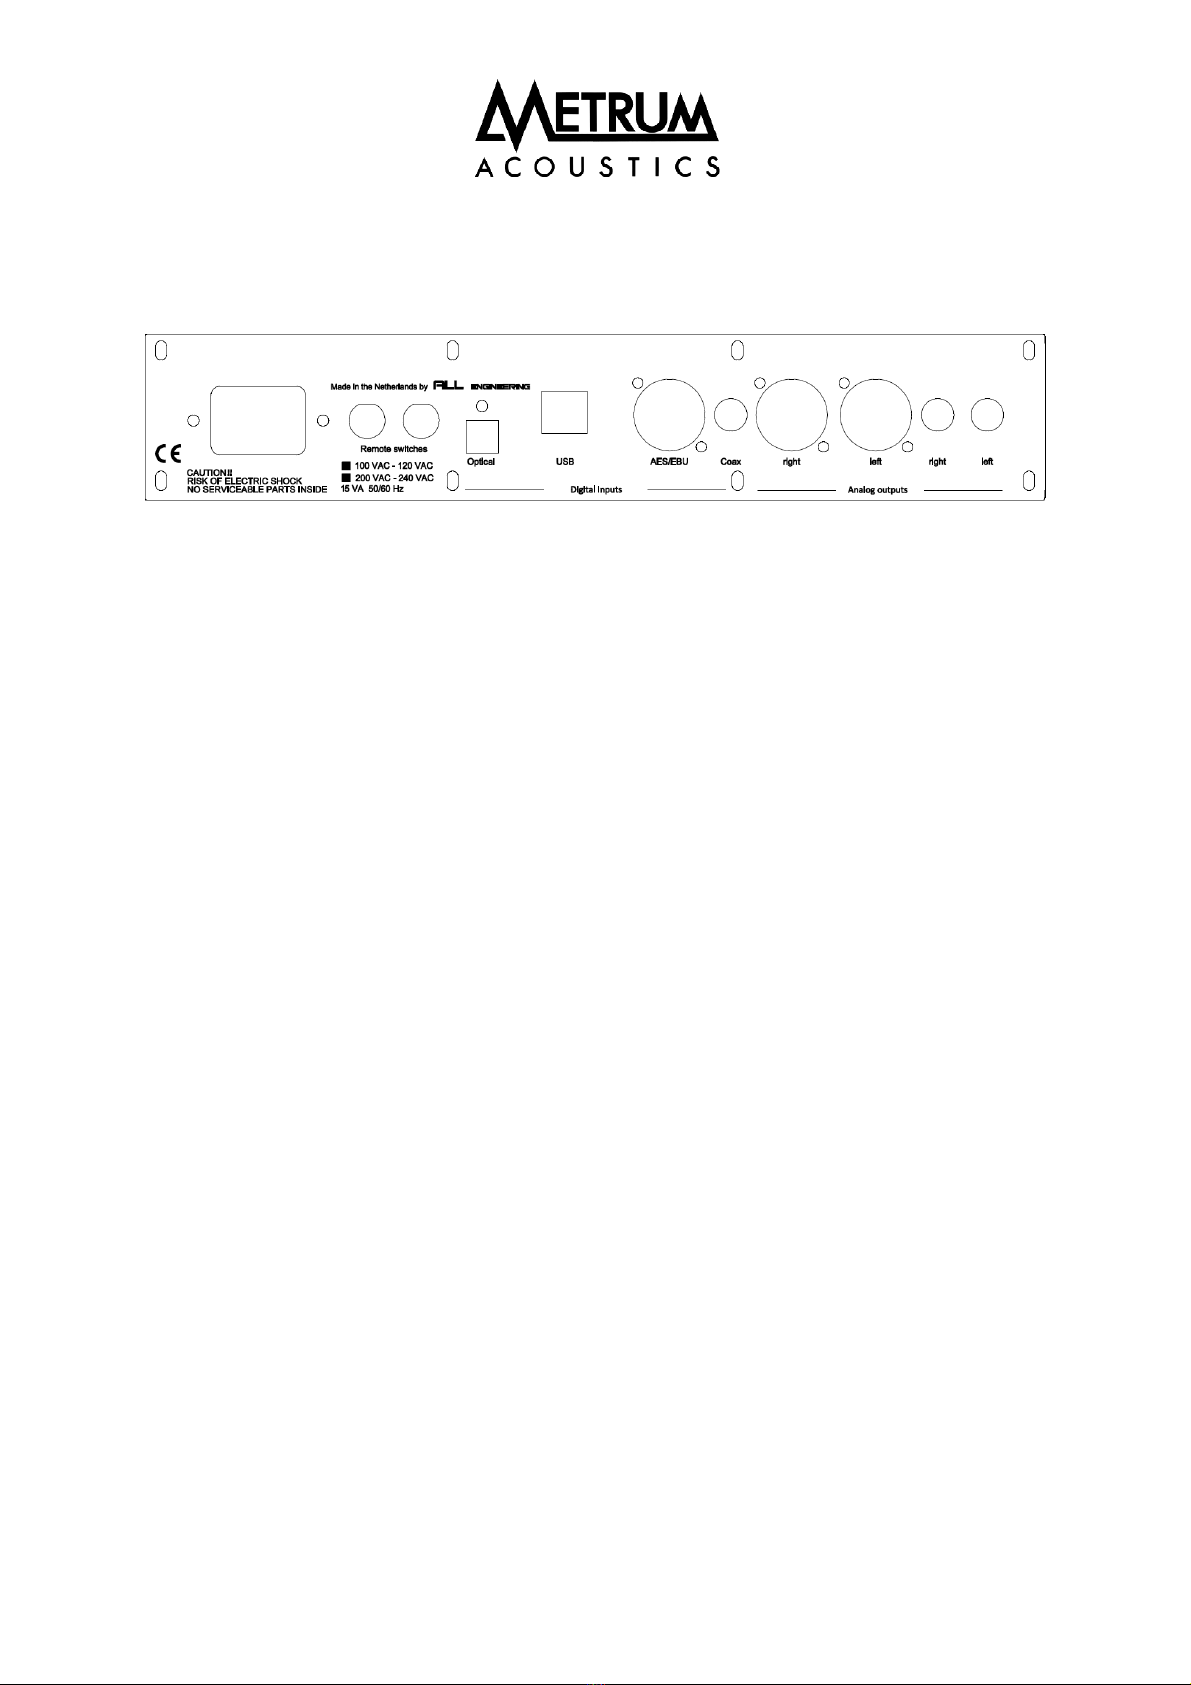
Connections
Caution!
Please connect your interconnects first before connecting the mains power cable!
•Power requirements: Check if the product is made conform the power requirements of your
area. On the back side the product is marked for the specific mains voltage.
•Optical input: Use an optical (Toslink) cable to use the optical input. The optical input can be
used for sampling rates up to 96 kHz.
•Coaxial input: A 75 Ohm coaxial cable should be used to connect the dac to other digital
equipment. To avoid ground loops both inputs has a galvanic isolation and can handle a
maximum sample rate of 192 kHz.
•AES/EBU digital input: When using the AES /EBU digital input a special 110 Ohms XLR cable
should be used. The AES/EBU interface has a galvanic isolation and can handle a maximum
sampling rate of 192 kHz.
•USB input: Use an USB cable to connect the dac to your computer. Only when using a
Windows operating system you should install special drivers. In case of Linux or MAC no
drivers are required. The USB input can handle sampling rates up to 384 kHz.
•RCA outputs: Standard interlinks can be used to connect the dac to your amplifier. The
"Onyx" is designed conform the "Red book standard" so the maximum output will be 2 Volts
RMS or 5.7 Volts peak to peak. Your (pre)amplifier should handle this output level.
•XLR outputs: Standard XLR line cables should be used to connect the dac to your (pre)
amplifier. The "Onyx" is designed conform the "Red book standard" so the maximum output
for the XLR output will be 4 Volts RMS or 11.4 Volts peak to peak. Your (pre)amplifier should
handle this output level.
•Mains inlet: Use the supplied power cable to a grounded power outlet.

Made by
ALL Engineering
•Remote switches: The Onyx shares the same back plate with our Jade pre-amplifier . In case
of the remote switch connectors they are omitted in case of the Onyx.
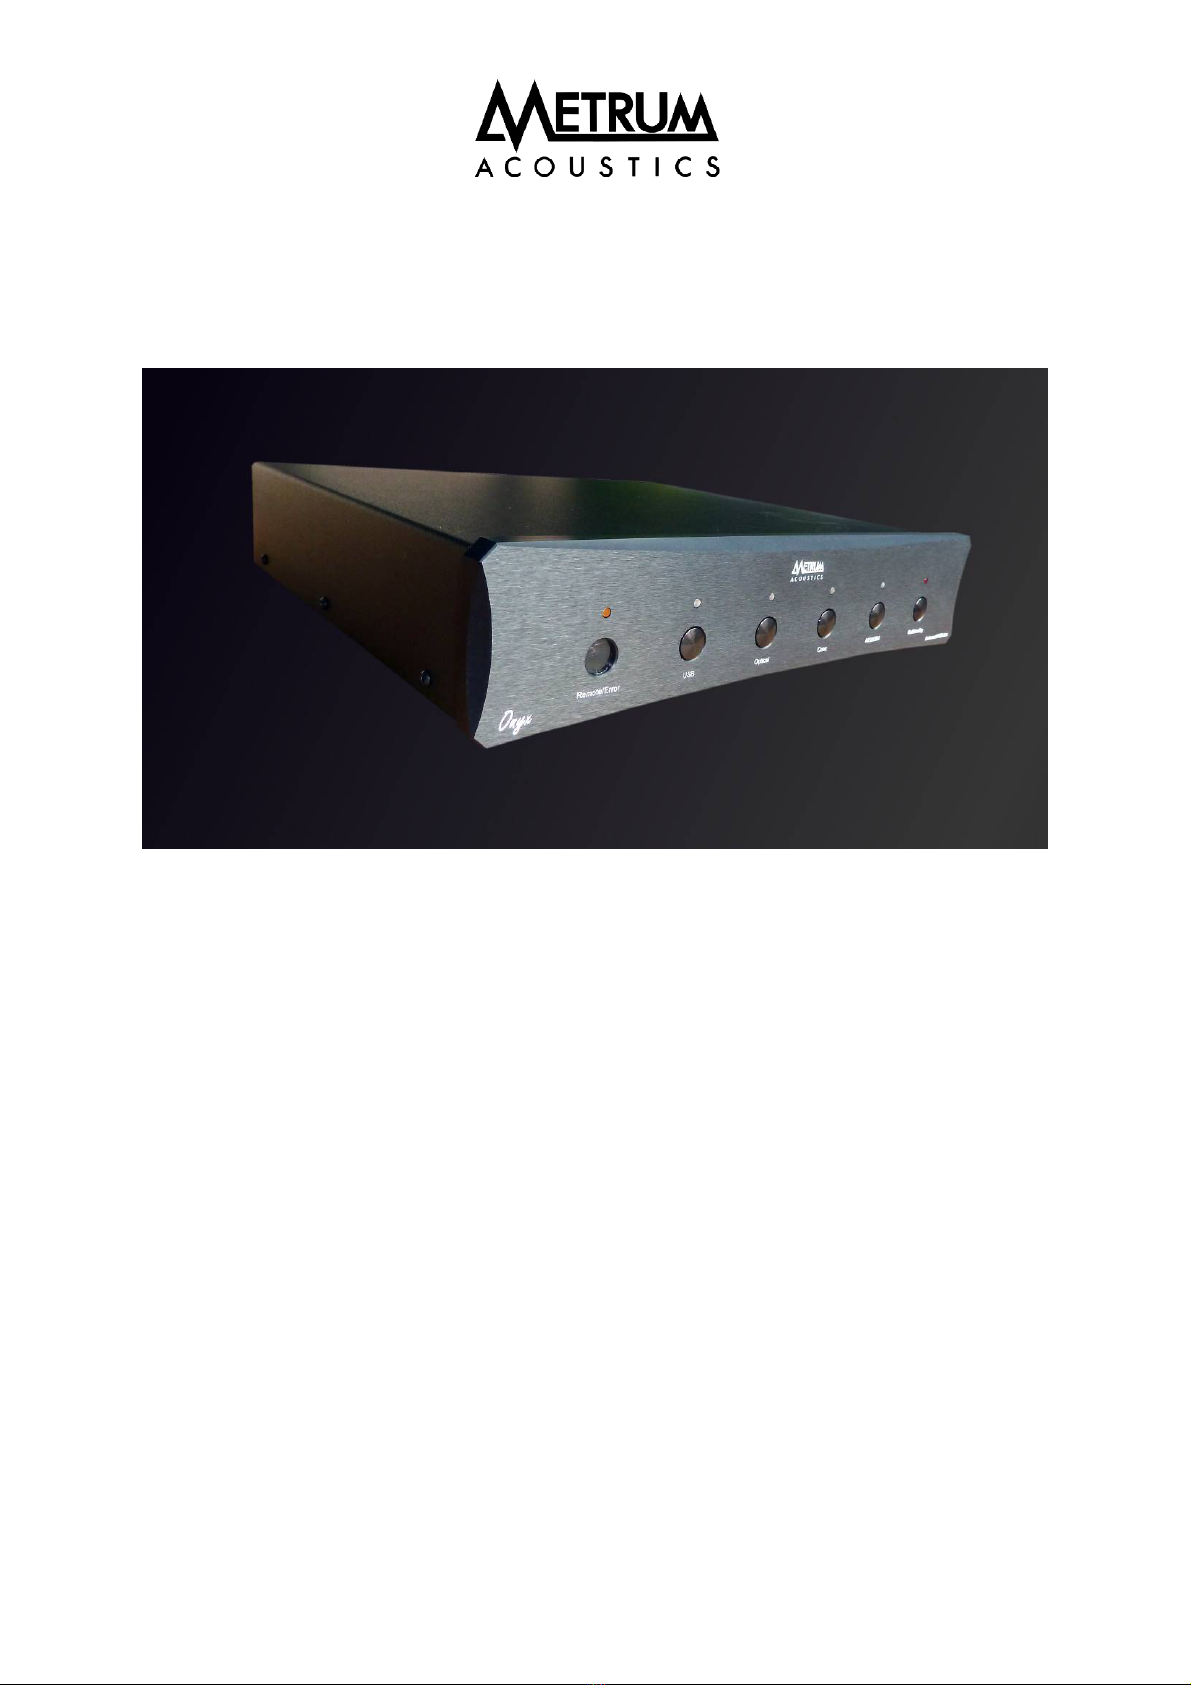
Operation
•On/Standby switch : To reduce power the mother board will be switched off in stand-by
mode. Just the front panel is activated to control the system and power consumption will be
reduced to 0.5 Watts.
•Mute function: By powering up the dac the mute function will be released after five
seconds. When switching the dac to standby mode muting will be active again.
•Source selection: The digital inputs can be selected by using four small buttons on the front .
When switching the dac on, by default the last selected source will be active.
•
Error indication: When no digital data is coming in, the orange Remote /Error led above the
remote sensor will lit.
•
Remote indication: When using the remote control the Remote/ Error led will flash rapidly.
Made by
ALL Engineering
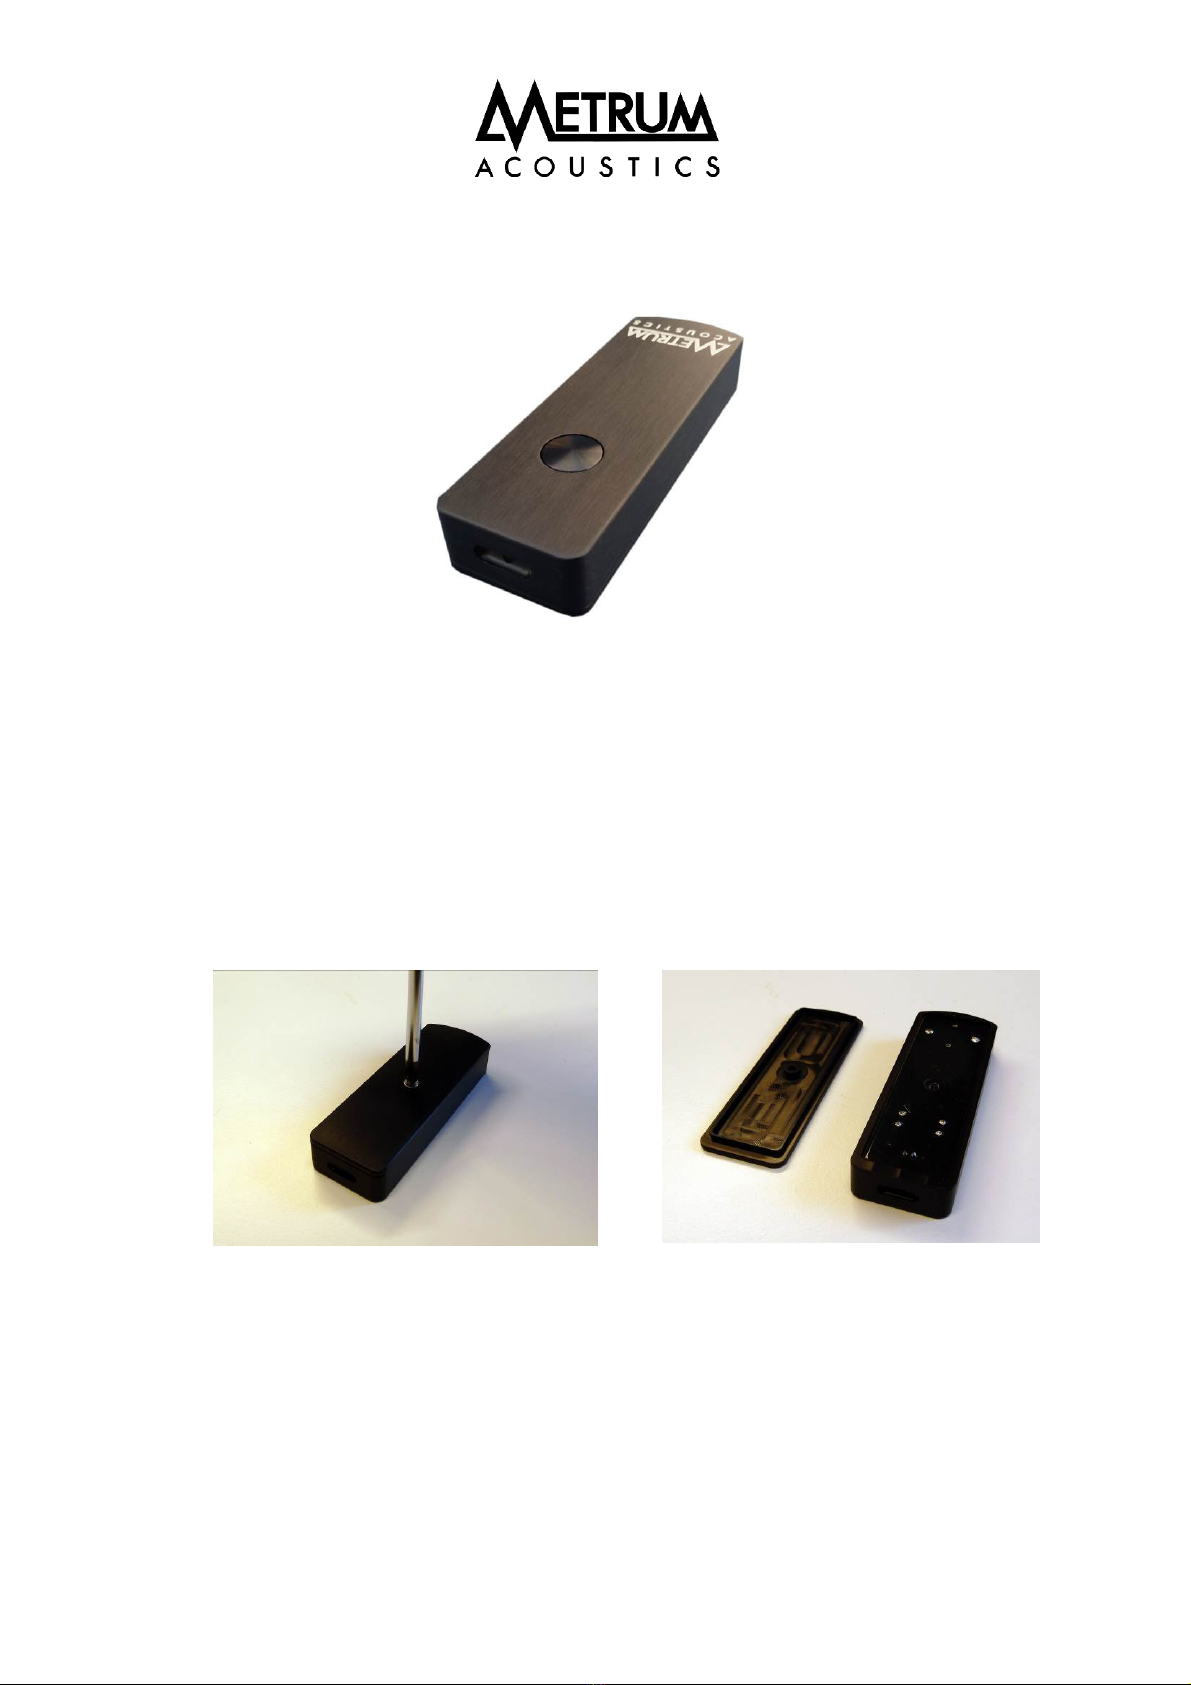
Remote control
The remote control is made to control the available digital inputs. As opposed to the front
panel buttons were you can select one of the digital sources directly , the remote will toggle
through the entire range of available digital sources.
When the Onyx is set into the stand-by mode, it will remember the last input selection and is
available again when the Onyx is switched on.
Replacing the battery
If the button is not activated there is no power consumption at all, which leads to a very long
battery life cycle. The battery used is a CR1632 button type of 3 Volts and can be replaced on
the following way:
Use a middle sized Philips screw driver to remove the screw from the back of the remote.
By removing the back cover the printed circuit board will be visible.

Made by
ALL Engineering
By turning the housing upside down the printed circuit board will fall out and the component
side will be visible now.
As shown above push the battery out of its holder by using the back side of a swab. Take the
new battery and push it in the battery holder with the “+” mark on top.
When the new battery is placed, lay back this part of the board where the blue led is situated.
The led will be positioned in front of the recess. Next you can lay down the whole board in the
housing. Next you can place the cover and tighten the screw.

Made by
ALL Engineering
Technical specs :
Working principle: Non oversampling dac. Two dacs per channel in
in differential mode.
Power supply: 15 VA
Power consumption: Standby < 0.5 Watts
Full operation 7 Watts
Power requirement: 110/115V AC or 220/230 V AC 60/50Hz
Inputs: 1x optical Toslink,1xcoaxial,1xAES/EBU and 1xUSB.
Outputs: 2x RCA gold plated Neutrik © connectors . 2x XLR 3
balanced outputs.
Output voltage: RCA : 2 Volts RMS max output.
XLR: 4 Volts RMS max output
Frequency response: 1Hz -0.8dB, 20 kHz -1.5 dB 44.1kHz sampling.
1Hz -0.8dB, 65 kHz -3dB 192-384 kHz sampling.
Distortion: 0,006 % THD
Noise: -145 dB related to 2 Volt RMS
Output impedance: RCA 100 Ohms , XLR 100 Ohms
Sampling frequency: Optical : 44.1 - 96 kHz sampling ,16 or 24 bits.
Coaxial: 44.1 - 192 kHz sampling, 16 or 24 bits.
USB: 44.1- 384 kHz sampling , 16 or 24 bits
Dimensions hxwxd: 60 x 290 x 250 mm.
Weight: 3100 gram.
Subject to change without notice.
Metrum Acoustics
Ambachtsweg 4K
3953BZ Maarsbergen
The Netherlands
Tel: +31 (0)343437331
Email: info@metrumacoustics.nl
Website: http://www.metrumacoustics.nl
This manual suits for next models
2
Table of contents
Other METRUM Media Converter manuals


Popular Media Converter manuals by other brands

Algolith
Algolith HD to SD Downconverter XVC-1001-DC Installation and operation manual

Marshall Electronics
Marshall Electronics VAC-11SU3 operating instructions

MRC
MRC 0001629 quick start guide

Aurora Design
Aurora Design World Converter WC-01 User and technical manual

Fagor
Fagor SAS manual

Korenix
Korenix JetCon 3701G Quick installation guide


