manuals.online logo
Brands
  1. Home
  2. •
  3. Brands
  4. •
  5. MicroBoards Technology
  6. •
  7. Printer
  8. •
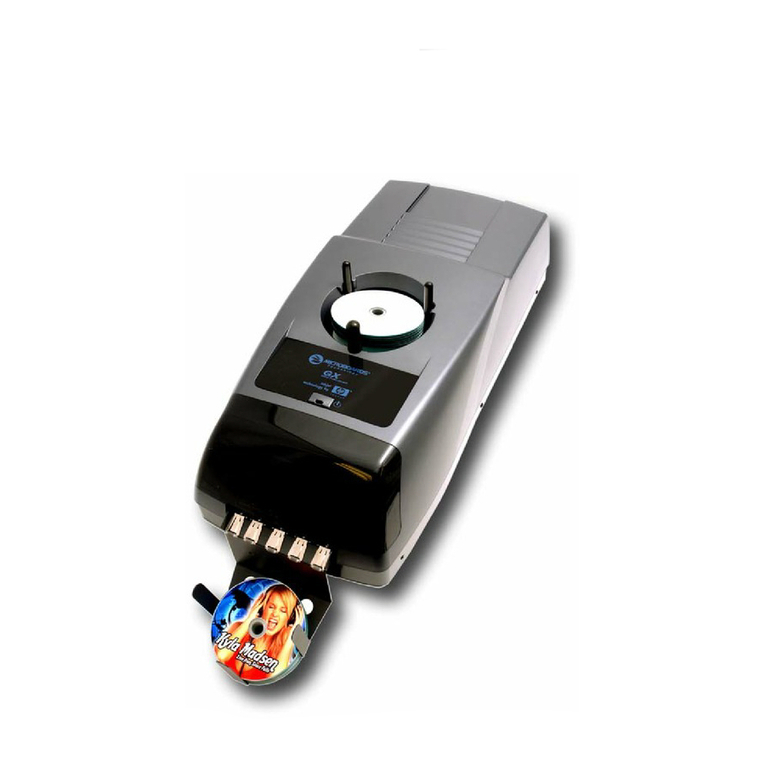
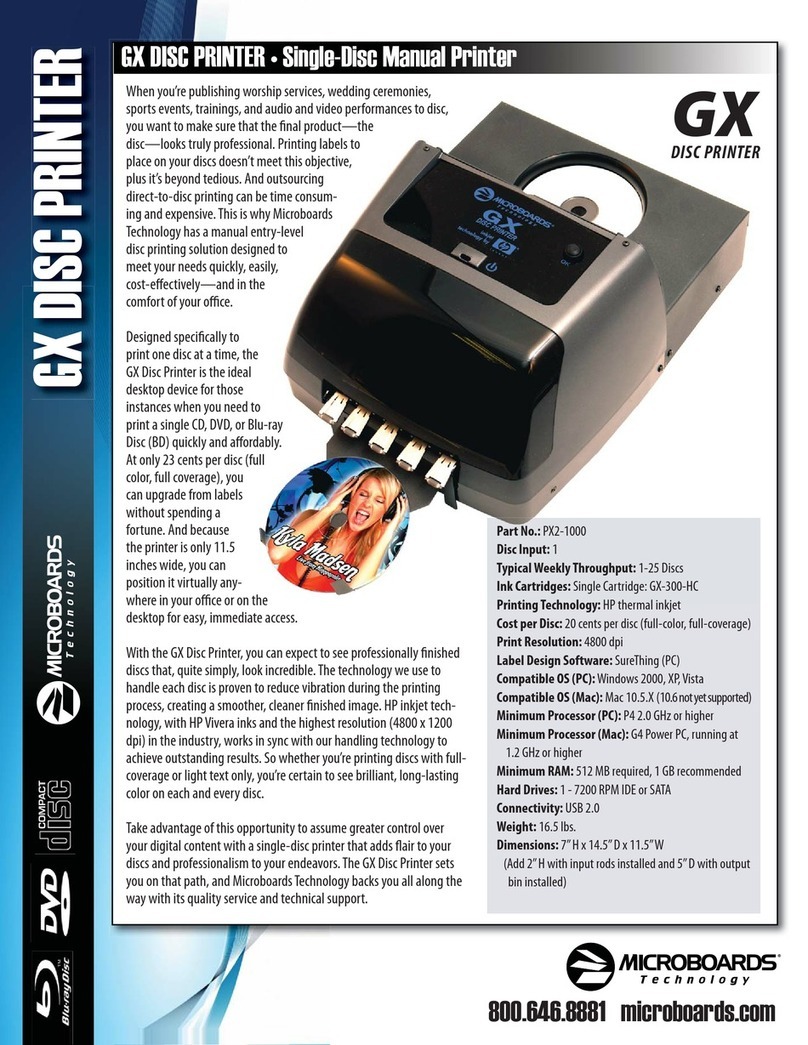
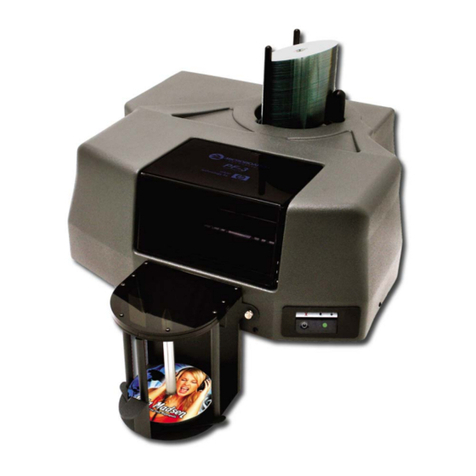
  9. MicroBoards Technology GX-2 User manual

MicroBoards Technology GX-2 User manual

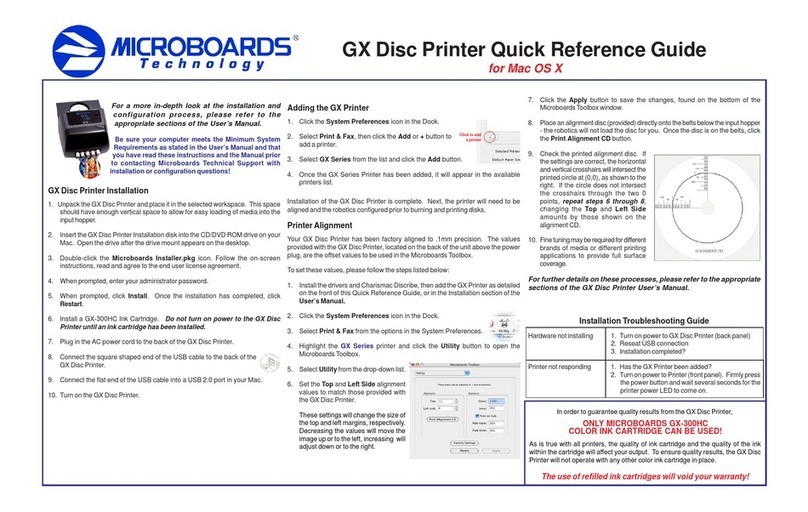
Quick Reference Guide
for Windows 7, Vista, and XP
Rev 10.03.26 PleasevisitourTechnicalSupportwebsiteatwww.microboards.com/support
For a more in-depth look at the installation process, please refer
to the Installation section of the User’s Manual.
Be sure your computer meets the Minimum System
Requirements as stated in the User’s Manual and that
you have read these instructions and the Manual prior
to contacting Microboards Technical Support with
installation or configuration questions!
GX-2 Disc Publisher Installation:
YoushouldnotattempttoinstalltheGX-2DiscPublisherunlessyouareloggedon
to your PC with administrative rights.
Thehardwareandmuchofthesoftwareinstallationwilloccurwithoutintervention.
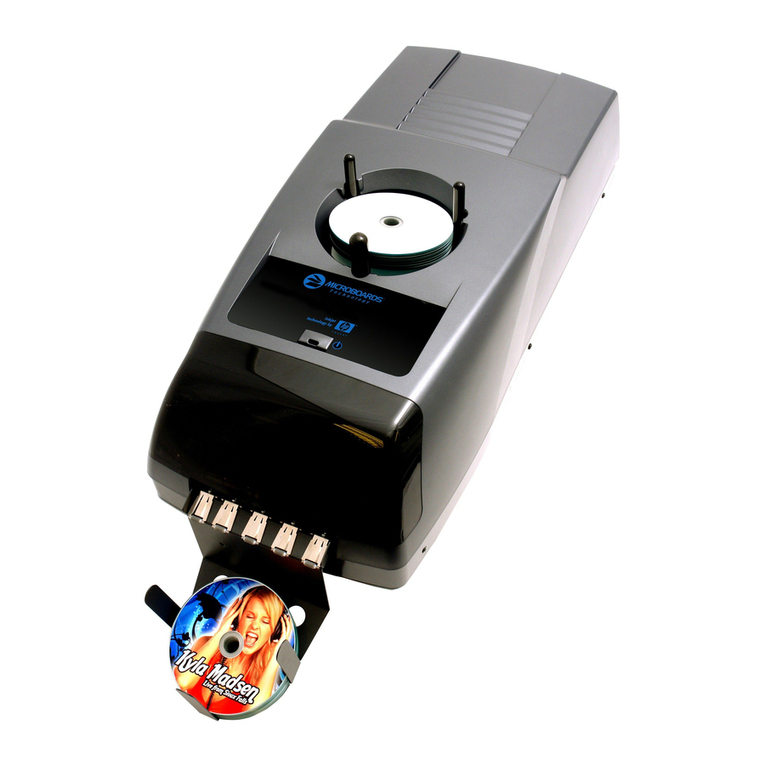
1. Unpack the GX-2 Disc Publisher and place it in the selected workspace. This
spaceshouldhaveenoughverticalspacetoallowforeasyloadingofmediainto
theinputhopperandhaveenoughroomtothebackoftheG3DiscPublisherto
allowtheunloading of rejected discs.
2. Insertthe GX-2 Disc Publisher Installation disk into the CD/DVD ROM drive on
yourcomputer. Theinstaller should open automatically.
If the installer does not automatically open, click the Start button and select
Runfrom the Startmenu. Click the Browse button and gototheCD/DVD drive,
highlight MBInstall.exe, click the Open button, then click OK.
GX-2 Disc Publisher Installation
Prerequisite Windows components may need to be installed before the Disc
Publisher can be installed. If any prerequisites are not present, they will be
installed at this point. You will not be able to install your Disc Publisher without
installing the prerequisite components. You may need to reboot the PC after
any prerequisites are installed. The Disc Publisher installer will launch
automaticallyafter rebooting.
Select Microboards GX-2 Disc Publisher from the list, then click the Install
Microboards GX-2 Disc Publisher buttonthatappears.
3. Youwill first beguided through thehardware setup. Please followall directions
on each window before clicking the Next button.
4. Afterthe physical hardware setup is complete, you will be instructedtoconnect
the GX-2 Disc Publisher to the computer. Once this occurs, Windows will find
yournew hardware and run through the driver installation process.
5. ClicktheFinish buttonwhencomplete. Ifthehardwareisstillbeinginstalledat
this point, you will be asked to wait until that process is complete.
6. Clickthe Finish buttontobegin theDiscPublishing software installationprocess.
7. Rebooting your PC is required before attempting to run your G3 Disc
Publisher! Click the Finish button to do so.
The Microboards Printer Toolbox Installation
The Microboards Toolbox is installed silently during the G3 installation. This
applicationisusedforgeneralmaintenancefunctions.
After the installation completes, theToolbox will start up. You will see an icon
appear in the tool tray in the lower right corner of your Windows desktop. To
access the Toolbox, double-click the icon circled below.
The Toolbox will also automatically start up after
rebootingthePC.
For more information on configuration options, please see the GX-2
Disc Publisher Configuration Quick Reference Guide on the other
side of this page, or refer to the appropriate sections of the User’s
Manual.
Windows Configurations for Non-Administrative Users
Toallow users whoarelogged on to your PCwithoutadministrative privileges to use
PrintWrite, a few final steps must be taken. You will need to be logged in as an
administratortoperform these steps.
If you only have users with administrative rights on your PC, or do not intend to
allow non-administrative users to run PrintWrite, you will not need to perform the
followingsteps.
Do NOT connect your GX-2 Disc Publisher to
your computer until you are told to do so!!
COLOR INK CARTRIDGE CAN BE USED!
As is true with all printers, the quality of ink cartridge and the quality of the ink
within the cartridge will affect your output. To ensure quality results, the GX-2
Disc Publisher will not operate with any other color ink cartridge in place.
The use of refilled ink cartridges will void your warranty!
ONLY MICROBOARDS GX-300HC
Inorder to guarantee quality results from the GX-2 DiscPublisher,
Drive not appearing in
WindowsExplorer 1. PC needstoberebooted
2. Mapped drive conflict: Disconnect GX-2 Disc
Publisher and reboot PC. Disconnect Network
drives and remap to letters near end of alphabet.
ReconnectGX-2 Disc Publisher.
Printernot responding 1. Inkcartridgeinstalled correctly?
2. Turnon powerto Printer (front panel). Firmly press
thepower button and wait several seconds for the
printerpowerLED to come on.
Hardwarenotinstallingon
PC 1. Turnon power to GX-2DiscPublisher (back panel)
2. ReseatUSBconnection
3. InstallationCD in drive?
Installation Troubleshooting Guide:
Sharing the PrintWrite Working Directories
IfPrintWrite is to berunbyusers logged in as StandardorotherNon-Administrative
usertypes,the main PrintWrite application directory will need to be shared to allow
those users access to the necessary files and directories. The main application
directorywill be the sameasthe directory specified duringthePrintWrite installation.
Thedefaultinstallation directory is C:\Program Files\Microboards\PrintWrite; if
you changed the location, you must share the directory you selected.
You will need to specify that you are allowing users to modify the contents of the
PrintWrite directory.
You will also need to share the C:\MBSDK Data directory in the same way. The
location of this directory cannot be changed during the installation. This directory
will not appear until the first time PrintWrite is launched.
Windows Firewall
You may need to add two applications, PrintWrite.exe and ServerManager.exe to
the Windows Firewall Exceptions list, depending on your PC’s Windows Firewall
settings. If Windows Firewall is on and you do not add them to the exceptions list,
anynon-administrativeuserswillbeblocked from running PrintWrite.
Quick Reference Guide
for Windows 7, Vista, and XP
PleasevisitourTechnicalSupportwebsiteatwww.microboards.com/support
Print Image Alignment
YourGX-2DiscPublisherhasbeenfactory aligned to .1mm precision. Fine tuning
mayberequireddependingonthemediabrandandprintablesurfacetypeyouare
usingto provide full surface coverage.
1. Access the Printing Preferences for the Microboards G Series. How this is
done will depend on the Operating System and the currently selected Start
Menulayout.
Windows 7: Select Devices and Printers from the Start button.
Windows Vista: Select the Control Panel from the Start button. Once the
Control Panel opens, select Printer from the Hardware and Sound section.
Windows XP, Start Menu layout: Select Printers and Faxes from the
Windows Start button.
Windows XP, Classic Start Menu layout: You will need to go to the Settings
selection, then to the Printers and Faxes from the Start button.
NOTE: THE ALIGNMENT VALUES MUST BE ENTERED THROUGH THE
PRINTERS AND FAXES WINDOW FOR THE SETTINGS TO BE USED IN
PRINTWRITE, NOT FROM WITHIN THE APPLICATION!!!
2. Right click on the icon for the Microboards G Series and select Printing
Preferences…
3. On the Print Quality tab, select Photo for the Print Mode and Best or Max
DPI for the Print Quality.
Photo Best or Max DPI should always be selected when aligning the printer,in
order to insure the greatest accuracy during the alignment process. Other
settings may not result in the best alignment.
4. Select the Alignment tab. The .1mm Resolution setting must be selected
beforesetting alignmentvalues(see below). SettheTop andLeft Side alignment
valuesto those required for image alignment.
These settings will change the size of the top and
left margins, respectively. Decreasing the values
willmove the image up or to the left, increasing will
adjust down or to the right.
5. Clickthe Apply button to save the changes, found
onthebottomofthe Printing Preferences window.
6. Verify the alignment by printing a full disc image
on the media. Repeat these steps if further
alignmentadjustments are required.
For further details on the alignment process, please refer to the
section on Alignment in the GX-2 Disc Publisher User’s Manual.
Printer Toolbox
The Printer Toolbox contains
severalutility functionsfor the G3
DiscPublisher. The toolbox will
open automatically after
installation of the G3, and each
timethe PC bootsup. Itcan also
be run by double-clicking the
Microboards Toolbox icon in
the tool tray.
The functions of the Toolbox
include:
•Test Print
•Belt Exerciser
•PrintheadCleaning Utility
•LowInk warnings
Formoreinformation on theToolbox, please refer to the User’sManual.
Be sure your computer meets the Minimum System Requirements as stated
in the User’s Manual and that you have read these instructions and the
Manual prior to contacting Microboards Technical Support with installation
or configuration questions!
GX-2 Disc Publisher Configuration
GX-2 Disc Publisher Robotics Configuration
NOTE: You must complete the hardware, driver, and
software installation prior to configuring the GX-2
DiscPublisher and aligning the printer. Pleasesee
the other side of this Guide for the Installation
QuickReference Guide, or refer to the Installation
section of the User’s Manual.
The GX-2 Disc Publisher robotics will need to be
configured prior to use. When launching PrintWrite or
Zulu2for thefirst time,the Configurationscreenwill appear.
If these entries are not auto-populated, you will need to
manually select the correct configuration.
Drive: Select the drive letter from the drop-down list. Verify the correct drive
selection by clicking the Test button; the drive tray in the GX-2 Disc Publisher
should eject and then retract.
Printer: Select Microboards G
Series from the drop-down list.
Once selected, click the Test
buttonto verify the selection; the
belts will run if the correct printer
has been selected.
COM Port: Select the COM port
from the drop-down list that is
specified by the PC as the USB
SerialPort in theWindowsDevice
Manager (see User’s Manual for
moreinformation); generally, the
correct port will be the largest
port number listed. Verify the
correct port selection by clicking
theTest button to the right of the
port list. The elevator below the
inputhopper will lift and then drop
if the correct port has been selected.
Name: Enter in the name of the Disc Publisher, which defaults to Publisher.
Click the OK button to accept the selections and continue in the Disc Publishing
software.
For more information on the configuration of the GX-2 Disc Publisher
robotics, please refer to the Configuration section of the User’s
Manual.
COLOR INK CARTRIDGE CAN BE USED!
As is true with all printers, the quality of ink cartridge and the quality of the ink
within the cartridge will affect your output. To ensure quality results, the GX-2
Disc Publisher will not operate with any other color ink cartridge in place.
The use of refilled ink cartridges will void your warranty!
ONLY MICROBOARDS GX-300HC
Inorder to guarantee quality results from the GX-2 DiscPublisher,

Other manuals for GX-2

5

Other MicroBoards Technology Printer manuals

MicroBoards Technology PrintFactory PF-3 User manual

MicroBoards Technology

MicroBoards Technology PrintFactory PF-3 User manual

MicroBoards Technology GX Disc Printer User manual

MicroBoards Technology

MicroBoards Technology GX Disc Printer User manual

MicroBoards Technology G3 Auto Printer User manual

MicroBoards Technology

MicroBoards Technology G3 Auto Printer User manual

MicroBoards Technology G4 User manual

MicroBoards Technology

MicroBoards Technology G4 User manual

MicroBoards Technology GX Disc Printer User manual

MicroBoards Technology

MicroBoards Technology GX Disc Printer User manual

MicroBoards Technology GX Auto Printer User manual

MicroBoards Technology

MicroBoards Technology GX Auto Printer User manual

MicroBoards Technology GX Disc Printer User manual

MicroBoards Technology

MicroBoards Technology GX Disc Printer User manual

MicroBoards Technology PX2-1000 User manual

MicroBoards Technology

MicroBoards Technology PX2-1000 User manual

MicroBoards Technology PF3-1000 User manual

MicroBoards Technology

MicroBoards Technology PF3-1000 User manual

MicroBoards Technology CD Disc-to-Disc Office Copier II User manual

MicroBoards Technology

MicroBoards Technology CD Disc-to-Disc Office Copier II User manual

MicroBoards Technology GX Disc Printer User manual

MicroBoards Technology

MicroBoards Technology GX Disc Printer User manual

MicroBoards Technology G3 Auto Printer User manual

MicroBoards Technology

MicroBoards Technology G3 Auto Printer User manual

MicroBoards Technology GX Disc Printer User manual

MicroBoards Technology

MicroBoards Technology GX Disc Printer User manual

MicroBoards Technology GX Disc Printer User manual

MicroBoards Technology

MicroBoards Technology GX Disc Printer User manual

MicroBoards Technology GX Disc Printer User manual

MicroBoards Technology

MicroBoards Technology GX Disc Printer User manual

MicroBoards Technology MX-1 User manual

MicroBoards Technology

MicroBoards Technology MX-1 User manual

MicroBoards Technology G4 User manual

MicroBoards Technology

MicroBoards Technology G4 User manual

MicroBoards Technology Print Factory User manual

MicroBoards Technology

MicroBoards Technology Print Factory User manual

MicroBoards Technology PrintFactory PF-3 User manual

MicroBoards Technology

MicroBoards Technology PrintFactory PF-3 User manual

MicroBoards Technology PF3-1000 User manual

MicroBoards Technology

MicroBoards Technology PF3-1000 User manual

Popular Printer manuals by other brands

Citizen CD-S500A user manual

Citizen

Citizen CD-S500A user manual

Epson 1170 user manual

Epson

Epson 1170 user manual

Dell 1250 Color Setting up

Dell

Dell 1250 Color Setting up

Star SM-S220I SERIES Hardware manual

Star

Star SM-S220I SERIES Hardware manual

Panasonic JT-H340PR-E1 operating instructions

Panasonic

Panasonic JT-H340PR-E1 operating instructions

Lexmark printer Administrator's guide

Lexmark

Lexmark printer Administrator's guide

Xerox Phaser 3610 user guide

Xerox

Xerox Phaser 3610 user guide

Toshiba TEC B B-SX5T SERIES owner's manual

Toshiba

Toshiba TEC B B-SX5T SERIES owner's manual

Epson 875DC - Stylus Photo Color Inkjet Printer Product information

Epson

Epson 875DC - Stylus Photo Color Inkjet Printer Product information

Epson TM-U590 Series user manual

Epson

Epson TM-U590 Series user manual

Genicom microLaser 210 User giude

Genicom

Genicom microLaser 210 User giude

Ricoh Pro 907 Operating instructions and troubleshooting

Ricoh

Ricoh Pro 907 Operating instructions and troubleshooting

Canon BJC-8000 user manual

Canon

Canon BJC-8000 user manual

SAT 23T US user manual

SAT

SAT 23T US user manual

Epson SL-D500 Series user guide

Epson

Epson SL-D500 Series user guide

Canon imageRUNNER 1019j Service manual

Canon

Canon imageRUNNER 1019j Service manual

Lanier GX3000 user guide

Lanier

Lanier GX3000 user guide

Epson Aculaser C9200N Service manual

Epson

Epson Aculaser C9200N Service manual

manuals.online logo
manuals.online logoBrands
  • About & Mission
  • Contact us
  • Privacy Policy
  • Terms and Conditions

Copyright 2025 Manuals.Online. All Rights Reserved.