Micron Wings Balsa Craft S.E.5a Manual

S.E.5a (Build Instructions)
Specifications
Wingspan: 38 cm
Length: 31cm
Flying Weight: 41
Channels: 3 (Rudder Elevator Throttle)
Suggested Receiver: 3Ch Brick
Motor: 7mm Geared Motor
Airframe Only Kit
(Included Contents)
* Airframe Covering Parts (balsa)
* Airframe Skeleton (hardwood)
* Carbon pushrods
* Wheels and rubber tyre rings
* Fine sand paper
* Control linkages
Complete Kit
(Also contains these items)
* Receiver (brick style 3ch)
* Motor –7mm Dual Geared
* 140mm Propeller
* Motor and receiver pre-wired (no soldering)
Needed to Complete
* Thick CA Glue
* Micro Phillips Head Screwdriver
* Hobby Knife
* Ruler
* Household Pins
* Hobby Masking or Other Tape
* Receiver Transmitter Charger Battery
* Tweezers
* Patience
* Keen Eyesight
* Steady Hands
Battery Options
The Nanotech 300mah 1S battery is
recommended for best balance.
If using the Nanotech 130mah or similar
battery, you will also need to add some
ballast to the nose.

Before You Start
This airframe has been designed to fit together easily with all components precision drilled and
CNC cut from high quality balsa and paulownia wood. However, you will be working with very
small components, so you will need patience and keen eyesight. We recommend working in a very
well lit area and taking a break between stages to rest the eyes and hands. Most of all, take your
time, enjoy the building experience and you will be proud of what you have produced in the end.
First, refer to this and the following page to ensure that you have all the required airframe
components in your kit.


Step 01 –Removing the Parts
Assemble these parts for the first stage of the fuselage. When removing the parts from the sheets
take your time and use a hobby knife instead of pressing them out with your fingers.
Refer to the images below and glue the various parts in place. Make sure that after gluing the
parts on top, you turn it over and clear out the glue from any slots which the bottom parts fit into.
Glue the bulkheads in place first and then the side rails. For the side rails (part I) you may need to
widen the gaps and give the tabs a bit of a trim to allow them to slip in easily. The small part (b)
can be glued in place last. Insert it at an angle from the back to slide it in and then straighten it
up to engage the tabs on the side rails.
Ensure that when you glue in place the front motor mount section
that the motor mount cutout section points to the right –not the
left. This gives a little right thrust on the motor.

Use a ruler to press down on the body and bend each side piece at this point slightly
Glue both sides in place but don’t continue over the top yet. Glue in place the bottom surface and
the two side pieces (part H) which go either side of the bottom hatch.

Step 03 –Fuselage Covering
Glue the parts below in place starting with part N –the thinner one. Then glue part M in place.
Finally glue part 5 in place. Be careful that the glue on the rear of part M doesn’t block the two
rectangular holes in the body former where the bottom hatch cover needs to fit.
For the hatch cover before you glue the magnet in place check how it attracts to the other magnet
in the fuselage so you don’t glue the magnet in the wrong way. Finally, you may need to trim or
sand the hatch cover and the holes in the fuselage where the locating tabs fit to allow it to fit
more easily. Also use some scrap balsa to strengthen in by gluing on cross supports against the
grain (the gap in the middle is required to clear the spar in the fuselage)

Step 04 –Base Plate and Engine Cowl
With your finger, dab some water on both sides of the fuselage frame and also on the top cover
sheet (part 1). Allow the water to soak in and the balsa will be come easily bendable, The top
edges of the fuselage sides will need to be trimmed until the meet flush and sit down on the
fuselage formers.
Use hobby masking tape to bend the sides over in place and set somewhere to allow the wood to
dry (not in the sun). At this stage the pieces have not been glued –just allowing to dry in the
correct shape. They will be glued in place later after they dry.
Step 05 –Fitting the Base Plate
For the tail section also give it a slight bend and let it dry. You can tape it in place on the airframe
to dry –It
will also need to be trimmed later once the airframe sides are glued in place.
Once the fuselage sides are dry glue them in place and secure with hobby tape while drying.
The top section can now be glued in place. But first, it must be trimmed around the cockpit area
and also down the sides. Either trim ½ millimeter at a time or sand it back so that it fits in place
and sits down against the body formers. Once the fit is correct, glue it in place and tape to hold it
with modeling masking tape.
Step 06 –Fuselage Top Cover

Step 07 –Stabilizer Brace
Glue part 3 in place but when you do, only glue it at the front. Do not glue it on the
bottom to the fuselage sides. Later, the fuselage sides will be cut where the dotted
line is and the slice removed to make way for the tailplane to slide in. For this
reason we do not want this part glued on the bottom.
After it has dried well sand the part down carefully so it matches the fuselage shape.
Assemble the parts listed below to build the engine cowl. Build the frame first noting that the
thinner U shaped piece (Part P) is glued in place first and the thicker similar shaped piece then
goes on the front of that.

Wet the piece of balsa to be bent around the frame on both sides and slowly work it into a curved
shape. Then without gluing, tape it to the frame and let it dry to this shape. After the piece is fully
dry it can be glued in place.
The latches on the bottom can then also be glued in place. You may need to sand or file the gaps
to allow them to slide in easily. Endure that they slide all the way in to be flush as shown in the
image on the right. You may need to sand or trim the hinges and the slots they fit into if they
don’t exactly line up or it is hard to press the cowl into place.
Glue the battery plate in place (Part C). Now gently cut away the section at the back as shown.
Your fuselage should now look like this. Give it a light sand to smooth off any joins.
Note: This part is needed to
keep the cowl straight and
aligned while gluing on the
covering. But it will be cut
away once the cowl has fully
dried.
Note: Rear spar has been cut
away once the cowl assembly
is fully dry. This is required to
allow it so slide in place when
the battery is fitted.

Apply the waterslide transfers as shown in the image on the left. Lay out your parts the same as
in the picture (look at the wing tips and match the longer edge and shorter edge). Note that the
shorter wings on the top of the image near the fuselage are actually the top wings (there is a
middle section missing which actually makes them longer than the bottom ones once fitted to the
plane). So the stickers on the top wing (nearest the fuselage) are on the top of the wings. The
stickers on the bottom wing are on the underside.
First cut the water slide stickers out from the sheet. Cut exactly around the edges of the shapes.
Soak them in a bowl of water till they slide on the paper easily and slide them directly off the
paper onto the surfaces. Dab them with a tissue to remove excess water –don’t wipe them. Allow
to fully dry before continuing.
Note: The vertical stabilizer is not glued in yet –just attached in this image for demonstration.
Ribs - Glue in the wing ribs in the positions shown above. The top wing has been flipped over in
this image. Note that on the shorter wing (top wing), the second slots in from the tips are actually
for the struts, not the ribs. On the bottom wings the slots for the struts actually line up with one
of the ribs. After gluing in this rib, turn the wing over and make sure that you clear any glue from
the strut anchor slots.
After they have dried you may like to lightly sand around the edges of the wings and round off the
edge on the top side.
Step 08 –Wing Braces
To mount the wing braces you must cut away the pre cut sections in the fuselage as shown in the
image on the top left. You don’t need to cut at the ends of the pre-cut lines. Just cut a small
section out in the middle and then see how much you need to cut out to allow the braces to fit in
neatly. These can be glued in or screwed in with the screws provided. We suggest screwing them
in for easy removal if needed later.

Glue in place the cross brace and the middle section (Part G)
Step 09 –Attaching The Wings
The next task is to glue on the wings and wing struts. Follow the images below to attach the top
and bottom wings. When gluing the wings in place, tape them with modeling masking tape as
shown in the above video to align the two surfaces. Continue with the lower wings and wing
struts, and allow them to dry completely before continuing.

Step 10 –Hinging The Control Surfaces
Glue in place part ”i” into the tail plane. As this part is important for the strength of the elevators,
it’s a good idea to smear a thin layer of glue on both sides where it joins to the balsa. Glue on the
hinge strips as shown here keeping them clear of the balsa tabs which join the moving surfaces to
the tailplane surfaces. These tabs will be cut out later to allow the surfaces to move. Also cut
along the dotted line to make the horizontal stabilizer slot. Sand either side as needed so the
horizontal stabilizer sits level.
Cut a slot slightly to one side here to allow the bottom
hinge from the fin to slot into. (check which side you
actually glued the hinge on the vertical stabilizer first)
Don’t glue in place the control horns till you verify
which sides your receivers elevator and rudder pushrods
will go on. It’s a good idea to set up your radio gear and
lay it next to the plane and actually move the rudder
and elevator sticks to confirm which side the control
horn needs to be on for each. Also, note that you
should do this with the plane resting upside down on
the bench as the receiver board will be mounted upside down in the bottom of the plane.

If you have purchased the complete kit version of this
plane, the “ Receiver 24R6CLV11 DSM2 Compatible
Linear 5Ch Brick” receiver board will be included. To use
this receiver you will need to reverse the direction of the
rudder and elevator servos by adjusting settings on your
transmitter.
Glue the control horns in place as shown here. Note: the
control horn with the longer base is for the rudder and
the one with a shorter base is for the elevator.
Step 11 –The Undercarriage
Attach the undercarriage as shown below. You may have to trim or sand the gaps in the joint to
ensure that the strut inserts all the way in to the position indicated on the image on the left.
To make the wheels, there are three discs to each one. The slightly smaller disc goes in between
the two others to make a small groove in the middle which the o-ring sits in. Glue these together
with the plastic part inserted to keep them aligned. Allow to dry fully before using a small amount
of glue to attach the o-rings. Work slowly and gently when attaching the o-rings.
Cut some 2mm lengths of the heat shrink tube and use these on the inside of the wheel as

spacers. The outer one can have some glue added to keep it in place. Also glue the carbon axel to
the balsa strip.
Construct the gun and wind shield as shown here. It is better to glue the gun to the top wing and
then glue the gun base to the fuselage so they are touching. Make sure that a minimal amount of
carbon rod is protruding from the back of the gun mount. This will allow room for the windshield
to be mounted.
The exhausts are made from the following pieces.
Construct them as shown below.

Colour them black with a felt pen and glue them on to the engine cowl in the position marked.
Mount the motor as shown here. You will need to add some down thrust by placing 2 pieces of
wood under the rear edge of the motor mount. Use a 1mm thick pieces of hardwood offcut from
the parts template sheets. Cut it to be 9mm long and 3mm wide and glue in place as shown below
before mounting the motor (attach propeller before mounting motor).
Don’t press the propeller all the way on the shaft. Leave about 5mm gap between the rear of the
prop and the gear face. You will need to sand down the thick block on the front of the plane on
the bottom edge to make more clearance for the prop.
See this tutorial on how to safely attach a prop to a geardrive
shaft without bending the shaft.
Also attach the Velcro dot as shown in the image on the right above to hold the battery in place.
Two 1mm pieces of offcuts glued in place.
This amount of down-thrust is required

In the next section we will be mounting the receiver. First, refer to the COG (balance point)
diagram at the bottom of this document and test the position of your gear to make sure it will
balance at the correct point.
Mount ther receiver as far forward as possible using the strip of velcro or even better by gluing it
in place. The image below shows the correct position. This is a slow and delicate job so take your
time. A pair of tweesers will make the job much easier.
Attach only this control linkage to the
ends of the two control rods. Use a dab of
glue to tack them in place and cut a short
length of heat shrink from the tube to
cover them with. Heat the heat shrink
with a soldering iron or something else
hot.
Then insert these and connect them to
the receiver as shown above.
Leave the control surface parts as they
are for now. The next thing you need to
do is set up your transmitter. Turn it on
and connect the battery to the receiver
and check it is all working correctly. Look
at which way the pushrods are moving
and reverse the servo direction on the
transmitter settings if needed.

Most importantly, before you attach the control surfaces check that you have the settings such as
trims set to zero on the trasnsmitter.
Finally use some heat source such as a soldering iron to shrink the heat shrink on the control
surface linkages..
DO NOT use the transmitter to move the control surfaces yet!
Step 12 –Control Surfaces
You must first cut away the tabs on the elevator and rudder surfaces to allow tyhem to move.

The correct point for the centre of balance is shown below. Ensure your plane is balanced at this
point. This is a scale aircraft and as in the design of the actual aircraft, the nose is very short. In
the actual aircraft, a very heavy motor sat up the front. However, in a model, the motor tends to
be much lighter comparatively. You may therefore need to add some additional ballast to the
nose of the plane to make it balance at the desired point.
Control Surface Deflection
Use the images below as a guide to how much maximum deflection you will need on the control
surfaces. Do not exceed this amount of throw on the rudder as it will cause plane to roll to an
excessive amount. You will most likely need to dial down your throws on your transmitter to
around 50 to 60 percent. We also suggest that you set the differential to about 35% if your
transmitter supports this function.
We recommend using a 300mah battery to add the needed
ballast to the front of the plane. If you have purchased the
Complete Kit version, the adapter below will be included in the
kit.
A 130mah battery will also be adequate to power this aircraft.
However, if you are using this size battery you will need to add
more ballast to the front of the plane.
Centre of balance –29mm from the leading edge of the top wing.

Note: Alternate setup.
Instead of a receiver brick, you may choose to use a micro receiver with a brushed speed
controller and servos. The dotted square in the receiver mounting board can be cut out and
servos mounted instead. The recommended parts for this type of setup are shown below.
Alternate Setup Parts List.
Gearbox 7mm Base Mount
Prop 140 mm Plastic
ESC Brushed Micro 1S 3A
Servo 5320 Black
DT Rx34d Receiver Unit
(Another receiver option)
Receiver 4Ch R415 DSMX DSM2 Compatible
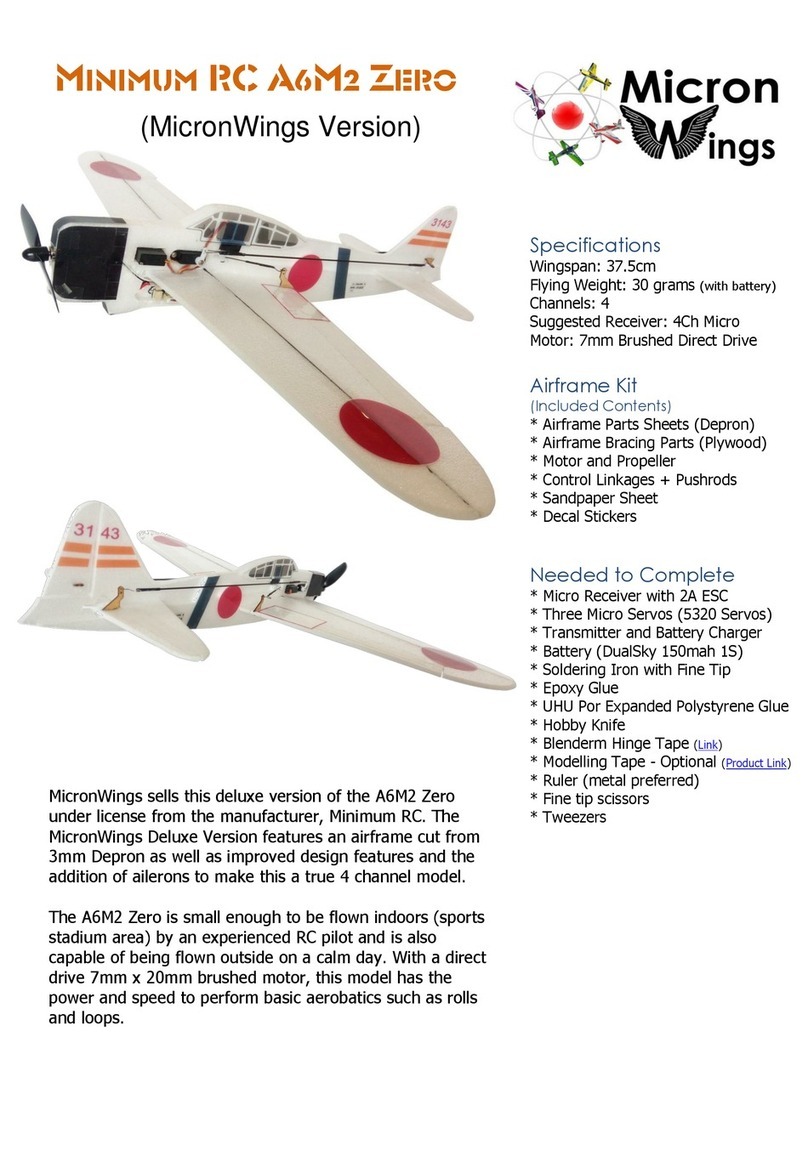
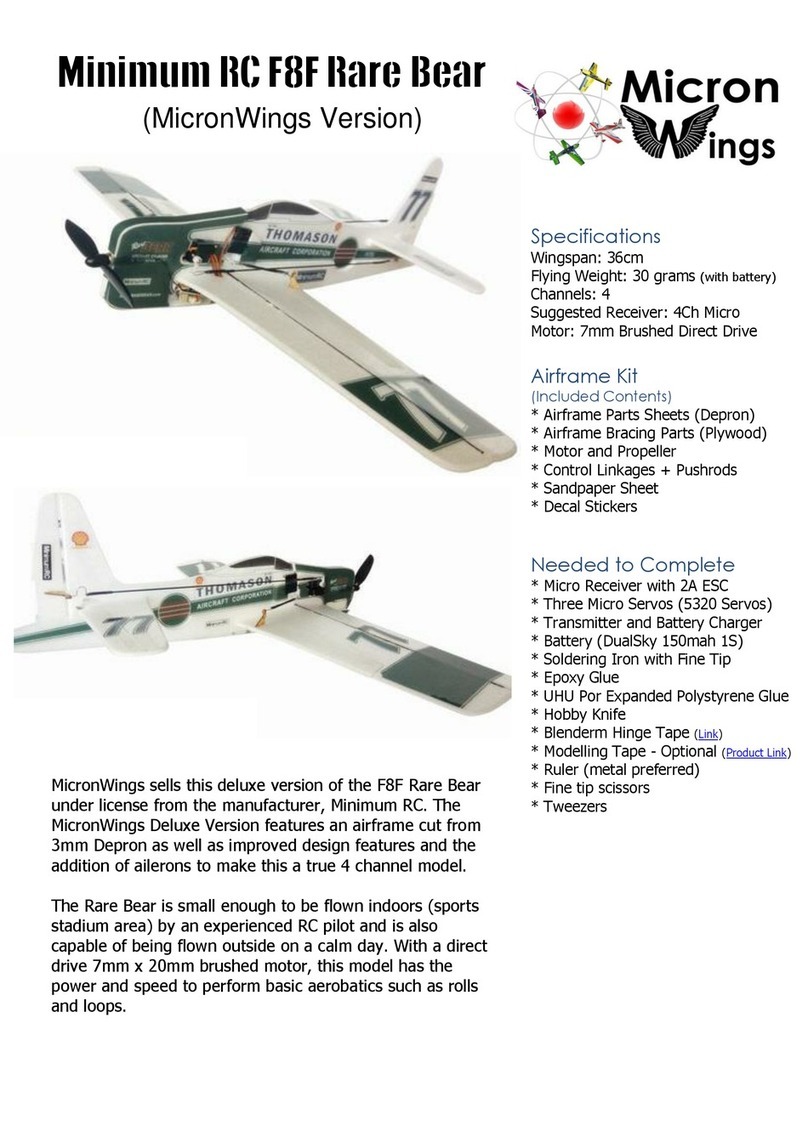
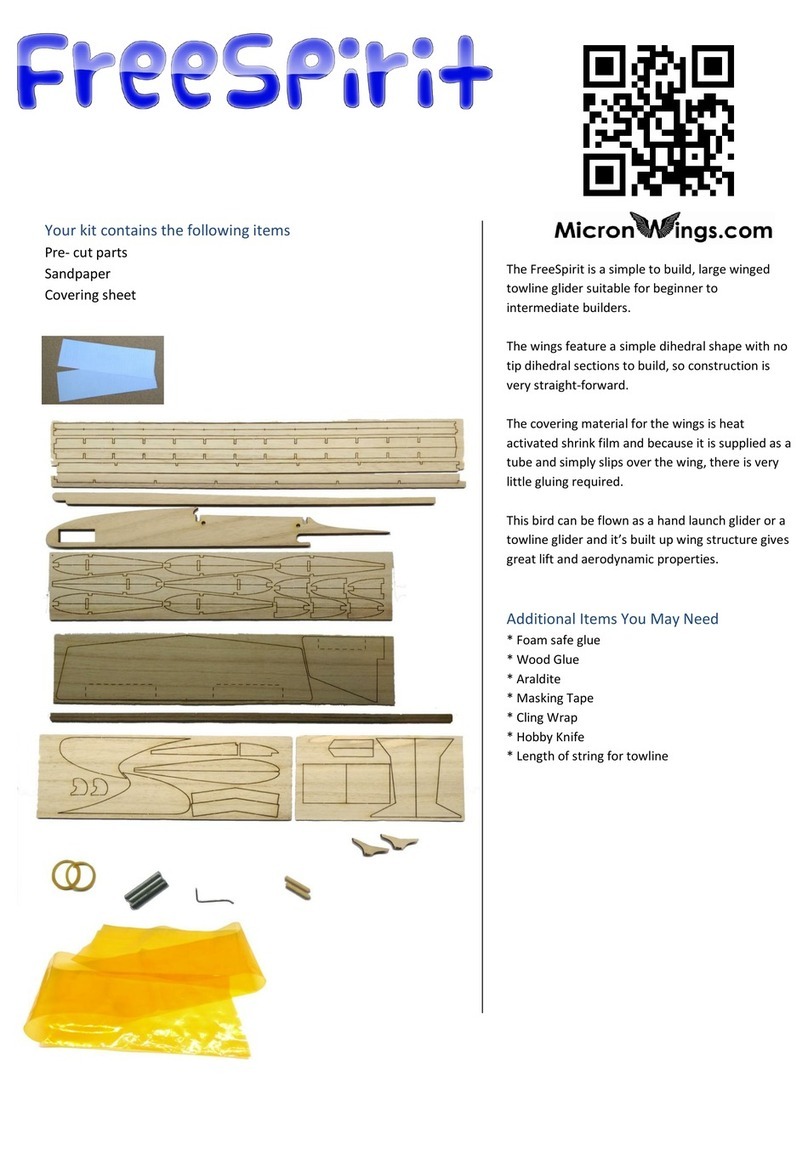
Other Micron Wings Toy manuals

Micron Wings
Micron Wings Student Flyer User manual

Micron Wings
Micron Wings FreeSpirit User manual

Micron Wings
Micron Wings Ezee Flyer User manual

Micron Wings
Micron Wings Soarer User manual

Micron Wings
Micron Wings Minimum RC A6M2 Zero User manual

Micron Wings
Micron Wings MINIMUM RC J3 CUB User manual

Micron Wings
Micron Wings Minimum RC F8F Rare Bear User manual

Micron Wings
Micron Wings Balsa Craft Kits LiteStick Manual

Micron Wings
Micron Wings Depron Bug Airframe Kit V2 Manual
Micron Wings
Micron Wings SkyFox User manual