manuals.online logo
Brands
  1. Home
  2. •
  3. Brands
  4. •
  5. Microtek
  6. •
  7. Digital Camera
  8. •
  9. Microtek MKT-1300a User manual

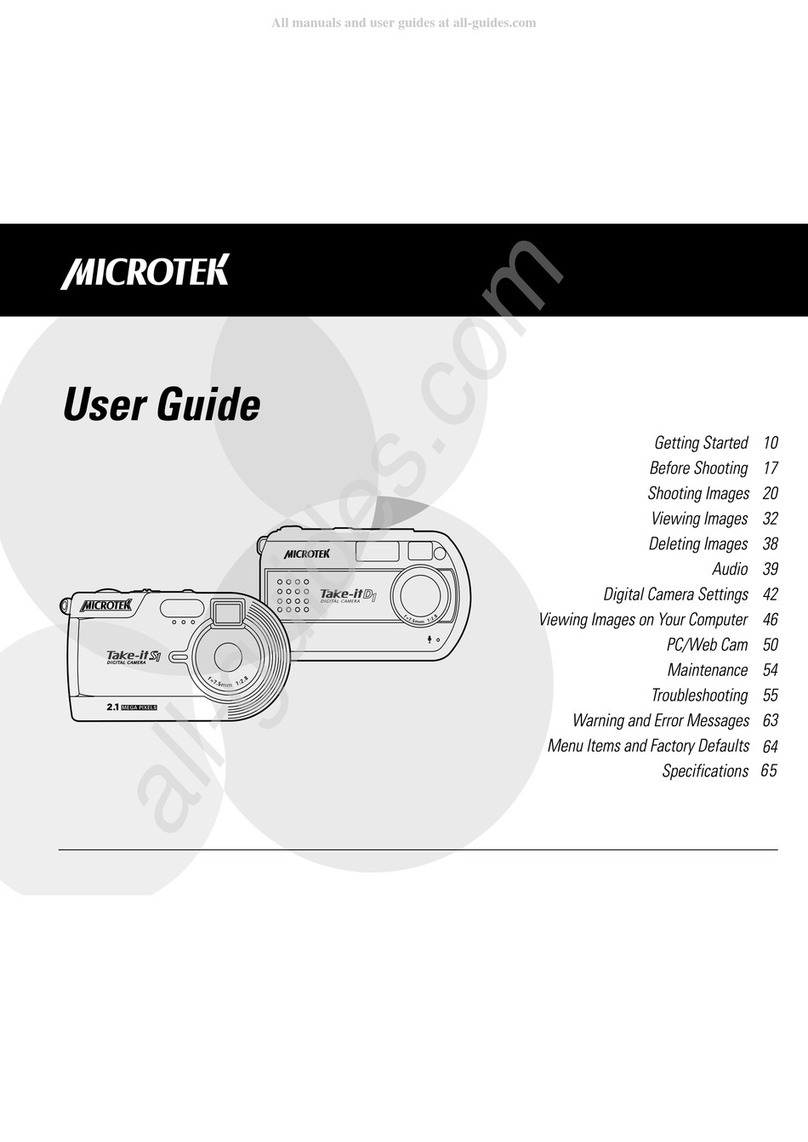
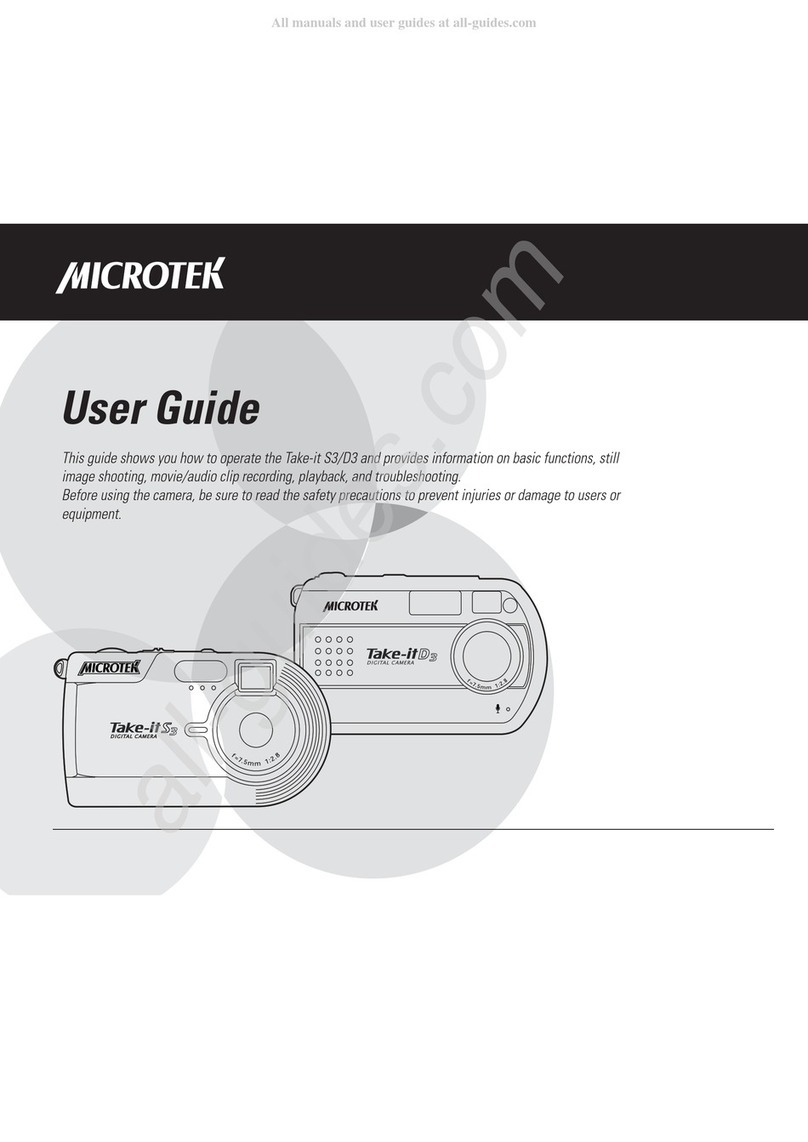
Microtek MKT-1300a User manual

EE
Copyright© 2003
Microtek International, Inc.
All rights reserved
Microtek® is a registered trademarks of
Microtek International, Inc. Macintosh®
and Apple® are registered trademarks
of Apple Computer, Inc. Windows® is
a registered trademark of Microsoft
Corporation. Adobe® and Acrobat® are
registered trademarks of Adobe
S stems Incorporated. All other
products or name brands are
trademarks of their respective holders.
Pictures ou ma acquire from an of
the bundled software and/or pictures,
or documents ou take a snapshot
ma be protected under cop right law.
The unauthorized use of such
materials could be a violation of the
rights of the cop right holder.
Jul 2003
Disclaimer of Warranty
Microtek does not guarantee the
content of an written materials or
software, and is not liable for losses
sustained b the purchaser arising
from the use or inabilit to use these
written materials, software or
equipment.
Warning
If ou take pictures of or use
cop righted material, ou ma violate
cop right laws. Microtek holds no
responsibilit for the use of Microteks
equipment to violate an such
cop right laws.
Microtek Lab, Inc.
16941 Keegan Avenue
Carson, CA 90746
Main: 310-687-5800
Fax: 310-687-5950
http://www.microtekusa.com
Microtek International, Inc.
6, Industr East Road 3
Science Based Industrial Park
Hsinchu, 30077, Taiwan
Tel: 886-3-5772155
Fax: 886-3-5772598
http://www.microtek.com
Microtek Europe B.V.
Klompenmakerstraat 76
3194DE Hoogvliet-RT
The Netherlands
Tel: 31-10-2425688
Fax: 31-10-2425699
http://www.microtekeurope.com
iii
Safety Precautions
Before ou use the camera, be sure
to read the following safet
precautions, which detail the proper
operation of the camera and its
accessories to prevent injuries or
damage to users or equipment.
This s mbol indicates
situations where
improper use of the
camera ma result in
harm to the camera
operator.
This s mbol indicates
situations where
improper use of the
camera ma result in
damage to the camera.
Children should not be allowed
to have access to the camera.
The could injure themselves with
inappropriate use of the camera or
b becoming entangled in the
carr ing strap. If a child swallows a
camera batter , get the child
medical attention.
Subjecting the camera to
water or an other liquid, or
allowing condensation to form, ma
start a fire or give the user an
electrical shock.
 If liquid gets inside the camera,
turn the camera power off b
removing the batter or
unplugging the power cord (with
dr hands).
 Allowing the camera to slowl
adjust to temperature changes
(as in transferring the unit from
outdoors to indoors) will help to
prevent condensation. Let an
condensation evaporate before
using the camera.
Exposing the camera to too
much heat ma warp the camera
casing or damage the batteries.
Batter damage ma result in fire,
burns or electrical shock.
Another source of possible burns is
heat from the flash or camera itself.
 Touching the flash after it has
been used extensivel can
cause burns.
 The camera bod itself ma
burn our hands if the camera
has been operated for a length
period of time.
Do not drop batteries or let
them be banged around. This could
damage the casings, causing the
batteries to leak.
 If the internal parts or
components of the batter
come into contact with our
e es or our mouth, flush the
affected site with water and get
medical help.
iv
 Do not short-circuit the batter
terminals and be sure to cover
the terminals before ou throw
batteries awa . If the terminals
contact metal, the ma
overheat and explode, causing a
fire.
Black or bright (red, green,
blue, and white) dots ma
sometimes appear on the LCD
screen. These are merel misfiring
pixels, and have no effect on the
recorded image.
If ou aim the camera at the
sun, or shoot the flash close to
someones e es, ou ma injure
our e esight or that of someone
else.
If ou see smoke or smell a
burning odor coming from our
camera, turn the camera off. If ou
continue to operate the camera, it
could cause a fire or give ou a
shock.
Do not clean the camera with
flammable liquids, as these ma
cause a fire.
Do not leave the camera in
humid or dust areas. Dust and
humidit can cause the camera to
short circuit, leading to a fire.
If the camera gets an where
near a strong magnetic field, it ma
not work correctl , or the pictures
taken ma be ruined or adversel
affected.
Use a soft, absorbent cloth to
clean the outside of our camera.
v
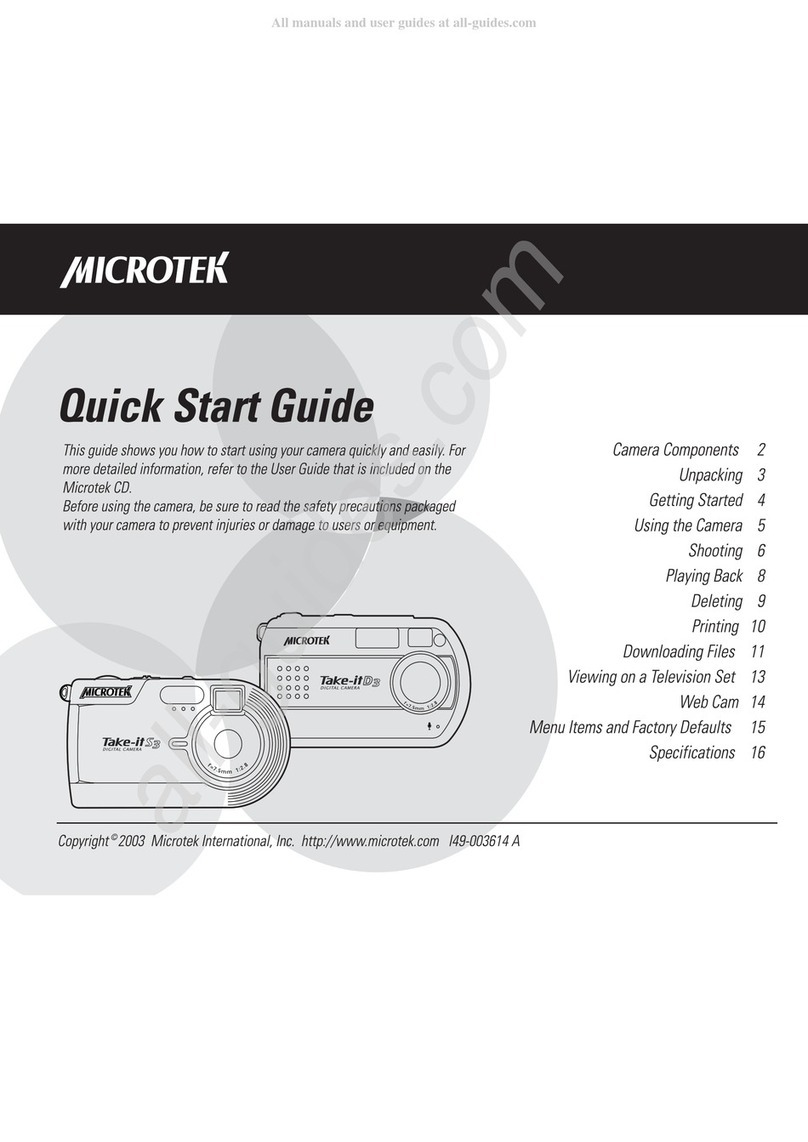
Table of Contents
Camera Overview .................... 1
Camera Package Contents ......... 2
Camera Components ................ 3
Front/Bottom View ............... 3
Rear View .......................... 4
LCD Screen Displa s ................ 5
Photo Mode ........................ 5
Movie Mode........................ 6
Audio Mode ........................ 7
Pla back Mode .................... 8
Getting Started
Attaching the Strap ................ 10
Loading the Batteries .............. 11
SD Memor Card Insertion ....... 13
Camera On/Off...................... 14
Setting the Date and Time ....... 15
Selecting the Language .......... 15
Formatting the SD Card .......... 16
efore Shooting
Using the Mode Switch ........... 17
LCD Screen On/Off ................ 17
Using the Menus .................... 18
Using the Multifunction Buttons 18
Using the Shutter Button ......... 19
Using the Viewfinder .............. 19
Holding the Camera ................ 19
Shooting Images
Shooting Still Images .............. 20
Using the Digital Zoom ............ 21
Using the Flash ...................... 22
Continuous Shooting ............... 23
Using the Self-Timer ............... 24
Customizing Shooting-related
Settings ............................... 25
Selecting Photo Size ........... 25
Selecting Photo Qualit ....... 26
Selecting the Shooting Drive
Mode ............................... 27
Adjusting the Exposure
Compensation ................... 28
Selecting the White Balance 29
Selecting the Sharpness ...... 30
Shooting Movies .................... 31
Viewing Images
Single-image Displa .............. 32
Nine-image Displa ................. 32
Magnif ing Images ................. 33
Using the Slide Show ............. 34
Rotating Images ..................... 35
Pla ing Movies ...................... 36
Television Viewing ................. 37
Deleting Images
Deleting the Current Image ...... 38
Deleting Selected Images ........ 38
Deleting All Images .............. 138
Audio
Recording Audio .................... 39
Pla ing Audio ........................ 40
Digital Camera Settings
Beep Adjustment ................... 42
Setting the Date .................... 42
Setting the Time .................... 42
Selecting the Video S stem ..... 43
Formatting the SD Card .......... 43
Digital Camera Reset .............. 43
Cop ing to the SD Card .......... 44
Selecting the Frequenc ......... 44
Auto Power Saving ................ 44
Selecting the Language .......... 45
vi
Viewing Images on Your
Computer
S stem Requirements ............. 46
A. Installing the Camera Driver . 47
B. Getting the Camera Read .. 47
C. Connecting the Camera ....... 48
D. Cop ing Images ................. 48
E. Viewing Images ................. 49
Value-bundled Software .......... 49
Appendices
A. PC/Web Cam .................... 50
B. Using the Batteries ............. 51
C. Using the SD Card .............. 53
D. Maintenance ..................... 54
E. Troubleshooting ................. 55
F. Warning and Error Messages 63
G. Menu Items and Factor
Defaults .......................... 64
H. Specifications .................... 65
vii
Federal Communications
Commission Interference
Statement
This equipment (MDC-TKS1CMOS
or ES230) has been tested and
found to compl with the limits for
a Class B digital device, pursuant to
Part 15 of the FCC rules. These
limits are designed to provide
reasonable protection against
harmful interference in a residential
installation. This equipment
generates, uses and can radiate
radio frequenc energ and, if not
installed and used in accordance
with the instructions, ma cause
harmful interference to radio
communications. However, there is
no guarantee that interference will
not occur in a particular installation.
If this equipment does cause
harmful interference to radio or
television reception, which can be
determined b turning the
equipment off and on, the user is
encouraged to tr to correct the
interference b one or more of the
following measures:
 Reorient or relocate the receiving
antenna.
 Increase the separation between
the equipment and receiver.
 Connect the equipment into an
outlet on a circuit different from
that to which the receiver is
connected.
 Consult the dealer or an
experienced radio/TV technician
for help.
Notes: A shielded USB interface
cable with ferrite core installed on
the camera connector end must be
used with this equipment.
Caution: Changes or modifications
not expressl approved b the
manufacturer responsible for
compliance could void the user's
authorit to operate the equipment.
This device complies with Part 15
of the FCC Rules. Operation is
subject to the following two
conditions: (1) This device ma not
cause harmful interference, and (2)
this device must accept an
interference received, including
interference that ma cause
undesired operation.
Responsible Part :
Loi Han
Microtek Lab, Inc.
16941 Keegan Avenue
Carson, CA 90746
USA
Phone: 310-687-5800
Fax: 310-687-5950
Tested to Comply
With FCC Standards
FOR HOME OR OFFICE USE

Camera Overview
Microtek's Take-it S1/D1 digital
cameras are equipped with a mass
storage function that enables you to
capture high resolution pictures and
see the results immediately Your
digital camera provides you with
the best photo- and movie-taking
experience possible and comes with
the latest features, including the
following:
 Still photos: Provides you with
full control in taking still photos,
allowing you precise handling
over image resolution, quality,
and sharpness, as well as plus
and minus Exposure Value (EV),
and white balance The camera
also features a 10-second timer
and continuous image capture
function
 Movies/Audio: Enables you to
record movie or audio clips of
unlimited length
 Storage: Accommodates an
external SecureDigital (SD)
storage memory card along with
the camera's internal memory,
enabling you to upgrade
memory capacity
 File management: Lets you
view/delete the still images and
movies on the cameras built-in
LCD, a television screen, or a
personal computer monitor
 Printing: Lets you print images
at home after transferring
images to a computer
Alternatively, you can have
images printed commercially by
supplying the pictures on
storage media such as an SD
card or a CD to a print shop
 PC camera: Lets you use the
camera as a PC/Web cam in
video conferencing mode by
connecting it to your computer,
using software such as
Microsoft Netmeeting, and
connecting to the Internet
Camera Package
Contents
Open your camera package and
check the components listed in your
packing list
If any component is missing,
contact Microtek Customer Service
1 Take-it S1/D1 Digital Camera
2 Strap
3 Two AA-sized Alkaline batteries
4 USB cable
5 Video cable
6 Microtek CD: Includes bundled
software and camera driver
7 Documentation: Includes Take-it
S1/D1 Quick Start Guide and
other inserts
8 Pouch
!
Camera Components
Front View
1 Flash (p 22)
2 Viewfinder (p 19)
3 Speaker
4 Lens
5 Microphone
6 Self-timer indicator (p 24)
Bottom View
1 Connector cover
2 AV-output connector (p 39)
3 USB connector (p 39, 46)
4 Tripod mount
5 Battery and SecureDigital
(SD) card cover
6 Battery compartment (p 11)
7 SD compartment (p 13)
8 Strap ring (p 10)
"
Rear View
1 POWER button (p 14)
2 Mode switch (p 17)
 Playback mode (p 32)
 Photo mode (p 20)
 / Movie/Audio mode (p 31, 39)
3 Shutter/OK button (p 19)
4 Multifunction/4-way arrow buttons (p 18)
 Up/ Zoom In (p 21, 33)
 Right/ Flash (p 22)
 Down/ Zoom Out/
Nine-image display (p 21, 32, 33)
 Left
5 MENU (Menu) button (p 18)
6 (Delete) button (p 38)
7 DISP (Display) button (p 17)
8 LCD screen (p 17)
9 READY/Flash charger LED
10 Viewfinder (p 19)
#
LCD Screen Display
Photo Mode
1 Photo Mode
2 Size
 - 2048x1536 pixels*
 - 1600x1200 pixels
 - 1280x960 pixels
 - 640x480 pixels
* Interpolated
3 Quality (Compression)
( Best / Fine/ Normal)
4 Flash mode
( Auto/ Auto with Red-eye Reduction/ Forced/ Forced
with Red-eye Reduction/ Off)
5 Battery status indicator
( Full/ Half/ Low)
6 SecureDigital (SD) card indicator
7 Number of pictures remaining
8 Digital zoom level
9 Sharpness
( Low/ Normal/ High)
10 Exposure Compensation (EV)
(/ / / / )
11 Drive mode
( Self-timer/ Continuous)
12 White Balance (WB)
( Auto/ Daylight/ Tungsten/ Fluorescent)
$
Movie Mode
Movie ormal Display
1 Movie mode
2 Battery status indicator
( Full/ Half/ Low)
3 SecureDigital (SD) card indicator
4 OK: Start (press the OK button to start recording)
5 STBY (Standby)
Movie Recording Display
1 Movie mode
2 OK: Stop (press the OK button to stop recording)
3 Elapsed recording time
4 Recording in progress
%
Audio Mode
Audio ormal Display
1 Audio mode
2 Battery status indicator
( Full/ Half/ Low)
3 SecureDigital (SD) card indicator
4 OK: Start (press the OK button to start recording)
5 STBY (Standby)
Audio Recording Display
1 Audio mode
2 OK: Stop (press the OK button to stop recording)
3 Elapsed recording time
4 Recording in progress
&
Playback Mode
1
Single-image Display ( ormal view)
1 Playback mode
2 Battery status indicator
( Full/ Half/ Low)
3 SecureDigital (SD) card indicator
4 Selected image
Single-image Display (Magnified view)
1 Playback mode
2 Battery status indicator
( Full/ Half/ Low)
3 SecureDigital (SD) card indicator
4 Selected image
5 Magnification level
(2X/3X/4X)
'
Movie Playing Display
1 Movie
2 OK: Stop (press the OK button to stop playing)
3 Selected movie
4 Elapsed movie playback time
Audio Playing Display
1 Audio
2 OK: Stop (press the OK button to stop playing)
3 Selected audio
4 Elapsed audio playback time

Getting Started
This section gets you started on
using your new digital camera right
away
Attaching the Strap
1 Thread the strap through the
camera strap ring as shown
2 Thread the other end of the
strap through the loop
OTE:
Take care when carrying the
camera by the strap to prevent the
camera from banging into other
objects and to prevent the strap
from becoming tangled

Loading the Batteries
Use two AA-sized Alkaline batteries
(supplied), or two AA-sized Nickel
Metal Hydride (NiMH) batteries as
the power source for the camera
1 Make sure that the camera is
turned off; then push the battery
cover in the direction of the
arrow to open the cover
2 Insert two AA-sized batteries
into the compartment
Ensure that the plus (+) and
minus () polarity of the
batteries matches the polarity
markings in the battery
compartment
3 Hold the batteries in place and
close the battery cover
securely
To remove the batteries, open the
battery cover and take the batteries
out
OTE:
 Do not mix old batteries with new
ones
 Do not mix different types of
batteries or batteries from
different manufacturers
 Remove batteries and store them
when not using the camera to
prevent the batteries from leaking
and damaging the camera
See the Appendix Using the
Batteries for details concerning the
use of batteries to power the
camera

Battery Status
Check the battery status
periodically to ensure that you have
a usable battery charge When the
LCD screen is on, it displays the
status of the battery charge to help
you gauge battery life and prevent
interruption during shooting and use
of the camera
The battery charge display consists
of a battery icon showing different
levels of charging When the
battery icon appears to be empty,
this indicates that the batteries need
to be replaced or charged
Full Battery is fully charged
Half Battery approaches half-life
(blinking) Low Battery low; replace or recharge soon
OTE:
External conditions or the type of battery used may affect the reliability of
the battery status display
!
SD Memory Card
Insertion
A SecureDigital (SD) card may be
inserted in the camera to provide
external memory in which to store
images Images are stored directly
onto the SD card when the card is
installed
1 Make sure that the camera is
turned off, then open the SD
card cover
2 Insert the SD card (not supplied)
into the compartment until you
hear a click
Ensure that the orientation of the
SD card matches the SD card
marking in the SD compartment
3 Close the SD card cover
securely
To remove the SD card, open the
cover, push the card in, and release;
the card pops out
OTE:
 Incorrect insertion of the SD card
will cause a memory error,
blocking you from storing any
data in the SD card
 You may lose or damage data if
you remove the SD card while it
is in operation
See Appendix Using the SD card
for details regarding the use of the
SD card to store images

This manual suits for next models

2

Other Microtek Digital Camera manuals

Microtek Take-it 350 User manual

Microtek

Microtek Take-it 350 User manual

Microtek Take-it 350 User manual

Microtek

Microtek Take-it 350 User manual

Microtek Take-it D3 User manual

Microtek

Microtek Take-it D3 User manual

Microtek Take-it D3 User manual

Microtek

Microtek Take-it D3 User manual

Microtek Take-it D3 User manual

Microtek

Microtek Take-it D3 User manual

Microtek Take-it S3 User manual

Microtek

Microtek Take-it S3 User manual

Microtek Take-it D1 User manual

Microtek

Microtek Take-it D1 User manual

Microtek MN100 User manual

Microtek

Microtek MN100 User manual

Microtek Take-it D1 User manual

Microtek

Microtek Take-it D1 User manual

Microtek Take-it D1 User manual

Microtek

Microtek Take-it D1 User manual

Microtek Take-it S1 User manual

Microtek

Microtek Take-it S1 User manual

Microtek MN100 User manual

Microtek

Microtek MN100 User manual

Microtek Take-it D3 User manual

Microtek

Microtek Take-it D3 User manual

Popular Digital Camera manuals by other brands

FujiFilm Finepix JX580 Specifications

FujiFilm

FujiFilm Finepix JX580 Specifications

Vivitar Vivicam 3725 user manual

Vivitar

Vivitar Vivicam 3725 user manual

Minox DC 4011 Product information

Minox

Minox DC 4011 Product information

Panasonic Lumix DMC-G2 brochure

Panasonic

Panasonic Lumix DMC-G2 brochure

GE X2600 Power PRO Series quick guide

GE

GE X2600 Power PRO Series quick guide

Trailer Eyes EyeCam TE-0117 Setup Instruction

Trailer Eyes

Trailer Eyes EyeCam TE-0117 Setup Instruction

Sony Cyber-shot DSC-S600 release note

Sony

Sony Cyber-shot DSC-S600 release note

Panasonic VARICAM LT White paper

Panasonic

Panasonic VARICAM LT White paper

MityCAM CMV50000 EVK user manual

MityCAM

MityCAM CMV50000 EVK user manual

Spark SR-C-S2-MIRA-V12-IR Quick installation guide

Spark

Spark SR-C-S2-MIRA-V12-IR Quick installation guide

Nikon D5500 Quick setup guide

Nikon

Nikon D5500 Quick setup guide

Sony DSC-WX300 instruction & operation manual

Sony

Sony DSC-WX300 instruction & operation manual

Smartwares CWR-30005 instruction manual

Smartwares

Smartwares CWR-30005 instruction manual

Samsung GX-20 - Digital Camera SLR Service manual

Samsung

Samsung GX-20 - Digital Camera SLR Service manual

Connects2Vision CAM-RT2.2 user manual

Connects2Vision

Connects2Vision CAM-RT2.2 user manual

Nordic DELTACO SH-IPC05 user manual

Nordic

Nordic DELTACO SH-IPC05 user manual

Weldex WDP-4602MXV Owner's instructions

Weldex

Weldex WDP-4602MXV Owner's instructions

Olympus FE-26 - Digital Camera - Compact Manual de instrucciones

Olympus

Olympus FE-26 - Digital Camera - Compact Manual de instrucciones

manuals.online logo
manuals.online logoBrands
  • About & Mission
  • Contact us
  • Privacy Policy
  • Terms and Conditions

Copyright 2025 Manuals.Online. All Rights Reserved.