manuals.online logo
Brands
  1. Home
  2. •
  3. Brands
  4. •
  5. Microtek
  6. •
  7. Digital Camera
  8. •
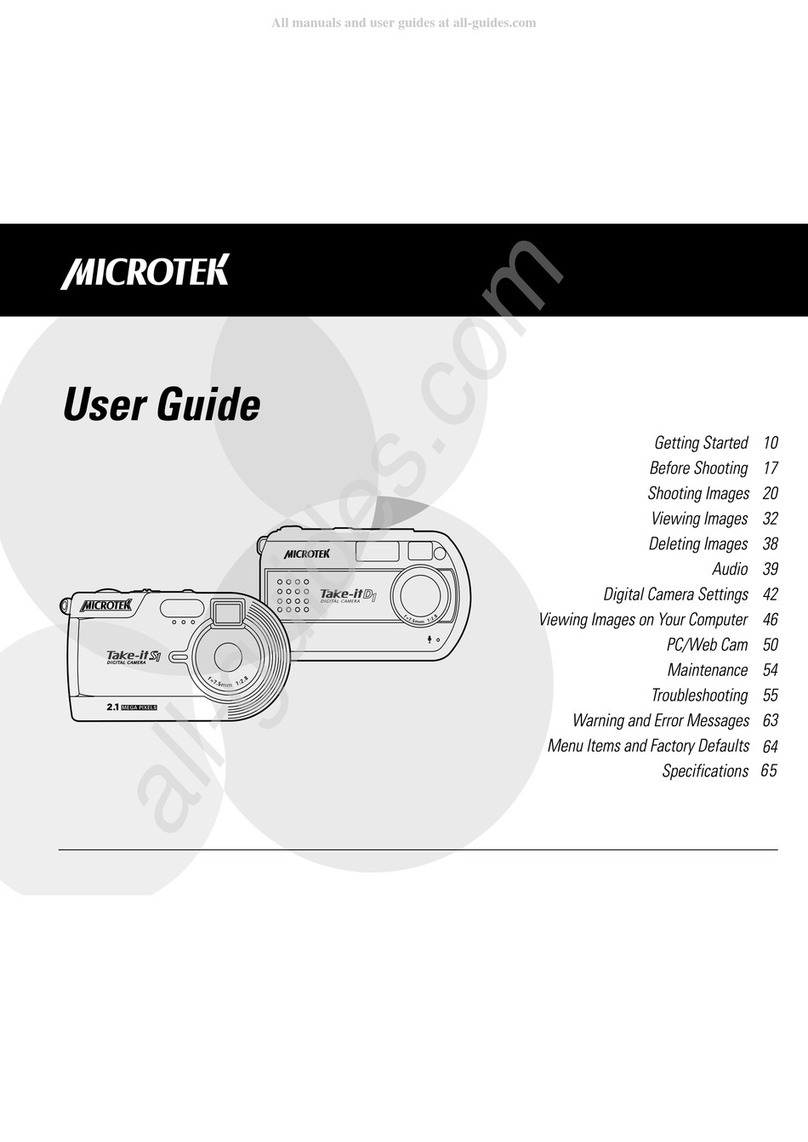
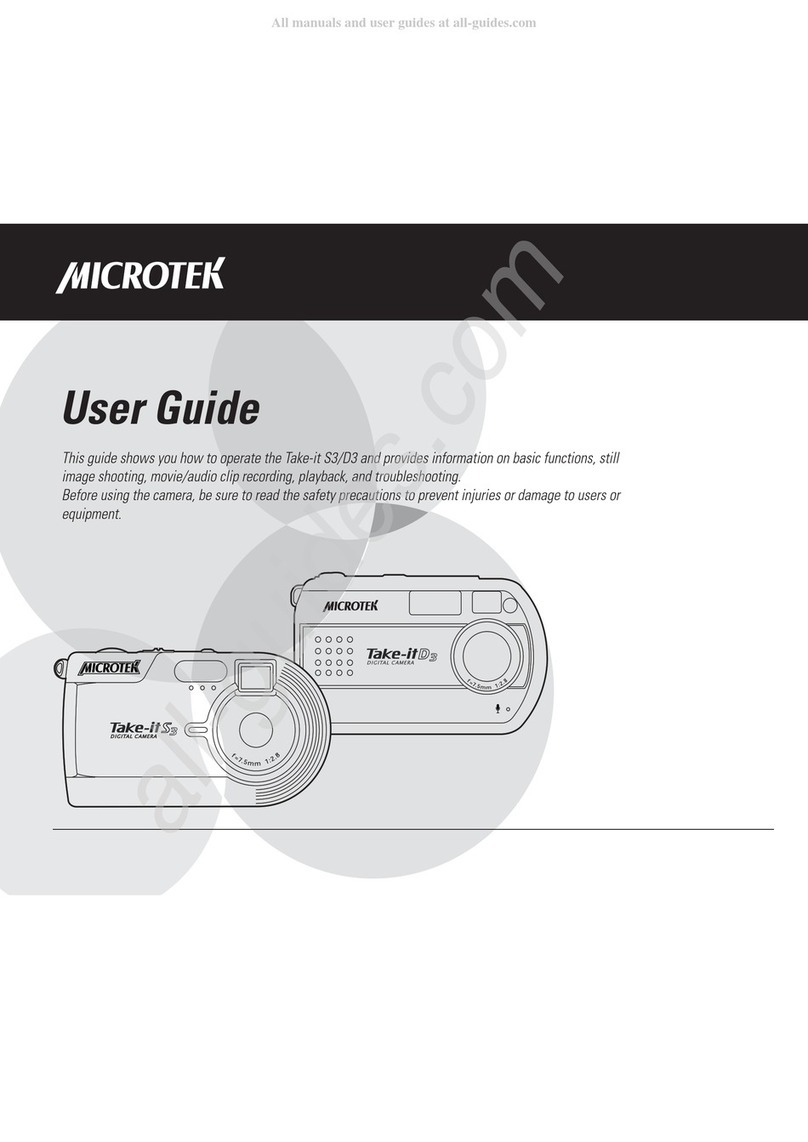
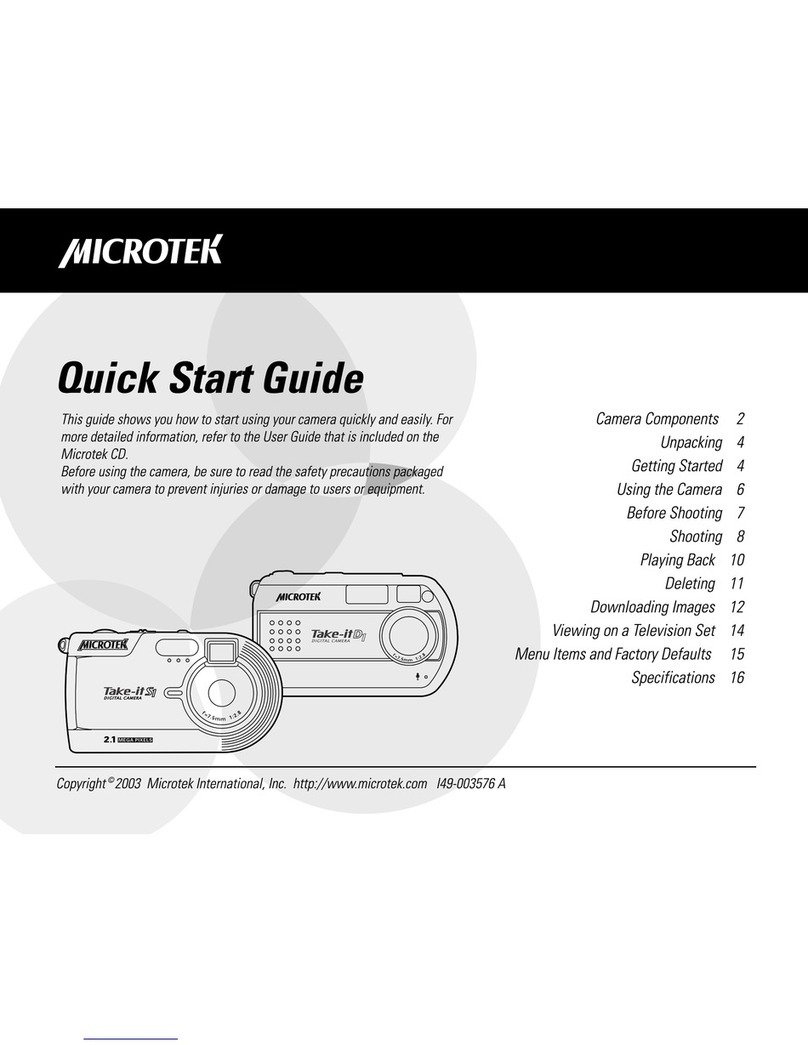
  9. Microtek Take-it D3 User manual

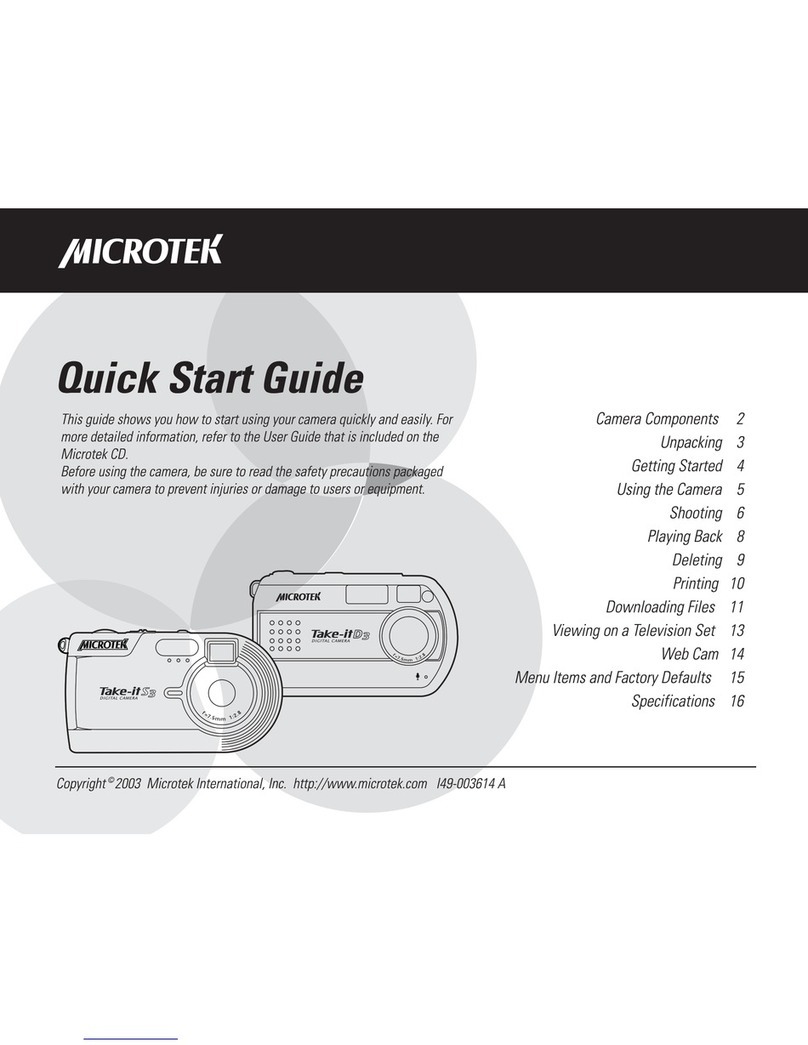
Microtek Take-it D3 User manual

Camera Components
Bottom View
1. Connector cover
2. AV-output connector
3. USB connector
4. Tripod mount
5. Battery and SecureDigita
(SD) card cover
6. Battery compartment
7. SD compartment
8. Strap ring
Front View
1. F ash
2. Viewfinder
3. Speaker
4. Microphone
5. Lens
6. Se f-timer indicator
Attach the Strap
Attach the Strap
!
Rear View
1. POWER button
2. Mode switch
 P ayback mode
 Photo mode
 / Movie/Audio mode
3. Shutter/OK button
4. Mu tifunction/
4-way arrow button
 Up/ Zoom In
 Down/ Zoom Out/
Nine-image disp ay
 Right/ F ash
 Left
5. MENU (Menu) button
6. (De ete) button
7. DISP (Disp ay) button
8. LCD screen
9. READY/F ash charger LED
10. Viewfinder
Unpacking the Camera
Open your camera package and check that you have
a of the components isted be ow.
If any component is missing, ca the Microtek Customer
Service immediate y.
Unpacking
USB cab e
Video cab e
Digita camera
Strap
Two AA-sized
A ka ine batteries
Microtek CD-ROM:
Inc udes bund ed
software and
camera driver
Pouch
Documentation:
Inc udes Take-it S3/D3 Quick
Start Guide and other inserts
"
2. Inserting the SD Card
Getting Started
1. Loading the Batteries
3. Turning the Camera On Off
Press the POWER button to turn the camera on. When
the camera is turned on, the green READY LED ights
up, and the LCD screen is activated as we .
Press the POWER button again to turn the camera off.
1. Ensure that the camera is
turned off; then push the
battery cover in the
direction of the arrow to
open it.
2. Insert two AA-sized
batteries (supp ied) into the
compartment.
Ensure that the p us (+)
and minus () po arity of the
batteries matches the
po arity markings in the
battery compartment.
2. Insert the SD card (not
inc uded) into the
compartment unti you
hear a c ick.
Ensure that the orientation
of the SD card matches the
SD card marking in the SD
compartment.
1. Ensure that the camera is
turned off, then open the
SD card cover.
POWER button
READY LED
3. Ho d the batteries in p ace
and c ose the battery cover
secure y.
3. C ose the SD card cover
secure y.
#
Switching Between Modes
Use the Mode switch to se ect the
desired mode for the camera.
 P ayback Mode
Disp ays the ast photo or movie taken, or the ast audio
recorded. A ows you to browse and de ete images and
movie/audio c ips.
 Photo Mode
A ows you to capture images with automatic exposure,
providing a fu se ection of manua contro s over a
camera settings.
 / Movie/Audio Mode
A ows you to record movie and audio c ips of un imited
ength (maximum ength dependent on the SD card).
Using the Multifunction Buttons
The Mu tifunction/4-way arrow buttons
provide Up, Down, Left, and Right arrow
se ections for navigating the Menu screens.
In addition, the buttons can perform
differing functions depending on the se ected camera
mode, as shown by the tab e be ow.
Button Playback Photo Movie/Audio
Zoom In/Previous/Pan Zoom In 
Next/Pan F ash 
Zoom Out/Next/Pan Zoom Out
Nine-image disp ay 
Previous/Pan  
Using the Menus
Press the ME U button to disp ay a menu for the
se ected mode. The Setup menu appears in a modes.
To access the menus:
1. Set the Mode switch to any camera mode.
2. Press the MENU button.
The se ected mode menu is disp ayed on the LCD
screen.
 Use the button to enter the function menu.
 Use the / button to navigate through function
items.
 Use the / button to togg e through options.
The se ected function/option is high ighted with
co or.
3. Press the MENU button twice to exit the mode
menu.
Using the Camera
MENU
$
Continuous Shooting Self-Timer
1. Set the Mode switch to Photo mode ( ).
2. Press the MENU button.
3. Use the 4-way arrow button to
se ect 
M
  Drive Mode, then
se ect   for continuous
shooting, or   for se f-timer.
4. Press the MENU button twice to exit the mode
menu.
The corresponding icon appears on the LCD screen.
Shooting Still Images
Shooting
5. Frame the subject using the LCD screen, and press
the Shutter button.
 For continuous shooting mode, three pictures are
taken in rapid succession after the Shutter button is
pressed.
 For se f-timer mode, the F ash LED starts b inking
when the se f-timer starts. The picture is taken 10
seconds after the Shutter button is pressed.
Continuous shooting mode and se f-timer mode switch
off after the picture has been taken.
1. Set the Mode switch to Photo
mode ( ).
Some settings are automatica y
adjusted and disp ayed on the
LCD screen.
2. Frame the subject using the
LCD screen.
3. Press the Shutter button.
The sti image is taken when a
beep sounds. Do not move the
camera unti you hear the beep.
The camera is ready to take
another picture when Busy
message vanishes from the LCD
screen.
Using the Digital Zoom
The / button a ows you to
resca e the image view without
changing the shooting distance.
1. Get ready to shoot.
2. Press the Zoom-in ( ) button
unti the desired zoom va ue
is reached.
3. Press the Shutter button.
The image is captured.
%
Shooting Movies
Movie mode a ows you to record movie c ips, the
ength of which is determined on y by the size of your
avai ab e memory. Movie c ips are recorded in AVI fi e
format at a reso ution of 320 x 240 pixe s and are
captured 20 frames per second.
Recording Audio
The Audio mode a ows you to record audio c ips of
un imited ength in the WAV fi e format ( imited by the
size of avai ab e memory).
1. Set the Mode switch to
Movie/Audio ( / )
The audio standby recording
screen appears.
2. Press the MENU button.
3. Use the 4-way arrow button
to se ect 
M
  Drive Mode,
then se ect  .
4. Press the MENU button twice
to exit the mode menu.
The audio standby recording
screen appears on the LCD
screen.
5. Press and re ease the Shutter
(OK) button.
Audio recording begins, with
the e apsed time shown on the
LCD screen.
6. Press the Shutter (OK) button
once more to stop recording.
1. Set the Mode switch to
Movie/Audio mode ( /).
The movie standby recording
screen appears.
2. Compose your shot using
the LCD screen.
3. Press and re ease the
Shutter (OK) button to
shoot.
Movie recording begins,
with the e apsed recording
time is shown on the LCD
screen.
4. Press the Shutter (OK)
button once more to stop.
The movie has been
recorded and the camera is
ready to shoot another
movie.
&
Playing Back Images or Audio
1. Set the Mode switch to P ayback mode ( ).
The most recent y recorded image or audio appears on
the LCD screen.
Playing Back
If the ast recording
you made is a sti
image, the sti image
wi fi up the entire
screen, and the fi e
name wi have the
JPG extension.
If the ast recording is
a movie, the first
frame of the movie
wi appear on the
screen, and the fi e
name wi have the
AVI extension.
If the ast recording is
an audio recording,
the audio wi be
shown on the screen,
and the fi e name wi
have the WAV
extension.
2. Use the / arrow button to se ect the image or
audio you want to p ay back.
3. Press the Shutter (OK) button.
P ayback of the movie or audio fi e begins, with the
e apsed time shown on the LCD screen.
Press the Shutter (OK) button once more to stop the
movie or audio p ayback.
Nine-image Display
This feature ets you view images as a composite
disp ay of nine images.
1. Set the Mode switch to P ayback mode ( ).
2. Press the / button.
 Use the 4-way arrow button to se ect a different
image.
 Press the Shutter (OK) button to return to sing e-
image disp ay.
/
Playback Zoom
This feature ets you en arge a captured image at up to
four times the origina viewing size.
1. Se ect a sti image you want to magnify.
2. Press the button to zoom in and the ( /) button
to zoom out.
/
'
This feature ets you remove images or audio from the
camera's memory, a owing you to free up space in
which to store future photos and recordings.
Deleting Current
1. In the P ayback mode, press the
(De ete) button.
A confirmation screen appears.
2. Use the / button to se ect
OK, then press the Shutter
(OK) button.
The disp ayed recording is permanent y removed from
memory and wi no onger be avai ab e for p ayback.
Deleting Selected
1. In the P ayback mode, press the button.
A nine-image disp ay appears.
2. Use the 4-way arrow button to
se ect the unwanted recording.
3. Press the (De ete) button.
A trash icon ( ) appears and the
se ected recordings border co or
changes to red, indicating that the
se ected recording is checked and
can be de eted.
Use the 4-way arrow button to
se ect more fi es to de ete if so
desired.
4. Press the (De ete) button again.
A confirmation screen appears,
a owing you to de ete the se ected
recordings or to cance the checked
recording.
5. Se ect De ete Se ected, then
press the Shutter (OK) button.
The se ected recordings are removed from memory and
wi no onger be avai ab e for p ayback.
Deleting All
1. In the P ayback mode, press the MENU button.
2. Use the 4-way arrow button to se ect    Erase
A .
When se ected, the OK? setting
appears as we and is high ighted
in red, a owing you to erase a
images.
3. Press the Shutter (OK) button.
A confirmation screen appears,
a owing you to erase a or to
cance .
4. Use the / button to se ect
OK, then press the Shutter
(OK) button.
A images and audio are removed from memory and wi
no onger be avai ab e for viewing.
Deleting
f

This feature ets you add a DPOF (Digita Print Order
Format) print mark on stored images for professiona
print services or for a DPOF printer.
1. In the P ayback mode, press the MENU button.
2. Use the 4-way arrow button to
se ect    Print.
When se ected, the OK? option is
se ected as we and is high ighted
in red.
3. Press the Shutter (OK) button.
A confirmation screen appears,
a owing you to print a images, to
print the se ected images, or to
cance .
Printing Selected
1. In the Print Pictures
confirmation screen, choose
Se ect, then press the OK
button.
A nine-image disp ay appears,
a owing you to se ect the images
you wish to print.
In this nine-image disp ay, the
se ected image is bordered in ye ow
and has a confirmaiton screen.
Use the / button to set the
number of copies if desired.
2. Use the / button to se ect
more fi es to print if so desired.
3. Press the MENU button twice to
exit the mode menu.
Printing All
1. In the Print Pictures
confirmation screen, use the 4-
way arrow button to se ect A ,
then press the OK button.
A confirmation screen appears.
2. Use the / button to set the
number of copies, then press the
OK button.
A nine-image disp ay appears when
the Busy message vanishes from
the LCD screen. You can see a the
stored images marked with a DPOF
print mark.
3. Press the MENU button twice to
exit the mode menu.
Printing
f
01
03
02
01
01
01
01
01
01
01
01
01 01 01

Downloading Files
System Requirements
 Co or disp ay with 24-bit co or output capabi ity
 CD-ROM drive (for insta ing software)
 128MB RAM or more recommended
PC  Windows 98/98SE/2000/Me/XP
 Pentium PC or higher with USB port
Mac  Mac OS 9.x; Mac OS X 10.1.3 or ater
 App e Macintosh Series with bui t-in USB port
OTE: If you use Windows 98/98SE, p ease fo ow the
steps be ow to insta the camera driver first:
1. Turn on your computer and insert the supp ied
Microtek CD-ROM in the CD-ROM drive.
The Microtek Software Insta er screen appears
automatica y.
2. C ick the Camera Driver button and fo ow the on-
screen instructions to insta the driver.
3. C ick the Exit button after the Microtek Software
Insta er has successfu y insta ed the camera driver.
4. Restart your computer.
To view the recorded images on your computer,
fo ow the steps as out ined be ow in sections A, B,
C, and D.
A. Getting the Camera Ready
1. Make sure the SD card containing the images you
wish to down oad is inserted in the camera.
2. Make sure that the USB Switch is switched to USB
Mode.
If the USB Switch is set to the incorrect mode, you wi
need to do the fo owing:
a. Press the MENU button to enter
the Setup mode ( ).
b. Se ect    USB Switch, then
se ect USB Mode.
c. Press the MENU twice to exit the
mode menu.
B. Connecting the Camera
1. Make sure your computer is turned on.
2. Connect the camera to the
computer using the provided USB
cab e.
 Connect one end of the USB
cab e to the cameras USB
connector.
 Connect the other end of the
USB cab e to a free USB
connector on your PC.
In a few moments, your computer
wi automatica y detect the camera.
A USB Mode screen appears,
indicating that USB connection is comp ete.

C. Copying Files
1. Windows users: Doub e-c ick on the My Computer
icon, then doub e-c ick Removab e Disk.
A fo der (DCIM) containing the contents of the
cameras interna memory or the SD card on the
computer appears.
2. Doub e-c ick the DCIM icon, then doub e-c ick the
fo der named 100_MDSC to disp ay the fi es.
Fi e names vary, depending upon the type of
recording being described.
Mac users: Doub e-c ick the new created icon on
the desktop.
Mac OS X Mac OS 9.X
With an SD card insta ed
Mac OS X Mac OS 9.X
OTE: When the SD card is inserted in the camera, the
system reads the contents of the SD card on y. When
the SD card in not inserted, the system reads the
contents of the cameras interna memory.
3. Drag and drop the fi es into any
fo der on your hard disk.
Windows 98/98SE/2000/Me Windows XP
Without an SD card insta ed D. Browsing Files
Doub e-c ick a fi e in the fo der that contains the fi es
down oaded from the camera. The fi e opens with your
systems defau t image, audio or video app ication.
OTE: The software bund ed with your camera provides
user-friend y too s for image editing and management,
a owing you to open, view, print, emai , up oad to web or
manage transferred images. For more detai s, refer to the
CD-ROM accompanying your camera.
!
Viewing on a Television Set
You can view the images on a TV monitor instead of
the LCD screen. B. Viewing the Image on a TV Set
1. Make sure that both TV set and camera are turned
off.
2. Connect the camera to your TV set, using the
provided Video cab e.
 Connect one end of the Video
cab e to the cameras TV-output
connector.
To view recorded images on a TV, se ect the video
output system first.
 Connect the other end of the
cab e to the Video In jack of the
TV set.
3. Turn on the TV set and se ect the channe through
the Video Input.
4. Power on the camera, set the Mode switch to
P ayback mode ( ).
The ast recorded image appears on the TV monitor.
A. Selecting a Video Output System
1. Press the MENU button to enter the Setup mode
().
2. Use the 4-way arrow button to
se ect    Video Out, then
se ect NTSC or PAL.
TSC: For USA, Canada,
Mexico, Taiwan, Korea, Japan,
etc.
PAL: For Europe, Austra ia, China, Singapore, etc.
3. Press the Shutter (OK) button twice to exit the
mode menu.
"
You can use the camera as a Web Cam, it a ows you
to send ive video streams to a Web page. To use the
camera as a Web Cam, you wi need a computer, the
appropriate software, and an Internet connection.
To set up the camera for use as a Web Cam, fo ow the
steps out ined be ow.
1. Insta the Camera Driver.
a) Turn on your computer, and insert the supp ied
Microtek CD-ROM into the CD-ROM drive.
b) When the Microtek Software Insta er screen comes
up, c ick Camera Driver, then fo ow the on-screen
instructions to insta .
c) C ick EXIT on the Microtek Software Insta er
screen when the driver has been insta ed.
d) Restart your computer.
2. Set the camera to Web Cam mode.
a. Press the MENU button to enter
the Setup mode ( ).
b. Se ect    USB Switch, then
se ect Web Cam.
c. Press the MENU twice to exit the
mode menu.
3. Connect the camera to your computer, using the
provided USB cab e.
 Connect one end of the USB
cab e to the cameras USB
connector.
Web Cam (Windows Only)
 Connect the other end of the
USB cab e to the USB connector
of your computer.
In a few moments, your computer wi automatica y
detect the camera.
A Web Cam screen appears, indicating that
connection is comp ete.
4. Position your camera to the person being
te econferenced what you want to show.
5. Launch your Web camera software (e.g., Microsoft
Net Meeting) and start the video conferencing
function. If the software permits video recording,
you can save as recorded video in a fi e for ater
use.
6. When finished, disconnect your camera from the
computer.
#
Menu Items and Factory Defaults
The disp ayed menu functions differ depending on the se ected camera mode, with the camera disp aying on y the
functions that can be adjusted for that mode. In the tab e be ow, defau t settings are indicated with an asterisk (*).
Photo Menus Options Description
Size , *, , , Se ects the pixe recording size for images
Qua ity , *, Adjusts the compression rate for images
Drive Mode , *, Togg es among Se f-timer, Norma , and Continuous shooting modes
EV Compensation -2.0, -1.5, -1.0, 0.0*, +0.5, +1.0, Compensates for extreme differences between background and foreground ighting
+1.5, +2.0
White Ba ance *, , , , Adjusts the White Ba ance according to the ight conditions for the recording
Sharpness , *, Adjusts the image out ine for images
Voice Memo On, Off* Records a voice memo for a captured image
Movie/Audio Menus Options Description
Drive Mode *, Togg es between Movie and Audio recording modes
White Ba ance *, , , , Adjusts the White Ba ance according to the ight conditions for the recording
Playback Menus Options Description
S ide Show OK? P ays back a the stored images in a continuous s ide show
Erase A OK? Erases a recorded images and movie/audio c ips
Rotation OK? Rotates pictures up to 270 degrees
Print OK? Adds a DPOF print mark on the recording for professiona print services to determine
which prints are to be printed at a photofinisher
Setup Menus Options Description
Brightness , I, II*, III, IIII Adjusts the brightness eve of the LCD screen
Beep On*, Off Adjusts the sound produced by the camera
Date yyyy/mm/dd Sets the date for the camera
Time 00:00:00 (hr/min/sec) Sets the time for the camera
Date Stamp On, Off* Stamps the time on the captured images
Video Out NTSC*, PAL Seects your video output system
Format OK? Formats the SD card
Reset OK? Resets the function settings to their defau t configurations
Copy to SD OK? Copies the data stored in interna memory to the SD card
Frequency 50HZ, 60HZ* Sets the power frequency to accommodate oca AC power
Power Saving On*, Off Sets the camera to power off after two minutes of inactivity
Language Eng ish*, Japanese, Simp ified Chinese, Sets the LCD anguage
Traditiona Chinese, German, French, Ita ian, Spanish
USB Switch Web Cam, USB Mode* Togg es between USB Mode and Web Cam modes
M
M
$
Specifications
Image Sensor 3.21 megapixe s CMOS
Sensor Size 1/2
Reso ution  Sti image:
2560x1920 (interpo ated),
2048x1536, 1600x1200, 1280x960,
640x480 pixe s
 Movie c ips: 320 x 240 pixe s
Image Ratio (w:h) 4 : 3
Lens Aperture F2.8
Foca Length f=7.5 mm
(35 mm equiva ent: 38 mm)
Digita Zoom 4X
P ayback Zoom 4X
Focus Range 3.28 ft. (1 m) to infinity
LCD screen 1.5" screen size, TFT LCD type
Viewfinder Optica
White Ba ance Auto, Day ight, C oud, Tungsten,
F uorescent
Exposure
Exposure Adjustment -2.0 EV to +2.0 EV in 0.5 EV step
Exposure Metering Fu -zone Average
Shutter Speed 1/8  1/4000 sec.
Sensitivity Equiva ent ISO 100
F ash
Bui t-in F ash Fixed
F ash Modes Auto, Auto with Red-eye reduction,
Forced f ash, Forced f ash with
Red-eye reduction, F ash off
F ash Range 3.28 - 6.56 ft. (1 to 2.0 m)
Continuous Shooting 3 images in sequence
Se f-timer 10 sec. de ay
Movie C ip 320 x 240 pixe s; 20 fps;
un imited ength (maximum ength
dependent on SD card)
Audio C ip Un imited ength (maximum ength
dependent on SD card)
Fi e Formats  Sti images: JPEG (Exif 2.2)
 Movie c ips: AVI
 Audio c ips: WAV
Print Format DPOF (Digita Print Order Format)
Qua ity Leve s Best, Fine, Norma
Storage Media (Externa ) SD (SecureDigita ) card support
Storage Inc uded 8 MB interna f ash memory
Driver USB mass storage device driver
I/O Termina s (Connectivity) USB 1.1, AV output (Video Out)
Video Output NTSC, PAL
Power Saving 2 min.
Power Source Two AA-sized A ka ine or
rechargeab e NiMH batteries
Weight
Take-it S3: Approx. 3.5 oz. (100 g)
Take-it D3: Approx. 4.2 oz. (120 g)
Dimensions
Take-it S3: 4.1 x 2.3 x 1.3 (103 x 58 x 32 mm)
Take-it D3: 3.7 x 2.2 x 1.3 (95 x 56 x 32 mm)
Tripod Mount Yes
Microphone Yes
Speaker Yes
Environment
Operating Temperature: 32° to 104° F (0° to 40° C)
Re ative Humidity: 0 to 85%
Storage Temperature: 14° to 140° F (-10° to 60° C)

Other manuals for Take-it D3

3

This manual suits for next models

1

Other Microtek Digital Camera manuals

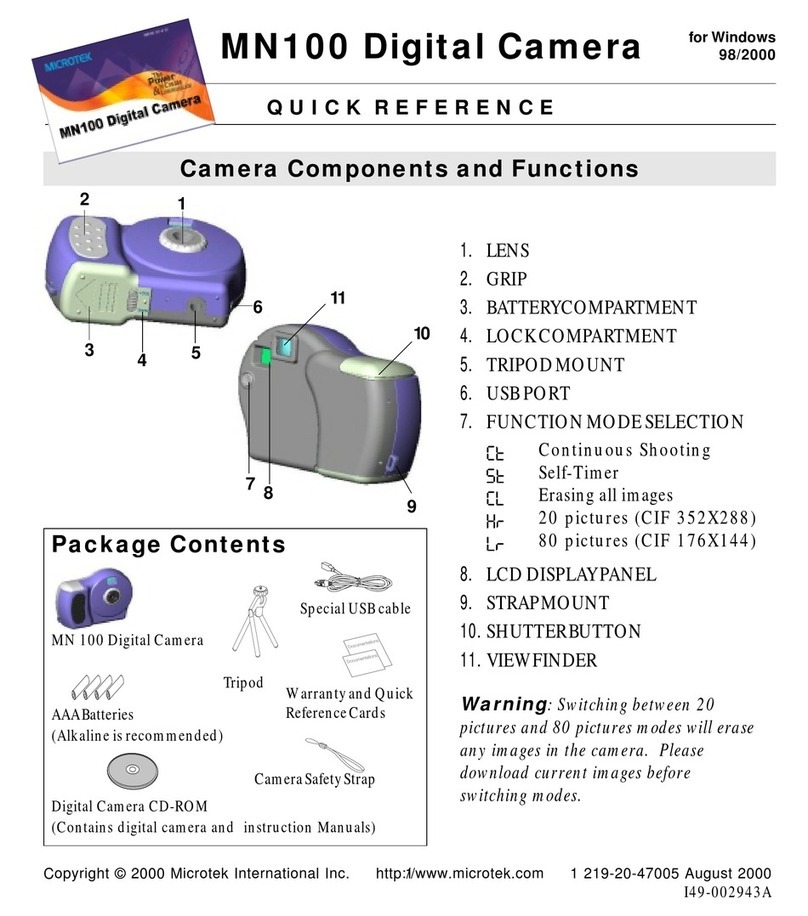
Microtek MN100 User manual

Microtek

Microtek MN100 User manual

Microtek Take-it 350 User manual

Microtek

Microtek Take-it 350 User manual

Microtek Take-it D1 User manual

Microtek

Microtek Take-it D1 User manual

Microtek MN100 User manual

Microtek

Microtek MN100 User manual

Microtek Take-it D3 User manual

Microtek

Microtek Take-it D3 User manual

Microtek Take-it D1 User manual

Microtek

Microtek Take-it D1 User manual

Microtek Take-it D3 User manual

Microtek

Microtek Take-it D3 User manual

Microtek Take-it S1 User manual

Microtek

Microtek Take-it S1 User manual

Microtek Take-it 350 User manual

Microtek

Microtek Take-it 350 User manual

Microtek Take-it D1 User manual

Microtek

Microtek Take-it D1 User manual

Microtek MKT-1300a User manual

Microtek

Microtek MKT-1300a User manual

Microtek Take-it D3 User manual

Microtek

Microtek Take-it D3 User manual

Microtek Take-it S3 User manual

Microtek

Microtek Take-it S3 User manual

Popular Digital Camera manuals by other brands

FujiFilm Finepix JX580 Specifications

FujiFilm

FujiFilm Finepix JX580 Specifications

Vivitar Vivicam 3725 user manual

Vivitar

Vivitar Vivicam 3725 user manual

Minox DC 4011 Product information

Minox

Minox DC 4011 Product information

Panasonic Lumix DMC-G2 brochure

Panasonic

Panasonic Lumix DMC-G2 brochure

GE X2600 Power PRO Series quick guide

GE

GE X2600 Power PRO Series quick guide

Trailer Eyes EyeCam TE-0117 Setup Instruction

Trailer Eyes

Trailer Eyes EyeCam TE-0117 Setup Instruction

Sony Cyber-shot DSC-S600 release note

Sony

Sony Cyber-shot DSC-S600 release note

Panasonic VARICAM LT White paper

Panasonic

Panasonic VARICAM LT White paper

MityCAM CMV50000 EVK user manual

MityCAM

MityCAM CMV50000 EVK user manual

Spark SR-C-S2-MIRA-V12-IR Quick installation guide

Spark

Spark SR-C-S2-MIRA-V12-IR Quick installation guide

Nikon D5500 Quick setup guide

Nikon

Nikon D5500 Quick setup guide

Sony DSC-WX300 instruction & operation manual

Sony

Sony DSC-WX300 instruction & operation manual

Smartwares CWR-30005 instruction manual

Smartwares

Smartwares CWR-30005 instruction manual

Samsung GX-20 - Digital Camera SLR Service manual

Samsung

Samsung GX-20 - Digital Camera SLR Service manual

Connects2Vision CAM-RT2.2 user manual

Connects2Vision

Connects2Vision CAM-RT2.2 user manual

Nordic DELTACO SH-IPC05 user manual

Nordic

Nordic DELTACO SH-IPC05 user manual

Weldex WDP-4602MXV Owner's instructions

Weldex

Weldex WDP-4602MXV Owner's instructions

Olympus FE-26 - Digital Camera - Compact Manual de instrucciones

Olympus

Olympus FE-26 - Digital Camera - Compact Manual de instrucciones

manuals.online logo
manuals.online logoBrands
  • About & Mission
  • Contact us
  • Privacy Policy
  • Terms and Conditions

Copyright 2025 Manuals.Online. All Rights Reserved.