Miele S 290 series User manual

Operating instructions
Vacuum cleaners
S 240 / S 290 series
To avoid the risk of accidents or damage
to the appliance, it is essential to read these
instructions before using it for the first time.
These operating instructions apply to
S 240 / S 290 series vacuum cleaners
as well as to other models
which are distinguished by
names rather than numbers. M.-Nr. 05 783 431
en-GB

Caring for the environment
Description of the appliance
Warning and Safety instructions
Preparing for use
Accessories supplied
Floorhead........................................................13
Crevice nozzle ....................................................13
Upholstery nozzle .................................................13
Operation
Unwinding and rewinding the mains cable ..............................14
Switching on and off ...............................................14
Regulating the suction ..............................................15
Opening the air inlet valve ...........................................16
Transportation and storage ..........................................17
Park system ......................................................17
Dustbag change indicator ...........................................18
Maintenance and care
When to change the dustbag and filters ................................19
Purchasing new dustbags and filters ..................................19
Ordering the correct dustbags and filters ...............................19
To replace the dustbag and filters.....................................20
Changing the thread lifters ..........................................22
Cleaning and care
Problem solving guide
After sales service
Optional accessories
Electrical connection for the UK
Contents
2

Disposal of packing material
The transport and protective packing
has been selected from materials which
are environmentally friendly for disposal
and can normally be recycled.
Ensure that any plastic, wrappings,
bags etc. are disposed of safely and
kept out of the reach of babies and
young children. Danger of suffocation.
Rather than just throwing these
materials away, please recycle them.
Disposing of the dustbag and
filters
These are made from environmentally
friendly materials, and can be disposed
of with the normal household waste, as
long as they have been used
exclusively for general household dust.
Disposal of your old appliance
Electrical and electronic appliances
often contain materials which, if
handled or disposed of incorrectly,
could be potentially hazardous to
human health and to the environment.
They are, however, essential for the
correct functioning of your appliance.
Please do not therefore dispose of it
with your household waste.
Please dispose of it at your local
community waste collection / recycling
centre and ensure that it presents no
danger to children while being stored
for disposal.
Caring for the environment
3

Description of the appliance
4

1 Mains cable with plug (plug varies depending on country)
2 Cable rewind
3 Suction power selector *
4 On/Off switch
5 Release button for accessories compartment
6 Dustbag change indicator
7 Elbow
8 Dust compartment lid catch
9 Hand piece
10 Air inlet valve
11 Locking button
12 Suction tube *
13 Slide control *
14 Fold-out suction tube holder *
15 Carrying handle
16 Park system
17 Floorhead
18 Dustbag
19 Dust compartment filter (for motor protection)
20 Exhaust filter (SUPER air clean)
Those features marked *depend on the model and may vary or not be available
on your model.
Description of the appliance
5

This vacuum cleaner meets statutory
safety requirements. Improper use
can, however, lead to personal injury
and material damage.
To avoid the risk of accidents and
damage to the vacuum cleaner,
read these instructions carefully
before using it for the first time. They
contain important notes on its safety,
operation and maintenance.
Keep these instructions in a safe
place and ensure new users are
familiar with the content. Pass them
on to any future owner.
Always disconnect the vacuum
cleaner from the mains supply when
you have finished using it, as well as
for maintenance work and cleaning.
Switch it off at the wall socket and
unplug it. If using the ACCU NOVA
powerbrush, switch this off as well.
Correct application
This vacuum cleaner must only be
used for domestic household
purposes to vacuum dry floor surfaces.
Do not use on people or animals.
Any other usage, modification or
alteration is at the owner's risk and
could be dangerous.
The manufacturer cannot be held liable
for damage resulting from improper or
incorrect use of the appliance.
This vacuum cleaner is not intended
for use by persons (including
children) with reduced physical, sensory
or mental capabilities, or lack of
experience or knowledge, unless they
have been given supervision or
instruction concerning its use by a
person responsible for their safety.
Safety with children
This vacuum cleaner is not a toy!
To avoid the risk of injury do, keep
children well away, and do not allow
them to play with it or to use the
controls. Supervise children whilst you
are using it.
Older children may only use the
vacuum cleaner if its operation has
been clearly explained to them, and they
are able to use it safely, recognising the
dangers of incorrect use.
Technical safety
Ensure that the connection data on
the data plate (voltage and
frequency) match the mains electricity
supply. It is essential that they match to
avoid damage to the appliance.
The plug must be fitted with a 13 A
fuse (UK).
Before using the vacuum cleaner,
check for any signs of damage. Do
not use a damaged appliance: it could
be dangerous.
The socket on the vacuum cleaner
(depending on model) must only
be used for the Miele Electrobrush
specified for use with this appliance.
Warning and Safety instructions
6

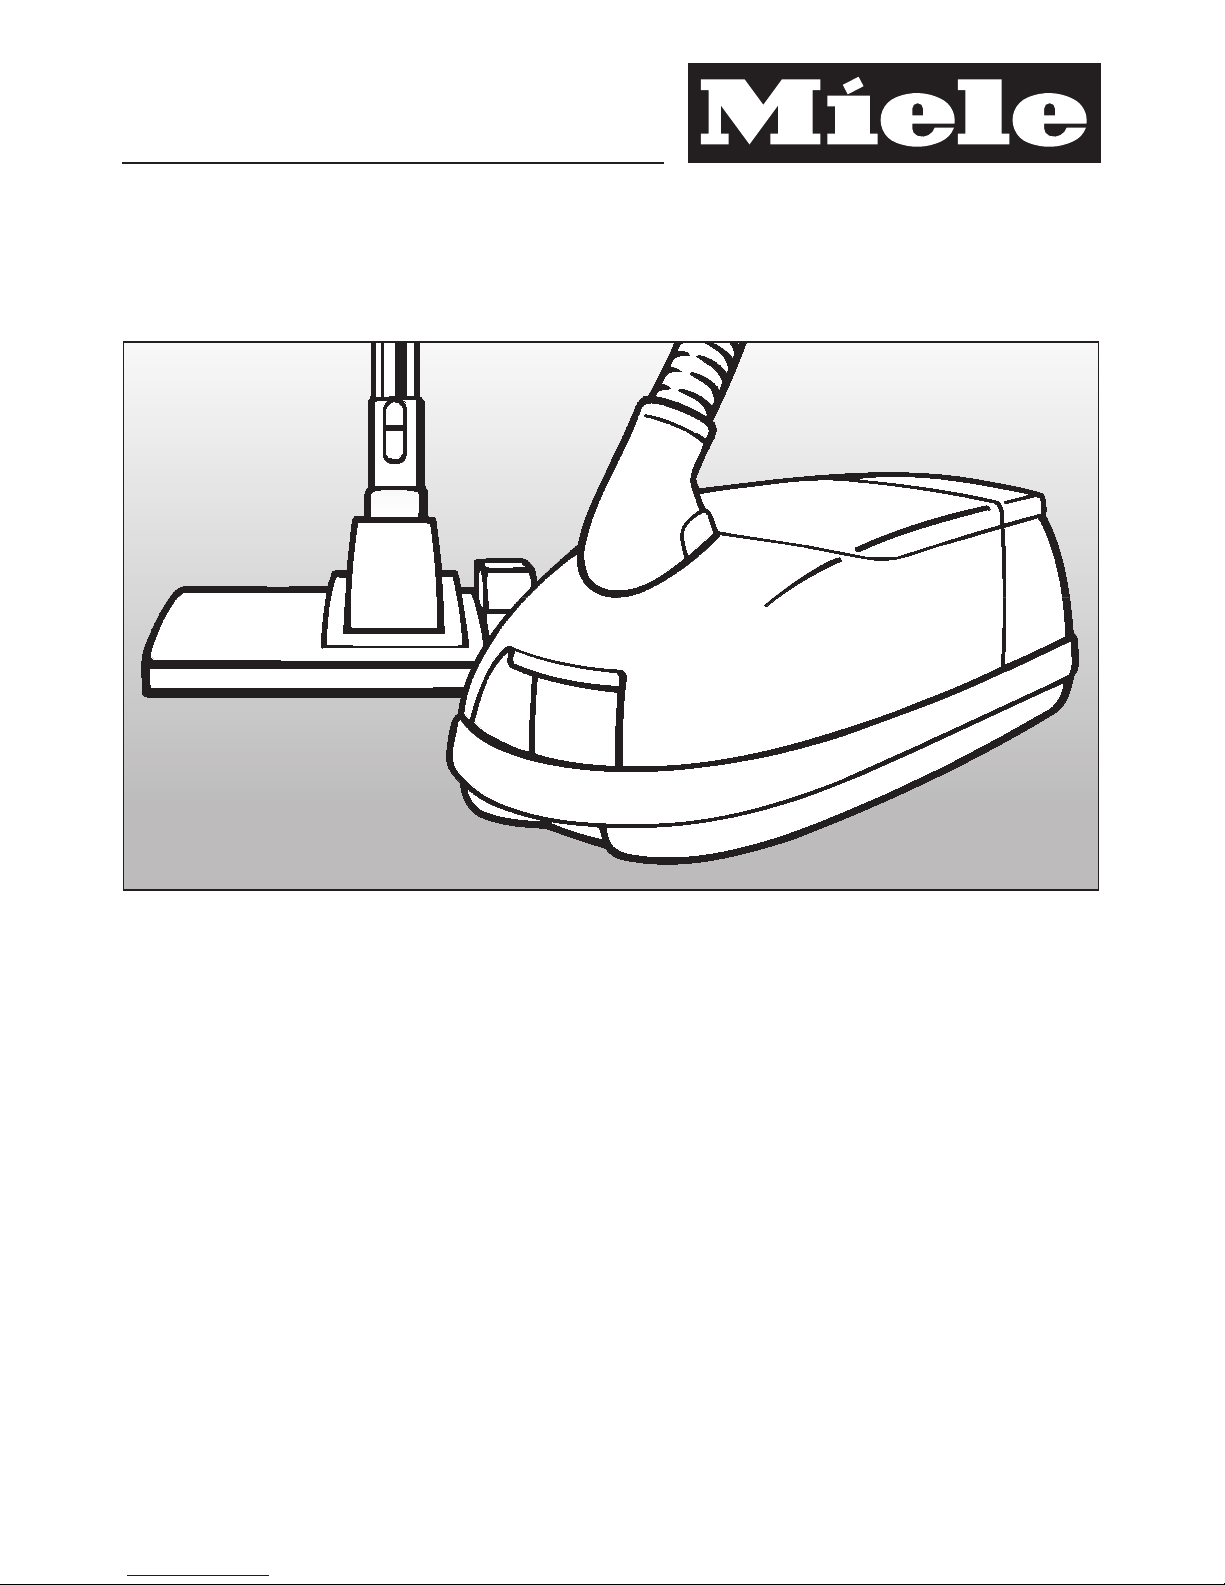
There is a metal inlay underneath
the handle which is designed to
avoid the unpleasant effects of
electrostatic discharges. Please make
sure that you keep your hand in
constant contact with this metal strip
during vacuuming.
Do not pull or carry the vacuum
cleaner by the cable and be
careful not to damage the cable when
withdrawing the plug from the socket.
–Keep the cable away from sharp
edges and do not let it be squashed,
for example, under a door.
–Avoid running the vacuum cleaner
over the cable.
This could damage the cable, plug or
socket and pose a safety hazard. The
appliance must not be used if any of
these have suffered damage.
If the cable is damaged it must be
replaced together with a complete
cable rewind. For safety reasons this
must only be done by the Miele Service
Department or a Miele authorised ser-
vice technician.
While the vacuum cleaner is under
guarantee, repairs should only be
undertaken by a service technician
authorised by Miele. Otherwise the
guarantee will be invalidated.
Repairs should only be carried out
by a Miele authorised service
technician. Repairs and other work by
unqualified persons could be
dangerous. The manufacturer cannot
be held liable for unauthorised work.
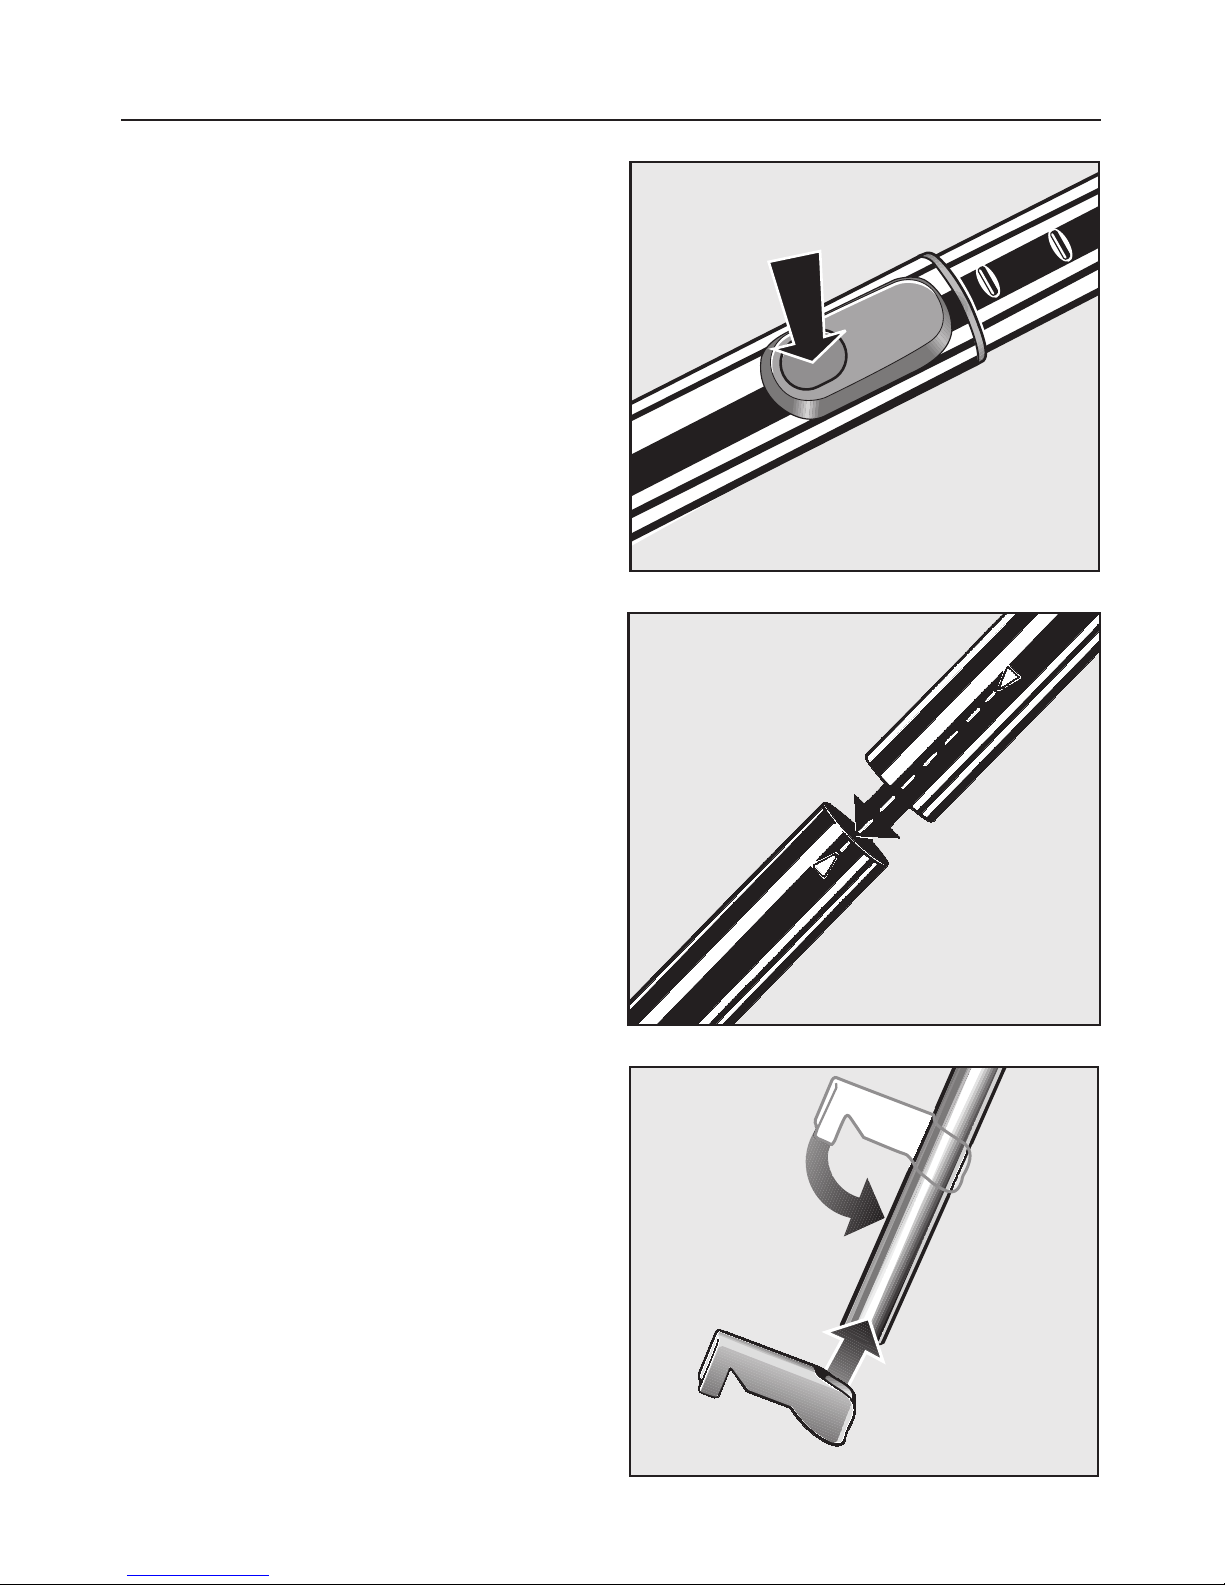
It is important to switch the vacuum
cleaner off before changing over
accessories and floorheads, especially
an Electro- or Turbobrush.
Do not let the vacuum cleaner get
wet. Clean only with a dry cloth or
slightly damp cloth when disconnected
from the mains supply. If moisture gets
into the appliance, there is a risk of
electric shock.
Correct use
To avoid the risk of damage, do not
use the vacuum cleaner without the
dustbag, dust compartment filter and
exhaust filter in place. Otherwise it
could get damaged.
If a dustbag is not inserted, the
dust compartment cover does not
normally close. Do not force it.
Do not vacuum up any water, liquid
or damp dirt. This will cause major
faults and could seriously impair the
functioning and electrical safety of the
appliance. Wait until any freshly
cleaned or shampooed carpets or floor
coverings are completely dry before
attempting to vacuum.
Do not vacuum toner dust. Toner,
such as that used in printers and
photocopiers, can conduct electricity.
The filter system in the vacuum cleaner
may not filter it completely, causing the
toner to be blown back into the room by
the fan.
Do not vacuum up anything which
has been burning or is still glowing
e.g. cigarettes, ashes or coal, whether
glowing or apparently extinguished.
The cleaner might catch fire.
Warning and Safety instructions
7

Do not vacuum up any inflammable
or combustible liquids or gases
and do not vacuum in areas where
such substances are stored. The
cleaner might explode.
Do not vacuum up items which are
heavy, hard or have sharp edges.
They could cause a blockage and
damage the appliance.
Floor attachments, accessories
and tubes must not be used at
head level to avoid the risk of injury,
e.g. to eyes and ears.
Monitor the change dustbag
indicator and change the dustbag
if necessary. Check the exhaust and
dust compartment filters at the same
time and change them too if necessary.
A full bag or blocked filter will reduce
the suction power of the cleaner. A
temperature limiter switches the
vacuum cleaner off automatically if it
gets too hot. See "Problem solving
guide".
Accessories
In the UK, Miele accessories
including floorheads, filters and
dustbags are available to order from
your Dealer, the Miele Spare Parts
Department or via the internet on
www.miele.co.uk.
The Miele Electrobrush is a motor
driven accessory for use only with
Miele vacuum cleaners. The cleaner
must not be used with an electrobrush
produced by another manufacturer.
To avoid the risk of injury when
vacuuming with a Miele
Electrobrush or Turbobrush, do not
touch the rotating roller brush.
It is not advisable to vacuum
directly with the handle, i.e. without
an accessory attached as the rim could
get damaged and you could hurt
yourself on sharp edges.
Miele vacuum cleaner bags are
disposable and intended to be
used only once. Do not attempt to
re-use. Blocked pores reduce the
efficiency of the cleaner.
To ensure safety only use genuine
Miele dustbags, filters and
accessories. This will ensure optimum
performance of the appliance
throughout its life.
Do not use aroma capsules if your
cleaner is fitted with an ACTIVE
HEPA filter or an Active Air Clean filter.
The active charcoal layer in the filter will
absorb the aroma from the capsules
rendering them ineffective.
The manufacturer cannot be held
liable for damage caused by
non-compliance with these Warning
and Safety instructions.
Warning and Safety instructions
8

Attaching the suction hose
^Insert the elbow into the suction
socket.
To remove the suction hose from the
vacuum cleaner,
^Press the release buttons at the side
of the elbow and lift the hose from the
socket.
Connecting the suction hose
and the suction tube
^Fit the hand piece of the suction hose
into the suction tube and turn
clockwise or anti-clockwise until they
lock together with a click.
^To release the hand piece from the
suction tube, press the locking button
(see arrow) and pull the hand piece
away from the suction tube.
Preparing for use
9

Adjusting the telescopic
suction tube
(depending on model)
One part of the telescopic tube is
packed inside the other and can be
adjusted to suit your height for
comfortable vacuum cleaning.
^Press the telescopic tube release
button (see arrow) to release the
tubes and adjust to the required
height.
Connecting the suction tube
sections
(depending on model)
Both sections of the suction tube have
locating arrows.
^When connecting the two sections,
ensure that the two arrows point to
each other.
Fitting the tube holder
(depending on model)
^Fit the tube holder to the suction tube
and fold it in, until needed. When the
tube holder is folded out, it can be
used to secure the suction tube,
complete with suction hose and
floorhead to the vacuum cleaner.
Preparing for use
10

Attaching the floorhead
^Push the suction tube into the
floorhead and turn it clockwise or
anti-clockwise until it clicks into
position.
^To release the floorhead from the
suction tube, press the locking button
(see arrow) and pull the suction tube
away from the floorhead.
The floorhead can be used for all
normal cleaning of carpets and rugs.
It can also be used with the brush
protruding to vacuum hard flooring.
For hard flooring, such as stone and
parquet, we recommend using one of
the special Miele floor brushes (see
"Optional accessories").
It is also important to observe the
flooring manufacturer’s cleaning and
care instructions.
Setting the floorhead to suit
the type of flooring
Vacuum carpets and rugs with the
brush retracted:
^Press the foot switch to the ö
position.
Clean hard flooring which is not
susceptible to scratching with the brush
protruding:
^Press the foot switch to the ä
position.
Preparing for use
11

Other tools, in addition to the floorhead,
are supplied with the vacuum cleaner
to help deal with various types of
cleaning.
–Crevice nozzle
–Upholstery nozzle
These tools are stored in a special
compartment integrated in the vacuum
cleaner and can be put back after use.
^Press the release button and the lid
will open.
^Take out the accessory you require.
^Press down firmly on the lid to close
it.
Accessories supplied
12

The different tools can either be fitted to
the hand-piece or, as required, to the
suction tube.
Floorhead
For general use and also for cleaning
stairs.
Crevice nozzle
For cleaning in folds, crevices or
corners.
Upholstery nozzle
For cleaning upholstery, mattresses,
cushions, curtains, covers etc.
Accessories supplied
13

Unwinding and rewinding the
mains cable
Unwinding
^Hold the plug and unwind cable to
the required length (max. approx. 6.5
metres).
Warning: If vacuuming for longer
than 30 minutes, the mains cable
must be pulled out to its fullest
extent. Otherwise there is a danger
of overheating and damage.
Rewinding
^Switch off at the wall socket and
remove the plug.
^Press the rewind switch. The cable
will rewind automatically.
Switching on and off
To switch the vacuum cleaner on or off:
^Press the On/Off switch.
Operation
14

Vacuuming
^When vacuuming pull the cleaner
behind you on its wheels. You can
stand it upright for vacuuming stairs
and curtains etc.
Warning: When vacuuming
especially fine dust, e.g. sawdust,
sand, plaster, flour, talcum powder
etc., electrostatic charges build up
naturally. Under certain conditions
these charges will be released. To
avoid the unpleasant effects of these
discharges, a metal inlay has been
incorporated into the underside of
the handle. Please make sure that
you keep your hand in constant
contact with this metal strip during
vacuuming.
Regulating the suction
(for models with a rotary selector)
The suction power can be regulated to
suit the type of flooring. The higher the
wattage the more powerful the suction.
Reducing the suction power reduces
the amount of effort required to
manoeuvre the floorhead. Setting the
suction power selector according to the
degree of soiling and type of flooring
being cleaned, will save energy.
Smooth, lightly soiled flooring is easily
cleaned using the Economy dsetting.
Fitted carpets and thick pile carpets
require the most powerful setting to
remove ingrained soiling.
Operation
15

Rotary selector
(depending on model)
^Turn the rotary selector manually to
the suction power setting you require.
Opening the air inlet valve
Opening the air inlet valve reduces the
suction power quickly for brief periods,
e.g. to prevent damage to the fringes of
a rug when moving from cleaning a
carpeted floor to a rug, or to prevent
something being vacuumed up by
mistake.
^Open the air inlet valve far enough to
reduce the suction power.
The floorhead will be easier to
manoeuvre. Close the valve when you
are ready to use full power again.
Operation
16

Transportation and storage
(for models with a suction tube holder)
^Stand the vacuum cleaner upright
when it is not being used and during
storage.
^Fold out the tube holder on the
suction tube and attach it to the
vacuum cleaner.
If the tube holder is in an unsuitable
position it can be moved along the
suction tube and turned as required.
Park system
A Park system has been designed for
conveniently parking the vacuum
cleaner during pauses.
^Fit the floorhead into the parking
attachment on the vacuum cleaner.
Operation
17

Dustbag change indicator
Change the dustbag when the colour
marker in the dustbag change indicator
fills the display.
Dustbags are designed for single
use only.
Do not attempt to re-use them as
suction would be reduced.
Checking the dustbag change
indicator
^Attach the standard floorhead to the
suction tube. Do not use any of the
other floorheads or attachments as
they will cause the dustbag change
indicator to give a false reading.
^Switch the vacuum cleaner on and
turn the rotary selector (if applicable)
to the highest power setting.
Lift the floorhead off the floor a little. If
the red marker completely fills the
dustbag change indicator you should
replace the dustbag with a new one.
How the dustbag change indicator
works
The indicator is designed to measure
the air permeability of a dustbag
containing common household dust.
Normal household dust would contain a
mixture of dust, hair, carpet fluff,
threads, grit etc.
However, if the vacuum cleaner has
been used to suck up fine dust, such
as plaster, brick dust, cement or flour
the pores of the dustbag become
blocked very quickly. This affects the
air permeability of the bag and the
marker will indicate that the bag is "full"
even when it is not. If this happens you
must still change the dustbag because
suction power will be greatly reduced
by blocked pores in the dustbag.
If, on the other hand, you have
vacuumed up a lot of hair and carpet
fluff which typically contains a lot of air
the indicator may fail to react even
though the bag is full. You should still
change it! Both these extremes can
occur.
Operation
18

Warning: Always disconnect the
vacuum cleaner from the electrical
supply for maintenance work and for
cleaning. Switch off at the wall
socket and remove the plug.
The Miele filter system consists of three
filters.
–Dustbag
–Exhaust filter (SUPER air clean)
–Dust compartment filter (for motor
protection)
These will need to be replaced from
time to time to ensure that your vacuum
cleaner performs efficiently.
Warning: To ensure that your
vacuum cleaner functions correctly,
cleans hygienically and gives you
many years of trouble-free operation
please only use genuine Miele
approved dustbags and filters. The
use of non-Miele approved
dustbags and accessories could
invalidate your warranty and cause
damage to your product.
When to change the dustbag
and filters
Dustbag
Change the dustbag when the colour
marker in the dustbag change indicator
fills the display.
Exhaust filter * (SUPER air clean)
Replace the SUPER air clean filter
every time you start a new packet of
dustbags.
Dust compartment filter * (for motor
protection)
This filter is designed to last a long
time. It will need changing if it is heavily
soiled, for instance in the event of a
damaged dustbag.
Purchasing new dustbags and
filters
Replacement dustbags and filters can
be obtained from your local Miele
Dealer or directly from the Miele Spare
Parts Department (see back cover for
contact details) or in the UK, via the
internet on www.miele.co.uk.
Ordering the correct dustbags
and filters
When ordering dustbags for this
vacuum cleaner ask for bags with the
code F/J/M.
*A "SUPER air clean exhaust" filter and
a dust compartment filter are supplied
with every packet of Miele dustbags.
Maintenance and care
19

To replace the dustbag and
filters
Open the dust compartment lid
^Press the release button for the dust
compartment lid and raise the lid as
far as it will go.
To replace the dustbag
^To remove the dustbag hold the bag
by the collar and pull it out of its
holder.
The dustbag has a closing flap which
closes automatically when the dustbag
is removed to prevent any dust
escaping.
It can then be disposed of with the
normal household waste as long as it
has only been used for vacuuming up
normal household dust.
Do not unfold the new bag when you
take it out of the packet. This way it will
not get trapped when you shut the dust
compartment lid again.
^To insert a new dustbag, push the
collar securely into the frame as far
as it will go. Otherwise you will not be
able to shut the lid.
^Close the dust compartment lid
firmly.
Maintenance and care
20
Other manuals for S 290 series
1
Table of contents
Other Miele Vacuum Cleaner manuals

Miele
Miele Electro SEB 213 User manual

Miele
Miele S 5001 User manual

Miele
Miele STB 305 TurboTeQ User manual

Miele
Miele Vacuum cleaners User manual

Miele
Miele VACUUM CLEANER S240I User manual

Miele
Miele S 700 series User manual

Miele
Miele TX2070 User manual

Miele
Miele SGDE0 User manual

Miele
Miele S 4212 DuoFlex User manual

Miele
Miele HS16 User manual

Miele
Miele S 658 User manual

Miele
Miele HS15 User manual

Miele
Miele HS14 User manual

Miele
Miele S401I - User manual

Miele
Miele S 290 series User manual

Miele
Miele S 248 i User manual

Miele
Miele S 5981 PowerPlus User manual

Miele
Miele HS15 User manual

Miele
Miele S 5000 series User manual

Miele
Miele S 246i User manual