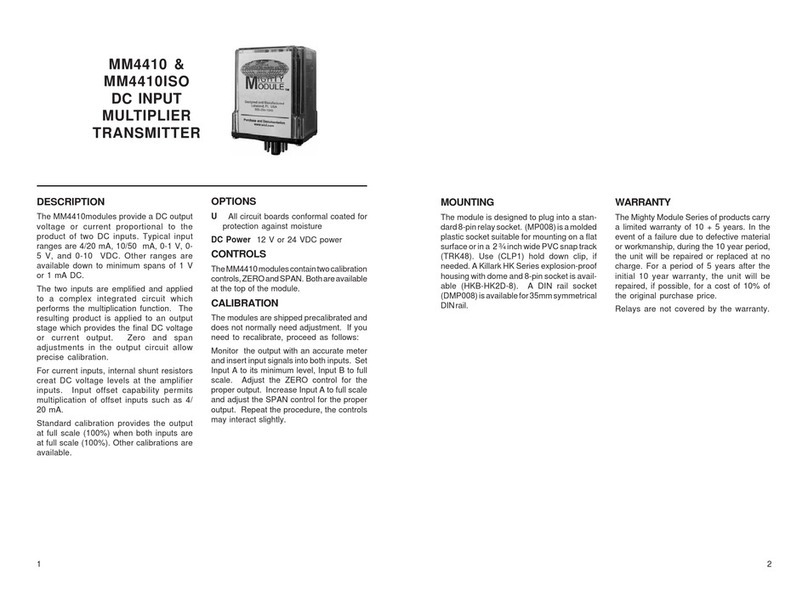
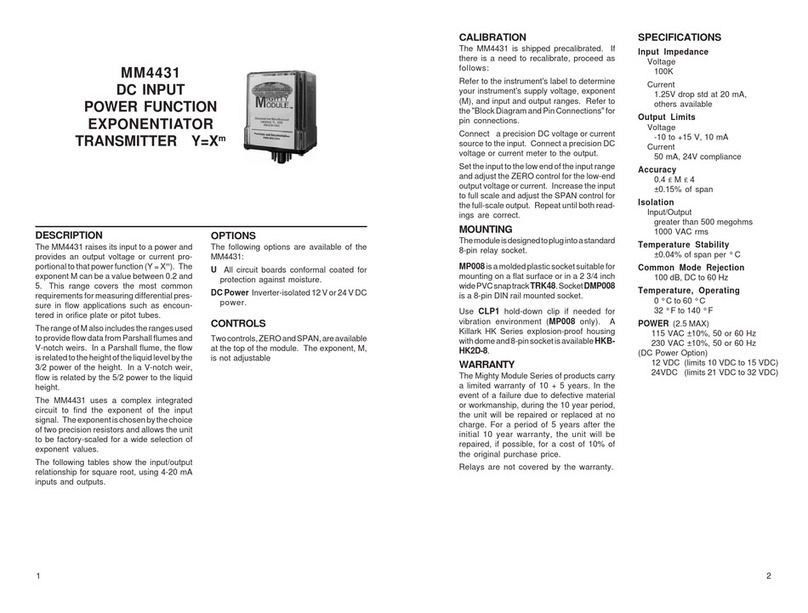
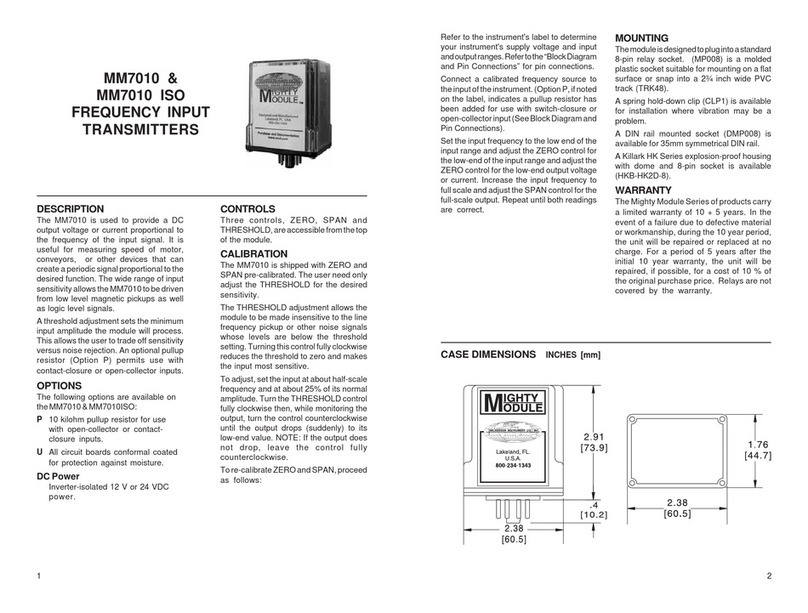
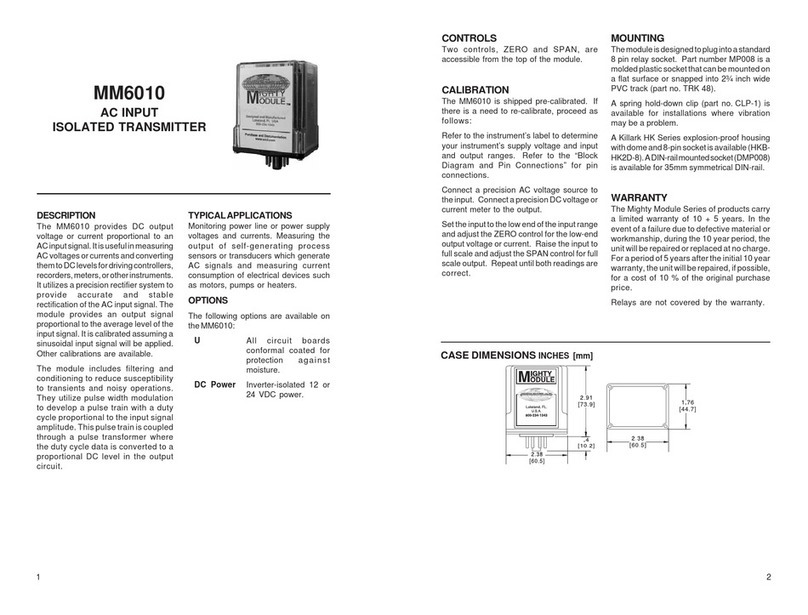
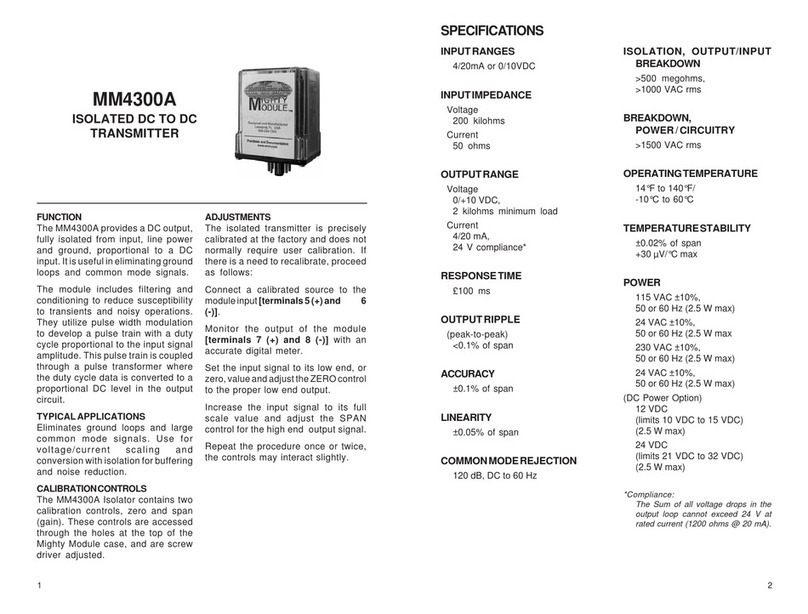
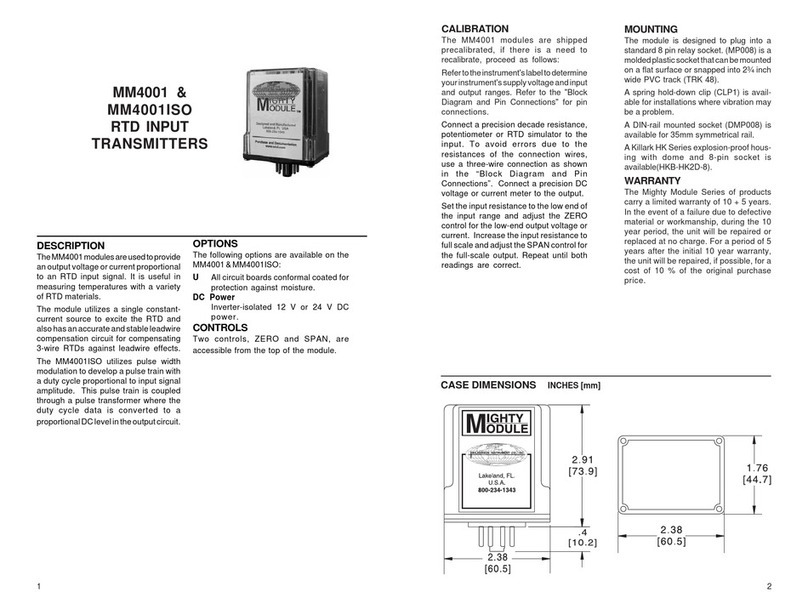
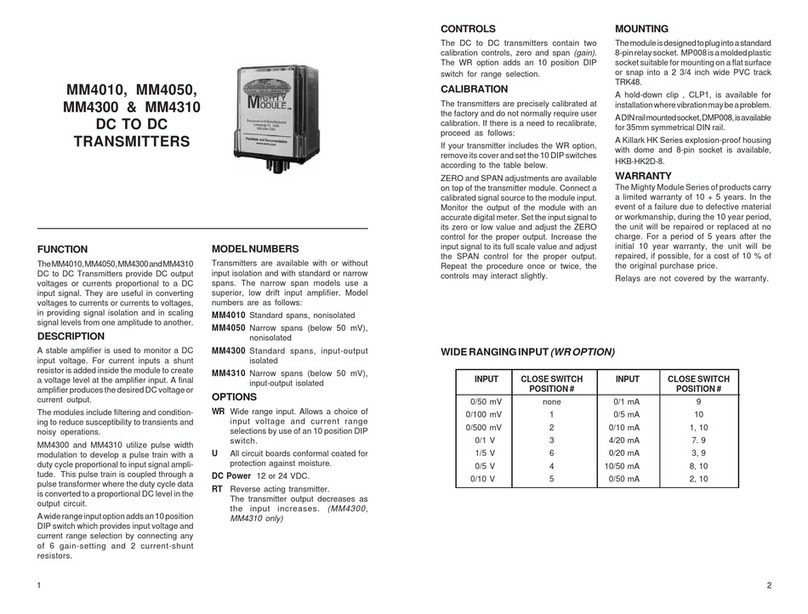
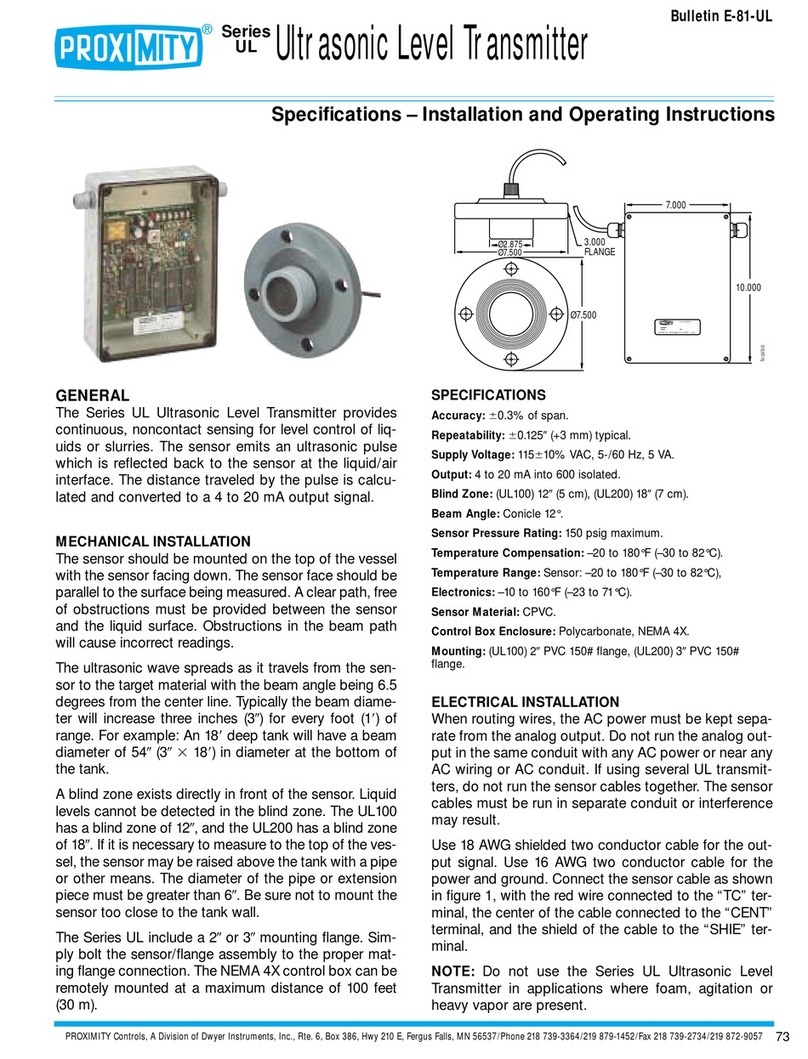
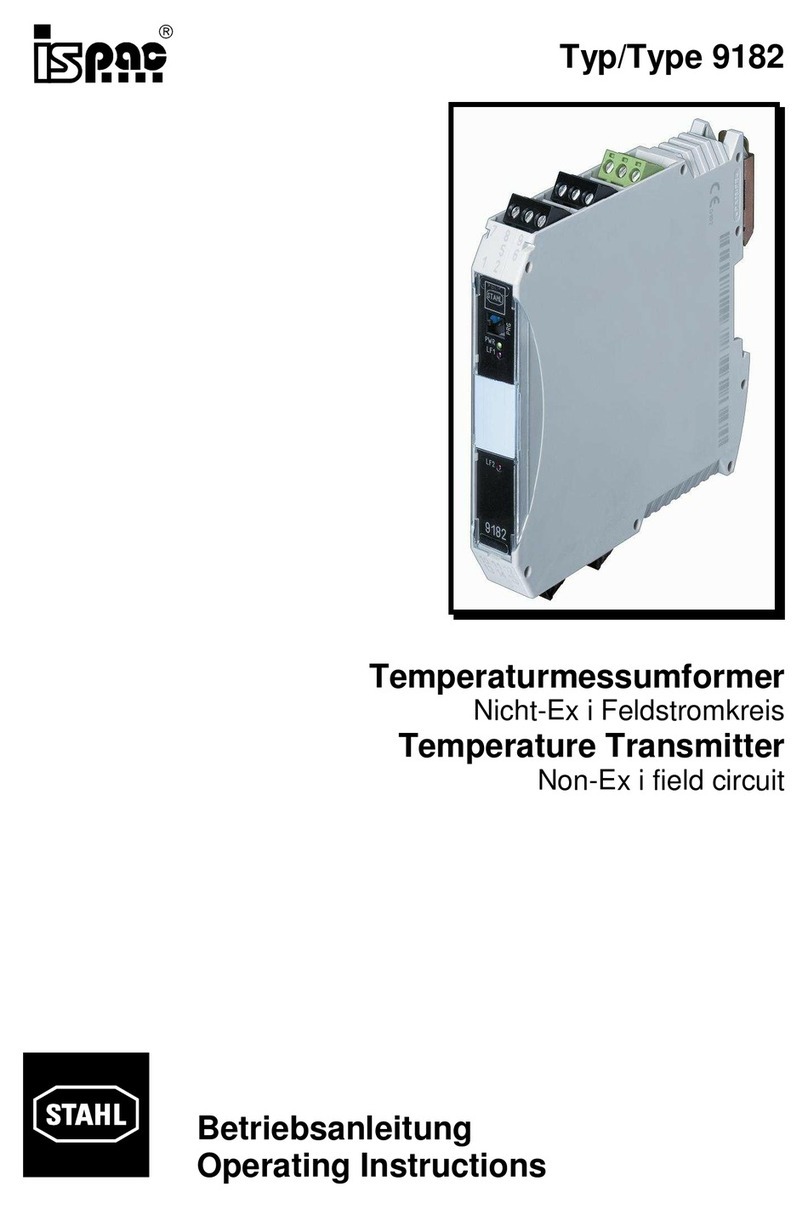
The MM4130 is used to provide output
voltages or currents proportional to a
thermocouple (T/C)inputsignal. Thebasic
model MM4130 provides an output
proportional to the millivolt signal from the
thermocouple, while linearized model
MM4130L corrects the thermocouple’s
nonlinearitytoprovideanoutputproportional
to temperature. Both models provide cold-
junction compensation via a solid-state
sensor embedded in the thermocouple
terminal strip.
The units utilize a VCO to develop a pulse
train with a duty cycle proportional to the
input.Thispulsetrainistransformer-coupled
totheoutputstage where thedutycycledata
is converted to a proportional DC output.
Upscale or downscale burnout indication is
provided. Upscaleisstandardandisprovided
if burnout protection is not specified.
MODELNUMBERS
These instructions cover the following
model numbers:
MM4130: Not linearized - output
proportional to input millivolts.
MM4130L:Linearized - output
proportional to measured
temperature.
Nonisolated thermocouple transmitters are
availableasmodelsMM4100andMM4100L,
described in separate instructions.
OPTIONS
The following options are available on the
MM4130andMM4130L:
BStandard burnout protection is
upscale. Option B provides
downscale output on burnout.
RT Reverse-acting transmitter. The
transmitter output decreases as the
output increases.
UAll circuit boards conformal coated
for protection against
moisture.
DC Power Inverter-isolated 12V or 24V
power.
LL Superior digital output linearization
(MM4130L)
CONTROLS
Two controls, ZERO and SPAN, are
accessible from the top of the module.
Additional controls inside the module are
factory adjustments which should not be
reset.
MM4130 & MM4130L
ISOLATED
THERMOCOUPLE
INPUT TO DC
TRANSMITTERS
CALIBRATION
The MM4130 and MM4130L are shipped
precalibrated. If there is a need to
recalibrate, proceed as follows:
Refertotheinstrument’slabeltodetermine
yourinstrument’ssupplyvoltageandinput
and output ranges. Refer to the “Block
Diagram and Pin Connections” for pin
connections. Connect a precision DC
voltage or current meter to the output.
Connecta calibrationinput to the terminal
strip on the side of the module. If a
thermocouplesimulatorisavailable,useit
toprovidethecalibrationinput,connecting
it to the transmitter with the appropriate
pair of thermocouple wires. Otherwise,
use copper wires to connect a precision
DC millivolt source to the input.
When a millivolt source and copper wires
are used it will be necessary to measure
and correct for the temperature at the
transmitter’s input connection. Using
standard tables for your thermocouple,
findthemillivoltlevelcorrespondingto the
temperature at the input terminals. Then,
at each calibration temperature, subtract
this voltage from the voltage given by the
thermocouple table. Remember,
calibration accuracy will be no better than
the accuracy of this temperature
measurement.
Using standard thermocouple tables, set
the input to the low end of the input range
and adjust the ZERO control for the low-
end output voltage or current. Increase
theinput to fullscale andadjustthe SPAN
control for the full-scale output. Repeat
until both readings are correct.
SPECIFICATIONS
INPUTRANGE
select any type thermocouple
(min span 5 mV)
OUTPUTRANGE
Voltage
select any range from
-10 V to +15 V,
10 mA max load (min span 0.2 V)
Current
select any range from
0 to 50 mA max,
24 V compliance*
(min span 1mA)
18 V compliance for ISO option if
full-scale output >20 mA
OUTPUT RIPPLE (peak-to-peak)
<0.1% of span
ACCURACY
±0.1% of span
LINEARITY
Nonlinearized,Output/Input
±0.05% of span
Linearized, Output/Temp
Linearized to match thermocouple’s
millivolt-versus-temperature curve
COMMONMODEREJECTION
120 dB, DC to 60 Hz
ISOLATION
Output/Input
>500megohms
Breakdown Voltage
>1000 VAC rms
BREAKDOWN,PWR/CIRCUITRY
>1500 VAC rms
OPERATINGTEMPERATURE
14°F to 140°F/-10°C to 60°C
TEMPERATURESTABILITY
±(0.02% of span + 1.3µV)/°C max
POWER
2.5 W max
115 VAC ±10%, 50 or 60 Hz
230 VAC ±10%, 50 or 60 Hz
(DC Power Option)
12 VDC (limits 10 VDC to 15 VDC)
24VDC (limits 21 VDC to 32 DC)
Isolation, DC power supply to input
common: 10 megohms
* Compliance:
The sum of all voltage drops in the output
loop cannot exceed 24 V at rated current
(1200 ohms @ 20 mA).
1 2
