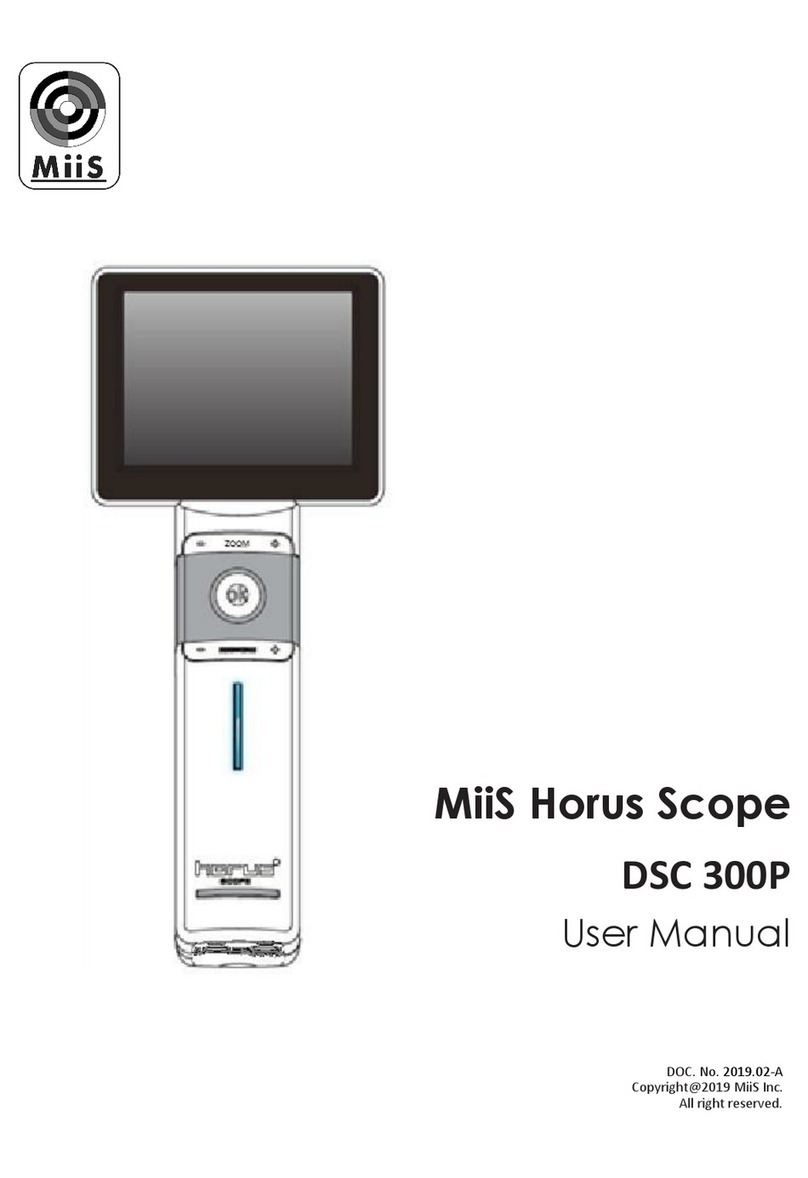
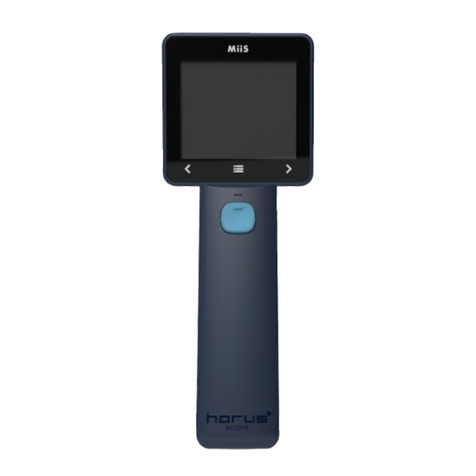
MiiS Horus+ Scope DSC 200 User manual

Horus +
Scope
Control Unit DSC 200
User Manual
DOC. No. 2014.01-I
Copyright@2018 MiiS Inc.
All right reserved.


Contents
Preparations
ɀBefore use 5
ɀNames of components 7
ɀCharging the battery 12
ɀPower indicator13
ɀAssembling 14
ɀUsing the Setup mode 15
A. DEC 200 ...............................................................................................15
B. DEA 200 ...............................................................................................21
C. DGC 200...............................................................................................25
ɀEntering the patient ID 28
Taking pictures
ɀSequence of operations 31
A. DEC 200 ...............................................................................................31
B. DEA 200 ...............................................................................................33
C. DGC 200...............................................................................................34
ɀPhoto mode 35
ɀVideo mode 36
ɀFixation setting and holding position of DEC 200 37
ɀQ&A troubleshooting of DEC 200 38
Playback
ɀDisplay mode 39
ɀEnlarged viewing 39
ɀDeleting pictures 40
Miscellaneous
ɀFiles transferring 41
ɀViewing on a computer/laptop screen 41
ɀViewing on a TV screen 41
ɀFocus calibration 41
ɀUsage cautions and notes 45
ɀTechnical description
ɀLiability 51
ɀDisposition 51
ɀSymbols and standards 51
45


-5-
Preparations
Before use
Prior to installation and start-up of the Horus+ Scope, carefully read the user manual. As with
all technical devices, the proper function and safety operation of this device depend on the
user complying with the safety recommendations presented in these operating instructions.
In addition, please make sure it does not appear damaged or broken. If there are breaks on
the outer casing or other visual defects, please contact the manufacturer or a certified service
facility.
Camera handling
Protect the camera from excessive vibration, force, or pressure.
Avoid using the camera under the following conditions, which may
damage the lens, the monitor, or the control unit and may also cause the
camera to malfunction or prevent recording:
•
Dropping or hitting the camera against a hard surface.
•
Exerting excessive force on the lens or the monitor.
The camera is not dust resistant, splash resistant, or waterproof. Avoid using the camera in
places with excessive dust or sand, or where water can come into contact with the camera.
Avoid using the camera under the following conditions, which present the risk
that sand, water, or foreign material entering the camera through the lens or
gaps around buttons. Be especially careful because these condition may dam-
age the camera, and such damage may not be repairable:
•
Operate in extremely dusty or sandy places
•
Exposing the camera to rain or moisture
Focus calibration
A. Focus calibration of DEC 200 (ї41)
When using DEC 200 under the following conditions, focus calibration is necessary.
•
The last four digits of the serial number of the control unit and optical lens do
not match.
•
The control unit or optical lens is used for the first time after it is returned from
repair.
B. Focus calibration of DEA 200(ї42)
Preparations
If focus calibration is not performed, the auto focus function may fail to
work properly.
To ensure the quality and performance of image, calibrate the working
distance of your DEA 200 every month is recommended.

-6-
Condensation (when the lens or the monitor is fogged up)
Condensation may occur when the camera is exposed to sudden changes of temperature or
humidity. Avoid these conditions because they may soil the lens or the monitor, cause mold,
or damage the camera.
If condensation does occur, turn oīthe camera and wait for about two hours before using it.
Once the camera adjusts to the surrounding temperature, the fogging will clear naturally.
Safe eye screening
While no acute optical radiation hazards have been identified with the camera, it is recomm-
ended that the intensity of light directed into the patient’s eye be limited to the minimum
level necessary for diagnosis. Infants, aphakes, and persons with diseased eyes are at greater
risk. The risk may also be increased if the person being examined has had any exposure to the
same instrument or any other ophthalmic instrument that uses a visible light source within
the previous 24 hours. This will apply particularly if the eye has been exposed to retinal
photography. The intended use of this device is for routine ophthalmic exams of typically less
than 60 seconds per eye. While any medical procedure has its beneĮt versus risk factor, more
complicated exams should not exceed three minutes of exam time within 24 hours.
SigniĮcant use of this device beyond its intended use is not recommended as it may cause
harm to the eyes.
During the operation of using the camera, please follow the below instructions.
•
Always use the camera or accessories in accordance with the directions
and recommendations contained in thisuser manual.
•
When operating the device, please make sure that the optical lens does
not touch the eyes or nose of the patient in order to avoid harm.
•
For illumination and photography with the camera, do not select an exposure
higher than required. Do not shine light on the eye beyond the recommended
time during examination. Otherwise, the examined eye may experience pain
or be injured.
No compensation for missedshots
We cannot compensate for missed shots if technical problems with the camera or card pre-
vent recording.
Also refer to “Usage cautions andnotes”
Please also refer to “Usage cautions and notes” (ї45) for more instructions of the battery,
SD card, etc.
It is the health care provider to protect patient health information and to
meet regulatory and HIPAA compliance. The images on DSC 200 may
contain identifiable patient information and it is the responsibility of the
health care provider to ensure that data safeguards are implemented to
protect patient health information.
Please note that the actual controls and components, menu items, and
other information of your camera may diīer from those in the illustrations
provided in these instructions.

-7-
Names of components
Scope of Delivery
Product Name Model Name Accessories
Digital eye fundus camera MiiS Horus+Scope DEC 200 1. Eyecup
Digital eye anterior camera MiiS Horus+Scope DEA 200 2. Battery
Digital eye surface camera MiiS Horus+Scope DGC 200 3. Power adapter
4. USB cable
5. AV cable
6. Charging station
7. SD card
8. Foot switch (optional)
9. Slit lamp jig (optional)
10. Portable chin rest (optional)
11. Image Management System,
Model: SA 1 standalone (option)
12. Image Management System,
Model: SB 1 (free download)
13. Image Management System,
Model: SD 1 standalone (option)
Intended for use
MiiS Horus+ Scope DEC 200 is a digital hand-held eye fundus camera used to record digital
photographs and video of fundus (including retina, macula, and optic disc) of the human eye
and surrounding area.
MiiS Horus+ Scope DEA 200 is a digital hand-held eye anterior camera used to record digital
photographs and video of anterior segment (including cornea, anterior chamber, and lens) of
the human eye and surrounding area
MiiS Horus+ Scope DGC 200 is the eye surface optical lens used to record digital photographs
and video of anterior area of human eye and surrounding area.
.
Preparations
It is the health care provider to protect patient health information and to
meet regulatory and HIPAA compliance. The images on DSC 200 may
contain identifiable patient information and it is the responsibility of the
health care provider to ensure that data safeguards are implemented to
protect patient health information.

-8-
User interface
Control Unit (MiiS Horus+ Scope DSC 200)
Top view ››
Front view ››
Power buƩon
Lens locker
3.5
” LCD touch panel
ͻ
Manual focus
OK buƩon:
ͻ
Completely press down
to take a photo
B
w
a
h
ck t
ile p
o ph
review
oto/
in
vi p
e
h
o m
otos
ode
Brightness decrease/increase
in photo mode
Power indicator

-9-
Bottom view ››
Rear view ››
Preparations
Lens assembling mark
Cover glass and sensor
Lens connect ring
Lens connec ng pins
Ba ery cover
AV out / foot switch Mini USB
Strap hook

-10-
Optical Lens of Horus+ Scope DEC 200 (Digital Eye Fundus Camera)
Optical Lens of Horus+Scope DEA 200 (Eye anterior camera)
Calibration parts of Horus+Scope DEA 200 (Eye anterior camera)
Forehead Stopper
top view
screw A
rubber pad
screw B

-11-
partial enlargement of stick
Correction Plate
Optical Lens of Horus+ Scope DGC 200 (Digital Eye Surface Camera)
LQQHUD[LV
VKDIWġ
VKDIWFLUFOHKROH
&RUUHFWLRQURGKROH
IRUHKHDGVWR
SS
HU KROH
ORFDWLRQWRLQVWDOO
FRUUHFWLRQ3ODWH
Preparations

-12-
Charging the battery
Always charge before Įrst use
Prior to Įrst use, insert the battery into the control unit and close the battery cover referred to
the below section. Connect USB connector to the power adapter. Let the battery be charged
for at least Įvehours.
Connect to a power adapter
Battery replacement

-13-
Open the battery cover by digging out the gap in the bottom of battery cover with a Įnger or
something pointed.
•
Tilt the battery cover and remove the battery cover by lifting it up.
•
Remove the original battery and replace a new battery along the correct direction.
•
Place the battery cover and secure it inplace.
Power indicator
System Status Power on
Light color
No Light
Blinking blue
Light
Orange Light Blue Light
Blinking blue
Light
Mixed blue
and
orange Light
Power less
than 25%
Charging Normal opera-
Power less
than 25%
Connect to PC
via USB cable
or enable USB
live video
Preparations

-14-
Assembling
(Take Digital Eye Fundus Camera as an example.)
Step 1. ќ
Align the marks of the optical lens and control unit.
Step 2. ї
Hold the optical lens and attach it to
the control unit. Rotate and fasten the
optical lens in a clockwise direction.
You will hear a click when the lens locks
into the control unit.
Step 3. і
Turn on the power (ї15). When
optical lens and control unit are
assembled correctly, the information
icons will appear on the top of LCD touch
panel. The screen will turn on, and then the blue light of the
power indicator (ї13) will also turn on.
Step 4. ї
To unlock the optical lens,
press the lens lock and then
rotate the optical lens in a
counterclockwise direction.
Then the optical lens will be
unfastened.

-15-
Using the Setup mode
Turn on the power
To turn on the system, press the power button (ї8) to turn on the control unit. Approximate-
ly one to two seconds later, the boot screen will appear on the LCD panel.
Note:
When below conditions occur, user needs to turn oīthe power and reassemble the optical
lens and control unit.
1.
Optical lens isn’t correctly assembled to thecontrol unit.
When turning on the device, the device stays at boot screen and can’t enter to control
interface.
2.
The black screen appears on the LCD panel during operation.
Please check the optical lens is well-assembled to thecontrol unit.
A. DEC 200
Enter the Setup mode
Using the [Setup] menu
It is recommended that all setting items are set according to user’s requirements for
Įrst time use.
Bring up the [Setup] menu
Touch the photo icon and then touch the setup icon.
Preparations

-16-
Exit the [Setup] menu
Once a setting adjustment is made, the new value aīects the system immediately.
Use the upper back button or the OK button to exit the screen.
Settings
[Aiming Light/Capture Light]
The default setting of [Aiming Light/Capture Light] is [IR/White LED]. In the setting,
DEC 200 employs IR illumination for alignment and focusing to assure patient comfort.
With IR, the user observes fundus images monochromatically. At the moment of
press- ing the shutter button, the system will turn on the white LED instantly. Static
images and motion pictures will be captured in full color.
If the setting is [White LED/White LED], then the user observes images in full color and
capture static images and motion pictures in full color.
[IR brightness]
The IR brightness has 5 levels; the default setting is level 3. The range is from 1
to 5.

-17-
[WHT brightness]
The WHT brightness has 16 levels; the default setting is level 10. The range is
from 0 to 15.
[Standby]
User can set standby mode to be on or oī. Once the mode is on, the LCD panel will be
turned oīif the system is idle for three minutes. Tap on the item to toggle the setting.
[Date Setting]
User can change the current date setting from the screen.
Preparations

-18-
[Time Setting]
User can change the current time setting from the screen.
[UVC]
While connecting DEC 200 to a computer via USB cable, the product works as a USB
storage device. If UVC mode is on, pictures can be shown both on the LCD panel of the
product and the screen of the computer. To display image on the computer, please
install webcam application prior to enabling UVC mode. A freeware webcam
application (e.g., Horus UVC view, Amcap) is a software that can receive UVC signal on
the computer. User can search for relevant information over the Internet.
[Over-exposure Detection]
User can turn on or turn oīthe over-exposure mode. If over-exposure mode is
on, the device will take a few seconds to detect whether the image is over-
exposed or not. If it is over-exposed, a cross mark will appear on screen.
Press OK button, and return to Live view mode.
Free UVC viewer is available in any search engine.

-19-
[DICOM]
Export image with or without DICOM format.
[Factory Setting]
User can recover the device to its factory settings.
Preparations

-20-
[Format SD Card]
User can format the SD card.
NOTE
All information will be deleted after SD card is formatted.
[Red Free Function]
DEC 200 allows digital red free images to be created directly from the information of the
initial color image.
You can turn on red free function in the menu as below.
After turn on red free function, it will take more than 3 seconds to do image
process after shooting. And there is a red free switch icon at the left-down corner
of image. By press the icon to switch image into red free mode.
Red Free OīRed Free On
Table of contents
Other MiiS Medical Equipment manuals
Popular Medical Equipment manuals by other brands

HEINE
HEINE iC1 quick start guide

RJL systems
RJL systems QUANTUM V SEGMENTAL BIA user manual

Atmos
Atmos iQam operating instructions

PARAMOUNT BED
PARAMOUNT BED A5 Series instruction manual

Trudell Medical International
Trudell Medical International AeroEclipse XL owner's manual

acime
acime Skiff 3 user manual