manuals.online logo
Brands
  1. Home
  2. •
  3. Brands
  4. •
  5. mikroElektronika
  6. •
  7. Control Unit
  8. •
  9. mikroElektronika DIGIPOT click User manual

mikroElektronika DIGIPOT click User manual

click
BOARD
1. Introduction
DIGIPOT Click is an accessory board in
mikroBus™form factor. It features a single-
channel digital potentiometer MCP4161
with 8-bit resolution (256 wiper steps) and
industry-standard SPI serial interface. The
resistance value of the digital potentiometer
goes up to 10kΩ. It features outstanding AC/DC
characteristics and low power consumption. It
can be used in audio equipment, servo-motor
control, battery charging and control, LCD
contrast control, programmable lters etc.
www.mikroe.com
DIGIPOT click
Once you have soldered the headers your
board is ready to be placed into desired
mikroBUS™ socket. Make sure to align the
cut in the lower-right part of the board
with the markings on the silkscreen at
the mikroBUS™ socket. If all the pins are
aligned correctly, push the board all
the way into the socket.
3. Plugging the board in
2 3
2. Soldering the headers
1
4. Driving the board
There are four screw terminals available for
further connections: PA, PB, PW and GND.
Data is sent to the board using industry
standard SPI communication interface.
On-board controller converts the received
digital value to the appropriate linearly
proportional resistance value.
Front and back side appearance
of the DIGIPOT click Board
Turn the board upward again. Make sure
to align the headers so that they are
perpendicular to the board, then solder the
pins carefully.
Turn the board upside down, so that
bottom side is facing you upwards. Place
shorter parts of the header pins in the
both soldering pad locations.
Before using your click board, make sure to
solder the provided 1x8 male headers to
both sides of the board. Please locate the
headers in the top side of the inner box of
the board package, and take them out.
5. DIGIPOT click Board Schematics
Terminal B
Terminal W
Terminal A
GND
CN2
CN3
PB
PW
PA
R2
100K
VCCVCC
SCK
CS#
SDI
VCC
PWR SEL
R1
2K2
PWR
VCC
C1
100nF
AN
RST
CS
SCK
MOSI
MISO
+3.3V
GND
PWM
INT
RX
TX
SCL
SDA
+5V
GND
SCK
CS#
SDI
1
2
3
4
8
7
6
5
1
2
3
J1
VCC
V5+3V3+
CS
SCK
SDI
VSS
VDD
P0B
P0W
P0A
U2
MCP4161
8. Support
MikroElektronika oers Free Tech Support
(www.mikroe.com/esupport) until the end
of product lifetime, so if something goes
wrong, we are ready and willing to help!
7. Code Examples
6. Power supply selection
.com
Once you have done all the necessary
preparations, it’s time to get your click board up
and running. We have provided the examples for
mikroC, mikroBasic and mikroPascal compilers
on our Libstock website. Just download them
and you are ready to start.
On-board PWR SEL zero-
ohm resistor (SMD jumper)
is used to determine
whether 5V or 3.3V power
supply is used. This resistor
is provided in 3.3V position by default. In order
to use DIGIPOT click with 5V development
system, it is necessary to resolder this jumper
to 5V position.

Other mikroElektronika Control Unit manuals
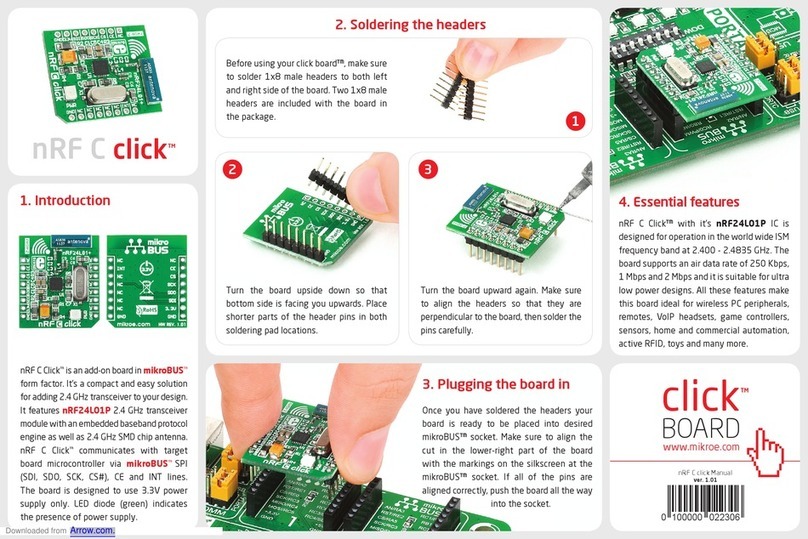
mikroElektronika nRF C Click User manual

mikroElektronika

mikroElektronika nRF C Click User manual

mikroElektronika Click Boards IR distance click User manual

mikroElektronika

mikroElektronika Click Boards IR distance click User manual

mikroElektronika ccRF2 click User manual

mikroElektronika

mikroElektronika ccRF2 click User manual

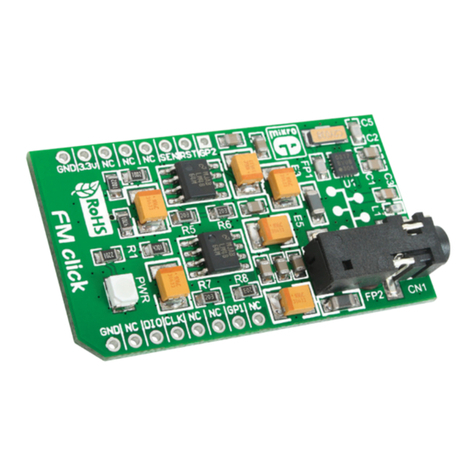
mikroElektronika FM Click User manual

mikroElektronika

mikroElektronika FM Click User manual

mikroElektronika click BOARD IR reflect click User manual

mikroElektronika

mikroElektronika click BOARD IR reflect click User manual

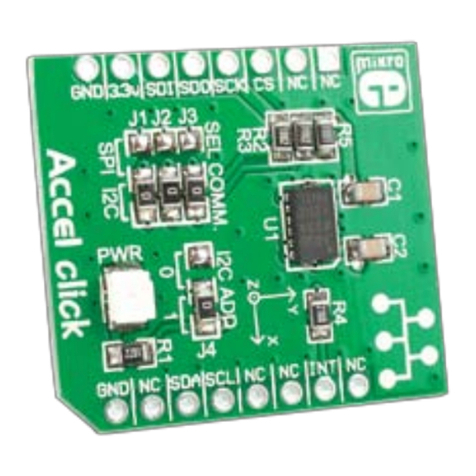
mikroElektronika Click Boad Accel Click User manual

mikroElektronika

mikroElektronika Click Boad Accel Click User manual

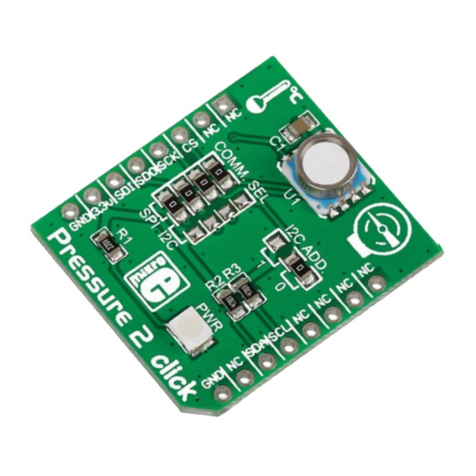
mikroElektronika Pressure 2 click User manual

mikroElektronika

mikroElektronika Pressure 2 click User manual

mikroElektronika RaspyPlay4 User manual

mikroElektronika

mikroElektronika RaspyPlay4 User manual

mikroElektronika Click User manual

mikroElektronika

mikroElektronika Click User manual

mikroElektronika ccRF click User manual
mikroElektronika

mikroElektronika ccRF click User manual

Popular Control Unit manuals by other brands

Yeastar Technology EC25-E user guide

Yeastar Technology

Yeastar Technology EC25-E user guide

3Com WL-463 installation guide

3Com

3Com WL-463 installation guide

ITRON Cellular 500G installation guide

ITRON

ITRON Cellular 500G installation guide

Sunrise telecom SunSet DSL Series manual

Sunrise telecom

Sunrise telecom SunSet DSL Series manual

iWave iW-RainboW-G50M i.MX 93 Hardware user's guide

iWave

iWave iW-RainboW-G50M i.MX 93 Hardware user's guide

Wittkopp PrimorSignal plus installation instructions

Wittkopp

Wittkopp PrimorSignal plus installation instructions

Ring Engineering LM-4S-G user manual

Ring Engineering

Ring Engineering LM-4S-G user manual

Adeunis RF Wireless-Mbus 25mW user guide

Adeunis RF

Adeunis RF Wireless-Mbus 25mW user guide

ViziT VIZIT-TU412M1 Operating	 instruction

ViziT

ViziT VIZIT-TU412M1 Operating instruction

Tyco AV-1-300 manual

Tyco

Tyco AV-1-300 manual

Frico VLSP Series installation manual

Frico

Frico VLSP Series installation manual

Supermicro AOM-TPM-9670V user manual

Supermicro

Supermicro AOM-TPM-9670V user manual

Pentair FLECK 2750 NXT Installer manual

Pentair

Pentair FLECK 2750 NXT Installer manual

Freescale Semiconductor MCF5249 user guide

Freescale Semiconductor

Freescale Semiconductor MCF5249 user guide

Leadshine Technology CS-D507E user manual

Leadshine Technology

Leadshine Technology CS-D507E user manual

turck TBIP-L 4FDI-4FDX Series Instructions for use

turck

turck TBIP-L 4FDI-4FDX Series Instructions for use

Monacor ATT-412PEU manual

Monacor

Monacor ATT-412PEU manual

Cumberland Var-O-Matic installation instructions

Cumberland

Cumberland Var-O-Matic installation instructions

manuals.online logo
manuals.online logoBrands
  • About & Mission
  • Contact us
  • Privacy Policy
  • Terms and Conditions

Copyright 2025 Manuals.Online. All Rights Reserved.