manuals.online logo
Brands
  1. Home
  2. •
  3. Brands
  4. •
  5. Milwaukee
  6. •
  7. Measuring Instrument
  8. •
  9. Milwaukee pH52 User manual

Milwaukee pH52 User manual

This manual suits for next models

1

Other Milwaukee Measuring Instrument manuals

Milwaukee MW105 MAX User manual

Milwaukee

Milwaukee MW105 MAX User manual

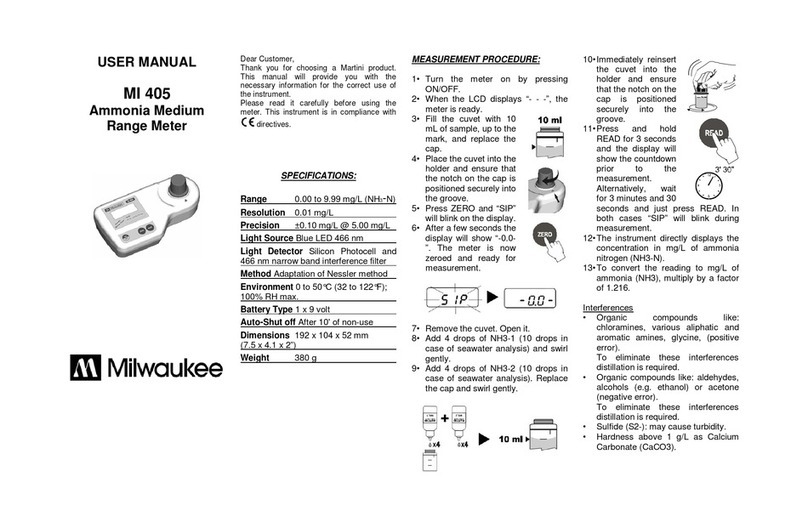
Milwaukee MI 405 User manual

Milwaukee

Milwaukee MI 405 User manual

Milwaukee 2205-20 User manual

Milwaukee

Milwaukee 2205-20 User manual

Milwaukee pH600 User manual

Milwaukee

Milwaukee pH600 User manual

Milwaukee MW805 MAX User manual

Milwaukee

Milwaukee MW805 MAX User manual

Milwaukee MA888 User manual

Milwaukee

Milwaukee MA888 User manual

Milwaukee CALIBRATION 2238-20 User manual

Milwaukee

Milwaukee CALIBRATION 2238-20 User manual

Milwaukee MW101 User manual

Milwaukee

Milwaukee MW101 User manual

Milwaukee MW500 User manual

Milwaukee

Milwaukee MW500 User manual

Milwaukee pH54 User manual

Milwaukee

Milwaukee pH54 User manual

Milwaukee M12 SUB-SCANNER 2291-20 User manual

Milwaukee

Milwaukee M12 SUB-SCANNER 2291-20 User manual

Milwaukee PRO MI414 User manual

Milwaukee

Milwaukee PRO MI414 User manual

Milwaukee 48-22-9802 User manual

Milwaukee

Milwaukee 48-22-9802 User manual

Milwaukee LDM 80 User manual

Milwaukee

Milwaukee LDM 80 User manual

Milwaukee MW802 User manual

Milwaukee

Milwaukee MW802 User manual

Milwaukee MA887 User manual

Milwaukee

Milwaukee MA887 User manual

Milwaukee MI 413 User manual

Milwaukee

Milwaukee MI 413 User manual

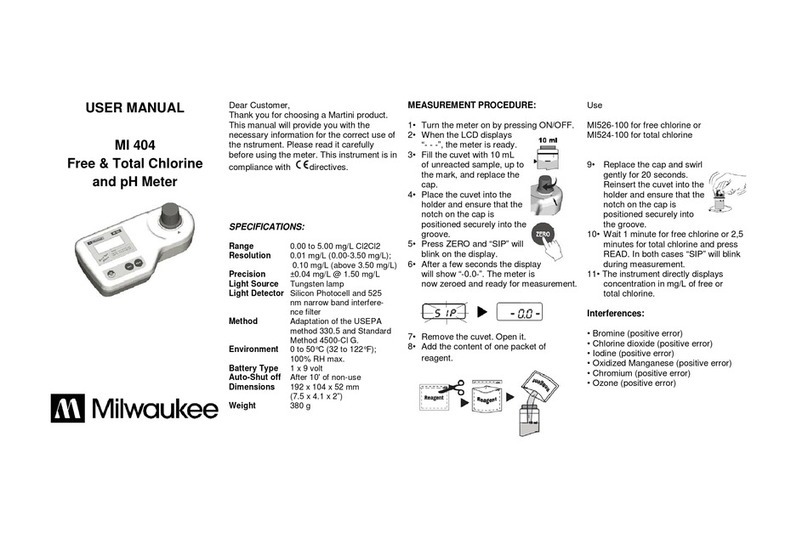
Milwaukee MI 404 User manual

Milwaukee

Milwaukee MI 404 User manual

Milwaukee SM700 User manual

Milwaukee

Milwaukee SM700 User manual

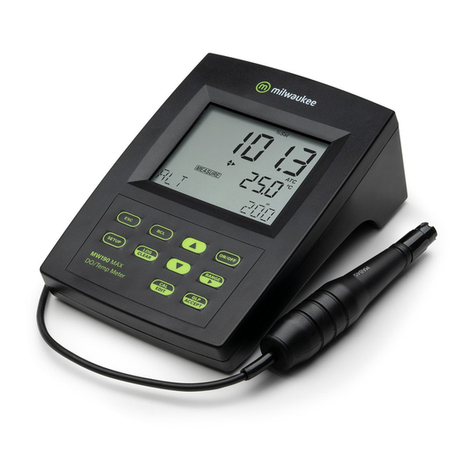
Milwaukee MW180 MAX User manual

Milwaukee

Milwaukee MW180 MAX User manual

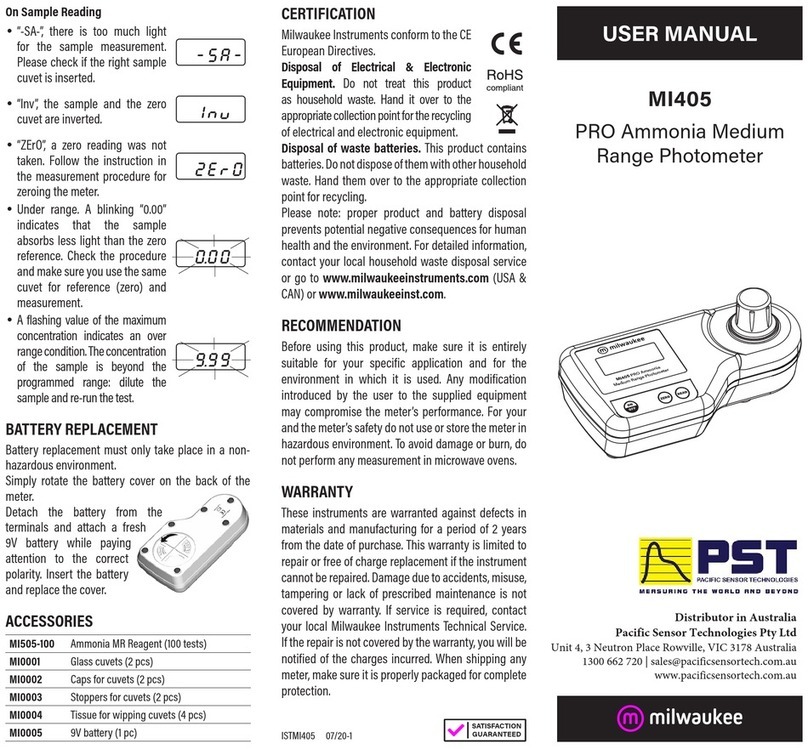
Milwaukee MI405 User manual

Milwaukee

Milwaukee MI405 User manual

Milwaukee LDM 45 User manual

Milwaukee

Milwaukee LDM 45 User manual

Milwaukee MW150 User manual

Milwaukee

Milwaukee MW150 User manual

Milwaukee REDLITHIUM User manual

Milwaukee

Milwaukee REDLITHIUM User manual

Popular Measuring Instrument manuals by other brands

Powerfix Profi 278296 Operation and safety notes

Powerfix Profi

Powerfix Profi 278296 Operation and safety notes

Test Equipment Depot GVT-427B user manual

Test Equipment Depot

Test Equipment Depot GVT-427B user manual

Fieldpiece ACH Operator's manual

Fieldpiece

Fieldpiece ACH Operator's manual

FLYSURFER VIRON3 user manual

FLYSURFER

FLYSURFER VIRON3 user manual

GMW TG uni 1 operating manual

GMW

GMW TG uni 1 operating manual

Downeaster Wind & Weather Medallion Series instruction manual

Downeaster

Downeaster Wind & Weather Medallion Series instruction manual

Hanna Instruments HI96725C instruction manual

Hanna Instruments

Hanna Instruments HI96725C instruction manual

Nokeval KMR260 quick guide

Nokeval

Nokeval KMR260 quick guide

HOKUYO AUTOMATIC UBG-05LN instruction manual

HOKUYO AUTOMATIC

HOKUYO AUTOMATIC UBG-05LN instruction manual

Fluke 96000 Series Operator's manual

Fluke

Fluke 96000 Series Operator's manual

Test Products International SP565 user manual

Test Products International

Test Products International SP565 user manual

General Sleep Zmachine Insight+ DT-200 Service manual

General Sleep

General Sleep Zmachine Insight+ DT-200 Service manual

Sensa Core Lacto Spark user manual

Sensa Core

Sensa Core Lacto Spark user manual

VOLTCRAFT UTS-1980 operating instructions

VOLTCRAFT

VOLTCRAFT UTS-1980 operating instructions

EBCHQ 94915 Operation manual

EBCHQ

EBCHQ 94915 Operation manual

Balluff BIP LD2-T017-01-EP-S4 Series user guide

Balluff

Balluff BIP LD2-T017-01-EP-S4 Series user guide

Pulsar IMP Lite Series instruction manual

Pulsar

Pulsar IMP Lite Series instruction manual

ETCR 6800 user manual

ETCR

ETCR 6800 user manual

manuals.online logo
manuals.online logoBrands
  • About & Mission
  • Contact us
  • Privacy Policy
  • Terms and Conditions

Copyright 2025 Manuals.Online. All Rights Reserved.

pH52 & pH53
Microprocessor Waterproof
pH & temperature meters
USER MANUAL
SPECIFICATIONS
Range pH52 -2.0to16.0pH
-5.0 to 60.0°C / 23.0 to 140.0°F
pH53 -2.00to16.00pH
-5.0 to 60.0°C / 23.0 to 140.0°F
Resolution pH52 0.1 pH / 0.1°C / 0.1°F
pH53 0.01 pH / 0.1°C / 0.1°F
Accuracy pH52 ±0.1 pH / ±1°C / ±2°F
(@20°C) pH53 ±0.02 pH / ±1°C / ±2°F
TypicalEMC pH52 ±0.1 pH / ±0.2°C / ±0.4°F
Deviation pH53 ±0.03 pH / ±0.2°C / ±0.4°F
TemperatureCompensation Automatic
Calibration Automatic,1or2points
pHelectrode MA73047(replaceable)
Environment -5 to 60°C; 100% RH
Batterytype 3 x 1.5V; IEC LR44, A76; alkaline
Batterylife approx.200hours
Auto-off after8minutes
Dimensions 165 x 30 x 30 mm
Weight 80g
ACCESSORIES
MA73047 ReplaceablepHelectrodewithbuilt-in
temperaturesensor
M10007B pH7.01buffersolution,
25x20mLsachet
M10004B pH4.01buffersolution,
25x20mLsachet
M10010B pH10.01buffersolution,
25x20mLsachet
M10000B Electroderinsesolution,
25x20mLsachet
MA9015 Electrodestoragesolution,
220mLbottle
MA9016 Electrodecleaningsolution,
220mLbottle
These meters are in compliance with the CE directives.
ISTRPH52R1 09/02
WARRANTY:
This meter is warranted from all defects in materials and manufac-
turing for a period of two years. The electrode is warranted for a
period of one year. During this period, the required repair or replace-
ment of parts, where the damage is not due to negligence or erroneous
operation by the user, will be effected free of charge.
OPERATIONAL GUIDE:
• Remove the cap and immerse the meter in MA9015
storage solution for 2 hours to activate the electrode.
• Turn the meter on by pressing the ON/OFF key and
select the measure range (pH, °C or °F) with the
SET button.
• Immerse the electrode in the solution to be tested.
• Stir gently and wait for the reading to stabilize.
•To freeze the display, while in mea-
surement mode, press and hold the
SET button until the H tag lights up.
The reading will be frozen on the LCD. Press the
SET button again to return to normal mode.
• After use, rinse the electrode with water to minimize
contamination and store it with a few drops of storage
(MA9015) or pH7 (M10007) solution in the protective
cap.
• Always turn the meter OFF and replace the protective
cap after use.
NEVER USE DISTILLED OR DEIONIZED WATER
FOR STORAGE PURPOSES.
CALIBRATION:
• Enter the Calibration mode by pressing the CAL
button. The pH tag will start blinking on the LCD.
• For a single-point calibration, place the electrode in
any buffer, eg. pH 4.01, 7.01 or 10.01. The meter will
automatically recognize and display the buffer value.
• When the pH tag stops blinking, press the SET button
to confirm the calibration point.
Note: If the pH 7.01 buffer was used, press the SET
button again to exit the Calibration mode; the first
calibration point is stored and the meter returns to
the measurements mode. Otherwise, if a different
buffer was used, the meter will automatically return
to normal mode.
• For a two-point calibration, place the electrode in pH
7.01 buffer. The meter will automatically recognize
and display the buffer value.
• When the pH tag stops blinking, press the SET button
to confirm and store the first calibration point.
• The meter will then ask for the second buffer. Place
the electrode in pH 4.01 (or pH 10.01) buffer.
• When also this buffer is recognized, press the SET
button to confirm and store the second calibration
point; the meter will return to normal mode.
Note: If a solution with wrong pH value
is used as buffer for calibration,
the LCD will display the “Ec”
message.
Note: To exit the Calibration mode, press the CAL
button at any time. The meter will display dashes
and then return to normal measurement mode.
Note: To reset to the default values, after entering the
Calibration mode and before the first calibration
point is confirmed (pH tag is blinking), press and
hold the SET key, and then the CAL button.
Note: For better accuracy it is recommended to carry
out a 2-point calibration procedure.
ELECTRODE REPLACEMENT:
• Remove the protective cap and un-
screw the plastic ring on the top of
the electrode.
• Pull out the MA73047 pH electrode
and replace it with a new one (align-
ing the colored pin towards the LCD
side).
• Make sure the gaskets are in place
before screwing back the ring.
BATTERY REPLACEMENT:
When the batteries become weak, the battery symbol on
the LCD will light up.
When the low battery indicator appears
only a few hours of battery life is re-
maining. It is recommended to replace
the battery immediately.
The meter is also provided with BEPS
(Battery Error Preventing System) which
avoids any erroneous reading due to
low battery level, by warning the user
with the “Eb” message on the LCD.
To replace the batteries unscrew the battery compart-
ment cap and replace all three 1.5V batteries while
paying attention to their polarity. Make sure the gasket is
in place before screwing back the cap.
Batteries should only be replaced in a nonhazardous
area using the battery type specified in this instruction
manual.