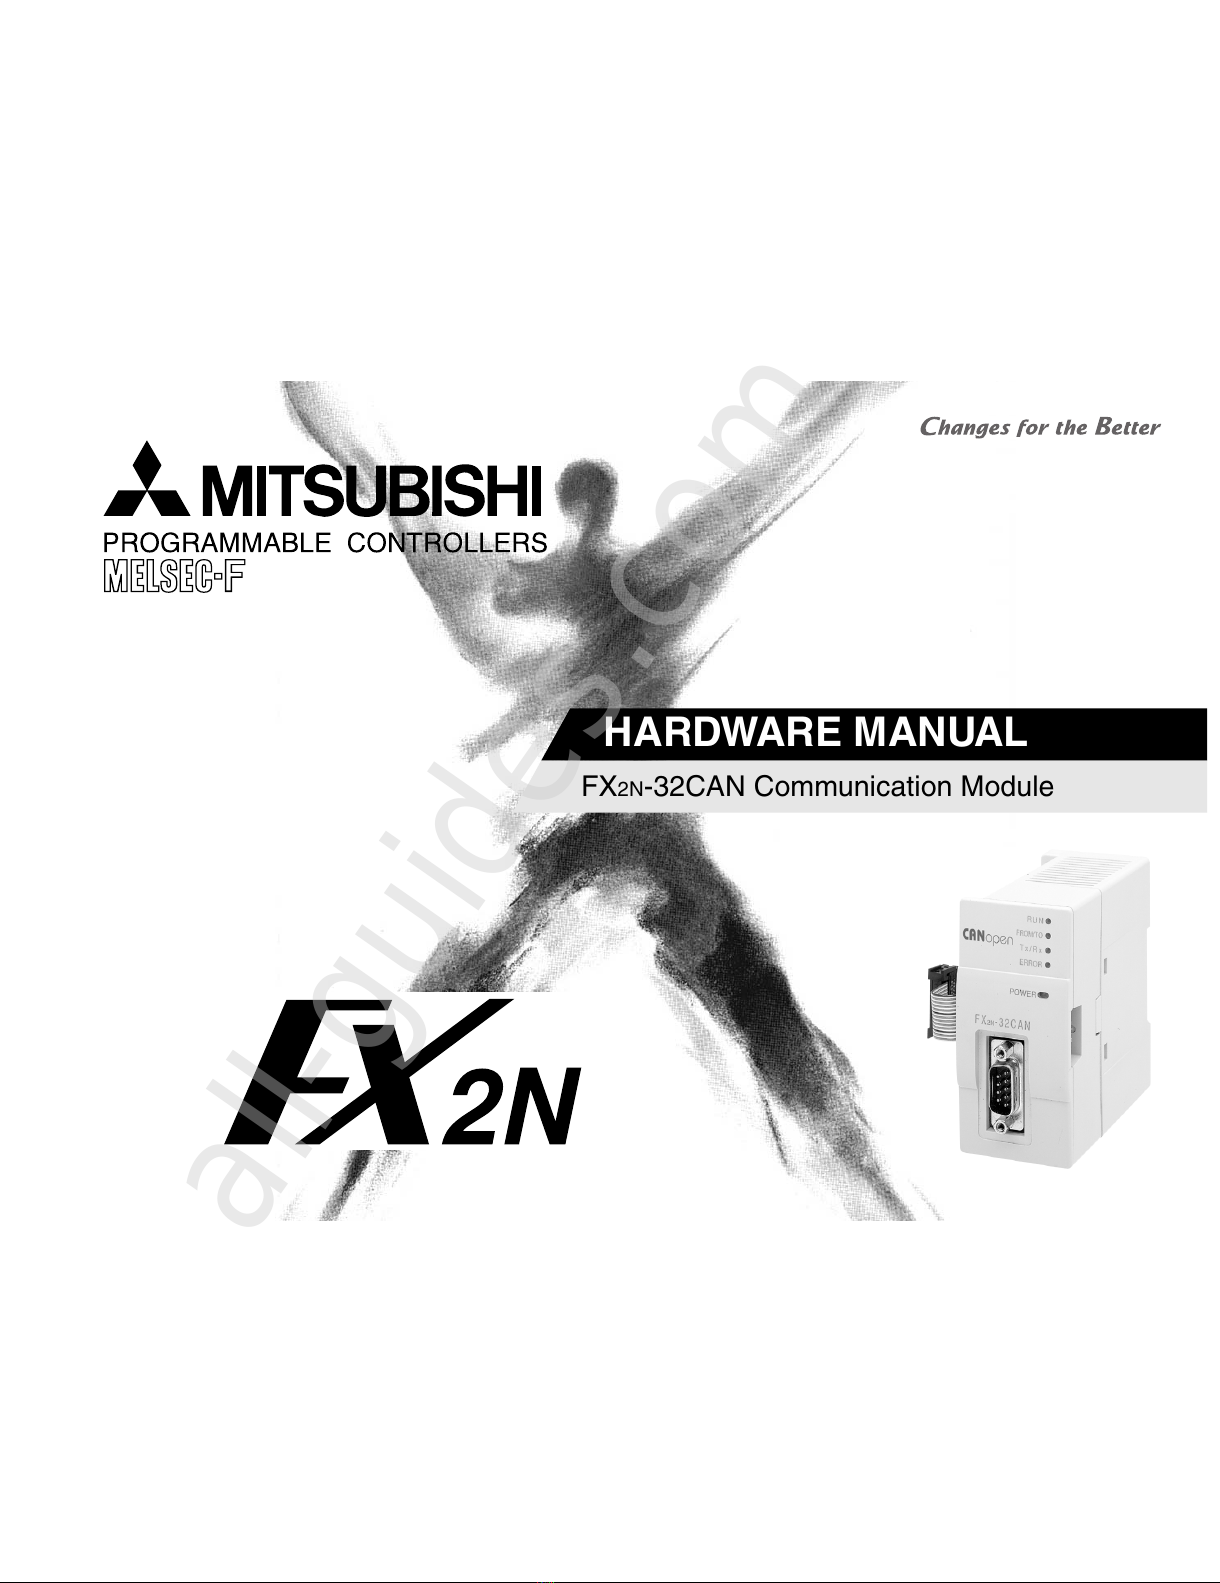
FX2N-32CAN Communication Module
vi
4. Buffer Memory Structure .......................................................................4-1
4.1 Basic Buffer Memory Structure, BFM #0 ~ BFM #31 .......................................... 4-1
4.2 Buffer Memory Functions .................................................................................... 4-2
4.2.1 Data Transfer Locations, BFMs #0~#19 and #100~#199 ......................................... 4-2
4.2.2 The Data Exchange Mode, BFM #20 ........................................................................ 4-2
4.2.3 Setting the Baud Rate, BFM #24............................................................................... 4-3
4.2.4 Reading the Communication Status, BFM #25 ......................................................... 4-4
4.2.5 The Watch Dog Timer Setting, BFM #26 .................................................................. 4-5
4.2.6 The Node Address, BFM #27.................................................................................... 4-5
4.2.7 Error Staus, BFM #29................................................................................................ 4-6
4.2.8 BFM Data Memory Backup ....................................................................................... 4-7
4.3 Extended BFM Structure, BFM #32 ~ BFM #32767 ............................................ 4-8
5. Module Parameterization and Configuration .........................................5-1
5.1 Factory Default Mapping/Mode 0 Mapping.......................................................... 5-3
5.2 Mode A Mapping ................................................................................................. 5-4
5.3 Mode B Mapping ................................................................................................. 5-5
5.3.1 Prepare the PDO Mapping Table .............................................................................. 5-6
5.4 PDO Mapping Table Overviews .......................................................................... 5-8
5.4.1 Tx-PDO Mapping Table............................................................................................. 5-8
5.4.2 Rx-PDO Mapping Table .......................................................................................... 5-10