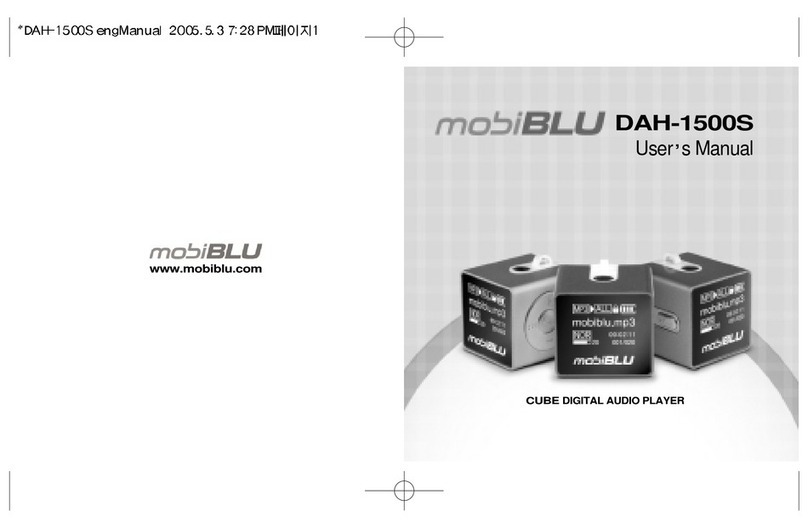
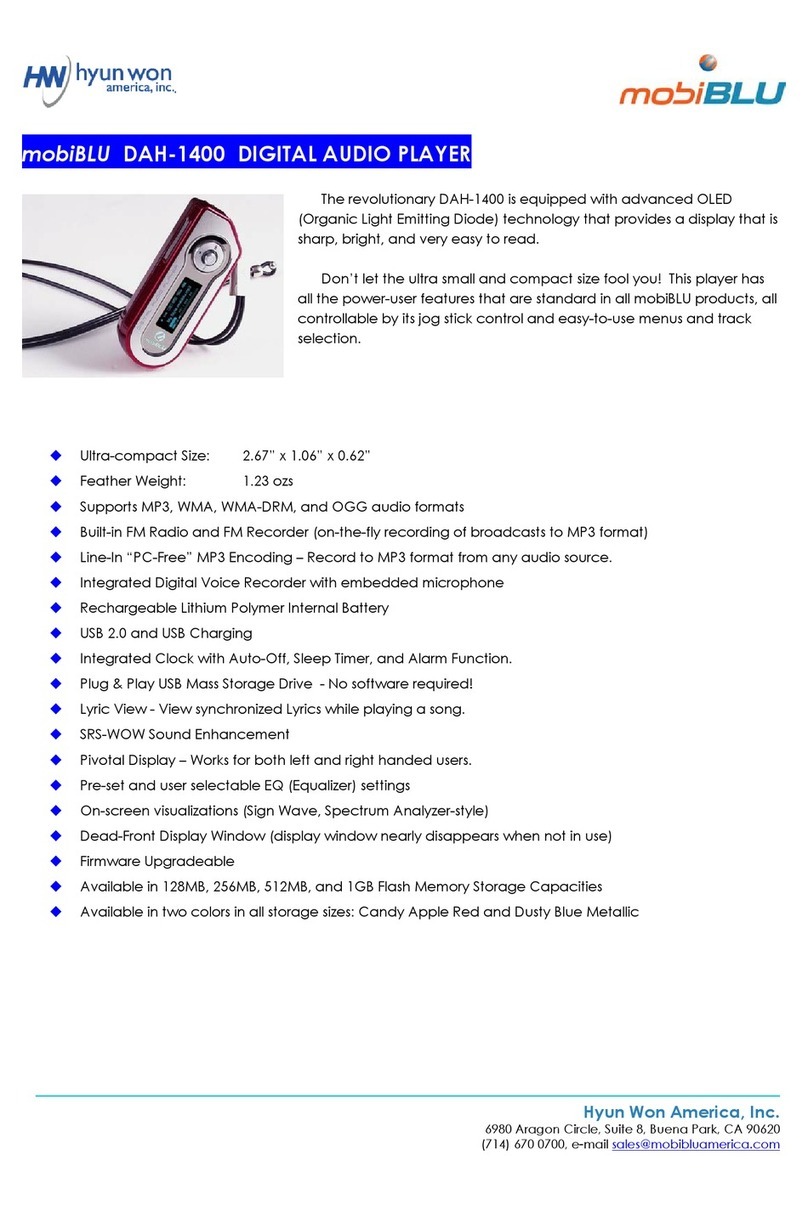
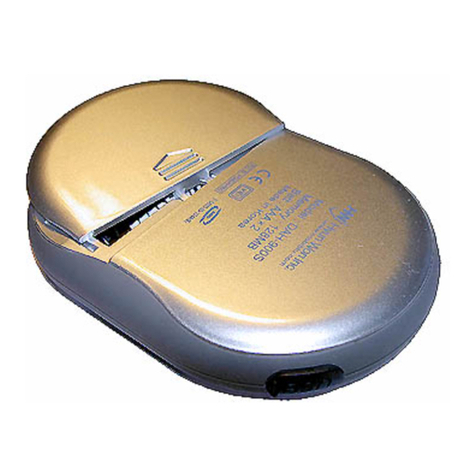
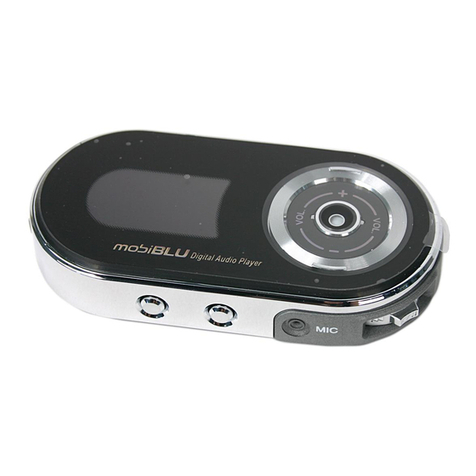
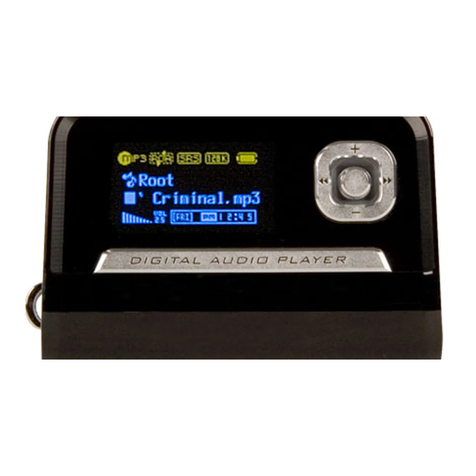
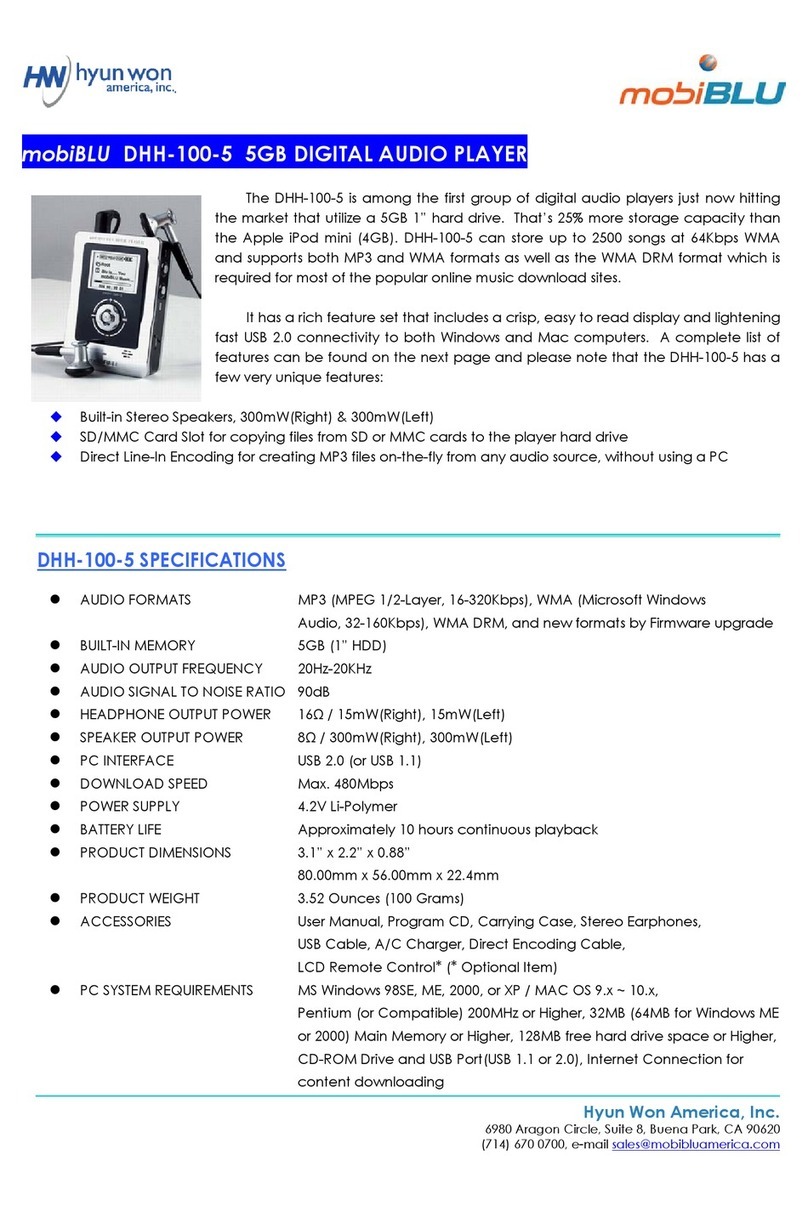
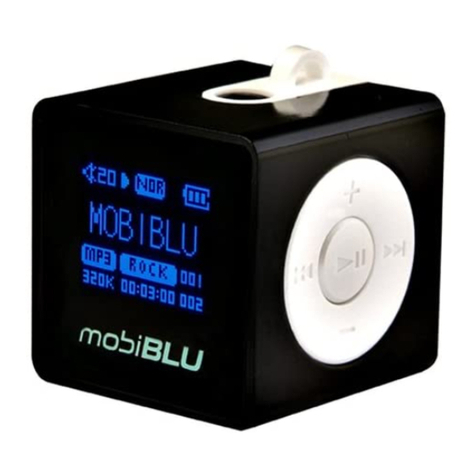
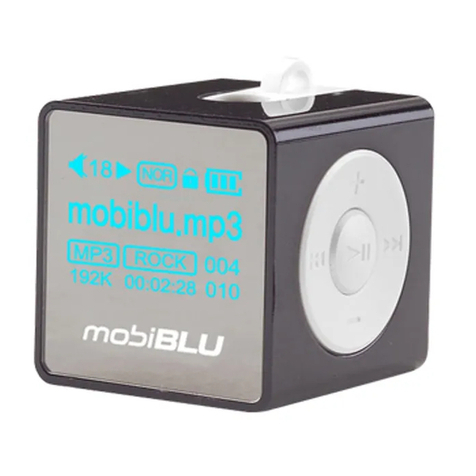
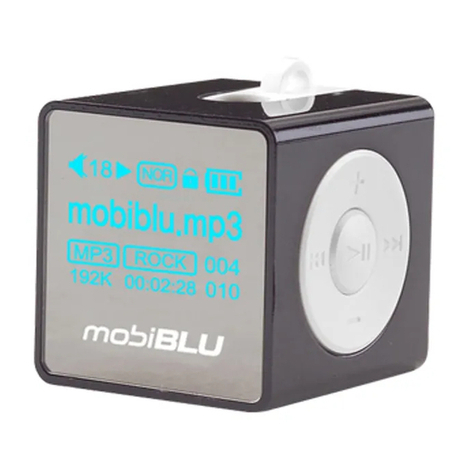
MobiBlu DAH-1400 User manual

TableofContents
1
BeforeUsingPlayer 3
USBConnection&Disconnection 15
BasicOperations 19
LearnMoreAboutComfortableFunctions 47
SettingMenus 57
SoftwareInstallation 77

CautionsForSafety
ProductFeatures
Specifications
Accessories
NamesofEachPart
MinimumRequirementsforPC
ChargingPlayerUsingUSBCable
AboutPower
BeforeUsingPlayer
3
BeforeUsingPlayer
4
6
8
9
10
12
13
14
Table ofContents
MEMO

BeforeUsingPlayer
BeforeUsingPlayer
4 5
CautionsForSafety CautionsForSafety
Don’t’expose theplayerto dustyand
humidplaces. Don’t trytodisassemble orrebuildthe play-
errandomly.
Don’texpose theplayerto adirectray of
lightor hotstoves. Don’tdrop orgivea severeshockto the
player.
DANGER
DANGER
Aschemicals orrinsingdetergents can
changeor peelthesurface offofthe player,
don’tuse them.
Don’ttouch orconnectthe playerto
otherdevices withwethands.
AS
Distributingmusic filestoother people
withoutpermission isaviolation ofacopy-
rightlaw.
Weshall notbeliable forthelosses ofdata
inthe playerbyusers’ carelessness.During
therepairing byour
technicalsupport teams,
datastored inthe
playermay bedeleted.
Listeningto musiclongtime withhigh vol-
umemay causeahearing sensedisor-
der.
Don’tuse earphoneswhiledriving carsor
ridingbikes ormotorcycles.
AS
Whileusing theplayer,if yousmellfiring or
itis severelyheated,reset theplayerand
callour customersupportcenter.

BeforeUsingPlayer
BeforeUsingPlayer
6 7
ProductFeatures ProductFeatures
OLEDLCD
OLED LCD is much better than the existing LCD in terms of readability and esthetic appreciation. By adopt-
ingOLED,itnotonlyprovidesmuchbetterqualityofdisplay,butalsomakesitsdesignfarbetter.
Multi-CodecSupport
WithasupportoftheMulti-Codec,DigitalfilessuchasMP3,WMAandOGGcanbeplayed.
LyricsSupport
The player supports lyrics by connecting it to the lyrics data on the Internet, enabling you to download the
lyricsofthesong.Userscaneveneditthemifnecessary.
SRS
With3DSurroundSoundandreinforcedBass,youwillexperienceadeepandrichsoundwiththisplayer.
HandyWatch
Now MP3 Player functions as a watch. It shows current time and provides alarm function for morning call.
Furthermore, you can preprogram the player to record FM radio, so no matter how late at night it will be, you
canlistentotheprogramthroughpreprogrammedrecording.
BookMark
Insteadof listening to asong,thelengthof which islong,fromthebeginning of the song,youcanselectivelylisten
tothesongbysearchingtherightpositionusingtheBookMark.
LCDPivot
Notonlyaright-hander,butalsoaleft-handercannoweasilyusetheplayer,causeitprovidespivotfunction,
whichletstheuserswivelthedisplaypaneltoleft,right,up,anddown.Nowit’suptoyouwhichdirectionyou
aregoingtochoose.
VoiceRecording
Withahigh-sensitiveinternalmicrophone,itcanbeusedasaprofessionalvoicerecorderhavingversatile
functions.ItsupportstheVOR(VoiceOperatedRecording)function,whichmeansthatitrecordsonlyifit
detectssound,avoidingunnecessaryrecordingandsavingmemories.
MP3DirectEncoding(MusicRecording)
WithouthavingtoconnecttoanyPCs,youcandirectlysaveandrecorddatatotheplayerasdigitalfilesin
real-timewhileenjoyingFMRadio,CDsandmusicorcontentsinanaudiocassettetape,sothisisamust for
studentsandworkmenwhonotonlywanttoenjoymusicbutalsoneedarepeatfunctionforstudyingTOEIC
andTOEFLandpracticingconversationalskills.
FMRadioListening&Recording
YoucanenjoyFMradioprogramsaswellasdigitalmusicsuchasMP3,WMA,andOGG.Youcaneven
recordapartofthemusicthatyouarelisteningtodirectlyfromtheradiototheplayer,whichyoucanlistento
repeatedlyandsaveintoyourPC.
Second-BasedResume
Whenyouturnofftheplayerandturnitbackonlater,theplayerwillresumebackthevolume,EQ,andplay
listofthelastmusicyoulistenedtothesamestatus.

BeforeUsingPlayer
BeforeUsingPlayer
8 9
Specifications Accessories
Classification
FMTuner
Audio
FileSupport
RecordingTime
OperationTemperatures
Max.PlaybackTime
Dimensions(Wx LxH)
Weight
Batteries(Built-in)
USB
FMFrequency 87.5MHz~108.0 MHz
Max.Volume7mW (16 )
50dB
20Hz~20KHz
Max.Volume15mW (16 )
MP3,WMA,OGG
6.0Mbps(USBV. 1.1)
12Hours
-5 ~70
68x27 x16(mm)
35g
Li-Polymer
1040Minutesof VoiceRecordingwith
RecordingModeof 32Kbpsfor256MB
MP3:8~320Kbps,WMA:
32~192Kbps,OGG:Q0~Q10
90dB
CordAntennaby Headphones/Earphones
HeadphonesOutput
S/NRatio
Antenna
HeadphonesOutput
S/NRatio
FileTypes
BitRate
DownloadSpeed
FrequencyCharacteristics
Items Specifications
PUSH
PUSH
USBCable Line-InCable
CarryingCaseNeckStrap Earphones
ProgramCD Manual

BeforeUsingPlayer
BeforeUsingPlayer
10 11
NamesofEachPart NamesofEachPart
Front
Side
MENU/FF/REW
VOL+/VOL-
LEDLamp
LCDDisplay
REC/A-B /PlayMode Button
EQ/SRS /BookMark Button
LDB/Navigation /WatchButton
Power/Play /Pause
Side
USBPort
Line-InPort
ResetButton
NeckStrapConnector Earphones
Jack HoldSwitch
Microphones
Rear/Top

BeforeUsingPlayer
BeforeUsingPlayer
12 13
MinimumRequirementsforPC ChargingPlayerUsingUSBCable
1.ConnecttheplayertotheUSBportatthebackofyour PCusingUSBcable.
2.When the player is charged, LED on the player will turn on, and turn off when the
chargingiscompleted.
PUSH
Ittakesabout3 hoursto fullycharge acompletely exhaustedbattery.
Youcanchargethe batterywhen downloadingfiles fromyour PCtotheplayer.
If theLCDdisplayis notturned on,use theplayer afterchargingitwiththe USBcable.
ForYourReference!
TheminimumrequirementsforPCtousetheplayerareasfollows;
MicrosoftOS(Windows 98SE,2000,ME, andXP)
CD–ROMDrive
Pentium200MHzor higher
Morethan32 MBofRAM (64MBormoreforWindowMEor2000).
Morethan128MB ofHardDisk Space
(AdditionalDiskSpace isrequiredfor storingmusicfiles)
USBPort(Ver. 1.1)Available
Mac9.X~ X

USBConnection&Disconnection
15
BeforeUsingPlayer
14
AboutPower
Thedisplayofbattery residue capacity canvaryatthe beginning of theoperation.Itwill
bestabilizedafter 5to6 secondsdisplayingthe realamountofbatteryresidue.
Forthecases below,chargethe batterywiththe USBcable.
LCDdisplays“Low Battery.”
Theplayerdoes notrespondto thebuttoningor stopsimmediately.
LCDdoesnot respondtothe buttoning.
1.ConsecutivePlayback Time
- Li-PolymerBattery:12 Hrs.
- MP3128Kbps
- VolumeLevel:Based onthelevel 15
- Theaboveresultisobtained using lithium-polymer batteries includedintheproduct
andissubject to changeaccordingto theconditionsof use
(Full) (Medium) (Low)
Description
Li-PolymerBattery MP3
12Hours(520mA)
ConnectingPlayertoPCUsingUSBCable
DisconnectingPlayerfromPCUsingUSBCable
16
17
Table OfContents

ForWindowsME, 2000,andXP Users
1.To disconnect the player from the USB cable, double click the green arrow at the
rightbottomof yourWindowsscreen.
2.Selectthe“USBMassStorageDevice”andselect“Stop.”Click“OK.”
ConnectingPlayertoPCUsingUSBCable DisconnectingPlayerFromPCUsingUSBCable
USBConnection&Disconnection
16 17
Connecttheplayer to theUSB port atthe back ofyour PC usingUSB cable.
PUSH
What is USB? USB stands for Universal Serial Bus, which is a new method
ofconnectingPC with peripherals.
Touse itefficiently, connectthe USBcable directlyto theUSB portlocated at
the back of PC. Connecting it to the USB port at the front of the PC or USB
hubmaycause a connectionfailure.
For Windows 98SE, the player is not recognized to PC although it is con-
nectedwithUSB cable. Besure to installa Program CD.
ForYourReference!
DOUBLECLICK
CLICK
CLICK

LCDDisplay
SimpleKeyOperations
PowerOn/Off
ChangingModes
Locking
ListeningMusic
SelectingMusic
RecordingVoice
RecordingMusic
ListeningtoFMRadio
ScanningFMRadioFrequencies
SavingFMRadioFrequencies
EnteringPresetMode
DeletingSavedFrequencies
RecordingFMRadio
BasicOperations
BasicOperations
19
DisconnectingPlayerFromPCUsingUSBCable
ForWindows 98SE Users
USBConnection&Disconnection
18
3. After you see the message “Safely Remove Hardware,” click “OK” and remove
theUSBcable.
If you disconnect the cable without following the instructions above, you will
seea warning message and it may cause aseriousfailuretoPCortheplayer.
Disconnecting the USB cable from PC while downloading, uploading, format-
ting,and OS updating may cause a serious failuretoPCortheplayer.
ForYourReference!
20
21
24
25
26
27
28
30
32
35
36
37
39
40
42
Table OfContents
Run“My Computer”or“Windows Explorer”
andselect the“RemovableDisk.” Rightclick
onit toselectthe menu“Remove”to discon-
nectthe cablefromthe player.Byfollowing the
orderof thepicturesbelow, removetheUSB
deviceon therightgreen arrowsatthe bottom
rightof theWindows.
CLICK
CLICK

LCDDisplay SimpleKeyOperations
BasicOperations
BasicOperations
20 21
MUSICMode
Button TimePressed StopState PlayState
PLAY
/PAUSE
FF
REW
MENU
L/N
Playsacurrent song. Pauses acurrent song.
PowerOff
Movestothe next song.
Fastforwardsearch from the
currentposition.
Fastbackwardsearch from
thecurrentposition.
Selectsmenus.
Lyrics CancelsLyrics
Navigation
Selectsmodes.
(MUSIC VOICE LINE FM)
Within5sec. after play:
Movesbackto the previous
song.
5sec.after play: Playsthe
songatthe beginning ofit.
PowerOff
Movestothe next track.
Successiveforwardtrack
search.
Successivebackwardtrack
search.
Selectsmenus.
Watch CancelsWatch
Navigation.
Selectsmodes.
(MUSIC VOICE LINE FM)
Movesbackto the previous
track.
A: StatusofFiles (Play/Pause/Stop)
B: Bitrate/LDB
C: EQ/SRS
D: Formatofthe Playing Files
E: PlayModes
F: RemainingBattery
G: Modes
H: Volume
I: FileNumber
J: ElapsedTime
K:TrackNumber
L:FileName
MUSICMode Display
FMMode Display
AB C D E F
GH LIJK
A:Receiving(antenna displayed) /Readyto
receive(antennanot displayed)
B:Auto/Manual
C:PresetNumber (1~20)
D:Mono/Stereo
E:RemainingBattery
F:Volume
G:PresetModes
H:Frequency
I:FrequencyBar
AB C DEF
GHI

Button TimePressed REC Ready State RecordingState
SimpleKeyOperations
BasicOperations
23
FMMode
SimpleKeyOperations
BasicOperations
22
Voice/ Line Mode
Button TimePressed StopState PlayState
SRS
VOL+
VOL-
REC
REC/A-B
Button TimePressed Ready to Receive State Preset Mode
PLAY
/PAUSE
FF
REW
REC
Menu
SRS
VOL+
VOL-
L/N
Waitsforreceiving. Starts to receive Waitsfor
receiving
Poweroff.
Movestothe next preset.
Movestothe next presets
successively.
Moves1station back tothe
previousPresets.
Successivelymovesback to
thepreviouspresets.
FMRadioRecording / Stop
SelectsFMmenus.
Cancelsthepreset modes.
ConvertsMono/Stereo
IncreasesVolume
DecreasesVolume
Selectsmodes.
(MUSIC VOICE LINE
FM)
Poweroff.
Increasesfrequency1 level
up.
Successivelyscansfrequen-
cies.
Decreasesthefrequency 1
leveldown.
Successivelysearchprevi-
ousfrequencies.
FMRadioRecording / Stop
SelectsFMmenus.
EntersPresetmode
ConvertsMono/Stereo
IncreasesVolume
DecreasesVolume
Selectsmodes.
(MUSIC VOICE LINE
FM)
DisplaysbookMark
DisplaysbookMark
SetsBookMark
ChangesEQ.
IncreasesVolume.
DecreasesVolume.
VoiceRecord/MusicRecord
stops.
SectionRepeat:A B / Cancel.
Changesplaymodes (Normal
Repeat RepeatAll Random
RandomAll)
IncreasesVolume.
VoiceRecord/MusicRecord
starts.
DecreasesVolume.
Readyforvoice recording

ChangingModes
BasicOperations
25
ChangingModes
PowerOn/Off
BasicOperations
24
TurningOn the Power
PowerOff
Underthe stateofHOLD, HOLDscreenis displayedbutthe power isnot turned on.
Charge the battery fully and then turn on the player. When the battery is completely dis-
charged,the message“LowBattery” isdisplayedbut thepoweris not turnedon.
If you press the < > button once and long, you will see a flickering of the LED lamp,
showingthe powerbeingturned on.
ForYourReference!
ForYourReference!
Press Long
Press
Push
Pressingthe< > button onceand long willturn on thepower with thefollowing
LCDscreen. Thereare 4 modes;MUSIC, VOICE, LINE,and FM.
1.Pressthe<M>buttonlong.
2.Movetothemode youwantby pressingthe<M>buttonto the directionof
<FF/REW>.
3.Afterthemovement,if youpressthe <M>button,you will enterthe mode.
Pressingthe< > button onceand long willturn off thepower with thefollowing
LCDscreen..
Under the state of Pause or Stop, if no further operation is made and the time for “Auto Power Off’
exceedsdesignatedtime,thenthepowerwillbeturnedoffautomatically.
Afterturning off the power, if the userpresses the Play< > button long, then playback will resume
at the very position of the latest song played. In this case, all the settings such as track numbers and
equalizerarecompletelyrestored.(Second-BasedResumeFunction)
Regardless of the resume function, the volume will be saved as 10 when the player was turned off
withit’svolumerangingfrom0to10.
Regardless of the resume function, the volume will be saved as 25 when the player was turned off
withit’svolumerangingfrom25to30.

ListeningMusic
BasicOperations
27
Playing/PausingMusic
ControllingVolume
Locking
BasicOperations
26
1.Pushingthe HOLDswitchat thesideof the playerdownward will lockthe player. If the< > button is
pressedunderthe state of
StoporPause, files willbe
playedwith< > display on
theLCDscreen.
Ifthe< > button is
pressedduringthe state of
Play,fileswill be paused.
Pushingthe< M>button to
thedirectionof VOL+ /VOL-
willadjustthe volume with
thefollowingLCD display.
2.If an operation is made under the state of HOLD, the followings will be displayed
ontheLCD panel for1-2 seconds anddisappear.
Underthe stateofHOLD, nobuttonswill work.
Under the state of HOLD, no power will be turned on. (Only HOLD screen will be dis-
playedand disappear)
ForYourReference!
Press
Press
Push

SelectingMusic
BasicOperations
29
SearchingSongs During Playback
SelectingMusic
BasicOperations
28
MovingPlaying Files
FF REW FF REW
Pushing the < M> button to the direction of FF/REW long under the state of Stop will
leadto thefastmovement betweensongs.
ForYourReference!
Pushing the button briefly to the direc-
tion of FF will move the player to the
nexttrack.
Pushing the button briefly to the direc-
tionof REW willmove the player back to
theprevioustrack.
Movefilesby pushing the<M>but-
tontothe direction ofFF/REW
underthestate of Stop,Pause and
Play.
Duringtheplayback, pushing the
<M>buttonlongtoFF/REW willlet
theplayerdo a fastsearch to thecur-
rentsongforward and backward.
Push
PushLong

RecordingVoice
BasicOperations
31
4.If you press the <REC> button again, the recording will stop with the following
LCDdisplay.
RecordingVoice
BasicOperations
30
RecordingVoice
After the voice recording, files will be saved as MP3 files into a Voice folder and will be
seenas VOO1.MP3,V002.MP3,and etc.
InMusicmode,Pause/Play,ifyoupress the <REC> button long, the status of the play-
erwill beRecReady.
While recording voice, using VOR function will avoid any unnecessary recording and
savethe memory.
Whenthe recoding reaches to the status of “Memory Full,” the recording will stop auto-
maticallyand onlythefiles recordedjustbefore thestopwill be saved.
The quality of the recording will be subject to the sensitivity or distance of the sound
source.
Ifthe powerislow, recordingwillnot beperformedproperly.
ForYourReference!
During the voice recording, if you press the < > button briefly, the recording will
stop.If youpressthe buttonagain,the recordingwillresume.
1.Press the <M> button long
toenterthe Mode menu.
2.Push the <M> button to FF/REW to move to the “VOICE” menu. Now press the
<M>buttontoenter the “VOICE”mode.
3.Pressing the <REC> but-
ton briefly under “REC
READY” will start the
recording
ForYourReference!
Current elapsed time for
recording
Remaining time for recording in the memory Playing& Stopping Voice Recorded Files
Underthe stateofPause/Stop, pressthe< > buttontoplay the voicerecorded file.
Underthe stateofPlay, pressthe< > buttontopause the voicerecorded file.
Press Long
Press
Press Press
Push

RecordingMusic
BasicOperations
33
RecordingMusic
BasicOperations
32
PUSH
HeadphonesJack
Line-InCable
Byconnecting external devices to the player, analog sound can be converted to digital
soundand recordedand played.
Recordedthings canbe heard throughearphones. (Loop Back)
ForYourReference!
Press Long
LoopBack
While recording music, if you press the < > button briefly, the recording will
pause.If youpress the < >button again, therecording will resume.
ForYourReference!
Current elapsed time for
recording
Remaining time for recording in the memory
1.Like the picture below, connect the LINE IN cable to both the player and a jack of
theaudioheadphones (LINE OUT)thatyou wanttorecord. 2.Press the <M> button long
toenterthe Menu mode.
4.In “REC READY,” press
the <REC> button briefly to
recordmusic.
3.After moving to the “Line” menu by pushing the <M> button to FF/REW,
pressthe<M>buttontoenter the“LINE”mode.
Press
Press
Push

ListeningtoFMRadio
BasicOperations
35
Listeningto FM Radio
SettingMono/Stereo
RecordingMusic
BasicOperations
34
After the music recording, they are stored as MP3 files into the LINE folder, named as
E001.MP3.
If the recording reaches to the “Memory Full,” the music recording will stop automati-
callyand onlythe files recordedimmediately before thestop will besaved.
Ifthe poweris low, recordingwill not beperformed properly.
ForYourReference!
Press Long
5.Pressing the <REC> button again will stop the recording with the following LCD
display. 1.Pressthe <M>buttonlong.
2.After moving to “FM” by pushing the <M> button to FF/REW, press the <M> but-
tontoreceive the frequencyofFM Radio.
Ifyoupress the < >buttonunder thestateof Pause/Stop, recordedfileswill be
played.
Ifyoupress the < >buttonduringthe playback,therecorded music fileswill
pause.
-Whilereceiving the FMRadiofrequencies, pressingthe< > button willletthe
usertoselect the “Receiving/ReadytoReceive.”
FMmode,press the <SRS>buttonbriefly toselectMONO/STEREO.
Playing& Stopping Music Recording
Press
Press
Push

SavingFMRadioFrequencies
BasicOperations
37
SavingFM Radio Frequencies Manually
ScanningFMRadioFrequencies
BasicOperations
36
ScanningFrequencies Manually
ScanningFrequencies Automatically
PushBriefly
PushBriefly
Decreasesby
0.1MHz Increasesby
0.1MHz
Earphoneswork asan antenna.
EachFM Radio station uses a different range of frequencies and the range will be sub-
jectto changeaccording to theregions and countries.
ForYourReference!
Thedesiredfrequency will besavedas PresetNo.2.
InFMmode, push the<M>buttonto FF/REW tofinddesired frequencies.
Ifyoupush the <M>button brieflytoFF/REW, thefrequencieswill be increasedor
decreasedconsecutivelyby 0.1MHz.
Ifyoupush the <M>buttonlong toFF/REW,the frequencies willbeincreased or
decreasedconsecutively.During the scanning,themost receivablefrequencieswill be
received.
1.Search the frequencies to save by pushing the <M> button to the direction of
FF/REW.
2.Press the <M> button briefly
toenterthe FM menu.
3.After moving to the “Manual Preset” by pushing the <M> button to the direction of
VOL+/VOL-,pressthe <M>button.
4.After selecting the “Preset No” to save by pushing the <M> button to FF/REW,
pressthe<M> button brieflytosave it.
Press
Press
Press
Push
Push
Push
Push

EnteringPresetMode
BasicOperations
39
SavingFMRadioFrequencies
BasicOperations
38
SavingFM Radio Frequencies automatically
After scanning the frequency up to 108.0MHz, the Preset No. will be changed to
“PO1”with arelevant frequency.
Pushing the <M> button briefly to a direction of FF/REW during the “Auto Scanning”
willstop thescanning.
Earphones work as antenna for radio. When you save the frequencies of the FM radio
automatically,be sureto connect theearphones to theplayer.
ForYourReference!
Youcan onlyfind the frequencyusers saved byentering the Presetmode.
Ifthere areno saved frequencies,the player doesnot enter Presetmode.
ForYourReference!
1.In anFM Radio Mode,pressthe <M>buttonbrieflyto enter theFMMenu. 1.In anFMmode, press the<L/N>buttonbriefly to enterthePreset mode.
2.Search the saved frequencies by pushing the <M> button to the direction of
FF/REW.
3.Pressingthe<L/N> buttononceagain willcancelthe Preset mode.
2.Select the “Auto Preset” and
pressthe<M>button.
3.Push the <M> button to select Auto Preset “ON” and press the <M> button briefly,
thenfrequencieswill be automaticallyset.
Press
Press
Press
Press
Push
Push
Other manuals for DAH-1400
1
Table of contents
Other MobiBlu MP3 Player manuals

MobiBlu
MobiBlu DAH-1900 User manual

MobiBlu
MobiBlu CUBE-2 User manual

MobiBlu
MobiBlu DAH-220 User manual

MobiBlu
MobiBlu DAH-1000 User manual

MobiBlu
MobiBlu DAH-1200 User manual

MobiBlu
MobiBlu DHH-100-5 User manual

MobiBlu
MobiBlu DAH-1400 User manual

MobiBlu
MobiBlu B153 User manual

MobiBlu
MobiBlu DAH-1500i User manual

MobiBlu
MobiBlu DAH-1200T User manual

MobiBlu
MobiBlu DAH-1200 User manual

MobiBlu
MobiBlu DAH-1500 User manual

MobiBlu
MobiBlu DAH-1500S User manual

MobiBlu
MobiBlu CUBE 3 User manual

MobiBlu
MobiBlu DAH-900 User manual

MobiBlu
MobiBlu DHH-200 User manual

MobiBlu
MobiBlu DHH-100-5 User manual

MobiBlu
MobiBlu Cubisto User manual

MobiBlu
MobiBlu DAH-1000 User manual