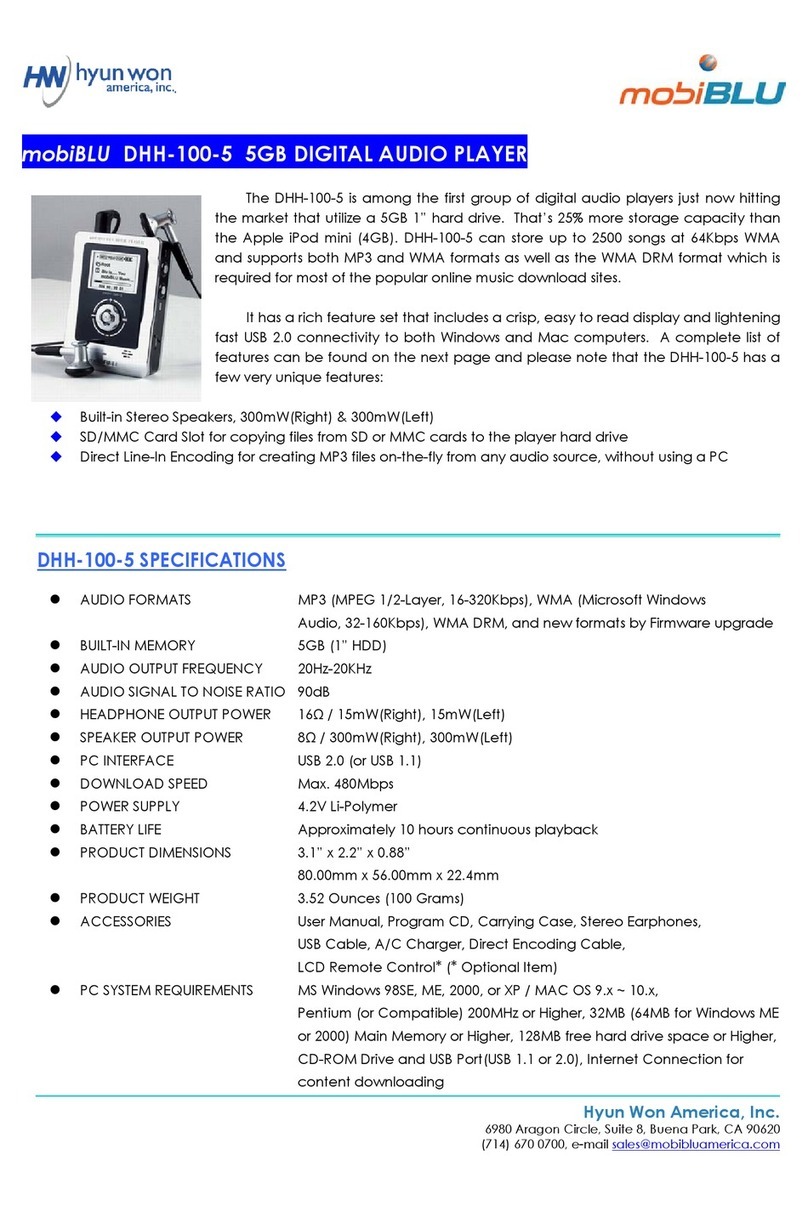
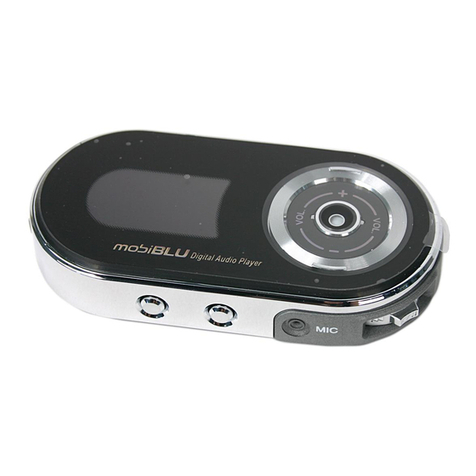
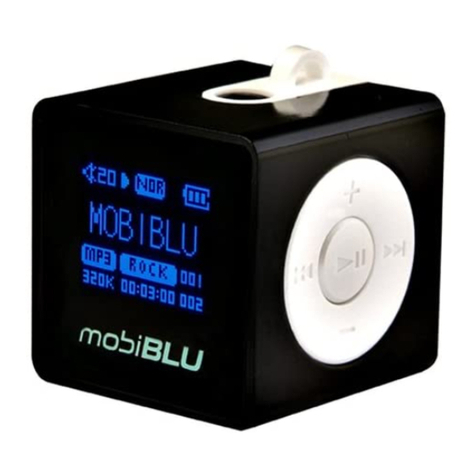
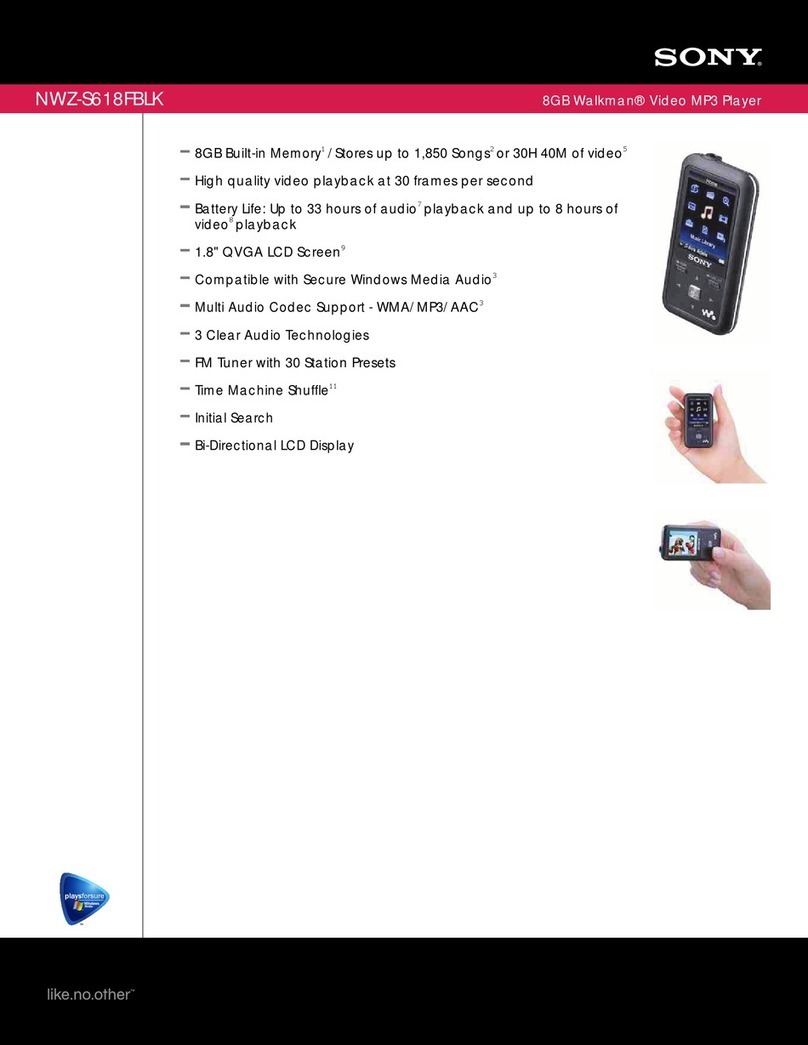
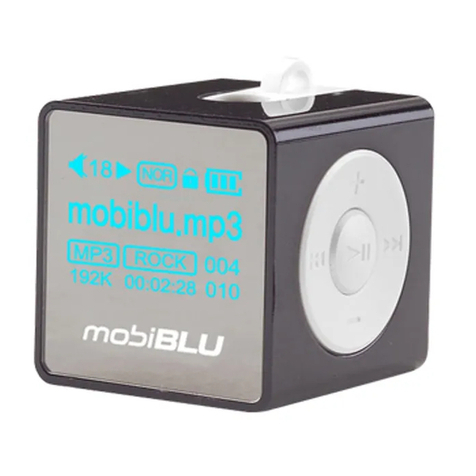
MobiBlu DAH-1200T User manual

EUT Type: MP3 Player
FCC ID : PCMDAH1200T
Test Report No.: GETEC-E3-04-010
FCC Class B Certification
APPENDIX H
: USER’S MANUAL

Technical Support
Tel : (82) 54-338-6000(+4 ext.)
http://www.hyunwon.com
USA & Canada
Toll Free No. : 1-888-283-2580
http://www.hwiamerica.com
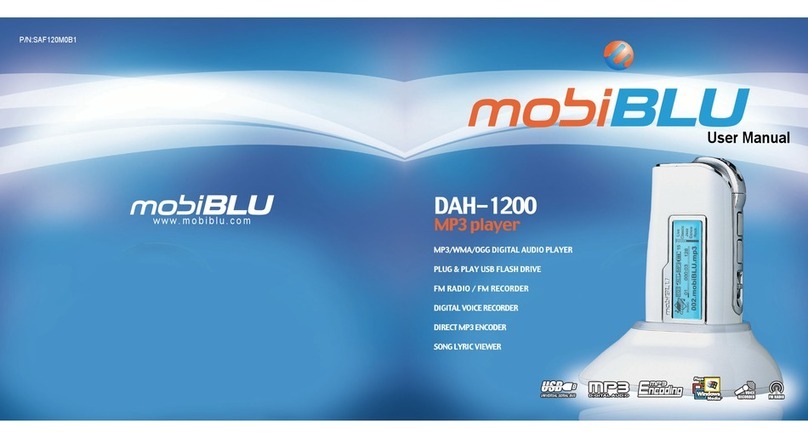
User Manual
Model No. : DAH-1200T 128MB/256MB/512MB
Multi Format Digital Audio Player
MP3 & WMA Playback
FM Radio
Voice Recorder
Music Encoder

IMPORTANT NOTICE
About copyrights
A copyright gives certain exclusive ownership rights to the person
who creates an original work. These rights are protected by the U.S.
and international laws. It is illegal to reproduce copyrighted material
without the permission of the copyright owner.
Whenever you copy, or make a direct-encoded recording, of music
or a video, or other original work that you did not create, consider that
it may be copyrighted. Ownership of a CD or licensed digital media
files that you downloaded from the Internet, or made a direct-
encoded recording of, does not necessarily constitute the right to
redistribute or share the content.
If you intend to redistribute or share content, be sure you have the
necessary permissions to do so.
Safety Instructions
Warning
To reduce danger of fire or electric shock, do not expose the product to rain
or moisture.
Do not release or distribute the music files formatted in WMA or MP3 from
the product to the public. (As this would violate Copyright laws.)
The software contained on the installation CD-ROM is for personal use only
and it not to be distributed.
To maintain best quality from the player
Do not use the product in hazardous conditions, such as extremely
high/ low temperatures, dusty area, or excessively wet areas.
Do not leave the product in the bathroom, near/ on a heater, or in a car
parked in the direct sunlight.
Do not leave batteries in pockets with any metallic substance such as coins
or keys.(Doing so may cause fire from the batteries contacts)
Throwing or dropping the product can cause shock damage.
Avoid sudden shock
Any data lost due to careless use is not our responsibility.
(Any valuable data should be stored on your PC)
Caution when using headset
Auditory sense may be damaged when listening to the music at a high
volume for extended time periods.
Using a headset while driving a car or riding bicycle/motorcycle is not
recommended.
Use caution when walking or jogging with device.
Ear-in type headset should have a long wire to be located at the back of the
neck.
Do not ever disassemble to repair or rebuild the product as it may cause
permanent damage.
Welcome to the world of MP3Contents
1
2
3
4
5
6
8
10
11
12
14
16
18
19
20
21
24
25
26
27
28
29
31
32
33
35
36
38
39
40
41
42
44
45
46
48
50
51
Welcome to the world of MP3
What is a digital audio player?
Product Specification
PC System Specification and Accessories
Hardware Overview
Power Supply
Installation of M-ANY Loader Plus
How to connect MP3 with PC
When USB Port is not recognized
How to use mobiBLU Loader Plus
How to format Memory
How to download files
How to upload files
Explanation of LCD DISPLAY
Power On and Off & Auto power off
How to use Folder Navigation Mode
Set up Repeat modes
Set up Section Repeat modes
Set up EQ Modes and Fast Searching
Set up User’s EQ ( User1, User2 )
How to Record Voice
How to Record Music
Listening to Voice recorded files or Music files
How to Erase files
How to use FM RADIO
Searching FM frequency
Saving the frequency ( Preset Mode )
Erasing saved frequency
How to Record FM Radio
Return to Music Play Mode
Set up HOLD ( Lock key )
Remote Control Manual
How to check the O/S and manager version
How to upgrade mobiBLU Loader Plus
How to upgrade Firmware ( O/S )
Troubleshooting Problems
WARRANTY SERVICE
FCC RF INTERFERENCE STATEMENT
Thank you for purchasing portable digital audio player MP3 .
MP3 is MP3 Player with simple design and FM Radio function.
MP3 has built-in memory of 64/96/128/256/512MB. It is able to support for
format of new music and is made to cope with the problem of intellectual
property. You can enjoy various content such as digital music and talk by
playing a cutting-edge digital audio player.
Caution
As Hyun Won Inc. owns copyright of this product, you must get
approval from the company when using its description, picture,
software and other related documents. In the case of breach, you
can be penalized by the court of law. The content of the
description could be changed without prior notice.
1

Product Specification
What is a digital audio player?
2
What are MP3 and WMA File?
MP3 and WMA files are compressed(1/12) data taken from CDs
through MPEG1-Layer3 and converts the data into a file that can be
used on computers. They provided music that has equivalent quality
of existing CD.
What is portable digital audio player ?
It is a portable player that enables digital audio file to be saved and played
that in the past were only be available on existing PC computers.
Caution
WMA files must be recorder at a bit rate of 32Kbps or higher to play on the device
Internet PC
Communication
Digital
Audio File Digital
Audio File
Digital Audio player
3
FM TUNER
Division ITEM Specification
Audio
File
support
Recording time
Play time
Battery
Size 36 81 16mm
(W HD)
(except battery) 35g
Weight
LCD Graphic LCD
Operational temperature range
USB
File type MP3,WMA(No DRM), ADPCM
MP3:over 8Kbps, WMA:over 32Kbps
Bit Rate
Download speed 4Mbps(USB Version 1.1)
Voice record 1,040minutes (256MB)
Music record 240minutes (256MB)
-5 ~70
Alkaline 1.5V AAA
Abt. 9hrs. with 1EA AAA
Frequency range 87.5MHz ~ 108.0MHz
20Hz ~ 20KHz
(L)7 + (R)7 (16 )
Maximum volume
(L)7 + (R)7 (16 )
maximum volume
50
90
Headphone/earphone cord antenna
Headphone output
Headphone output
S/N Ratio
Antenna
Frequency range
S/N Ratio
CD Data MP3 Data
1/12
Compression
WMA Data
1/2
Compression

Hardware Overview
5
PC System Specification and Accessories
4
Please visit our web site(http://www.mobiBLU.com) to see the latest
accessories as well as software and firmware.
+
A. Program CD
MP3 FM Accessories B. Earphones C. Manual
D. Line-in Cable
I. AAA Battery
H. Carrying case or
Case with Armband
(Optional Item)
J. Remote Control
(Optional Item)
G. USB Cable
G. Neck Strap
PC Specification for the MP3 device.
Microsoft OS (Windows 98, ME, 2000, XP)
CD-ROM drive
CPU with Pentium 200MHz or higher
RAM 32MB ( 64MB for Windows ME or 2000 )
Hard disk with 128MB or more of free space
(When saving music files, additional capacity of hard disk is needed.)
USB port
or

Power Supply
7
Power Supply
6
Use 1 AAA size battery
. Open the battery cover by pushing in
the direction of the arrow.
. Load the battery as indicated in the
illustration, making sure that it is positioned
correctly.(+ to +, and - to -)
. Replace the battery cover.
1.5V AAA type 1EA battery.
Please check carefully the polar points of the
battery to prevent the Product damage.
Icons indicating the remaining capacity of the battery
When initially operating, the icons of the remaining capacity may not readable.
(Battery usage time)
(enough) (middle) (low)
When using a general battery, the player could stop working, even though the
battery capacity icon shows medium level, due to the peculiarity of the battery.
(In this case, please change the battery into a new one.)
please change into a new battery as the following cases.
When the icon blinks the signa; of EMPTY .
When the player stops working immediately after pushing any button.
When the panel of the indicator doesn t change with any button in the body
on.
1. Use 1 AAA size battery
open the battery cover by pushing in the direction of the arrow.
Playing time may vary depending on usage conditions, manufacture
company, or kind of batteries.
Batteries Playing Time
Alkaline Battery 9 hours
Playing time of a battery

Installation of mobiBLU Loader Plus
9
Installation of mobiBLU Loader Plus
8
In order for the player and your PC to communicate and transfer digital files,
you must first install the mobiBLU Loader Plus by completing the following
steps:
Notice
1. Insert mobiBLU Loader Plus CD into CD-ROM drive. When CD is put in, Setup
program is automatically executed and the screen below pops up.
2. When Setup is started, follow the instruction of installation program.
If the Setup program is not automatically executed, find and execute
Setup.exe file in TCC folder of CD-ROM drive.
Select language for installation and click Confirm. Then two windows below
pop up and Setup starts.
Click!
Click!
1. Windows Xp users please note : You may receive a warning regarding
Windows Driver certification, Click Yes or Next to continue the installation.
2. If a rebooting message displays during setup, Reboot your PC to
complete installation.
Important Notice
3. If you click on a finger, the screen below pops up.
(If you click on the arrow below in order, the installation is completed.)
4.After completing the installation, mobiBLU Loader Plus icon
appears on Windows screen.
Click!
Click!
Click!
Click!
Click!
Click!
mobiBLU
Loader Plus

When USB Port is not recognized
11
How to connect MP3 with PC
10
How to connect USB Cable.
See the graphic below for visual instruction on how to connect the MP3 to
PC. If mobiBLU Loader Plus does not recognize the players memory when
connecting disconnect the USB Cable from MP3 and then turn on the power
and reconnect.
Player
DATA
(USB Port)
USB Cable
USB Port
When connecting the USB to the player, the power of the device is turned on.
Reference
1. When connecting the cable with MP3, please make sure the correct
orientation of the connector end, and do not force the connector.
2. Do not disconnect the cable by force when MP3 is communicating with
your Computer, like downloading, uploading, OS updating and formatting.
This may cause serious damage to your computer or MP3.
Important Notice
Please refer to “Manager Program Help” in the installed mobiBLU
Loader Plus
Please connect the USB cable to a USB port on the back side of the PC case.
If you connect the USB cable to a USB HUB or USB port on the front case, it
may cause an instable connection with the device.
NOTE
1. Open the Help site.
2. Click the article of “How to reinstall the erroneously
recognized USB Drive”
3. If you still have a problem with USB connection, please see
“Trouble Shooting” in this manual.
Click!
Click!

How to use mobiBLU Loader Plus
13
How to use mobiBLU Loader Plus
12
A
B
D
G
F
H
E
A. File Selector
This enables you to view files by type.
B. File List Window
This window displays the files contained in the selected folder enabling you to
selectively download files to flash memory.
C. Folder Manage Icons
C
1. Display the directory of the current
2. Move to the Root Directory directly
3. Make a new folder
* To delete a folder, press “Delete” icon on the manager or “Del” key on the keyboard
when the folder is selected.
D. Memory Contents Window
This window enables you to check the file title, size, type and download status of the
flash memory of the player.
Flash Memory
Add : Adds the selected files to the selected memory. Selected
files are placed in “Ready to Transfer” status in the memory
contents window.
Upload : Uploads of the selected MPE or ADPCM files on the
player memory to the selected PC folder
Delete : Deletes selected files on the selected memory
Format: Formats flash memory
Refresh : Refreshes view of selected memory
Cancel : Cancels file transfer between player and PC.
E. Folder Window
This window enables you to select audio files more easily by allowing you to
browse specific folders of your PC. The selected folder contents are displayed
in the File List Window to the right.
F. Memory Status
This indicates the amount of memory available, the amount of total memory and
memory connection status. This window may indicate "No Memory Found" in
cases Slim Sound FM is not connected properly.
G. Transfer Files Button
This button begins transferring selected audio files to the player.
H. Functional Icons

How to format Memory
15
How to format Memory
14
Using the Format icon1Open the mobiBLU Loader Plus and
connect digital audio player to the PC .
2Select the format type you prefer a
dialog box will appear to verify format
selected.
3If you click on the YES button format
will begin, When formatting completes,
a dialog box appear to let you know the
format is complete.
4Click the OK button to complete the
process.
WARNING
Do not terminate the Format once it begins. If you remove USB Cable
while it is being formatted, the player may be permanently damaged.
Click!
Click!
Click!
Click!
Click!
Click!
Low Level Format : A "Low Level Format" is a longer procedure as it
checks the disk sector by sector for any problems and
repairs them if it finds them. This is somewhat similar
to the 'Scandisk' program and requires that no other
applications are opened during the formatting procedure.
Normal Format :The "Normal Format" is, in essence, a quick 'clearing' of
all the data on the memory card. It accomplishes the same
thing as selecting all songs and deleting them.
Normal format / Low level format
When using the menu
Click!
Click!

How to download files
17
How to download files
16
1Run mobiBLU Loader Plus and Connect MP3 to your computer.
1
2Highlight file/s to be downloaded in the File List Window using the
Folder Window to browse for folders containing your audio files.
You may select files one of 3 ways:
The selected files will appear in the Memory Contents Window
with "Ready to transfer" listed under the status column.
a.You may drag & drop individual files from the File List window
to the Memory Contents Window.
b.You may select multiple audio files by holding down the CTRL
key while clicking the left-mouse button on each file you wish to
download to the player then drag and drop the selection of files
as above.
c.You may press the "F5" key or "Add" icon after highlighting
each file.
3Click the "Transfer" button to start downloading selected files to
the memory.
Click!
Click!
4To cancel a download in progress click the "Cancel" icon.
5Close the mobiBLU Loader Plus before disconnecting the USB

Explanation of LCD DISPLAY
19
How to upload files
18
How to upload file
MP3/WMA file cannot be uploaded under related laws. (Other files such as MPE,
ADPCM, ZIP, DOC, etc. can be uploaded.)
If you want to move file from MP3 to the PC, follow the instruction
below.
Select files in the Memory Contents Window that you want to upload,
and click the ‘Save it to PC/Upload’ button, then the files are uploaded
to the selected folder on your PC.
Note
File cannot be played during communication with the PC.
a. You may drag & drop individual files from the Memory Contents
Window to the File List window.
b. You may select multiple audio files by holding down the CTRL key
while clicking the left-mouse button on each file you wish to upload
to the player then drag and drop the selection of files as above.
Note
MUSIC PLAY MODE
FM RADIO MODE
a. Song title
b. Current file extension
c. Current state(PLAY , PAUSE )
d. Equalizer
e. Play time
f. Volume (0~30)
g. TRACK Number
h. HOLD
i. ( )Repeat the current song,
( )Repeat all songs
( )
Play all songs once in Random mode
j. Voice and music recording
k. Amount of battery
abcde f g
hi j k
abc de f g
hij
a. Frequency
b. FM icon, MP3 icon during recording
c. The receiving frequency
d. Radio, Preset (Autoset, Erase All) on
Present MODE
e. Recording time
f. Volume (0~30)
g. Preset Num:1~10,(Others - ‘000’)
h. HOLD
i. FM Radio recording
j. Amount of battery
k. Stereo On/Off
k

How to use Folder Navigation Mode
21
Power On and Off & Auto power off
20
1. Power On : Press Play ( ) button for 2 seconds or until the
LCD illuminates.
Play Music : Press Play( ) button shortly to play music.
a. If there are music files in the Root
Folder, it’s ready to play the first music
file(Stop Mode).
*
Auto Power save mode
: If the player senses it is not used for 5 minutes
at Pause Mode, it will automatically go to Stop Mode.
*
Auto Power off mode
: If the player senses it is not used for 5 minutes at
Stop Mode, it will be automatically turned off.
* Resume Play function : When power is turned off normally as above, and the
user turn it on again, last position of the music will be
played.
b. If there is no music file in the Root
Folder, the initial Mode will be Folder
Navigation Mode.
You can navigate sub directories and
files with Vol+/ - and FF/REW buttons.
2. Pause : Press Play button shortly while playing. It will be Pause mode.
3. Stop : Press Stop button shortly while playing. It will be Stop mode.
4. Power Off : Press Stop ( ) button for 3 seconds or until the LCD
shuts off.
Get in Folder/File Navigation Mode
It’s not available at Pause mode, FM Radio mode, and Recording
mode. It’s only available at STOP mode of Music Play.
Files will be listed fist at the current folder.
If there are sub folders, they will be
listed after the last file.
Press Play button to play the current
music.
1. Press Mode button shortly at STOP mode of MP3 Player. If there is a
music file at the Root Folder, the file will be listed first.
2. Navigate files and folders with Vol.+ / - button.

How to use Folder Navigation Mode
23
How to use Folder Navigation Mode
22
If there are sub folders, they will be
listed after the last file.
Press Play button to play the current
music.
If the current folder is ROOT, there is
no response with REC button.
4. Move to upper folder with REW button.
Move out from Folder Navigation Mode
There are four ways to get out from this mode.
It moves to the Stop Mode of Music Play
and ready to play the finally selected
file in the folder.
Press Play button to play the current
music.
1. Press Mode button shortly during Navigation.
It moves to Root folder and
exit the file/Folder mode.
2. Press STOP button shortly during Navigation.
It moves to Voice Record Mode and
ready to start Voice Record.
If you press REC button shortly,
it starts Voice Recording.
3. Press REC button for 2 seconds during Navigation.
It moves to Music Play mode directly.
4. Press PLAY button shortly during Navigation.
If there are sub folders, they will be listed after the last file.
Press Play button to play the current music.
3. Get into the selected sub folder with FF button.

Set up Section Repeat modes
25
Set up Repeat modes
24
RANDOM / REPEAT MODE
Press the MODE button shortly while the file is playing.
NORMAL REPEAT REPEAT-ALL FOLDER-ALL RANDOM
RANDOM-ALL
Repeat All: Plays all songs in selected folder
continuously.
Repeat: Plays one selected song continuously.
Normal: Plays all songs in the folder in the order
they are stored.
Random: Plays all songs in selected folder once
in a random order
Folder All: Plays all songs in all folders
Random All: Plays all songs in selected folder
continuously in a random order.
Note
1. If currently playing file format is not *.ADP file(Voice Recorded file), this mode
will play all music files(*.MP3/*.MPE/ *.WMA)
2. If you press FF(Fast Forward) button in this Folder All mode, songs out of
the current folder will be played in order from ROOT folder after the songs
in the current folder.
REPEAT MODE(Repeat an interval of the current song)
1. Press the MODE button for 2 seconds while the file is playing.
REPEAT MODE' is displayed.
2. Press Mode button again shortly at desired beginning point.
The message “Repeat A-” appears on the LCD display.
3. Press REC button again to mark the desired ending point.
The message “Repeat A-B” appears on the LCD display.
4. File is repeated in the range between A and B.If position B is not
specified, the player will default the ending position to the end of the
file. If you press the STOP button, REPEAT MODE is canceled.

Set up User’s EQ(User1, User2)
27
Set up EQ Modes and Fast Searching
26
Fast Searching
1. If you press and hold the FF/REW button while in
play mode, FF/REW Searching is done in 4 speed
increments, the searching speed increases are 4x,
8x, 16x and 32x regular speed.(every five seconds
respectively.)
2.During REW Searching, when beginning of the
song is reached, Music plays from the start.
3. During FF Searching, when the end of a song is
reached , the searching will begin from the initial
part of next song.(Play for about 2 seconds from the
beginning of the song.)
EQ MODES
There’re 5-preset EQ modes and two user’s EQ modes.(User 1 and User2)
The mode will be changed by pressing play( )button for 2 seconds
in play mode, in order, as follows;
Live Dance Jazz Latin Rock User 1 User 2
Each time you press PLAY button for 2 seconds the EQ settings will change in
the order listed above. The option you stop at is the one that will be set on
the player.
Sound quality may drop according to the song. The equalizer can be used to
optimize the song quality .
USER1 MODE, USER2 MODE
1. Begin in Play MODE
USER EQ MODE is available only while music is playing.
- Press "MODE" button for 2 seconds in.
(Repeat MODE appear on the display)
- Press "MODE" button again for 2 seconds.
("USER1" MODE appears on the display)
- Press "MODE" button again for 2 seconds.
(USER2 MODE appears on the display)
2. USER EQ SETTING MODE
- Press "MODE" button once quickly while "USER1" or "USER2"
is displayed. (doing so will allow you to personalize your EQ settings)
(5 Bar will be display on LCD)
3. Change EQ setting (USER1 EQ, USER2 EQ)
- Change EQ setting is only available when bars are displayed on
LCD.
- First Bar will blink indicating edit mode.
- Change EQ Bar with FF/REW button.(move between 5 Bars)
- Change Value with Vol +/- button. (value of each bar)
(-15~+15 : 31 levels)
4. Quit User EQ mode
- Press "STOP" button shortly to quit EQ mode.

How to Record Music
29
How to Record Voice
28
1. Voice record function is only available while Player is in STOP MODE.
2. Press the REC button for 2 seconds, VOICE RECORD is displayed.
3. Press the REC button shortly, voice recording is initiated.
(REC icon is turned on in the lower part of LCD screen, and
Recording... is displayed.)
4. To terminate recording, press the STOP button.
ADP : Voice Recorded files ( V ***. ADP ) are saved in this folder
automatically. ( If there s no ADP folder at the starting Voice
Recording, ADP folder will be created in root folder. )
5. To play the recorded file, press the PLAY button. The recorded file is
displayed as V001, V002, V003,.....
Note
If flash Memory is full, it will flash two times and then, the Recording
will end automatically. (If battery dies during recording, the recorded
file is automatically saved and power is shut down.)
1. Insert one end of Encoding Cable into the earphone terminal of an
ordinary audio device (ie: CD Player, Cassette deck, Radio) and the
other end into IN PUT AUDIO terminal of the MP3.
2. Begin in STOP mode, Press the REC button for 2 seconds, VOICE
RECORD is displayed, Press the REC button once more for 2 seconds,
Music Record is displayed.
3. Press REC button again shortly, music recording begins. (Recording icon is
turned on in the lower part of LCD screen, and Recording... is displayed.)
You can listen to the file through earphone while recording. (loop back)

Listening to Voice recorded files or Music files
31
How to Record Music
30
What is loop back?
Function that enables you to verify/listen to recoding that is currently
being executed through earphones with a little noise, (During loop
back, you may hear some interference but the actual file will not
have the same problem.)
4. To terminate recording, press the STOP button
5. To play the recorded file, press the PLAY button. The recorded file
is displayed as E001, E002, E003,...
NOTE: If flash Memory is full, it will flash two times and the
Recording will end automatically. (If battery dies during recording,
the recorded file is automatically saved and power is shut down.)
MPE : Music Recorded files ( E ***. MPE ) are saved in this folder
automatically.( If there s no MPE folder at the starting Music
Recording, MPE folder will be created in root folder. )
1. There are two types of file formats.
a. Music Files
: *.MP3 / *.MPE
: *.WMA
b. Voice Recorded Files
: *.ADP
2. How to change the type of playing format
Press PLAY button for a while in each STOP mode.

How to use FM RADIO
33
How to Erase files
32
1. Erase MODE can only be used while in STOP mode
2. Begin in STOP mode, Press the REC button for 2 seconds, VOICE
RECORD is displayed, Press the REC button for a second time for 2
seconds, Music Record is displayed. Press the REC button for a third
time for 2 seconds, Erase Mode is displayed.
3. Press REC button again shortly, Erase Mode is initiated.
4. Locate the file you want to erase with FF/REW button, Once the file is
located, press the REC button shortly. “Erase? Yes:rec NO:Other”
is displayed.
- To erase, press the REC button shortly, Erasing..” is displayed
and the file is erased.
- To cancel erasing, press any other button except REC shortly,
then, Erase Cancel” is displayed and erasing is terminated.
Erase function?
This function enables you to remove files from the player without
connecting it to the PC/ mobiBLU Loader Plus.
1. RADIO MODE can only be initiated in STOP mode.
2. Begin in STOP mode, Press the MODE button for 2 seconds, FM Radio
is displayed ( FM Radio” is displayed for about 3 seconds, and then
received current frequency is displayed.)
3. FM icon is displayed in the upper left part of LCD. Radio icon is
displayed in the right-upper part of LCD.
4. Preset Number is displayed where Track Number of MP Player
MODE is normally shown. Preset Number is the number of the saved
frequency. A total of 10 frequencies can be saved.
(Preset Number 1 ~ 10)
Note
Each radio station uses different frequencies.
The range of frequency modulation differs from nation to nation.
Note
When you turn on the MP3, you begin in MP Player MODE. Then,
press MODE button for 2 seconds to change the mode.
(MP Player MODE, FM RADIO MODE)
Table of contents
Other MobiBlu MP3 Player manuals

MobiBlu
MobiBlu Cubisto User manual

MobiBlu
MobiBlu DAH-1900 User manual

MobiBlu
MobiBlu DAH-900 User manual

MobiBlu
MobiBlu DHH-100-5 User manual

MobiBlu
MobiBlu DAH-1000 User manual

MobiBlu
MobiBlu DAH-1500S User manual

MobiBlu
MobiBlu DAH-1200 User manual

MobiBlu
MobiBlu DAH-1500i User manual

MobiBlu
MobiBlu DAH-220 User manual

MobiBlu
MobiBlu DAH-1000 User manual

MobiBlu
MobiBlu DAH-1200 User manual

MobiBlu
MobiBlu DAH-1400 User manual

MobiBlu
MobiBlu B153 User manual

MobiBlu
MobiBlu DHH-200 User manual

MobiBlu
MobiBlu DAH-1400 User manual

MobiBlu
MobiBlu DHH-100-5 User manual

MobiBlu
MobiBlu CUBE 3 User manual

MobiBlu
MobiBlu CUBE-2 User manual

MobiBlu
MobiBlu DAH-1500 User manual