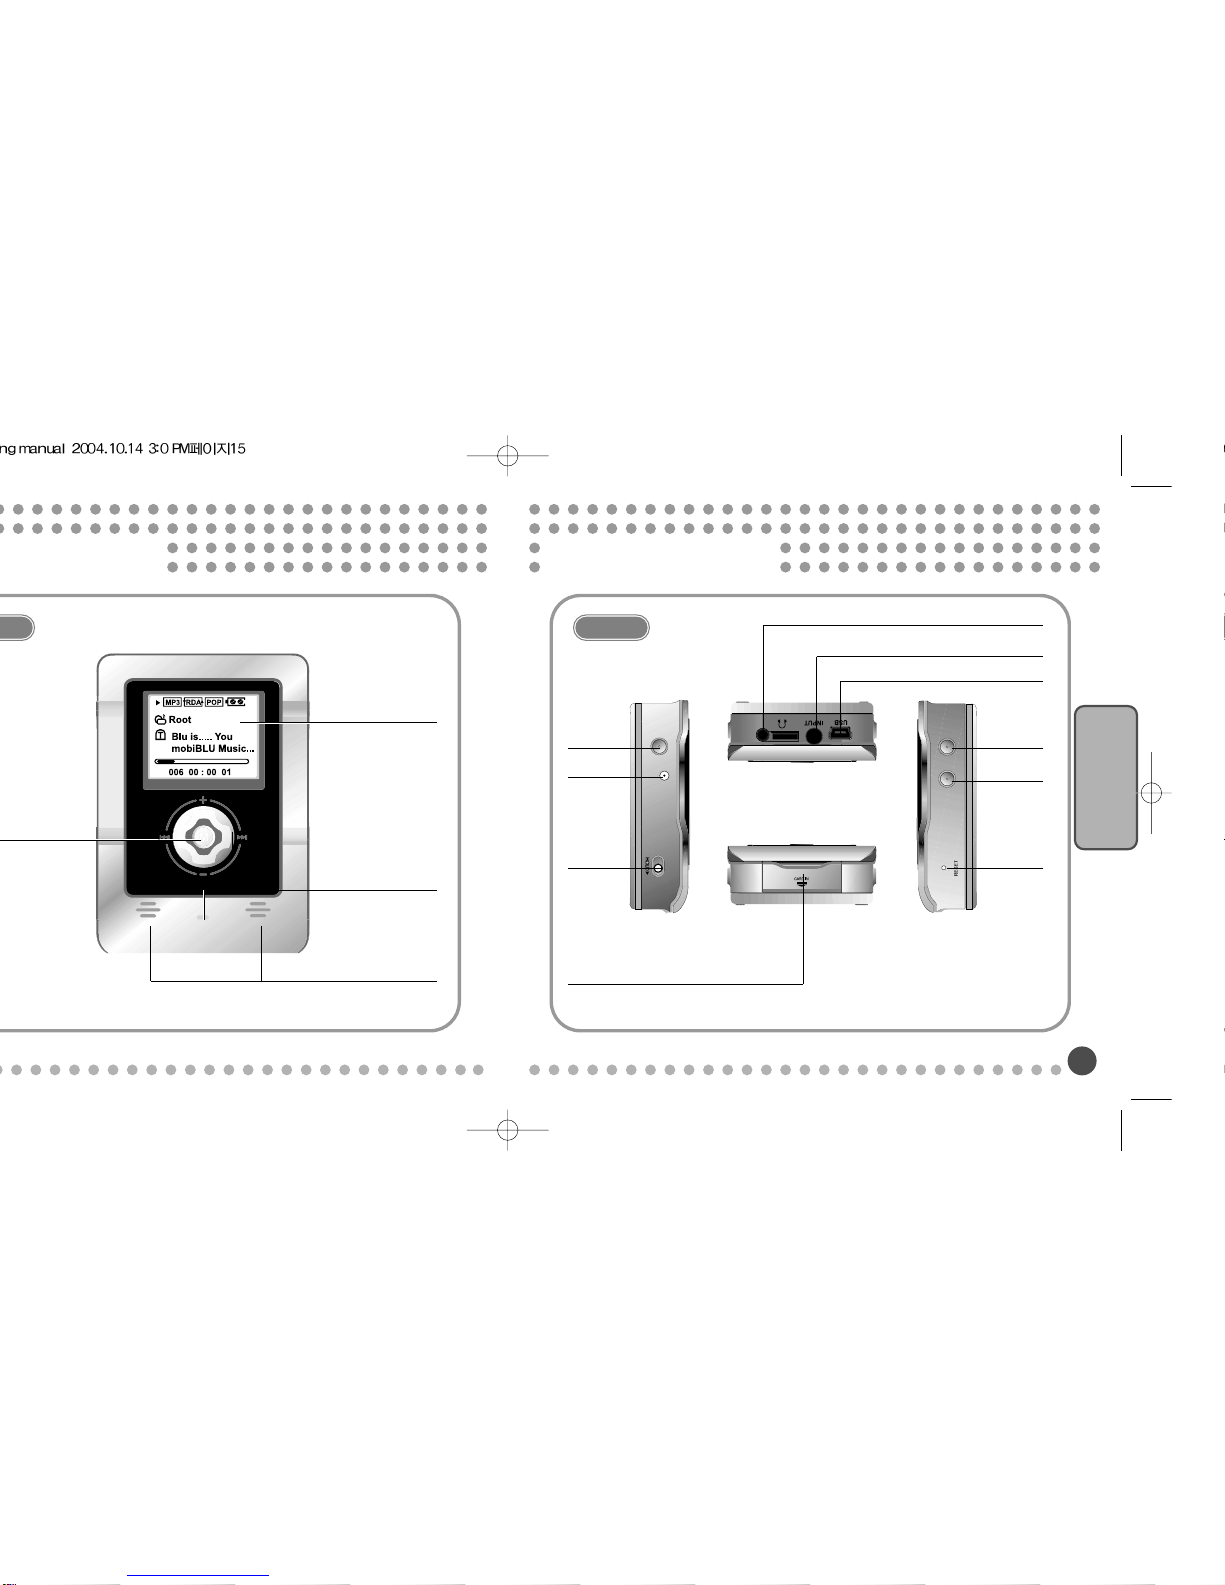
Product Features
On Products
5
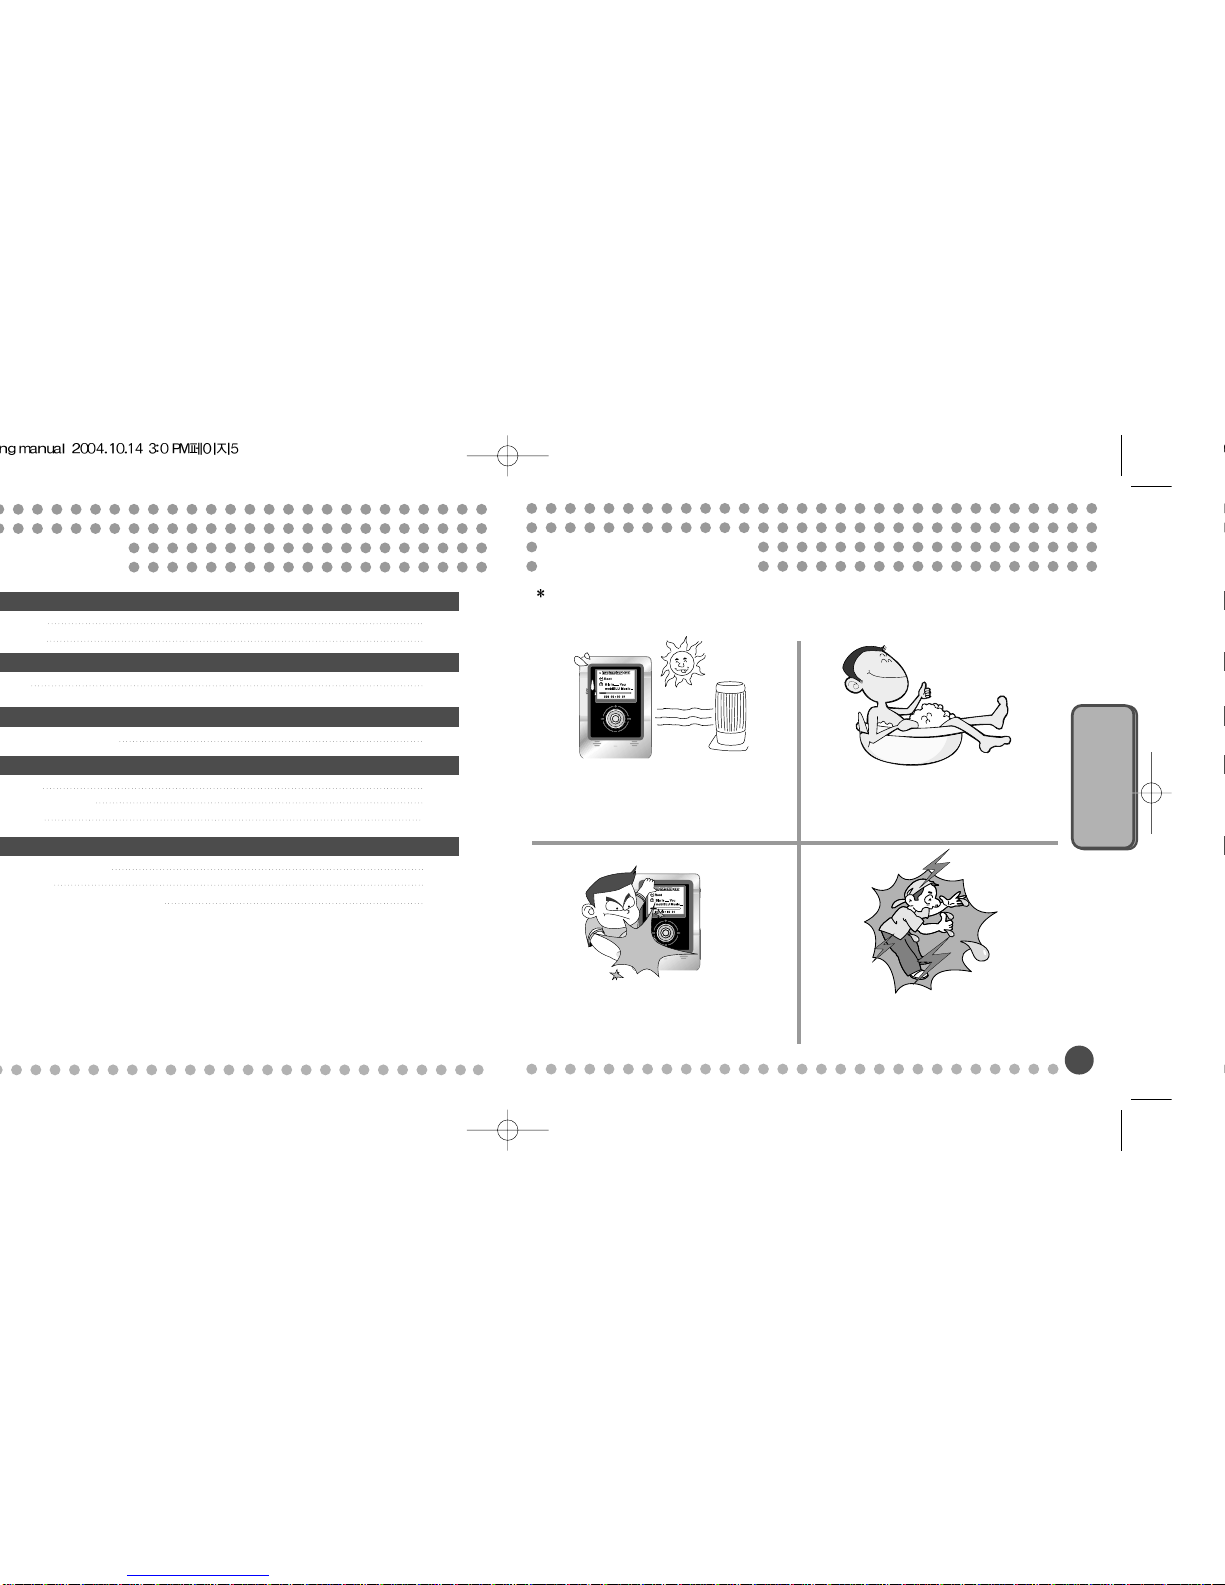
Cautions For Safety
4
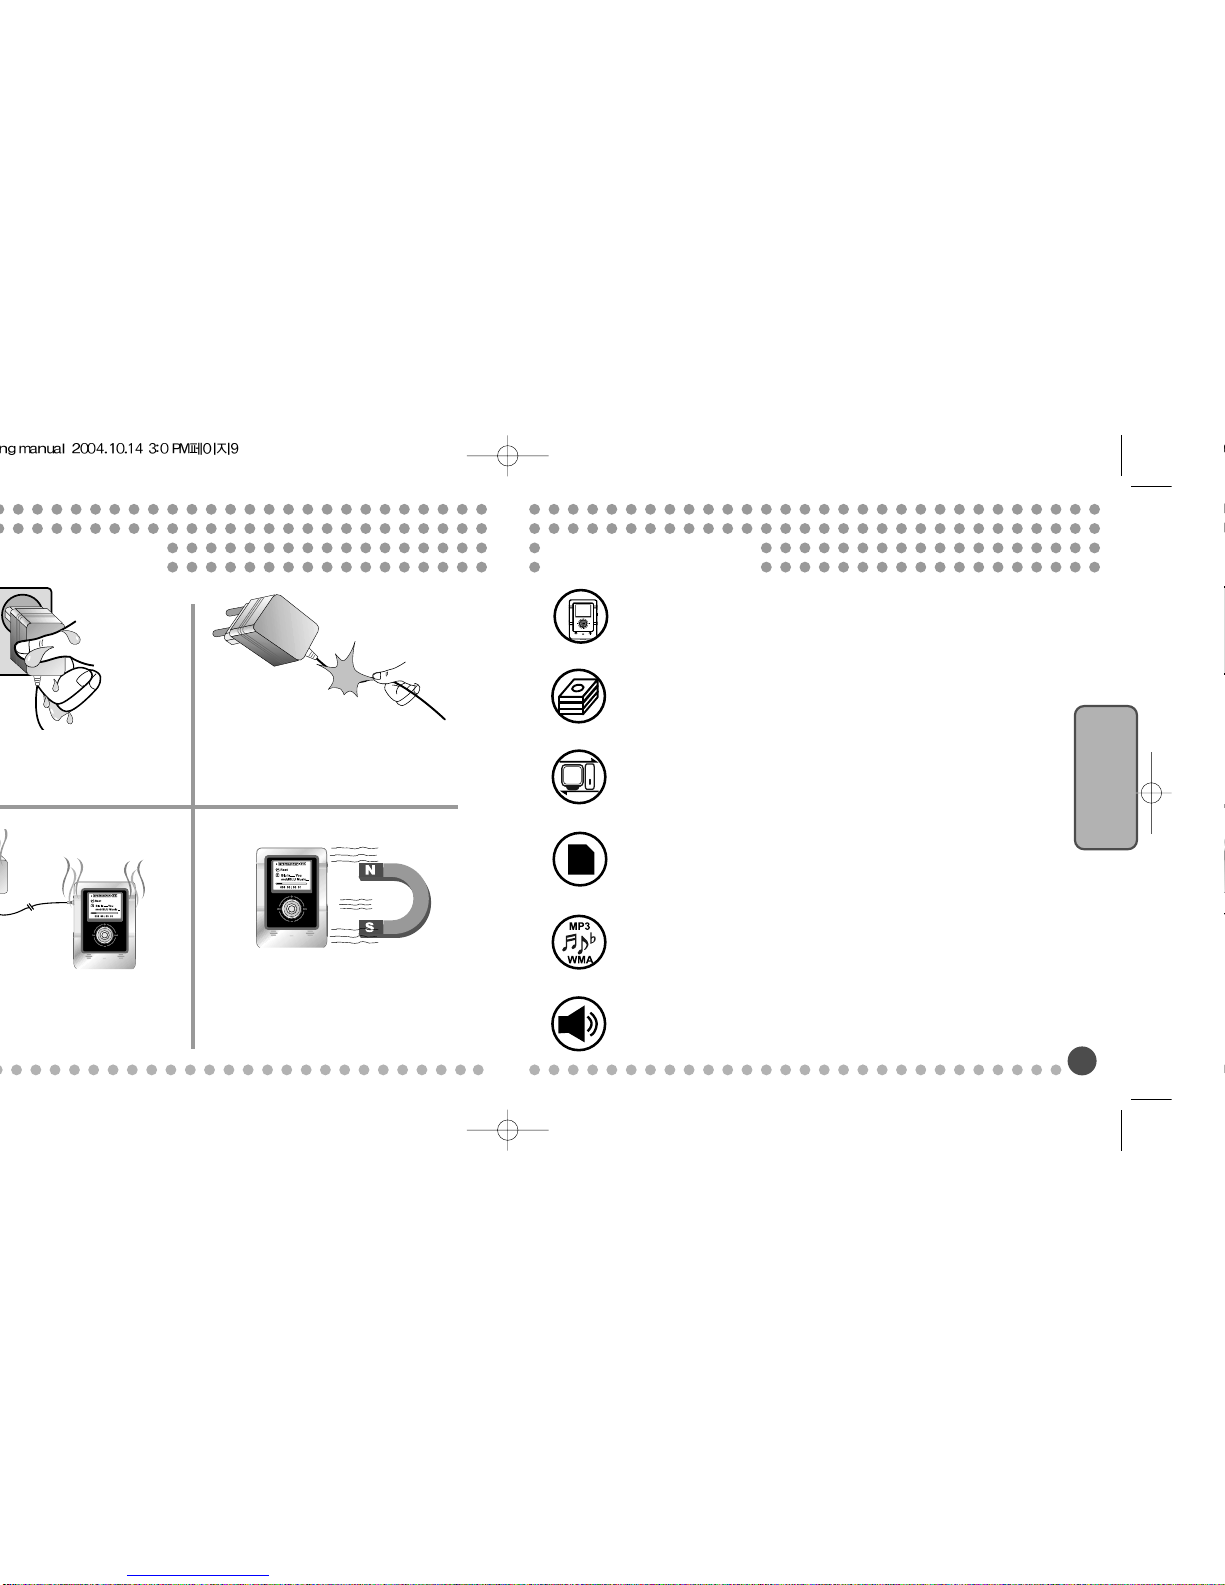
Don’t touch the AC adapter with wet
hands. You could get an electric shock if
the internal or external parts of the adapter
are exposed to water.
Do not bend or pull the cable of the AC
adapter. It may set a fire or give an electric
shock if it’s damaged.
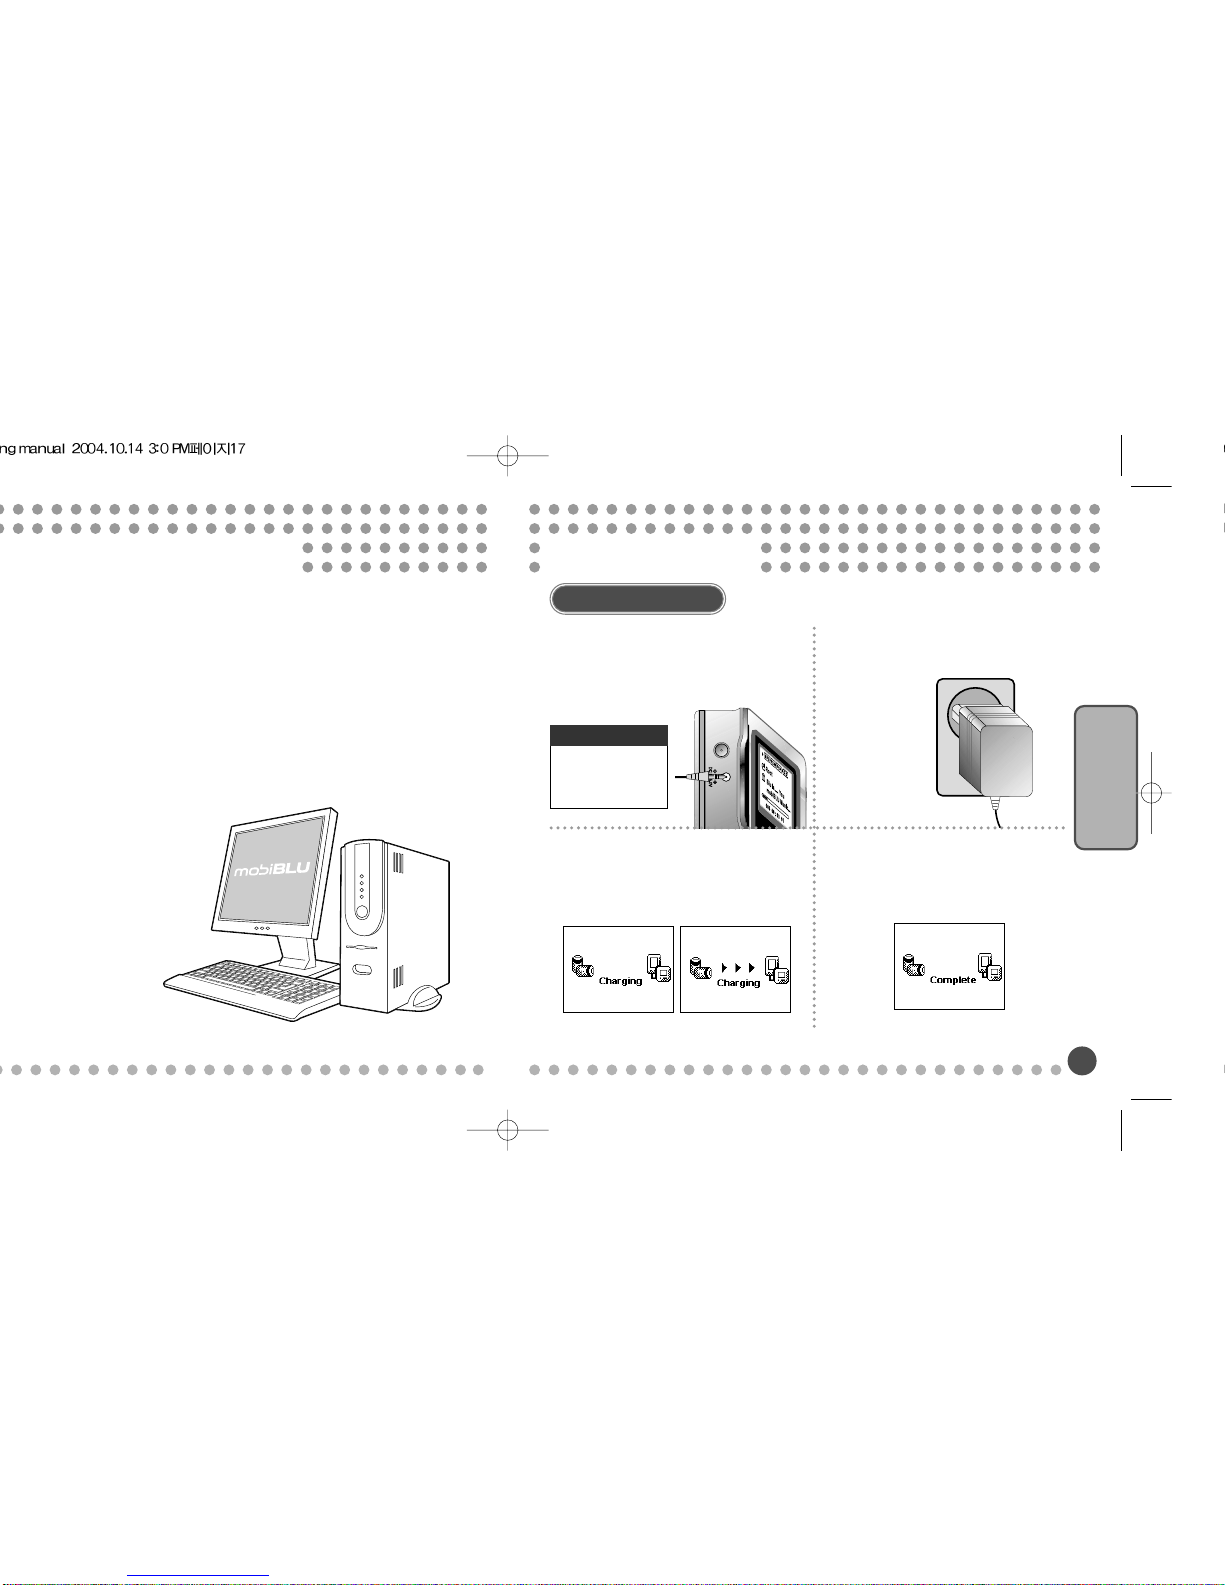
When charging the battery with using the
AC adapter, unplug it from the outlet if
there is anything wrong with the adapter
such as smells, smoke and noises.
Do not put magnets or magnetic materials near
the player. (It may cause malfunction)
Sensible & Comfortable Design
With a combination of highly sensible black color and chrome, luxuriousness design is
even more upgraded, and ease of use is highly considered.
Large Capacity HDD Type Jukebox
You won’t have any problem in carrying the player with you because of the handy
size of 80 X 56 X 22.4 (mm). Moreover the HDD Type Jukebox MP3 Player can
download music files more than 1,000 songs.
Mass Storage
Connected to a computer, it’s recognized as a Jukebox in “Windows Explorer,”
enabling you to upload and download files easily.
Card Copy
This is a very comfortable function, enabling you to transfer data stored in memory
cards such as SD and MMC for a Digital Camera and MP3 Players, by inserting it
directly to the card slot of the player, instead of connecting it to a PC.
Multi-Codec for Various Digital Files
With a support of the Multi-Codec, MP3 files and WMA files can be played.
Excellent Output of the Built-in Stereo Speakers
You not only can listen to music with the built-in speakers of the player, but also listen to
the music through the external outputs. Now enjoy your music with a strong output and
high quality sound through the stereo speakers.