SECTION 1 – Mount Large Components
7
Stripping and tinning wire and soldering. Throughout these instructions you will be told to strip
and tin a length of wire numerous times. Unless noted otherwise, cut the wire to the length stated in
the instructions. Then strip ¼” of insulation off each end. Twist each end of the stranded wire, and
apply a small amount of solder to each end (tin the wire ends). This will prevent the stranded wire
from fraying and will make the final soldering much easier.
Please refer to DRAWING 1 and DRAWING 2.
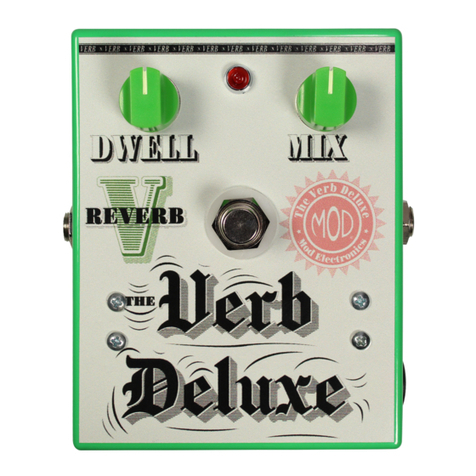
Orient box with two 3/8" holes and one 1/4" hole on top.
Mount the LED using the hardware provided. The Anode (+)
terminal should be oriented towards the top side of the enclosure.
The Verb Deluxe enclosure has a high gloss finish. To avoid scratching the surface while assembling this kit, you may
want to place a soft cloth, towel or similar item over your work surface.
The Anode (+) side of the LED is
indicated by a slightly longer lead
and/or a positive sign.
LED Physical
Representation
+
-
+-
LED Schematic
Symbol
anode cathode
Using the four screws, nuts and lock washers provided, fasten the six
terminal strips to match DRAWING 2. You might find it easier to mount
the long (8 lug) terminal strips by fastening the first screw and nut loosely
at first, then tighten them once the second screw and nut are in place.
It may be necessary to angle the terminal strips forward with your fingers so that the terminals are
not pressing against the sides of the enclosure making it difficult to mount the components.
Mount the input jack in 3/8" hole on the left side of the enclosure with the hardware provided. The
washer goes under the nut on the outside of the enclosure. Make sure the center solder lug of the
input jack is facing up. Correct positioning of the jack will make soldering connections much easier.
Mount the output jack in the 3/8" hole on right side of the enclosure with the hardware provided.
The washer goes under the nut on the outside of the enclosure. Make sure the two solder lugs are
in their most upright position before tightening the nut.
Mount the 100K pot in the 3/8" hole on the top right and the 500K
pot in the 3/8" hole on the top left. Their solder lugs should be
directed toward the bottom side of the enclosure. (You can bend
their thin guide tabs with pliers so that the pots mount flush
against the enclosure surface).
Mount the DC power jack in the 15/32” hole on bottom left side of box. Orient the solder lugs on the
power jack so that the center-pin lug is facing the bottom side of the enclosure.
CENTER-PIN LUG
DC Power Jack
Mount the footswitch in 15/32” hole in center of box. The nylon washer
goes under the mounting nut on the outside of the enclosure. The lock
washer mounts on inside between the enclosure surface and the other
nut. Make sure that the footswitch is oriented to match DRAWING 2.
Incorrect
Orientation
Correct
Orientation
12
34
