manuals.online logo
Brands
  1. Home
  2. •
  3. Brands
  4. •
  5. mods4cars
  6. •
  7. Automobile Accessories
  8. •
  9. mods4cars smartTOP STHFMZ2 Owner's manual

mods4cars smartTOP STHFMZ2 Owner's manual

OPERATION AND PROGRAMMING
STHFMZ2
Comfort Roof Control Module for
• Mercedes Benz SLK R172
• Mercedes-Benz SLC
For Firmware v1.5x
Further information and manuals for all products can be found on our web site
w w w . m o d s 4 c a r s . c o m
We explicitly point out that all functions of this control unit
should be used only while exercising caution and responsibility.
We can NOT be held liable for any damage or injury caused by
installing or using this product.
PLEASE READ THE COMPLETE MANUAL CAREFULLY BEFORE
USING THIS PRODUCT.
Page 1 of 10
mods4cars product manual
19/07/2019
http://www.mods4cars.com/sms/db/smarttop/ext/support/manuals/mercedes/STHFMZ...
Page 2 of 10
mods4cars product manual
19/07/2019
http://www.mods4cars.com/sms/db/smarttop/ext/support/manuals/mercedes/STHFMZ...
Important Information. READ BEFORE USING!
PRINTING THIS MANUAL
This manual is designed to produce
completely filled pages. In order to get best
print results, simply set the borders to
minimum settings in the browser's page
setup menu and disable headers and
footers.
Activate the print preview and if necessary
decrease the zoom level until all pages are
shown correctly.
ALL IMAGES CAN BE CLICKED FOR
FULL SIZE in the browser.
TROUBLE SHOOTING - NEED TO
CONTACT US?
If you run into any problems after installing
the module, please go over the manual
again in great detail, clicking every photo
for full size!
We now have a full Knowledge Base with
Support Ticket system available online at
www.mods4cars.com/support
If you need to contact us, the best and
fastest way to do so is by opening a
support ticket there
This module comes with our USB Field
Upgrade and Configuration Port! We
recommend connecting it to a computer
BEFORE YOU INSTALL and using our
support app "m4cconnect" to do a quick
firmware update check. M4cconnect as well
as all other information regarding USB
update and configuration can be found at
www.mods4cars.com/usb. You can even
configure and activate your favorite module
functions and settings on screen before the
module is installed in the car! It is a good
idea to permanently install the USB cable
with the module in the car, leaving the
computer plug in an easily accessible spot
for later use with a Wifi/3G/4G connected
laptop.
Page 3 of 10
mods4cars product manual
19/07/2019
http://www.mods4cars.com/sms/db/smarttop/ext/support/manuals/mercedes/STHFMZ...
Page 4 of 10
mods4cars product manual
19/07/2019
http://www.mods4cars.com/sms/db/smarttop/ext/support/manuals/mercedes/STHFMZ...
Detailed function description (* = Factory setting)
Page 5 of 10
mods4cars product manual
19/07/2019
http://www.mods4cars.com/sms/db/smarttop/ext/support/manuals/mercedes/STHFMZ...
Page 6 of 10
mods4cars product manual
19/07/2019
http://www.mods4cars.com/sms/db/smarttop/ext/support/manuals/mercedes/STHFMZ...
Function 1 - Main Switch - Workshop and Diagnostics ( 0=OFF / *1=ON / 2=NO HAZARDS )
The module can quickly and easily be enabled and disabled using this function. It acts like a master switch. When
disabled, the module becomes completely inactive and behaves as if it was not installed.
Setting 0 disables the entire module while keeping all other function settings intact. This allows turning the module off
and back on without the need to reconfigure all of the other user configurable settings.
Setting 2 disables blinking of the hazards during remote operation. (Important: For technical reasons only the yellow
lighs in the side mirrors are acivated, not the blinkers in the front or back.)
IMPORTANT: In order to avoid problems with diagnostic tools and to avoid confusion or injury by
unexpected top movement, we urge you to ALWAYS DISABLE the module before taking the car to a shop or
lending it to a third person! If problems with the top arise while the module is installed, ALWAYS contact
Mods4Cars first at www.mods4cars.com. NEVER take the car to a dealer without getting support first!
Function 2 - One-Touch top operation ( 0=OFF / *1=ON WU / 2=ON WD / 3=EXT WU / 4=EXT WD )
This function enables one-touch console switch operation, for which the window position after top open as well as an
optional extended convenience mode can be programmed.
Setting 1 is standard one-touch mode with windows up (WU) after top open.
Setting 2 is standard one-touch mode with windows down (WD) after top open.
Settings 3 and 4 (EXTENDED) are the same as 1 and 2 respectively, but it is possible to turn the ignition off and pull
the key out while the top operation continues. It is also possible to get out of the vehicle and lock the doors using the
remote while the top is still closing.
Settings 3 and 4 require extra responsibility and caution to avoid injury by moving top parts to passengers
not expecting the top to continue running after the engine is turned off!
Top operation with the console switch:
• Holding down the switch (>2 sec) in either direction will operate the top in manual mode for as long as the switch is
held.
• Tap open 1x to open the top and bring the windows into the selected position (WU=Windows Up, WD=Windows
Down).
• Tap open 2x to open the top and bring the windows into the opposite position this one time (Down on settings 1 and
3, Up on settings 2 and 4).
• Tap close 1x to close top and windows.
• Tap close 2x to close only the top and leave the windows open.
• Tap the console switch in any direction to interrupt an ongoing operation at any time - even if the top was
started by remote!
Comfort close for all windows:
• Tap the top close switch when the top is already closed to roll all windows up.
Function 3 - Remote Control ( 0=OFF / *1=ON WU / 2=ON WD / 3=EXT WU / 4=EXT WD )
This function allows full automatic top operation with the original remote fob by pressing the lock and unlock buttons.
Also here it is possible to determine (independently from operation via the center console switch) the position of the
windows after opening the top.
Setting 1 is standard remote mode with windows up (WU) after top open.
Setting 2 is standard remote mode with windows down (WD) after top open.
Settings 3 and 4 (EXTENDED) are the same as 1 and 2 respectively, but it is possible to turn the ignition on and start
the engine while the top still continues. Additionally locking the doors by remote will not interrupt an ongoing top
operation.
Settings 3 and 4 require extra responsibility and caution to avoid injury by moving top parts, as locking
(previously unlocked) doors with the remote will not stop the top!
Top operation with the remote fob:
• Tap unlock on the remote 2x (in 1 sec intervals) to open all windows.
• Tap unlock on the remote 3x (in 1 sec intervals) to open the top and bring the windows into the selected position
(WU=Windows Up, WD=Windows Down).
• Tap unlock on the remote 4x (in 1 sec intervals) to open the top and and bring the windows into the opposite
position this one time (Down on settings 1 and 3, Up on settings 2 and 4).
• Tap lock on the remote 2x (in 1 sec intervals) to close all windows.
• Tap lock on the remote 3x (in 1 sec intervals) to close top and windows.
• Tap lock on the remote 4x (in 1 sec intervals) to close top and leave windows down.
• Tap any direction to stop an ongoing operation. To stop the top in extended mode in any door lock state,
tap the same direction twice!
IMPORTANT: With sequential unlocking enabled (first driver's door, then all others) it is necessary to add
one key press to the sequence when tapping the UNLOCK button (1x = Driver's door unlocks, 2x = All doors
unlock, 3x = Windows roll down etc.)
Page 7 of 10
mods4cars product manual
19/07/2019
http://www.mods4cars.com/sms/db/smarttop/ext/support/manuals/mercedes/STHFMZ...
Function 4 - Maximum allowed speed for top operation ( *0=0kmh / 1=10kmh / 2=20kmh / 3=30kmh /
4=40kmh / 5=50kmh / 6=60kmh)
Setting the max allowed speed for top operation in steps of 10km/h (~7mph). Setting 0 only allows roof operation
while halted.
WARNING: Once the top is started within the programmed speed limit, it will continue running, even if the
speed later exceeds the limit during the top operation!
Function 5 - All-Windows-Switch ( *0=NORMAL / 1=ONE-TOUCH / 2=DELAY )
This function allows to program the "all-windows" switch to raise all windows using One-Touch. By factory this switch
only does One-Touch down. Setting 2 allows using the switch even after turning the ignition off and opening a door.
Function 6 - Keyless top operation ( *0=OFF / 1=CLOSE / 2=OPEN AND CLOSE )
This function allows to close and open the convertible top by touching the rectangular area on the door handle
(requires Keyless Entry option!)
Setting 1 only allows closing the top, setting 2 allows closing and opening.
IMPORTANT: Function 3 (Remote Control) must be enabled as well for door handle operation to work!
Top operation with the Keyless Entry door handle:
• Tap lock sensor 3x (in 1 sec intervals) to close top and windows.
• Tap lock sensor 4x (in 1 sec intervals) to close top and leave windows down.
• Tap lock sensor 2x (in 1 sec intervals), then grab inside the door handle to open the top and bring the windows into
the position selected in function 3.
Function 7 - Rear Windows ( *0=OFF / 1=ON / 2=AUTO / 3=STAY )
This function allows raising the small rear windows when the top is down. When activated, all windows will close
(instead of just the front ones) when using the center console switch or the remote.
With setting 1 the rear windows roll down and stay down as soon as a door is opened.
With setting 2 the rear windows roll down when a door is opened and automatically back up if the door is closed
withing 60 seconds.
With setting 3 the rear windows stay up and only roll down automatically when the convertible top closes or one of
the front windows is lowered.
Function 8 - Horn Chirps ( *0=OFF / 1=LOCK / 2=UNLOCK / 3=BOTH )
This function can be set to either beep the horn briefly when locking the vehicle, beep the horn twice briefly when
unlocking or both (single beep for lock, double beep for unlock).
Function 9 - Chirp-Duration ( *0=shortest / 1..4=short / 5=medium / 6..8=long / 9=longest )
Duration of chirp command. Allows fine tuning the volume level of the horn.
Function 10 - Folding mirrors ( *0=OFF / 1=MANUAL / 2=AUTO )
This function allows remote control of the motorized mirrors (factory option motorized mirrors required).
Setting 1 will fold the mirrors in when the trunk button on the remote is tapped twice briefly. They fold out when the
driver's door is opened.
Setting 2 will fold the mirrors in automatically when locking the car and unfold them when the driver's door is opened.
IMPORTANT: If the car already comes with a factory feature to automatically fold the mirrors in and out, this
SmartTOP function must stay disabled!
Function 11 - Park Assist ( *0=AUS / 1=CAL-2 / 2=CAL-1 / 3=CAL 0 / 4=CAL+1 / 5=CAL+2 )
Only useful for models without seat memory! On cars with seat memory it is advisable to use the factory park assist
feature and leave this module function disabled!
Park assist feature for the passenger mirror. Automatically dips the mirror down to show the curb, when the mirror
selector switch is set to the passenger side and reverse gear is selected. This greatly simplifies parallel parking. After
leaving reverse gear, the mirror returns to its original condition when forward speed is detected or after 8 seconds of
inactivity.
The settings 1 through 5 are used to calibrate the mirror feature as follows: Upon activating this feature for the first
time, select setting 3 (CAL 0) and test operation. In case the mirror points a little lower each time after returning from
the dipped state, increase the CAL value and vice versa. The mirror is calibrated correctly if it returns to exactly the
same spot every time after dipping down and returning back up.
Function 12 - Comfort Wipers ( *0=OFF / 1=ONCE / 2=TWICE )
This function activates a delayed wiper cycle after using the windshield sprayer to remove excess water.
Setting 1 will wipe once after 10 seconds.
Page 8 of 10
mods4cars product manual
19/07/2019
http://www.mods4cars.com/sms/db/smarttop/ext/support/manuals/mercedes/STHFMZ...
Setting 2 will wipe once after 10 seconds and once more after 20 seconds.
Programming
This module is equipped with our interactive setup feature to allow easy setting of the desired options.
All programming is done by using the
steering wheel buttons (1,2,3) and the two
green turn signal (indicator) arrows.
Functions are indicated by the left arrow (4)
and their settings by the right arrow (5).
Simultaneously the main cluster display
shows all functions and options in clear text
(if set to AUDIO screen). Navigation is
done by pushing the up and down arrow
buttons on the left (2). Up selects the next
function, down the previous one. Settings
can be adjusted with the "+" and "-" buttons
(3). Each time either a new function is
selected or a function's setting is changed,
the blinker arrows will indicate the new
status by first blinking the function (left
arrow) and then the setting (right arrow).
To enter programming mode, first close all doors and then turn the ignition to ACC (position 1): Insert the key into the
ignition lock and turn it to accessory position or tap the Start Engine button once without depressing the brake pedal. To access
the clear text setup make sure the radio/command unit is turned OFF, then select the AUDIO screen using the steering wheel
MENU buttons on the left (screen shows AUDIO OFF). Then press and hold the phone hang-up button (1) and let go when you
hear the chime and see the smartTOP info on the screen.
Alternatively, to activate clear-text and blinker output, press and hold the phone hang-up button for about 4 seconds, until the
left arrow blinks once to indicate function 1, then let go.
From this point on you can navigate through the options by either tapping the UP (next function) and DOWN (previous function)
buttons or the phone pickup (next function) and phone hang-up (previous function) buttons. Once the arrows are finished
indicating the function and setting (if blinkers are active), change the setting by tapping PLUS or MINUS. The new settings are
active immediately.
To end programming mode, press phone hang-up again, remove the key from the ignition lock or turn the ignition on. End of
programming mode is indicated by both arrows lighting up simultaneously.
Page 9 of 10
mods4cars product manual
19/07/2019
http://www.mods4cars.com/sms/db/smarttop/ext/support/manuals/mercedes/STHFMZ...
Function/Setting Matrix (*green fields are defaults)
Product: STHFMZ2 - SmartTOP for Mercedes SLK (R172)
Firmware: v1.5x
SETTING
0SETTING 1 SETTING 2 SETTING 3 SETTING
4
SETTING
5
SETTING
6
FUNCTION
1 OFF *ON NOHAZ - - - -
Main Switch Module Disabled Module Enabled Module Enabled +
Hazard Blinkers off
FUNCTION
2 OFF *ON WU ON WD EXT WU EXT WD - -
Conv. Top One-
Touch
Don't change
center console
switch behavior
Enabled +
windows up after
top open
Same as 1 but
windows down after
top open
Allow ignition off
during top operation
Same as 3 but
windows down
after top open
FUNCTION
3 OFF *ON WU ON WD EXT WU EXT WD - -
Remote Control No remote
functions
Enabled +
windows up after
top open
Same as 1 but
windows down after
top open
Allow ignition on
during top operation
Same as 3 but
windows down
after top open
FUNCTION
4 *0 km/h 10 km/h 20 km/h 30 km/h 40 km/h 50 km/h 60 km/h
Maximum Speed Only while halted 10 km/h (~7mph) 20 km/h (~13mph) 30 km/h (~19mph) 40 km/h
(~25mph)
50 km/h
(~31mph)
60 km/h
(~31mph)
FUNCTION
5 *OFF ONETOUCH NOIGN - - - -
All Windows Factory behavior
One-Touch
operation to raise
all windows
One-Touch close
allowed with
ignition OFF
FUNCTION
6 *OFF CLOSE OPEN/CLOSE - - - -
Keyless Operation Factory behavior
Tap handle lock
sensor 3x to raise
top
3x lock to raise top
2x lock and 1x
unlock to lower top
FUNCTION
7 *OFF ON AUTO STAY - - -
Rear Windows Factory behavior
Allow raising of
rear windows with
top down
Auto lower and
raise when a door
is opened
Stay up when a door
is opened
FUNCTION
8 *OFF LOCK UNLOCK LOCK+UNLOCK - - -
Horn Chirps No Chirps Only Chirp on
Lock
Only Chirp on
Unlock
Chirp on Lock and
Unlock
FUNCTION
9 *0 1...4 5 6...8 9 - -
Chirp Duration Shortest Shorter Medium Longer Longest
FUNCTION
10 *OFF MANUAL AUTO - - - -
Folding Mirrors Disabled
Manual with quick
double-tap on
TRUNK
Automatic with
every LOCK
FUNCTION
11 *OFF -2 -1 0 +1 +2 -
Pask Assist Park Assist
Feature disabled
Setting 1 is
furthest down
Calibration value in 5
steps (-2 -1 0 +1 +2)
Setting 5 is
furthest up
FUNCTION
12 *OFF 1x 2x - - - -
Comfort Wipers Disabled Wipe once after
10 sec
Wipe after 10 sec
and 20 sec
Page 10 of 10
mods4cars product manual
19/07/2019
http://www.mods4cars.com/sms/db/smarttop/ext/support/manuals/mercedes/STHFMZ...

Other mods4cars Automobile Accessories manuals

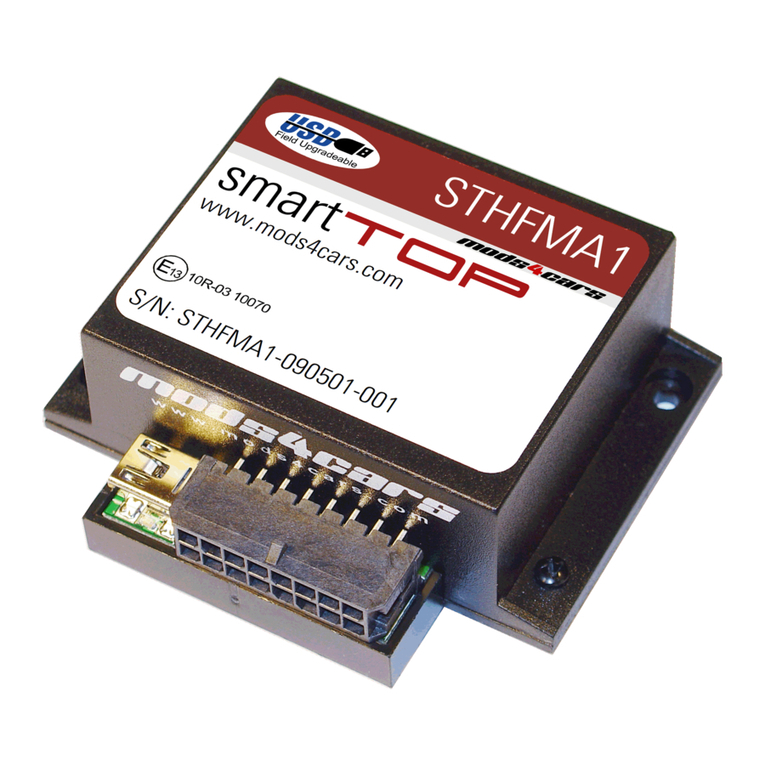
mods4cars smartTOP STHFMA1 User manual

mods4cars

mods4cars smartTOP STHFMA1 User manual

mods4cars SmartTOP STHFMA1 Owner's manual

mods4cars

mods4cars SmartTOP STHFMA1 Owner's manual

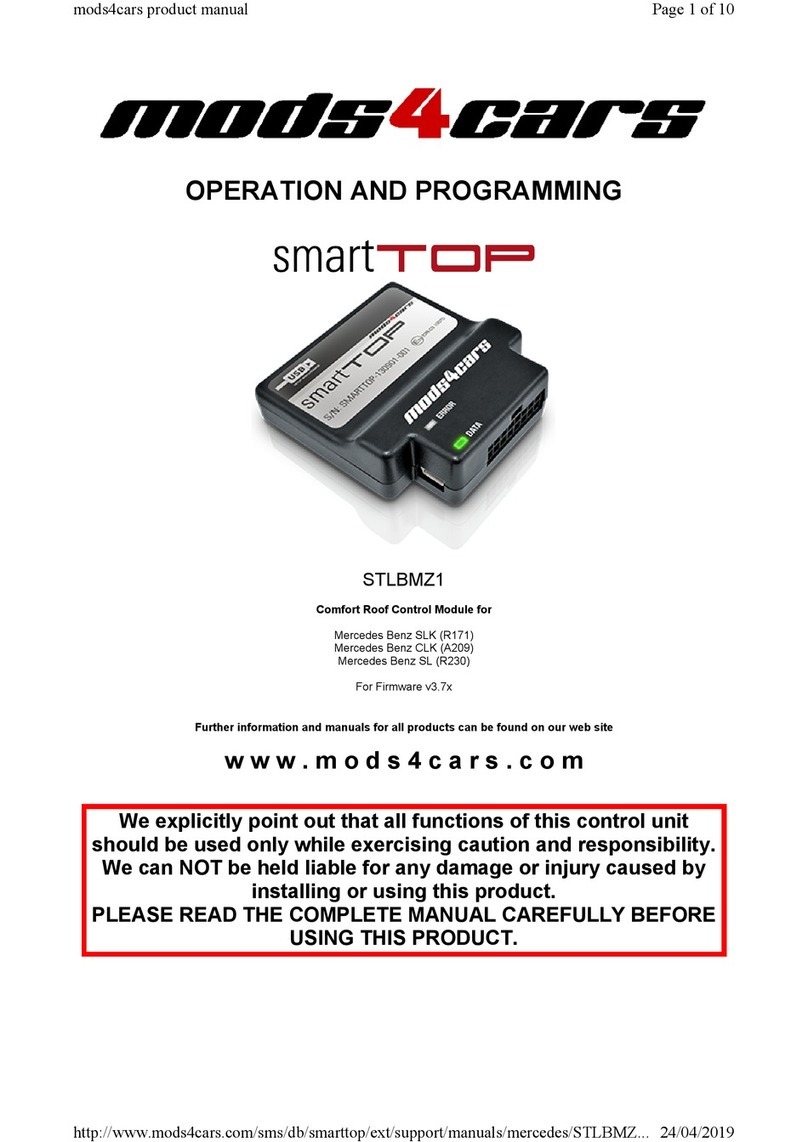
mods4cars smartTOP STLBMZ1 Owner's manual

mods4cars

mods4cars smartTOP STLBMZ1 Owner's manual

Popular Automobile Accessories manuals by other brands

Lund Interceptor Installation instruction

Lund

Lund Interceptor Installation instruction

Subaru J1010FN800 installation manual

Subaru

Subaru J1010FN800 installation manual

Gibson 619650 instruction manual

Gibson

Gibson 619650 instruction manual

Whispbar K538W Fitting instructions

Whispbar

Whispbar K538W Fitting instructions

Dhollandia DH-RB 05.02 Series user manual

Dhollandia

Dhollandia DH-RB 05.02 Series user manual

Brink 5041 Fitting instructions

Brink

Brink 5041 Fitting instructions

Cruz 925-77 Series Assembly instructions

Cruz

Cruz 925-77 Series Assembly instructions

Saris The T-Rax Sport installation manual

Saris

Saris The T-Rax Sport installation manual

HKS EVC EZ-II Installation and setup instructions

HKS

HKS EVC EZ-II Installation and setup instructions

FILTRON K 1015 Installation instruction

FILTRON

FILTRON K 1015 Installation instruction

Huvitech B12HD-HD manual

Huvitech

Huvitech B12HD-HD manual

Subaru F555EAJ000 installation instructions

Subaru

Subaru F555EAJ000 installation instructions

Thule 1565 instructions

Thule

Thule 1565 instructions

Mazda 2005 Miata MX-5 manual

Mazda

Mazda 2005 Miata MX-5 manual

Flash Cover Slim MN009CT installation manual

Flash Cover

Flash Cover Slim MN009CT installation manual

Blue Ox BX2239 installation instructions

Blue Ox

Blue Ox BX2239 installation instructions

JL Audio Stealthbox SB-J-JL4DDRV/10TW1-2 installation guide

JL Audio

JL Audio Stealthbox SB-J-JL4DDRV/10TW1-2 installation guide

Ecco ED5101 Installation and operating instructions

Ecco

Ecco ED5101 Installation and operating instructions

manuals.online logo
manuals.online logoBrands
  • About & Mission
  • Contact us
  • Privacy Policy
  • Terms and Conditions

Copyright 2025 Manuals.Online. All Rights Reserved.