manuals.online logo
Brands
  1. Home
  2. •
  3. Brands
  4. •
  5. MONARCH INSTRUMENT
  6. •
  7. Data Logger
  8. •
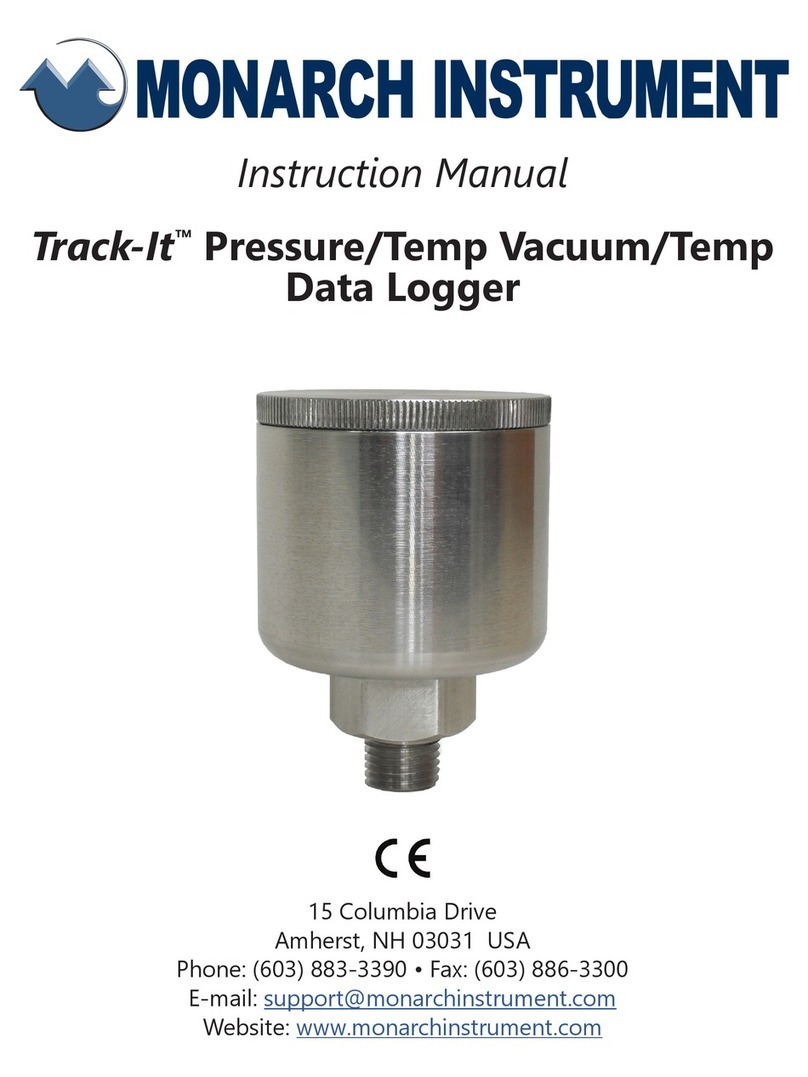
  9. MONARCH INSTRUMENT TRACK-IT User manual

MONARCH INSTRUMENT TRACK-IT User manual

IMPORTANT! Do NOT plug the Track-It Data Logger into the USB
port until AFTER the USB Drivers and Track-It Software have
been installed.
Insert the Installation CD into the Drive on your PC. If the installation
does not begin automatically use Windows Explorer to navigate to the
CD drive, double click “CD_Start.exe”, click “Install the USB Driver”,
and follow the prompts. Click
“Continue Anyway” if you see
the warning message about
software installation.
1 Install USB driver and Track-ItTM Software
2 Install data logger battery (if required) 3 Connect data logger and Start Track-ItTM Software
Install the battery that was supplied with your Track-ItTM data logger.
Refer to the diagrams below for installation. Certain models will
have battery pre-installed.
Plug the Track-It logger into an available USB port on the PC. Some
models plug directly into the USB port others connect to the USB port
with a cable (which is supplied). If the Found New Hardware Wizard
appears, follow the prompts to complete the installation.
Start the Track-It Software by double clicking the Track-It
icon (shown at right) on your PC or from the Start menu.
Pressure/Temp
3.6V 1/2AA
Temp, RHTemp, DC I/V,
AC Event
3V CR2032 coin cell
Or 3.6V EF651625
(LTC-7PN)
Rugged Temp
3.6V 1/2AA Lithium
High Temperature
Remove threaded end
cap with coin and insert
battery as shown
Remove threaded cap
and insert battery as
shown
QUICK START GUIDE
Batteries in “Thumb
Drive” type loggers are
pre-installed
Para la traducción española, ver CD
Für die deutsche Übersetzung, siehe CD
Pour la traduction française, voir le CD
Per la traduzione italiana, vedi CD
Click “Install Software” and
follow the instructions to com-
plete the installation. The
Software is now installed and
ready to use.
4 Connect to your data logger
If the USB drivers installed properly you will see “Device Connected”
displayed in the lower right hand corner of the Track-It™ Software
window.
You can now begin using Track-It™ Software to configure your data
logger and/or view recorded data.
Track-It™ Software will list all Track-It™ Data Loggers connected to
your PC. To view the list and switch between loggers click on Devices
then Device List.
5 Configure and start logging data
Select the “Device Setup” tab as shown. The software will
automatically retrieve and display the data logger configuration.
Review default factory configuration settings and make any
necessary changes - sample rates, triggers, alarms etc. Be sure that
the time and date is set properly.
Click the “Send To Device” button under the Device Configuration
section of the window. Your data logger is now operational!
LED INDICATORS (for units without displays) LCD DISPLAYS
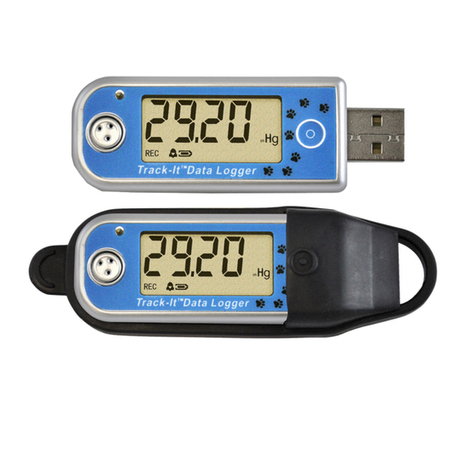
Some Track-It data loggers are equipped with LCD displays. The display is
user programmable and can display real time information including time,
date, measured values with engineering units, battery level, alarm
conditions, etc. LED indicators on units with LCD displays are also user
programmable. See operation manual for full description and set up
instructions.
Bell On steady = alarms enabled. Blinks if any alarm detected
Up arrow = Hi alarm, Down arrow = Lo alarm. Blinks if any alarm is
current. On steady if any alarm has been detected but not current.
REC On steady = Triggered to record but not currently recording.
Blinking = recording data
Battery Condition: Indicates full, half and empty. Blinks = too low to
function reliably.
Icon Indications
LED indicators are provided to notify the user of data logger status.
Pushing and releasing the data logger button will cause the LED to flash in
various patterns to indicate status. Pressing and holding the data logger
button will change record mode or reset alarms (these features need to be
configured in the software prior to use). The table below shows the push-
button / LED functionality.
STATUS
LED Sequence
Low battery - one RED blink (No red if battery OK)
Recording or triggered to record - fast GREEN/RED blink
Idle/Not recording - one long GREEN blink
Alarm occurred - one long RED blink (No red if no alarm)
Not set up or memory full - slow RED/GREEN blink, connect to PC
RESULT OF BUTTON RELEASE
LED pattern
Release button while LED GREEN - Turn record mode on/off*
Release button while LED RED - Reset alarm indication*
Release button when LED goes off - No change
*NOTE: Feature must be enabled in software
STATUS - Press & Release Button
LED Pattern
Lo Batt. Record Alarm
CHANGE STATE - Press & Hold Button
Release
Release
Release after LED’s go off
Other manuals for TRACK-IT

6

Other MONARCH INSTRUMENT Data Logger manuals

MONARCH INSTRUMENT Track-It 5396-0310 User manual

MONARCH INSTRUMENT

MONARCH INSTRUMENT Track-It 5396-0310 User manual

MONARCH INSTRUMENT Track-It XT Series User manual

MONARCH INSTRUMENT

MONARCH INSTRUMENT Track-It XT Series User manual

MONARCH INSTRUMENT TRACK-IT User manual

MONARCH INSTRUMENT

MONARCH INSTRUMENT TRACK-IT User manual

MONARCH INSTRUMENT Track-It 5396-0337 User manual

MONARCH INSTRUMENT

MONARCH INSTRUMENT Track-It 5396-0337 User manual

MONARCH INSTRUMENT Data Chart 1250 User manual

MONARCH INSTRUMENT

MONARCH INSTRUMENT Data Chart 1250 User manual

MONARCH INSTRUMENT TRACK-IT User manual

MONARCH INSTRUMENT

MONARCH INSTRUMENT TRACK-IT User manual

MONARCH INSTRUMENT TRACK-IT User manual

MONARCH INSTRUMENT

MONARCH INSTRUMENT TRACK-IT User manual

MONARCH INSTRUMENT TRACK-IT User manual

MONARCH INSTRUMENT

MONARCH INSTRUMENT TRACK-IT User manual

Popular Data Logger manuals by other brands

Blackrock Microsystems CerePlex Direct Instructions for use

Blackrock Microsystems

Blackrock Microsystems CerePlex Direct Instructions for use

Signatrol spYdaq Hardware manual

Signatrol

Signatrol spYdaq Hardware manual

Praxisdienst LOG200 manual

Praxisdienst

Praxisdienst LOG200 manual

Casio DT-970 Series Hardware manual

Casio

Casio DT-970 Series Hardware manual

SS Telecoms SS-68BB user manual

SS Telecoms

SS Telecoms SS-68BB user manual

APAR AR200 User instruction

APAR

APAR AR200 User instruction

AKO CAMRegis Series installation instructions

AKO

AKO CAMRegis Series installation instructions

T&D TR-71W quick start guide

T&D

T&D TR-71W quick start guide

Full Gauge Controls PhaseLogE plus quick start guide

Full Gauge Controls

Full Gauge Controls PhaseLogE plus quick start guide

Shanghai HuaTuo Satellite Navigation Technology LT400 user manual

Shanghai HuaTuo Satellite Navigation Technology

Shanghai HuaTuo Satellite Navigation Technology LT400 user manual

EasyLog EL-USB-1 quick start guide

EasyLog

EasyLog EL-USB-1 quick start guide

MadgeTech HiTemp140 Series Product user guide

MadgeTech

MadgeTech HiTemp140 Series Product user guide

MadgeTech Temp1000S Product Information Card

MadgeTech

MadgeTech Temp1000S Product Information Card

Thies CLIMA DLx-MET Instructions for use

Thies CLIMA

Thies CLIMA DLx-MET Instructions for use

HH Solutions HOBO MX2300 Series manual

HH Solutions

HH Solutions HOBO MX2300 Series manual

AEMC PEL 102 Battery Replacement Procedure

AEMC

AEMC PEL 102 Battery Replacement Procedure

Wohler CDL 210 operating manual

Wohler

Wohler CDL 210 operating manual

HWM Multilog LX GPRS user manual

HWM

HWM Multilog LX GPRS user manual

manuals.online logo
manuals.online logoBrands
  • About & Mission
  • Contact us
  • Privacy Policy
  • Terms and Conditions

Copyright 2025 Manuals.Online. All Rights Reserved.