manuals.online logo
Brands
  1. Home
  2. •
  3. Brands
  4. •
  5. Mono
  6. •
  7. Oven
  8. •
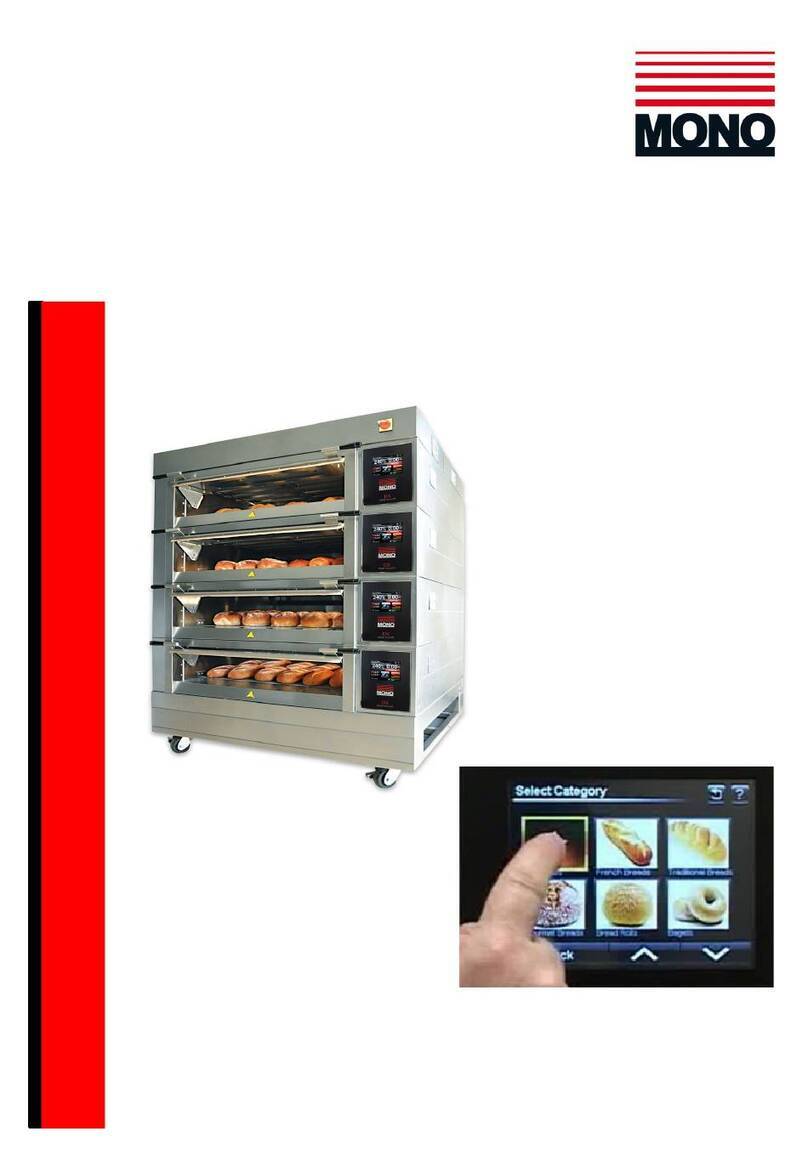
  9. Mono BX EcoConnect+Wash User manual

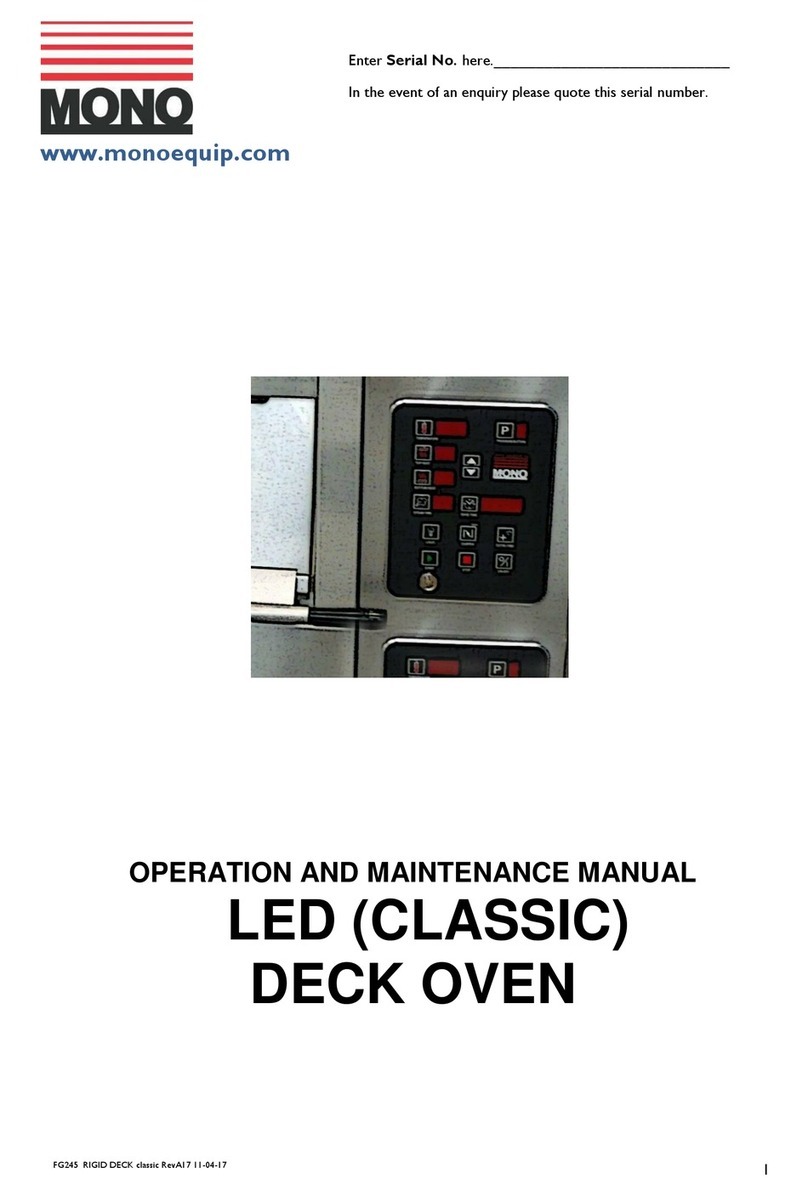
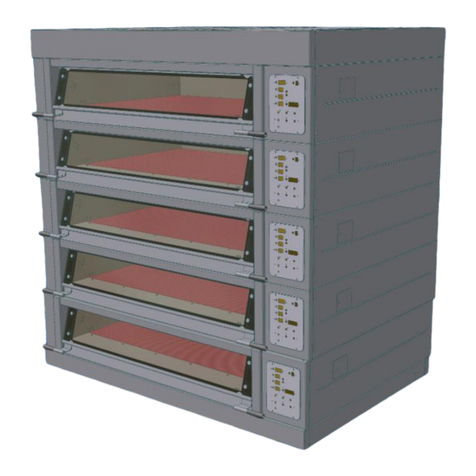
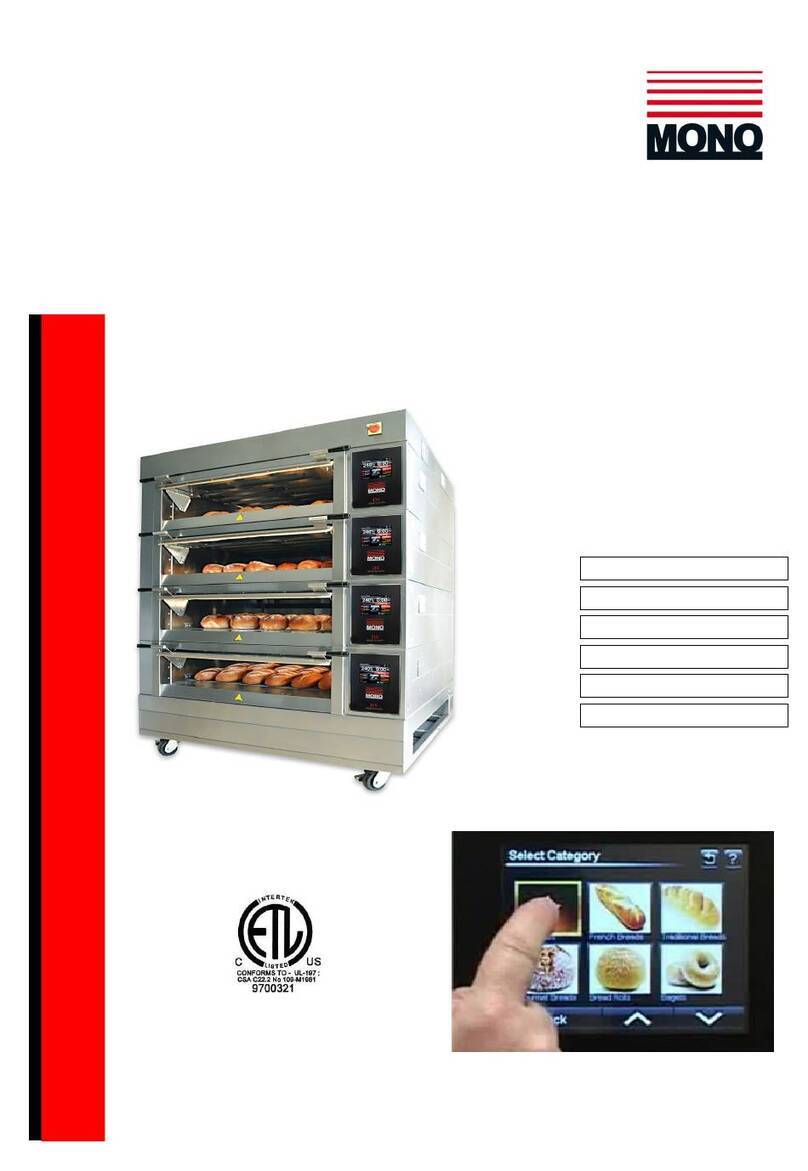
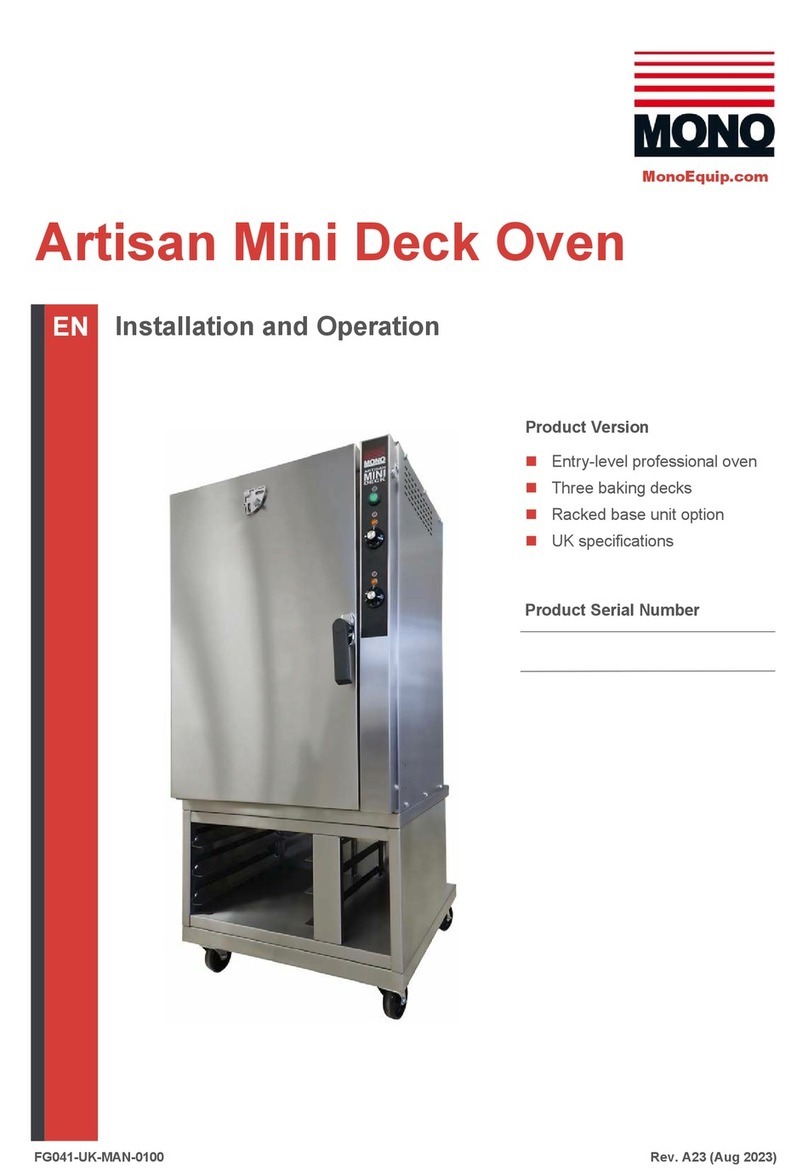
Mono BX EcoConnect+Wash User manual

FG1BX-US-MAN-0400, Rev. A22 (April 2022)
BX EcoConnect+Wash Oven
(Includes the cassette loading version)
Operation and Maintenance Manual
Enter Serial No.
here._____________________________________
In the event of an enquiry please quote this serial number.
MonoEquip.com
BX EcoConnect+Wash Oven
FG1BX-US-MAN-0400, Rev. A22 (April 2022)
BX EcoConnect+Wash Oven
FG1BX-UK-MAN-0400, Rev. A22 (April 2022)
3
ATTENTION
IF OVEN FAILS TO HEAT UP, WHEN FIRST CONNECTED TO A
POWER SUPPLY OR DURING USE AT ANYTIME.
PRESS RESET BUTTON LOCATED THROUGH THE REAR BACK PANEL.
(DO NOT REMOVE BACK PANEL)
SAFETY SYMBOLS
The following safety symbols are used throughout this product documentation.
Before using your new equipment, read the instruction manual carefully and pay special
attention to information marked with the following symbols.
RESET BUTTON
Indicates a hazardous situation which, if not
avoided,
will result in death or serious injury.
Indicates a hazardous situation which, if not avoided,
will result in electric shock.
Indicates a hazardous situation which, if not avoided,
will result in minor or moderate injury.
WARNING
WARNING
CAUTION
4
ELECTRICAL SAFETY AND ADVICE REGARDING
SUPPLEMENTARY ELECTRICAL PROTECTION:
Commercial bakeries, kitchens and food service areas are environments where electrical appliances
may be located close to liquids, or operate in and around damp conditions, or where restricted
movement for installation and service is evident.
The installation and periodic inspection of the appliance should only be undertaken by a qualified,
skilled and competent electrician, and connected to the correct supply suitable for the load as
stipulated by the appliance data label.
The electrical installation and connections should meet the necessary requirements of the local
electrical wiring regulations and any electrical safety guidelines.
We Recommend:
−Supplementary electrical protection with the use of a residual current device (RCD)
−Fixed wiring appliances incorporate a locally situated switch disconnector to connect to, which
is easily accessible for switching off and safe isolation purposes. The switch disconnector
must meet the specification requirements of IEC 60947.
Your attention is drawn to:
BS 7671:2018 –Guidance Note 8 –8.13 : Other locations of increased risk
It is recognised that there may be locations of increased risk of electrical shock other than those
specifically addressed in Part 7 of BS 7671. Examples of such locations could include laundries
where there are washing and drying machines in close proximity, and water is present, and
commercial kitchens with stainless steel units, where once again, water is present. Where, because
of the perception of additional risks being likely, the installation designer decides that an installation
or location warrants further protective measures, the options available includes:
▪Automatic Disconnection of Supply (ADS) by means of a residual current device having a
residual operating current not exceeding 30 mA;
▪Supplementary protective equipotential bonding; and
▪Reduction of maximum fault clearance time.
The provision of RCDs and supplementary bonding must be specified by the host organisation’s
appointed installation designer or electrical contractor and installed by a suitably qualified and
competent electrician so as to comply with Regulations 419.2 and 544.2.
The supply to this machine must be protected by a 30mA RCD
BX EcoConnect+Wash Oven
FG1BX-UK-MAN-0400, Rev. A22 (April 2022)
5
OPENING THE DOUBLE-CATCH DOOR
1. Turn the handle left to release the catch halfway.
▪This step allows the steam and heat to escape.
2. Turn the handle right to release the door fully.
3. Open the door.
Note
▪These instructions apply to both left-hand and right-hand ovens.
▪The door will not open unless power is connected to the oven. If the door does not open at first, push
fully shut and it will then open.
▪The door is locked shut and it is not possible to open it during the wash cycle.
▪To close the door, firmly push it fully shut.
Closed-door
Step 1. Turn left
Step 2. Turn right
6
CONTENTS
PART 1. Introduction 7
PART 2. Specifications 8
PART 3. Safety 9
PART 4. Installation 10
PART 5. Isolation 13
PART 6. Cleaning Instructions 14
(FOR WASH CYCLE, SEE PAGE 31)
PART 7. Ideal Operating Conditions 15
PART 8. Operations -Loading the oven 16
Unloading the oven 17
PART 9. Touch screen operations 18
Basic operation 19
9-1. Bake using “FAVOURITES” menu 20
9-2. Bake using “MANUAL” menu 23
9-3. Bake using “PROGRAMMES” menu 26
9-4. Bake using “MULTI-BAKE” menu 29
9-5. Using the WASH CYCLE 31
9-6. Creating a program 34
9-7. 7-Day timer 40
9-8. Settings 41
PART 10.Maintenance 42
PART 11. Steam System Maintenance 42
PART 12. Light Bulb Replacement 43
PART 13. Spares Information 43
PART 14. Electrical Information 44
---PASSWORDS--- 53
MONO EQUIPMENT Contact Information 56
1. INTRODUCTION
•A combination of clean industrial design and the latest technology,
the MONO BX wash oven is designed specifically to take the baking Industry’s
standard 40cm x 60cm trays with the option of a quick and easy “Tray Loading
Cassette system” which loads up to 14 trays in seconds.
•The ovens are constructed using stainless steel which makes them easy to clean.
•The variable fan, element and steam system give efficient air circulation to
produce a professional bake across a range of products and work together to
produce excellent conditions for the wash cycle.
•The door is double glazed to increase the efficiency of the ovens well-insulated
baking chamber and contains LED lights to illuminate the interior.
•To prevent contact with any cleaning fluids or water during the cleaning cycle, the
main door locks until all cleaning cycles are finished.
•Ovens are supplied with LCD TOUCH displays for the user-friendly control panels.
•So long as the Mono “Power Max Plus” cleaning cartridge is used, the ovens can be
connected to a normal domestic drain system without any problems with the
environment.
•Full control and monitoring via an app for smartphones or handhelds is available.
•The self-clean System provides 4 set programmes for hot flush, gentle, standard
and power wash cycles or a custom wash facility to suit specific needs.
•The management programme provides diagnostics, fault-logging and even electrical
power usage and costing
BX EcoConnect+Wash Oven
FG1BX-UK-MAN-0400, Rev. A22 (April 2022)
7
TOUCH SCREEN
POWER
ON/OFF SWITCH
IDENTIFICATION / SERIAL
NUMBER PLATE.
PLEASE QUOTE THIS
NUMBER WITH ANY
ENQUIRIES
8
2. SPECIFICATIONS
10 tray 4 tray stacked
HEIGHT 1240 640 2000
HEIGHT OF OVEN ON BASE 1360
WIDTH 1000 1000
DEPTH –DOOR CLOSED 860 860
DEPTH –DOOR OPEN 1620 1620
TRAY SIZE 600mm x 400mm
POWER (uk versions)
4/5 TRAY OVENS - 415 volts. 3 PHASE, + NEUTRAL + EARTH, 50HZ
11amps per phase, total power 7.5kW
(element = 7kW 240v stainless steel)
10 TRAY OVENS - 415 volts. 3 PHASE, + NEUTRAL + EARTH, 50HZ
21amps per phase, total power 15kW
(element = 7kW 240v stainless steel x2)
POWER (export versions)
4/5 TRAY OVENS - 400 volts. 3 PHASE, + NEUTRAL + EARTH, 50HZ
12amps per phase, total power 7.5kW
(element = 7kW 220v stainless steel)
WATER ¾” B.S.P. Flexible hose.
WATER PRESSURE 2 bar –4 bar
Domestic pressure is usually within this parameter.
Water conditioning unit advised, especially in hard water areas.
DRAINAGE
The oven must be connected to a drain via a standpipe or be connected to a
drainage pipe that does not allow water flow-back into the machine.
The supply to this machine must be protected by a 30mA RCD
BX EcoConnect+Wash Oven
FG1BX-UK-MAN-0400, Rev. A22 (April 2022)
9
3. SAFETY
In the interest of safety and efficient operation of the oven, it is essential that this manual
should be made available to the operator before work is commenced.
The following points should be observed and followed at all times.
1. The oven is designed for baking of bread, confectionery and savoury products
only. DO NOT use it for any other items without first consulting with MONO.
2. Failure to adhere to the operation, cleaning and maintenance instructions detailed
in this manual could affect the warranty of this oven.
3. All repairs and maintenance of electrical units must be carried out by authorised
electricians; even then, electrical access panels must not be opened unless the main
electrical supply to the oven is isolated.
4. All connections to the oven must be made in accordance with the statuary requirements
of the country of installation.
5. While the oven is in operation (and for some time after use), it is inadvisable to touch
the oven window or the surrounds because of conducted heat from inside.
6. The oven must be operated as described in this manual.
7. Only MONO spare parts should be used on this oven.
8. The construction of the oven must not be changed.
9. The owner of the oven is legally obliged to instruct staff of these safety points and of the
safe operation of the oven. These instructions should not be removed from the
working area.
10. To prevent door glass damage -
DO NOT CLEAN OVEN GLASS WHEN HOT.
11. Customers operating a BX oven must ensure that water quality is good or an efficient
water-softening device protects the water supply to the equipment.
12. Oven gloves should be worn when moving products in or out of the oven.
13. Care should be taken when handling cleaning cartridges.
Do not break open or use damaged cleaning cartridges.
Store cleaning cartridges in original packaging.
14. If the oven is not going to be used for an extended period, switch off the electrical and
water supplies.
DO NOT COVER THE DAMPER FLUE ON TOP OF THE OVEN
ATTENTION
10
4. INSTALLATION
POWER (uk versions)
4/5 TRAY OVENS - 415 volts. 3 PHASE, + NEUTRAL + EARTH, 50HZ
11amps per phase, total power 7.5kW
(element = 7kW 240v stainless steel)
10 TRAY OVENS - 415 volts. 3 PHASE, + NEUTRAL + EARTH, 50HZ
21amps per phase, total power 15kW
(element = 7kW 240v stainless steel x2)
POWER (export versions)
4/5 TRAY OVENS - 400 volts. 3 PHASE, + NEUTRAL + EARTH, 50HZ
12amps per phase, total power 7.5kW
(element = 7kW 220v stainless steel)
WATER ¾” B.S.P. Flexible hose.
WATER PRESSURE 2 bar –4 bar
Domestic pressure is usually within this parameter.
Water conditioning unit advised, especially in hard water areas.
DRAINAGE
The oven must be connected to a drain via a standpipe or be connected to a
drainage pipe that does not allow water flow-back into the machine.
The supply to this machine must be protected by a 30mA RCD
BX EcoConnect+Wash Oven
FG1BX-UK-MAN-0400, Rev. A22 (April 2022)
11
1. It is the customers’ sole responsibility to arrange adequate ventilation and it should be
sufficient to ensure water does not condense on or around the oven. A 50mm gap is
recommended at the sides and rear of this oven and 250mm above.
2. Chimneys and evacuation ducts fitted above mono ovens should be insulated to stop
condensate flowing back into the oven.
3. Water connection should be to a suitable clean water supply,
making sure that the pipes are flushed out to remove all
foreign bodies i.e. flux or solder.
Customers in hard water areas must ensure that an efficient
water treatment device protects the supply to the oven.
It is the customers’ responsibility to install and maintain an
adequate water supply to the oven, which should comply with
local water regulations.
In the UK a backflow prevention device must be fitted.
4. Drainage must be available. Push the end of the drain hose on to the outlet tube and ensure
it is on as far as it will go.This must be connected to a drain via a standpipe or be connected
to a drainage pipe that does not allow a flow-back into the machine.
5. In the interests of hygiene, we strongly recommend that before using the oven for the first
time the inside of the oven and all accessories are thoroughly cleaned with a cloth soaked in
warm soapy water. Although the utmost care is taken during assembly and pre-delivery
inspection, there is always a possibility of contaminating the first bake if this is not done.
WASH WATER SYSTEM
SCHEMATIC
OVEN DRAINAGE CONNECTION
AT REAR
OVEN WATER CONNECTION
AT REAR
3. DRAINAGE
2. WATER IN
12
NOTE
•Room should be allowed for the door to open fully to allow easy loading and
unloading of product without people coming in contact with hot surfaces.
•Racks should be available to allow cooked products to cool safely.
•Oven gloves should be available at all times.
BEFORE USE
In the interests of hygiene, we strongly recommend that before using the oven for the first
time you wipe the inside of the oven and all accessories thoroughly with a clean cloth
soaked in warm soapy water. Although the utmost care is taken during assembly and pre-
delivery inspection, there is always a possibility of residue contaminating the first bake if this
is not done.
6. Ensure that the locking castors on the base are locked into position.
7. AMBIENT WORKING TEMPERATURES.
Ambient working temperatures for electric/electronic components such as solenoid
switches, circuit breakers, motors etc. should be no more than 40C (115f)
Manufacturers of these and other electrical components advise that any ambient
temperature above 40

C affects the functionality of the components and any related
guarantees become void.
For example, above this temperature motors are not satisfactorily cooled, contactor
efficiency is seriously impaired and electronic components shut down.
It is the customers’ sole responsibility to arrange for adequate ventilation.
Any component malfunctioning during the guarantee period that is found to have been
subject to excessive humidity or ambient working temperature above 40

C (115

F) will
not be covered by the component manufacturers guarantee or the MONO product
warranty.
OPENING DOOR
The door will not open unless power is connected to the oven.
If the door does not open at first, push fully shut and it will then open.
Note
The door is locked shut and it is not possible to open it during the wash cycle.
BX EcoConnect+Wash Oven
FG1BX-UK-MAN-0400, Rev. A22 (April 2022)
13
5. ISOLATION
ELECTRICITY SUPPLY
To stop the oven in an emergency.
Switch off electricity supply at the wall isolator.
WATER SUPPLY
The water supply should be shut off at the nearest shut-off point
14
6. CLEANING INSTRUCTIONS
NOTE: BEFORE CLEANING,
ISOLATE OVEN FROM MAINS SUPPLY AND ALLOW TO COOL.
DAILY
•Sweep any debris (after it has been allowed to cool) onto removable oven trays and
remove for cleaning.
•Brush down and wipe oven front, back and sides.
•Wipe clean with a damp cloth that has been soaked in a solution of mild detergent
and hot water. Do not wash the control screen but wipe with a damp cloth only.
•Run the clean cycle if required. (Be aware that this takes some time to
complete).
SEE PAGE 27
IMPORTANT:
TAKE CARE CLEANING WATER DOES NOT ENTER CONTROL PANEL
OR REAR ACCESS PANEL.
DOOR GLASS CLEANING
The inner door glass is hinged to enable cleaning of internal surfaces.
To open, remove the two screws shown in the picture below.
The internal surfaces of the door glass can then be wiped clean or if needed use a suitable
glass cleaner.
Ensure that the screws are replaced securely.
9 7. IDEAL OPERATING CONDITIONS
•Room should be allowed for the door to open and for the operation of the cassette
loader if being used. There should be enough room to allow for easy loading and
unloading of products so that people cannot come in contact with hot surfaces.
•Racks should be available to allow trays of cooked products to cool safely.
•Oven gloves should be available and used at all times.
•It is the customers’ sole responsibility to arrange adequate ventilation and it
should be sufficient to ensure water does not condense on or around the oven.
A 50mm gap is required at the sides and rear of this oven and 250mm above.
•Chimneys and evacuation ducts fitted above mono ovens should be insulated to
stop condensate flowing back into the oven.
AMBIENT WORKING TEMPERATURES.
Ambient working temperatures for electric/electronic components such as solenoid
switches, circuit breakers, motors etc. should be no more than 40C (115f)
Manufacturers of these and other electrical components advise that any ambient
temperature above 40

C affects the functionality of the components and any
related guarantees become void.
For example, above this temperature motors are not satisfactorily cooled, contactor
efficiency is seriously impaired and electronic components shut down.
It is the customers’ sole responsibility to arrange for adequate ventilation.
Any component malfunctioning during the guarantee period that is found to have
been subject to excessive humidity or ambient working temperature above 40

C
(115

F) will not be covered by the component manufacturers guarantee or
MONO’s product warranty.
Remove these screws
to release inner glass
for cleaning
BX EcoConnect+Wash Oven
FG1BX-UK-MAN-0400, Rev. A22 (April 2022)
15
LOADING THE OVEN IF CASSETTE SYSTEM IS FITTED
Slide full trays onto runners in the cassette holding rack at positions required.
When the oven is up to temperature and ready to bake, open the door(s) and push loaded
rack up to oven using the central locator on the bottom front edge to give the correct
positioning.
Using the push-pull tool, push the cassette into the oven as far as it will go.
To stop heat escaping, pull the rack away from the oven and close
the oven door as soon as possible.
PUSH PULL\TOOL SHOWN ON
STORAGE HOOK ON SIDE OF
THE CASSETTE RACK
TOOL LOCATING BAR
PUSH
CASSETTE
INTO THE
OVEN
TOP OVEN CASSETTE
4 TRAYS
LOWER OVEN CASSETTE
10 TRAYS
8. OPERATION
RACK
OVEN
LOCATOR
LOADED
OVEN
16
UNLOADING THE OVEN
When the bake is over, stop the oven and open the door required, the rack can now be
placed back into position.
Hold the rack in place and using the push-pull tool provided hooked onto the bar on the
cassette; unload the oven by pulling the cassette out of the oven and back into the rack.
Remember the trays and rack will be hot.
Move the rack away from the oven and close the door to stop heat loss.
Using oven gloves transfer the hot trays to a cooling rack.
The cassette is then ready to be loaded with more products.
PULL THE CASSETTE OUT OF THE OVEN
WITH THE TOOL SUPPLIED, HOOKED
ONTO THE BAR ON THE CASSETTE
BX EcoConnect+Wash Oven
FG1BX-UK-MAN-0400, Rev. A22 (April 2022)
17
9. TOUCHSCREEN OPERATIONS
Operations are performed by touching an area of the screen, bringing up the next information panel or
activating a function.
Caution!
▪Do not use excessive force to operate the touchscreen panel.
Figure 1: Main screen
Callout
Function
Purpose of the function
A
Date
It shows the current date.
B
Time
It shows the current time.
C
Programs
Access to saved baking recipe programs. Creation of programs.
D
Multi Bake
Creation of up to four simultaneous bakes with different timings.
E
Self Clean
Wash programs –see page 31
F
Sleep
Sleep mode.
G
Standby
Standby mode.
H
Settings
Access to oven settings.
I
7-Day Timer
Create an oven on/off schedule for every day of the week.
J
Manual Bake
Baking using manual controls.
K
Favourites
Easy selection of most frequently used baking recipe programs.
Note: The images are for illustration purposes and may differ from your oven.
18
TOUCH THE SCREEN ON THE AREA
YOU REQUIRE TO ACTIVATE
BASIC OPERATION
ALL OPERATIONS ARE ACTIVATED BY TOUCHING AREAS ON THE SCREEN.
DO NOT USE EXCESSIVE FORCE.
(THE PRESSURE REQUIRED TO OPERATE THE PANEL CAN BE ALTERED IN THE SETTINGS SECTION)
To open the door touch the lock icon on the screen and allow the door to unlock then pull the door open.
To close the door, just push shut and the door lock will take over and lock the door.
Do not restrict the unlocking by holding the door as this will cause the door lock to malfunction. If this happens
and the lock icon has turned gold, press it between one and three times until the problem is cleared.
STANDBY
THE OVEN TURNS OFF.
TOUCH THE SCREEN TO
GO BACK TO THE
OPTION SCREEN ABOVE.
SLEEP
THE OVEN STAYS AT 100°C AND
HEATS TO LAST PROGRAM
TEMPERATURE WHEN THE
SCREEN IS TOUCHED.
OPTION SCREEN ABOVE
THEN SHOWS.
BX EcoConnect+Wash Oven
FG1BX-UK-MAN-0400, Rev. A22 (April 2022)
19
9-1. BAKING USING “FAVOURITES”MENU
TOUCH TO OPEN
THE FAVOURITES
SELECT SCREEN
TOUCH THE
NAME OR NUMBER
OF THE PRODUCT
REQUIRED
TOUCH THE
“FULL LOAD” OR
“HALF LOAD”
AS REQUIRED
TO RETURN TO THE
PREVIOUS SCREEN
TOUCH THE “BACK”
BUTTON AT ANY TIME
1
3
OPTION SCREEN
LOAD SCREEN
2
SELECT SCREEN
20
IF THE OVEN IS NOT UP TO
TEMPERATURE IT WILL SHOW THE
HEATING SCREEN.
WAIT FOR THE OVEN TO REACH
TEMPERATURE
WHEN OVEN IS AT THE CORRECT
TEMPERATURE THE “READY”
SCREEN WILL SHOW.
1. OPEN DOOR AND LOAD PRODUCT.
2. CLOSE THE DOOR FULLY.
3. TOUCH “START”
TIP
TO HELP TO KEEP THE OVEN HOT,
TRY NOT TO KEEP THE DOOR OPEN
MORE THAN NEEDED
4
HEATING SCREEN
READY SCREEN
IF THE OVEN IS TOO HOT FOR THE TEMPERATURE
CHOSEN, THE SCREEN WILL TELL YOU TO OPEN THE
DOOR TO AID COOLING.
BAKE IN PROGRESS SCREEN
THIS SCREEN WILL SHOW WHILE THE
PRODUCT IS BAKING
SET TEMPERATURE
TEMPERATURE PROFILE BAR
BAKE TIME LEFT
<
NOTE
The actual temperature shown will rise and fall
above and below the set temperature as the
oven cools and reheats. This is not a fault.
ACTUAL OVEN
TEMPERATURE
BAKE PHASE
(WHEN USED)
BAKE TIME PROGRESS
BAR

Other Mono Oven manuals

Mono Artisan Mini Deck User manual

Mono

Mono Artisan Mini Deck User manual

Mono MODULAR Operating instructions

Mono

Mono MODULAR Operating instructions

Mono Harmony User manual

Mono

Mono Harmony User manual

Mono Harmony FG257 USA User manual

Mono

Mono Harmony FG257 USA User manual

Mono 323 Compact Operating instructions

Mono

Mono 323 Compact Operating instructions

Mono Harmony FG257 UK User manual

Mono

Mono Harmony FG257 UK User manual

Mono MODULAR User manual

Mono

Mono MODULAR User manual

Mono Ecotouch User manual

Mono

Mono Ecotouch User manual

Mono DX Deck User manual

Mono

Mono DX Deck User manual

Mono Bx Eco Connect Plus User manual

Mono

Mono Bx Eco Connect Plus User manual

Mono 644 COMPACT Operating instructions

Mono

Mono 644 COMPACT Operating instructions

Mono Harmony User manual

Mono

Mono Harmony User manual

Mono COMPACT Series Operating instructions

Mono

Mono COMPACT Series Operating instructions

Mono Eco FG159 User manual

Mono

Mono Eco FG159 User manual

Mono MODULAR User manual

Mono

Mono MODULAR User manual

Mono FG159 User manual

Mono

Mono FG159 User manual

Mono CLASSIC User manual

Mono

Mono CLASSIC User manual

Mono 323 Compact Operating instructions

Mono

Mono 323 Compact Operating instructions

Mono FG138 User manual

Mono

Mono FG138 User manual

Mono BX 149 User manual

Mono

Mono BX 149 User manual

Mono FG149 User manual

Mono

Mono FG149 User manual

Mono Bx OVEN Installation guide

Mono

Mono Bx OVEN Installation guide

Mono FG166-G11RH Manual instruction

Mono

Mono FG166-G11RH Manual instruction

Mono Bx Series User manual

Mono

Mono Bx Series User manual

Popular Oven manuals by other brands

Smeg SAP399X-8 Brochure & specs

Smeg

Smeg SAP399X-8 Brochure & specs

Empava EMPV-24WOA16 instruction manual

Empava

Empava EMPV-24WOA16 instruction manual

NEFF B45M62N0GB manual

NEFF

NEFF B45M62N0GB manual

Smeg DUSF44X user manual

Smeg

Smeg DUSF44X user manual

NEFF B6AVH7A 1 Series User manual and installation instructions

NEFF

NEFF B6AVH7A 1 Series User manual and installation instructions

Cooke & Lewis EFA60BKL User handbook

Cooke & Lewis

Cooke & Lewis EFA60BKL User handbook

Electrolux EOB53203 user manual

Electrolux

Electrolux EOB53203 user manual

Bosch HBL53 installation manual

Bosch

Bosch HBL53 installation manual

Beko BE66 FS Installation & operating instructions

Beko

Beko BE66 FS Installation & operating instructions

AEG BPE748380M user manual

AEG

AEG BPE748380M user manual

Wood Stone MT. CHUCKANUT WS-MS-4-RFG-IR-W Installation and operation manual

Wood Stone

Wood Stone MT. CHUCKANUT WS-MS-4-RFG-IR-W Installation and operation manual

Grundig GEBM19300BMPF user manual

Grundig

Grundig GEBM19300BMPF user manual

Royale RY60TGW Installation and operating instructions

Royale

Royale RY60TGW Installation and operating instructions

Parkinson Cowan P400 Instruction book

Parkinson Cowan

Parkinson Cowan P400 Instruction book

NEFF C15DR00N0 instruction manual

NEFF

NEFF C15DR00N0 instruction manual

TEFAL Uno S user manual

TEFAL

TEFAL Uno S user manual

NEFF B14M42N0AU manual

NEFF

NEFF B14M42N0AU manual

STOVES 61GDO User & installation instructions

STOVES

STOVES 61GDO User & installation instructions

manuals.online logo
manuals.online logoBrands
  • About & Mission
  • Contact us
  • Privacy Policy
  • Terms and Conditions

Copyright 2025 Manuals.Online. All Rights Reserved.