Moon Valley M-100 User manual

M-100 5’ Lawn Swing Assembly Instructions
NOTE: Please check contents and read directions carefully before assembly. If any items are
missing or damaged, do not take the product back to the store. Call Moon Valley customer
service at 313-766-4950 and we will correct the problem as promptly and as efficiently as
possible. Also, checking or cracking of the logs is a natural part of the drying aspect of cedar.
This does not affect the structural integrity of the wood. This natural occurrence enhances the
rustic beauty of the product.
5’ Lawn Swing Components
(1) Pre-Assembled Seat (A)
(1) Pre-Assembled Seat Back (B)
(4) Swing Legs (C)
(1) Swing Frame Top Pole (w/ attached hooks) (D)
(6) 35” Braces (E)
(2) Swing Arm Units (F)
(2) Swing Hangers w/metal attachments (G)
3 ½”Lag Bolts see attached hardware sheet
5” Lag Bolts see attached hardware sheet
4” Lag Bolts see attached hardware sheet
7 ½” Machine Bolts see attached hardware sheet
5/16” Washers see attached hardware sheet
5/16” Nuts see attached hardware sheet
2” Screws see attached hardware sheet
¼” Washers see attached hardware sheet
Square-Head Drill Bit see attached hardware sheet
Tools Needed: Rubber Mallet or Hammer, ½” Socket, 11mm Socket, Socket Wrench, Drill or Screwdriver, Tape
Measure Assembly
Step 1: Attach both swing arm assemblies (F) to swing seat (A).
Align the two doweled ends of swing seat (A) with the two holes
in the swing arm assembly (F). Tap arms into place using
rubber mallet or hammer. If using a hammer, be sure to pad
impact area to avoid damage to the product.
Step 2: Attach pre-assembled seat back (B) to remaining holes at
the rear of arm assemblies (F). Tap arms into place with rubber
mallet or hammer.
Step 3: Place the back at an
angle comfortable for the user
and use 3 ½” lag bolts to
secure the arms (F) to the seat
back (B) as shown in the
photo. Use 5/16” washers
when inserting lag bolts.
A
B
C
C
D
E
F
G
F
A
F
B
B
F

Step 4: Attach swing hangers (G) to arm assemblies (F) using 5”
lag bolts. Align pre-drilled holes on swing hanger (G) and
fasten at 11 ½” in from front of arm rest and 12 ¾” in from front
of lower arm rest(F).
Step 5: Install 2” screw where all doweled ends were inserted,
securing seat (A) (pictured) and seat back (B) to arm assemblies
(F).
Step 6: Lay swing legs (C) and top pole (D) on ground, with
swing hooks facing downward. Using pre-drilled holes, install 7
½” machine bolts through legs (C) and top pole (D), using a
5/16” washer at each end of the bolt. Tighten only with fingers
at this point.
Step 7: From machine bolt, measure 32” down swing leg (C).
At this location, use 4” lag bolts to secure two of the 35” braces
(E) to swing legs (C). Use ¼” washers when installing each 4”
lag bolt on frame (12 total).
Step 8: Stand frame upright and tighten 7 ½” machine bolts only
enough to allow frame to stand freely. Measure 24” down from
top of swing leg (C), and 24” out from end of top pole (D). At
these points, use 4” lag bolts to secure the remaining four 35”
braces (E) to the swing (as shown in these two photos). Now,
tighten 7 ½’ machine bolts firmly.
F
G
F
A
D
C
C
C
C
E
E
C
D

Step 9: Make certain that swing hooks (on top pole) open
outward (these should be checked periodically for looseness or
wear). Hang swing seat onto these hooks and assembly is
complete. Note: if you have extra hardware left over after
assembly, these may be a problem and your swing may not be
safe to use. Double-check directions to ensure that all
hardware is installed correctly and tightened. If the problem
persists, please call Moon Valley customer service at 313-766-
4950.
Thank you for your Moon Valley purchase and we hope that you enjoy your Lawn Swing. To view other Moon Valley
products, please contact your local dealer or visit us at www.moonvalleycedarworks.com.
Moon Valley Cedar Works
12717 Marlin Dr., Redford, Mi 48239
Phone: (313) 766-4950 Fax: (313) 766-4953
www.moonvalleycedarworks.com
March 2012. Do not let children play with plastic bags.

Hardware Sheet for M-100
5’ Lawn Swing
NOTE: Please check contents and read directions carefully before assembly. If any items are missing or
damaged, do not take the product back to the store. Call Moon Valley customer service at 313-766-4950
and we will correct the problem as promptly and as efficiently as possible.
Do not let children play with plastic bag.
7 ½” Machine Bolt
5” Lag Bolt
4” Lag Bolt
3 ½” Lag Bolt
5’ Swing
Hardware
Penny as size reference
2” Screw
5/16” Washer
¼” Washer
5/16” Nut
Square-Head Bit
2
2 x
4 x
12 x
2 x
8 x
6 x
12 x
2 x
1 x

Moon Valley Furniture Care, Maintenance & Warranty Sheet
Stained Furniture
Moon Valley’s linseed oil-based stain has a uniform color consistency, seals out moisture, protects against
mildew and blocks the damaging effects of ultra-violet light. It also penetrates the wood in order to help
prevent discoloration. In order to maintain the stained items, it is recommended to wash and dry the areas
then re-apply a coat of stain. Moon Valley supplies their stain in quart cans which can be purchased from
your local dealer.
Varnished Furniture
Varnished Moon Valley furniture is dipped piece by piece in a sealer that provides uniform color consistency,
seals out moisture, protects against mildew and blocks the damaging effects of ultra-violet light. It is then
topped off with 2 coats of marine spar varnish for a glossy look. This varnish is specially formulated for
outdoor use and should be maintained once a year. To do this, lightly sand the item using a medium-grit
sandpaper (100 to 120-grit) or steel wool. Be sure that the surface is clean and completely dry before
beginning the process. Next, apply a coat of the new varnish, usually by brushing. Let dry as needed and
repeat again for extra protection against weathering. Moon Valley supplies their varnish in quart cans which
can be purchased from your local dealer.
Unfinished Furniture
Moon Valley products are made from white cedar. Cedar is naturally more resistant to weather decay and
insect damage than other types of wood, so you can simply leave it as is. Over time, it will turn a silvery-gray
color which gives it a rustic, aged look. However, there are finishing options such as using a water sealer,
varnish, stain, or paint based on customer preference. Before undertaking any of these options, please refer to
our website for suggested finishing steps.
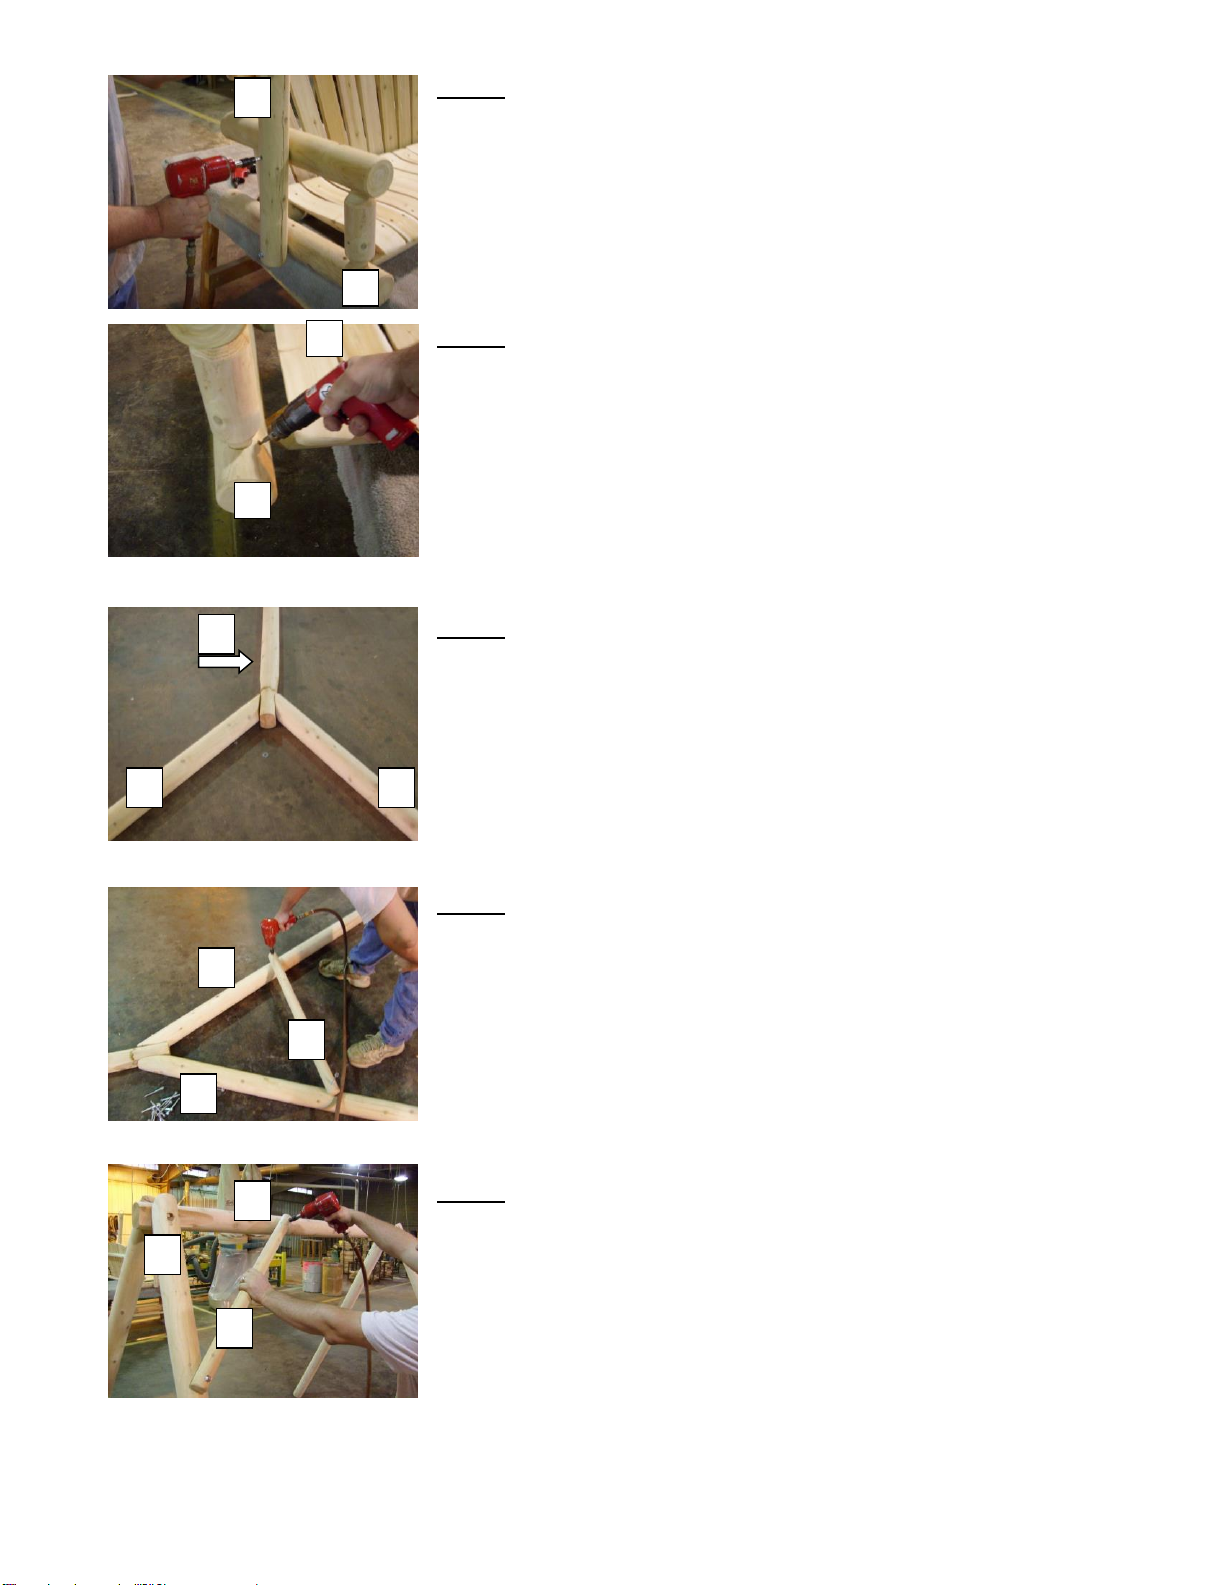
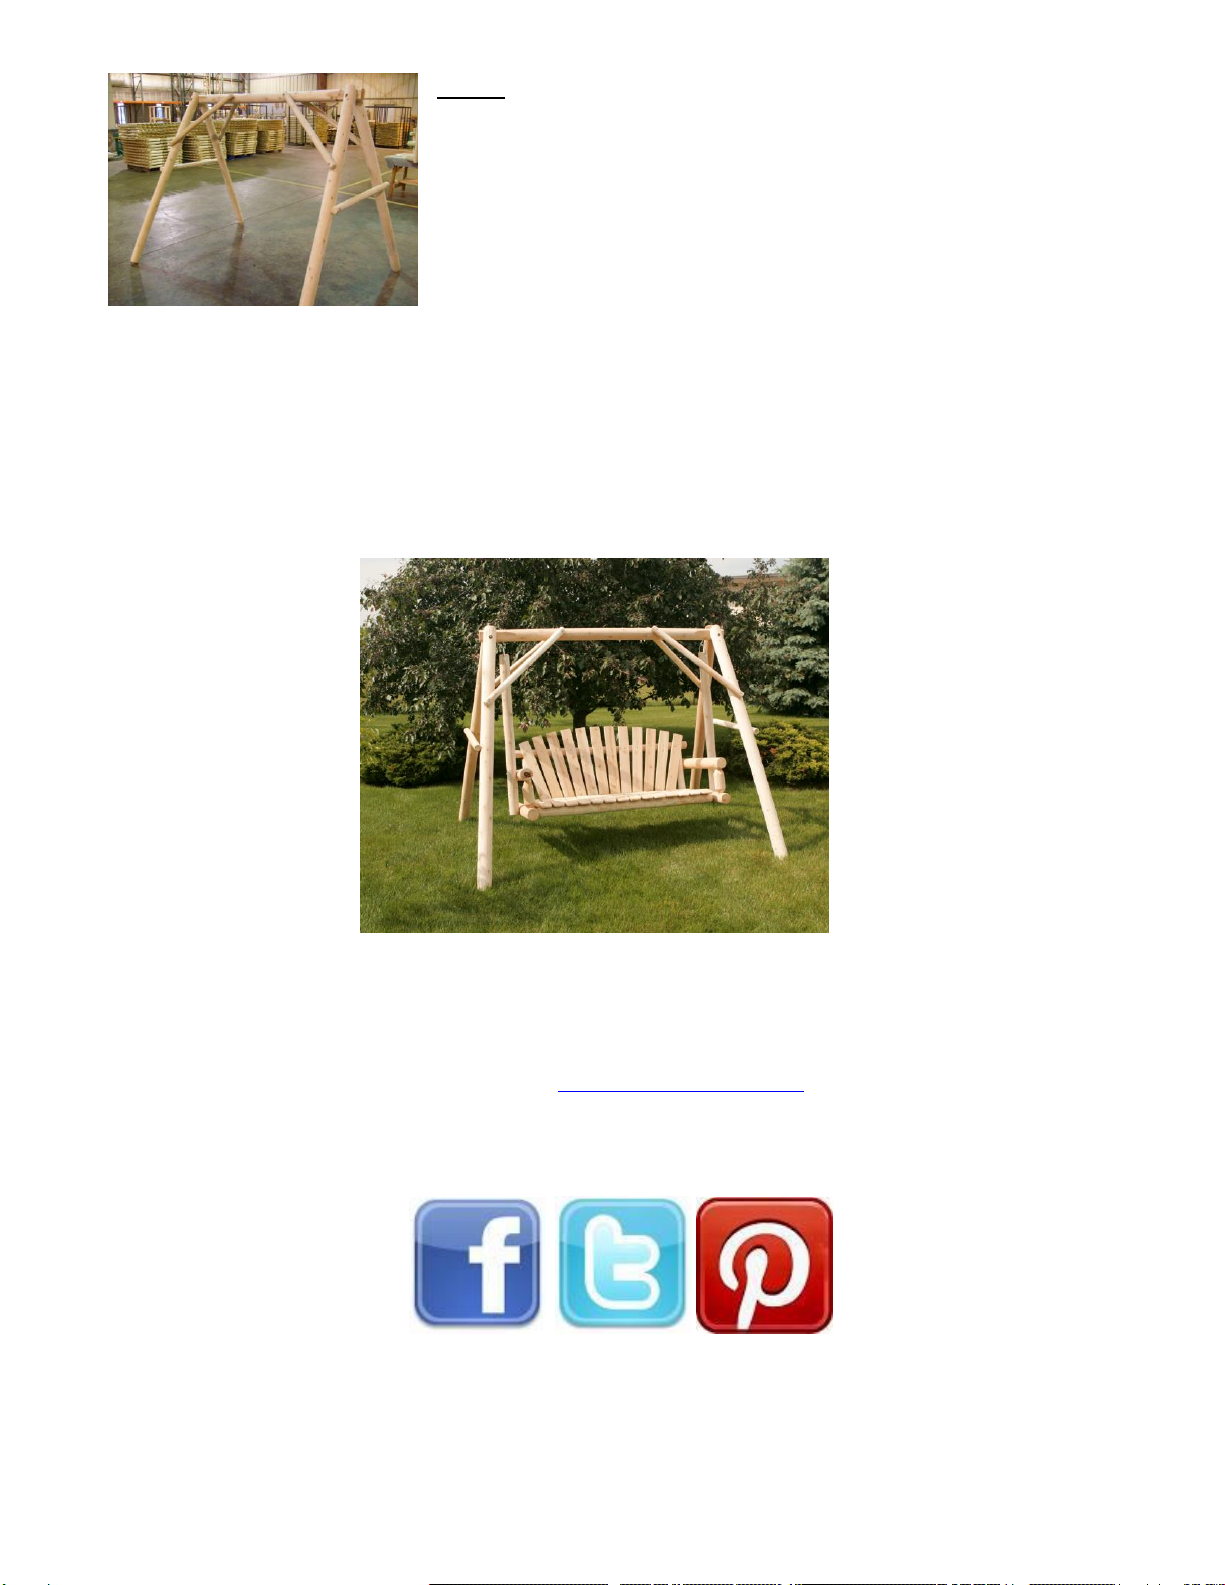
Cracking or Checking of the Logs
You may notice some cracking or checking of the logs on your furniture, which is completely natural and
necessary for cedar left in log form. This does not compromise the integrity or strength of the product in any
way. Many times, it enhances the natural rustic beauty of the furniture. For more information on cracking
and checking, please visit our website (www.moonvalleyrustic.com).
Winter Storage
If it is not possible for you to store the furniture indoors for the winter, simply stand or lean your picnic table
(preferably on blocks) against your house or garage. This will help lessen the effects of weathering by not
allowing snow or water to accumulate on the flat surfaces of the furniture. Do not cover with plastic or place
the table upside down on the ground, as this will trap moisture against surfaces and cause damage. If you
choose to cover the furniture, be sure that the cover is breathable and allows for proper air ventilation.
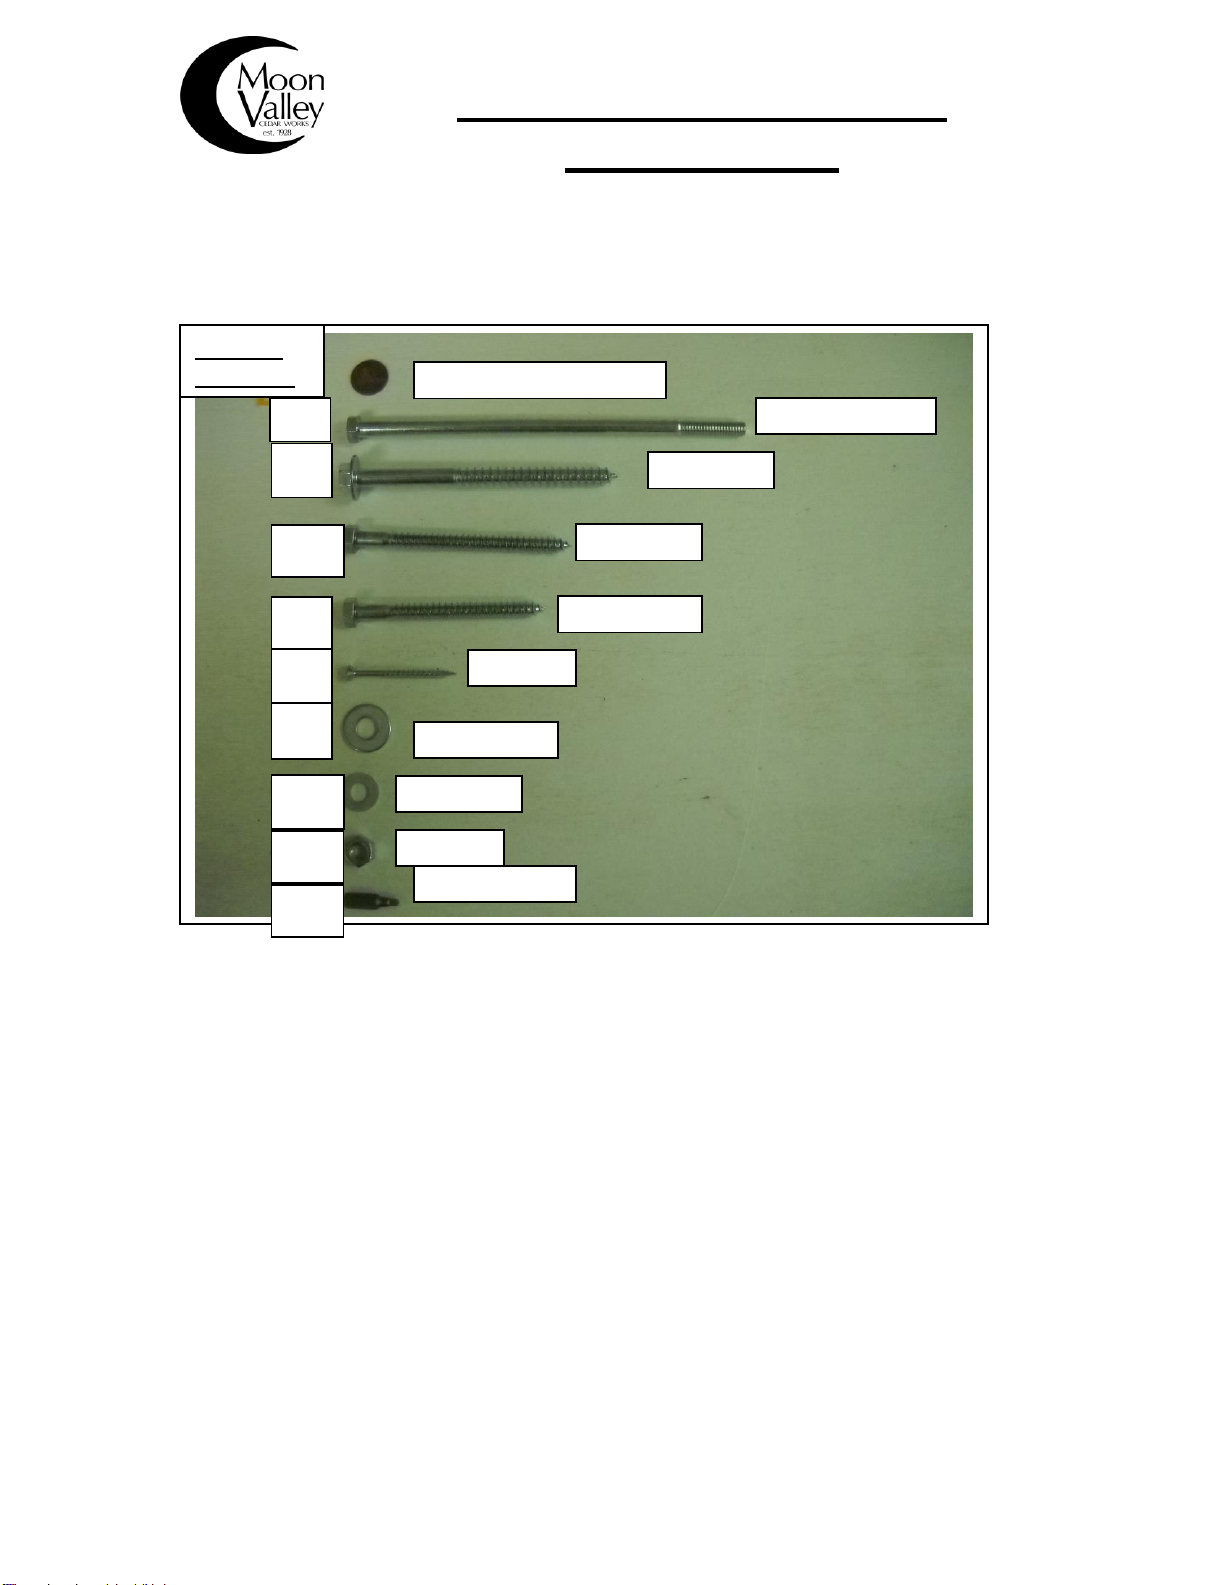
Safety
Although your furniture has been constructed for greater strength and stability, it should be checked
periodically for looseness or wear. Regularly inspect joints, bolts, and hooks and hardware if necessary.
These items can purchased from your local dealer, or by using the below contact information.
Thank you for purchasing a Moon Valley product. We have made every effort to ensure that you are satisfied
with your selection. To insure prompt and correct handling of any errors, missing parts, or to answer any
questions, please call (313) 766-4950. All replacement part orders will be filled as quickly as possible.
Limited Warranty
Moon Valley warrants its products to be free from manufacturing defects for a period of one year after its
purchase. Proof of purchase must be provided. Finish is not included under the limited warranty. Any
defects must be promptly reported to Moon Valley and the defective part will be replaced without charge.
Disclaimer of Warranties
This limited warranty is made in lieu of all other warranties, express or implied, including implied warranties
of merchantability and/or fitness for a particular purpose.
Limitation of Liability
Moon Valley liability is limited to the replacement of defective parts, as set forth in its limited warranty.
Moon Valley shall not be liable for any incidental or consequential damage, including without limitation,
damages for personal injury, death, or loss of profits.
Do not let children play with plastic bags
Table of contents
Other Moon Valley Baby Swing manuals
Popular Baby Swing manuals by other brands

Gilis
Gilis Bebe Stars Flora user manual

Jack-Post
Jack-Post Woodlawn WL-70 Assembly instructions

Spring Swings
Spring Swings Fun Ride Super Z Installation, operating and maintenance instructions

HI-FLYER
HI-FLYER HF14 user manual

ingenuity
ingenuity Swing 'n Go Portable Swing Bella Teddy manual

Dream On Me
Dream On Me 3481 user manual

southpaw enterprises
southpaw enterprises 120020 instruction sheet

Dundalk LeisureCraft
Dundalk LeisureCraft Double Log Swing Assembly instructions

Costway
Costway HW69766 manual

Graco
Graco 1A10CTM - Lovin' Hug Infant Swing owner's manual

Kaiser & Kühne
Kaiser & Kühne Single point swing Maintenance instructions

Little Tikes
Little Tikes 482922 Assembly guide