The Specialist In Drum Handling Equipment
MODEL 85i/E
Drum Karrier
Operator’s Manual for Morse Model 85i/E Drum Karrier
Serial number 0303 to 0309 (MMYY)
www.MORSEmfgco.com
Copyright 2009 - Morse Mfg. Co., Inc. Form PL85i/E (0303-0309) (Updated June 3, 2009 10:46 AM) 3
Machine Description
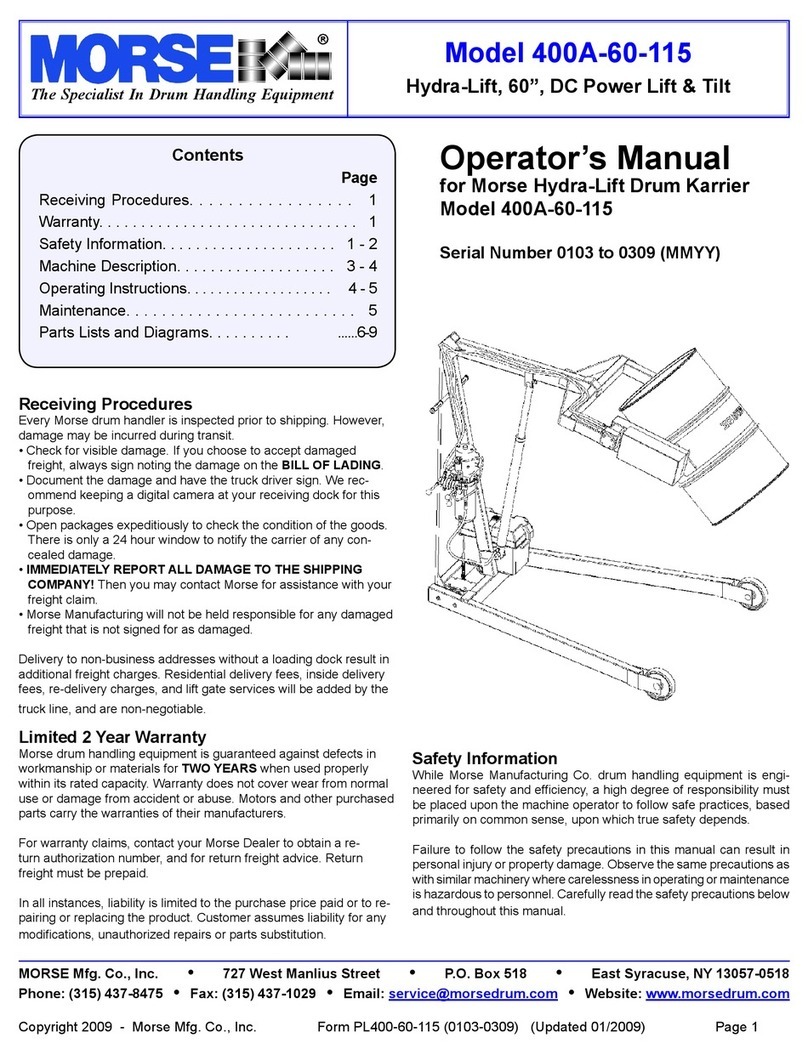
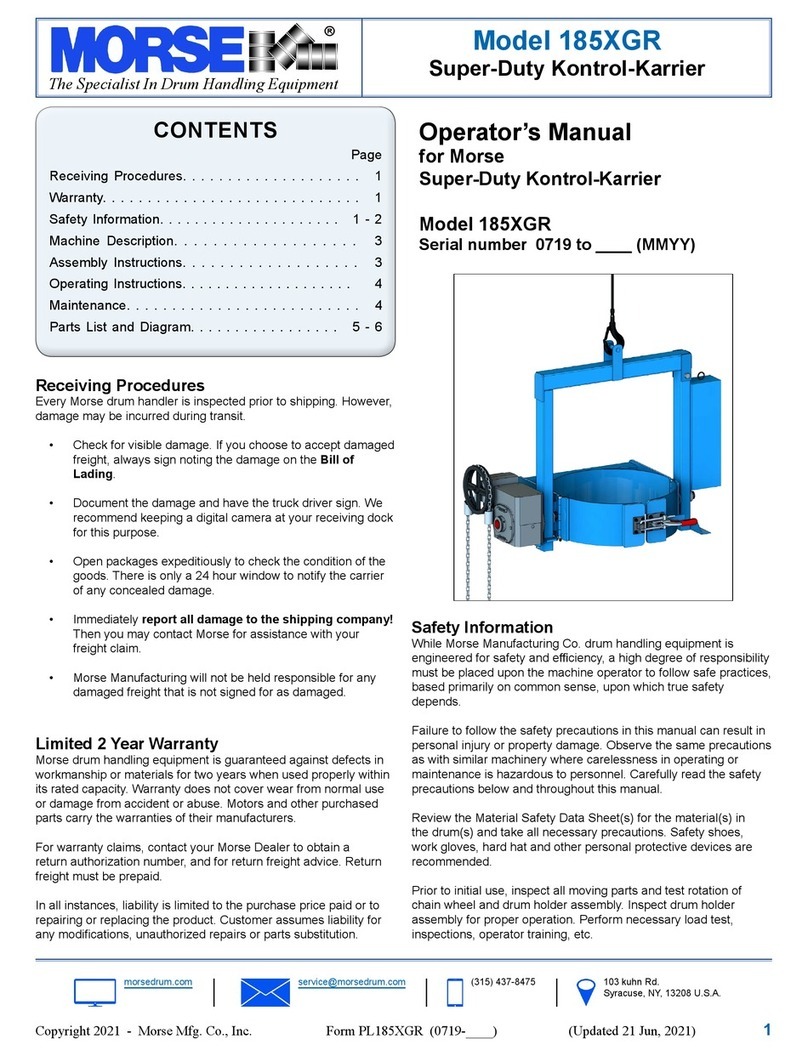
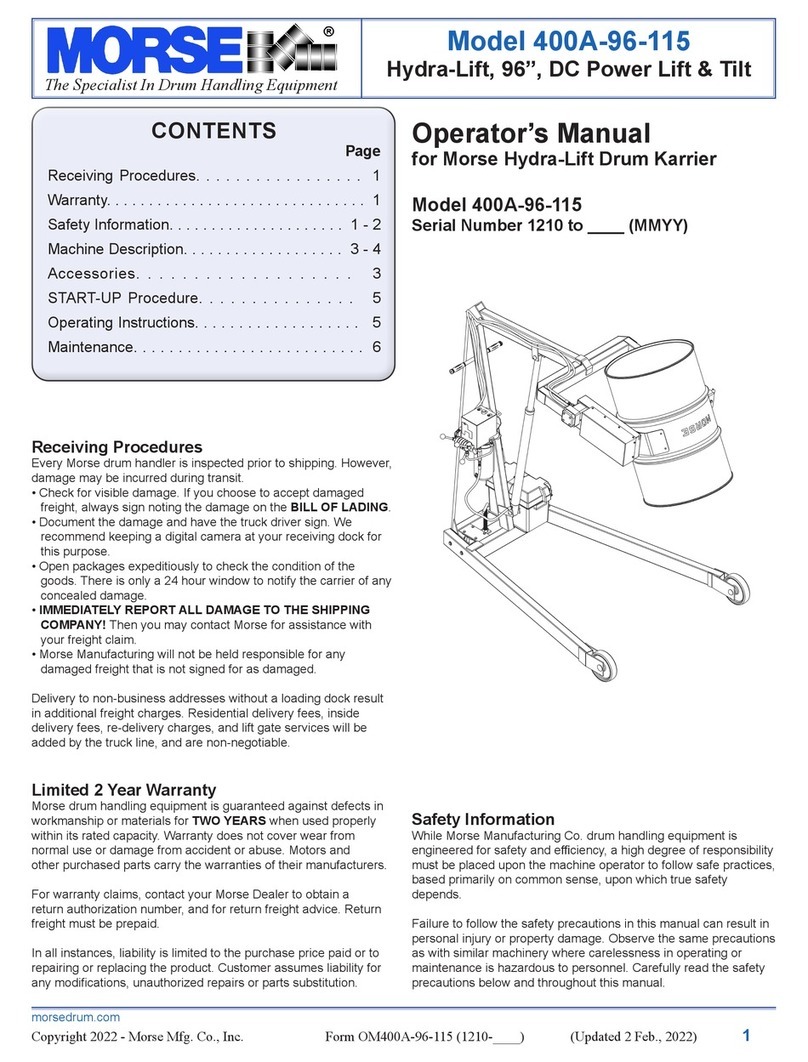
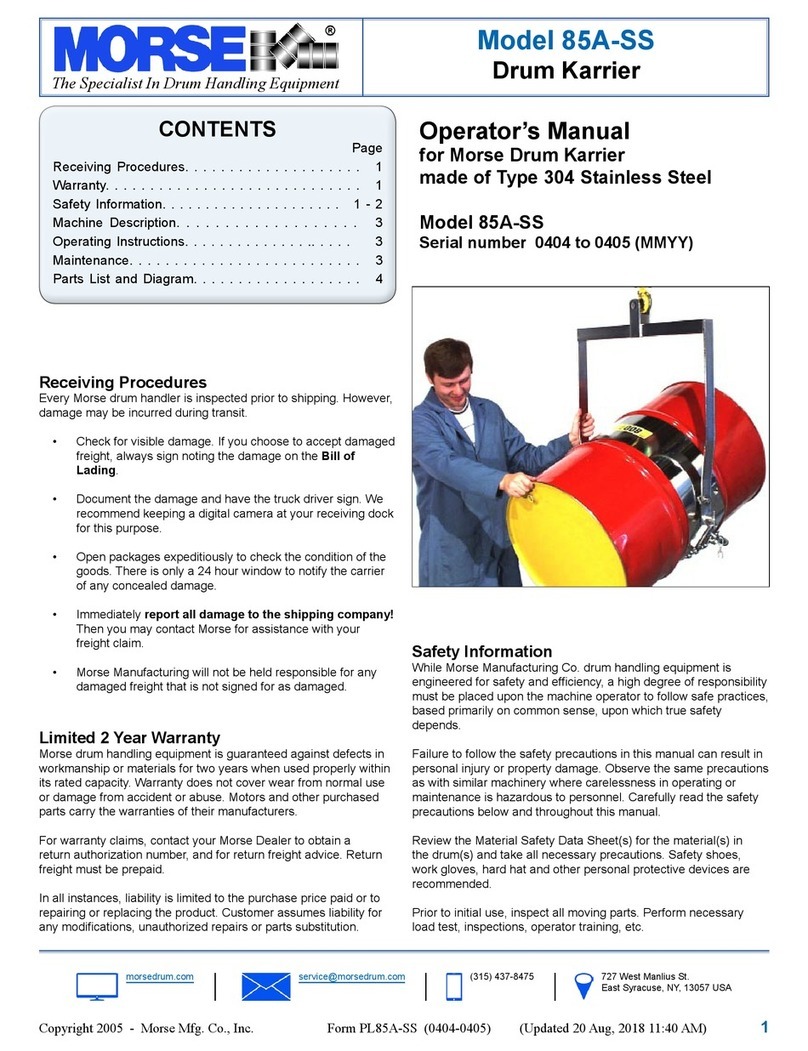
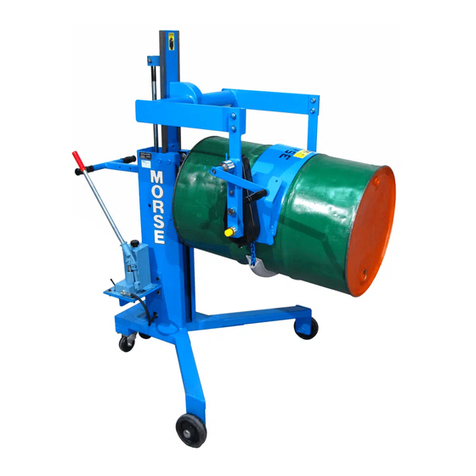
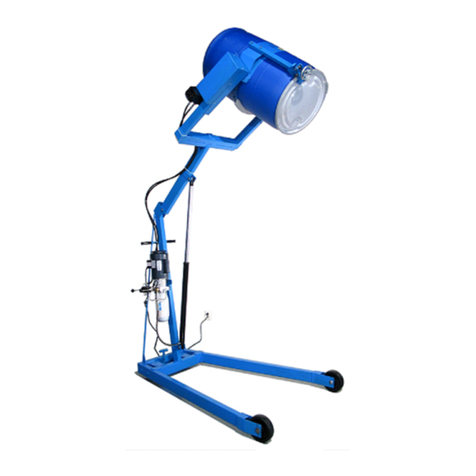
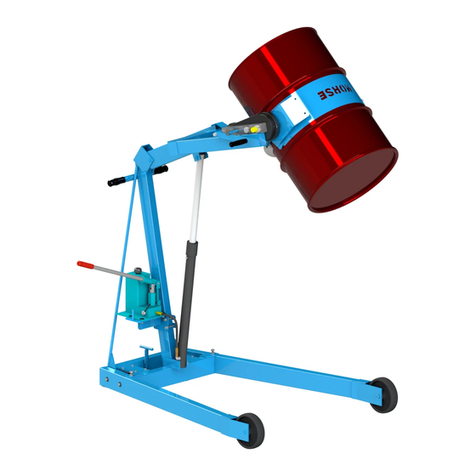
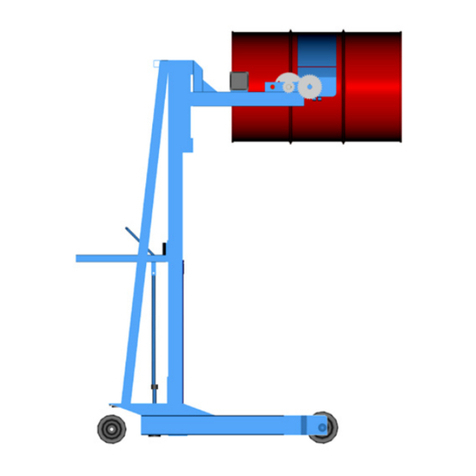
Model 85i/E Drum Karrier is designed to lift, transport and dispense a standard 55-gallon
steel drum 22.5” in diameter. The maximum capacity is 800 Lb.
Options
A smallerdiameterdrumcanbehandled with the correct size 55/30 Series Diameter
Adaptorinstalled(seeDiameterAdaptorliterature).
Important
Review the Material Safety Data Sheet(s) for the material(s) in the drum(s) and take all necessary precautions. Safety shoes, work1.
gloves, hard hat and other personal protective devices are recommended.
Please read all instructions thoroughly before attempting to operate your new Morse drum handler.2.
The85SeriesDrumKarriershaveamaximumcapacityratingof800Lb.foraFULLdrumand500Lb.foraHALF-FULLdrum,and3.
are designed to lift and move a drum of the size and type noted above. DO NOT exceed this rating. Exceeding this rating or handling
drums other than those mentioned above is unsafe and could result in equipment damage, excessive wear, awkward or dangerous
handling.
When loading, unloading, operating, or maintaining your MORSE drum handler, always use care and good judgment. Maintain secure4.
footingandarmhold.Keephandsandlooseclothingawayfromallmovingparts.Neverallowanyonetobebelowanypartofaraised
drum handler or drum. Read operating instructions and review the pictures in the sales brochure before operation.
The85Seriesarea“Group1structuralandmechanical”below-the-hookliftingdevicewhicharecoveredbytheAmericanNational5.
StandardASMEB30.20.Theusershouldcomplywithallaspectsofthisstandard.
Operating Instructions
StartwithDrum-Karrierontheoor.LowerhoistandengagehoisthooktoliftDrum-Karrier.1.
RaisehoisttoliftDrum-Karrierclearofoorandtransportittothedrum.2.
Suspend Drum-Karrier at a height which aligns drum saddle with center of drum.3.
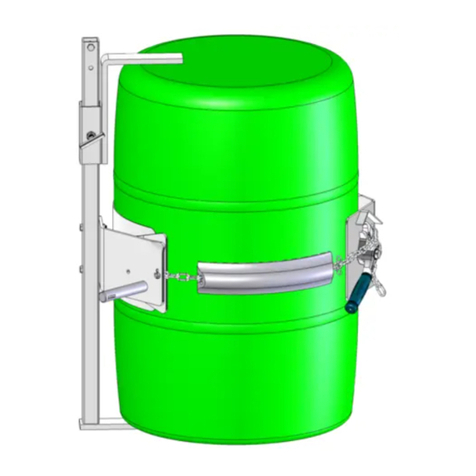
With binder strap (item 11) hanging freely, push Drum-Karrier against drum so that saddle will encircle drum.4.
Secure the drum: drape the binder strap (item 11) across the face of the drum and engage a link in notch in hub of ratchet (item 12).5.
Pull up on ratchet handle to tighten strap. If the strap doesn’t cinch tightly on the drum, lift the pawl (item13) to loosen and release the
strapandtryagainwithadifferentlinkinthenotch.Firmhandpressureontheratchethandleshouldtightenthestrapsufcientlyto
hold the drum. DO NOT use mechanical aids such as a pipe to extend handle for extra leverage.
Either one of the two spring loaded plunger tilt-locks may be locked to hold the drum upright. It is not necessary to lock both of them.6.
Raise hoist and position drum at pouring station.7.
Beforeunlockingthetilt-lock(s)topermittiltingthedrum,itisrecommendedthatyousteadythedrumandbepreparedforitspossible8.
tendency to tilt toward its heavier side.
With tilt-locks unlocked, manually tilt the drum for pouring. The drum pouring angle may be varied or it can be locked in horizontal9.
position by one of the tilt-locks.
Afteremptying,rotatedrumbacktoverticalpositionandlowerhoisttoreturntheemptydrum.10.
To remove drum: Pull ratchet handle to relieve pressure on ratchet teeth. Lift pawl handle (item 13) to release teeth engagement and11.
rotate ratchet to loosen strap and allow its removal from notch.
Maintenance
Lubricate ratchet, pawl, tilt locks, fulcrum shafts and other moving parts periodically to maintain free action and reduce wear.1.
Periodically inspect all moving parts, framework and contact areas for signs of wear, fatigue or loosening. Tighten, adjust or replace2.
parts as necessary to prevent failure and maintain proper function.
The inner, drum gripping surface of the Fiber Drum Strap (item 11) should be kept clean to maintain its ability to grip the drum.3.

