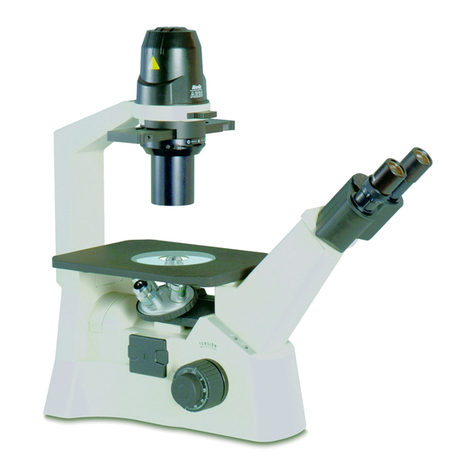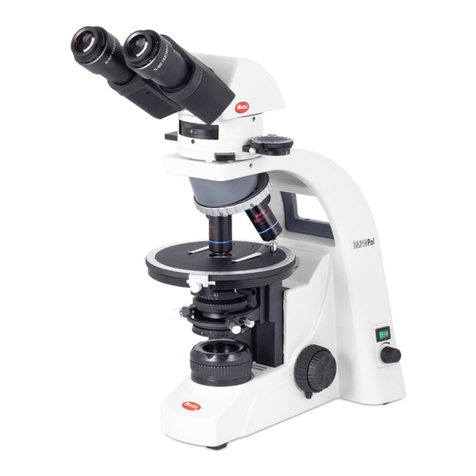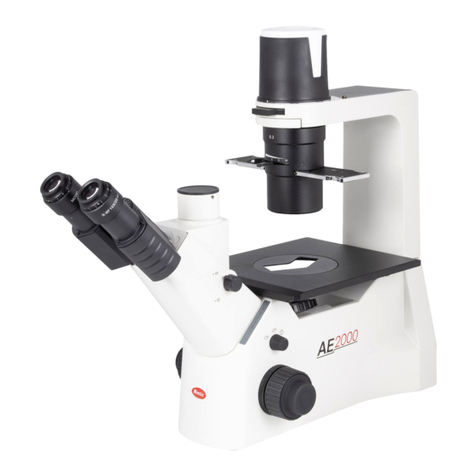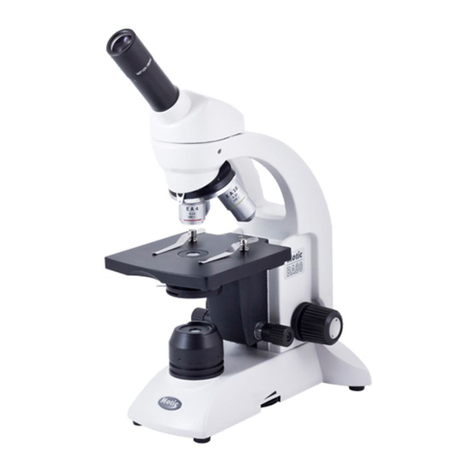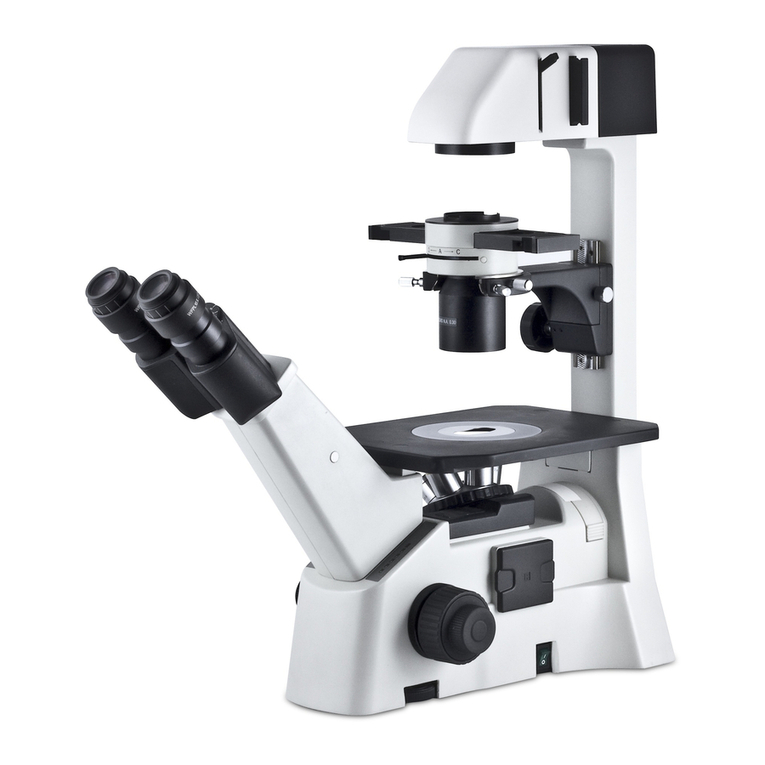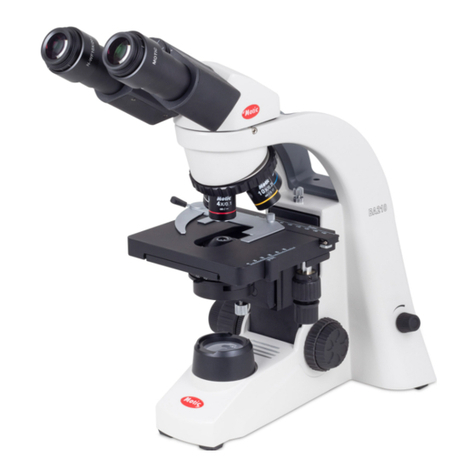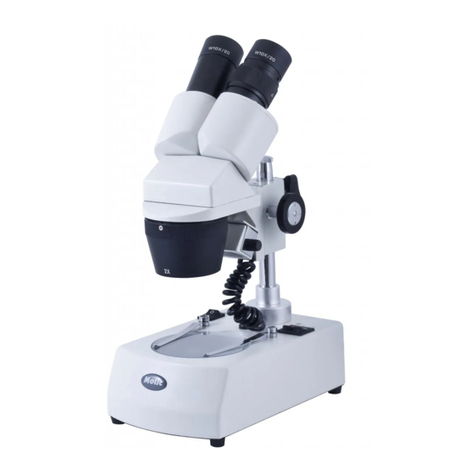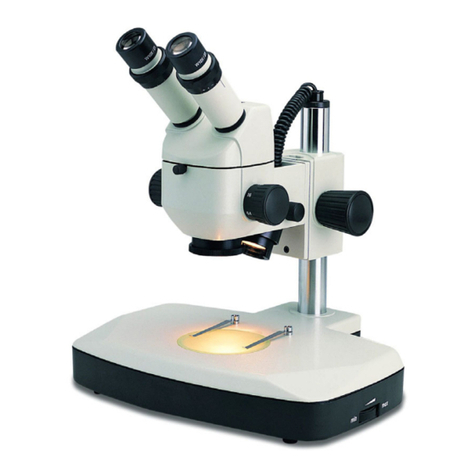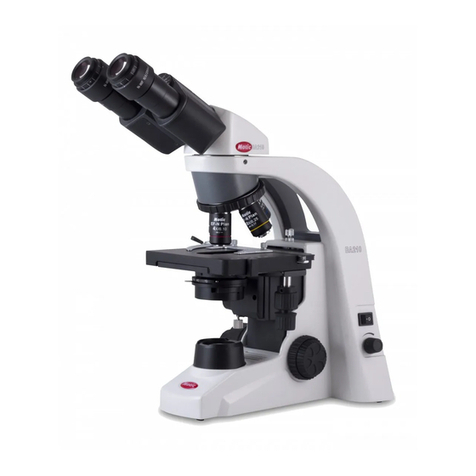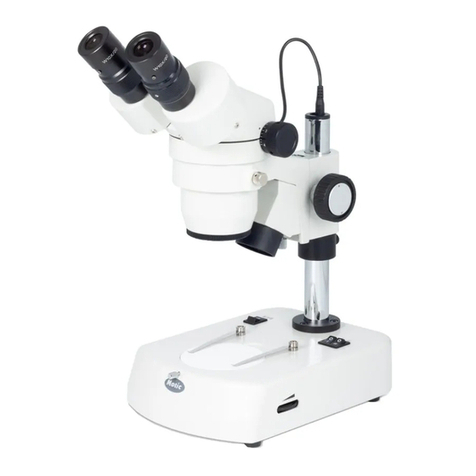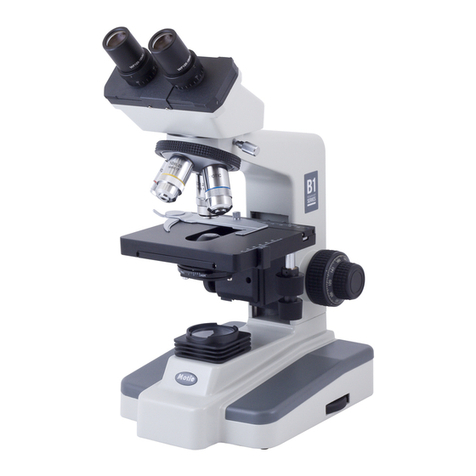
Using the camera on a Trinocular Microscope
1. Install the Motic Images Plus application program from the CD
included.
2. Remove the Dust Cap from the camera and attach the microscope’s
C-Mount adapter (Please Note the C-Mount adapter is specific to your
microscope.) Depending on the type of adapter and microscope, the C-
Ring may be necessary between the camera and the C-mount adapter.
3. Connect the USB cable (A to A USB Cable) onto the camera and then
plug into the computer.
4. Install the driver if necessary by following the instructions on screen.
The driver for the Moticam 1080 is located in the Moticam 1080
subfolder on the CD
Using the camera as a Macro Camera
1. Install the Motic Images Plus application program
from the CD included.
2. Remove the Dust Cap from the camera and attach
the focusable lens.
3. Attach the Macro Tube onto the lens.
4. Place the assembly over the item you wish to
view and ensure there is adequate lighting. If
necessary, an LED desk lamp is a good solution.
5. Connect the USB cable (A to A USB Cable) onto the camera and then plug into the
computer.
4. Install the driver if necessary by following the instructions on screen. The driver for the
Moticam 1080 is located in the Moticam 1080 subfolder on the CD.
Controls and Ports on the Camera
1. The USB connection can be used to
connect the Moticam 1080 directly to a
computer and use the camera with the
provided Motic Images Software. (*A to A
USB cable) The USB port can also be used
to connect a USB mouse so that the
camera can be controlled without a
computer. (Sold separately)
2. HDMI port for connecting to an HDMI
ready display (cable is provided)
3. Power port for connecting the
included power supply.
4. SD Card slot for capturing images and video files onto an SD card. The maximum size compatible is 32GB
SDHC.
5. Pressing this button will turn the camera on and off.
