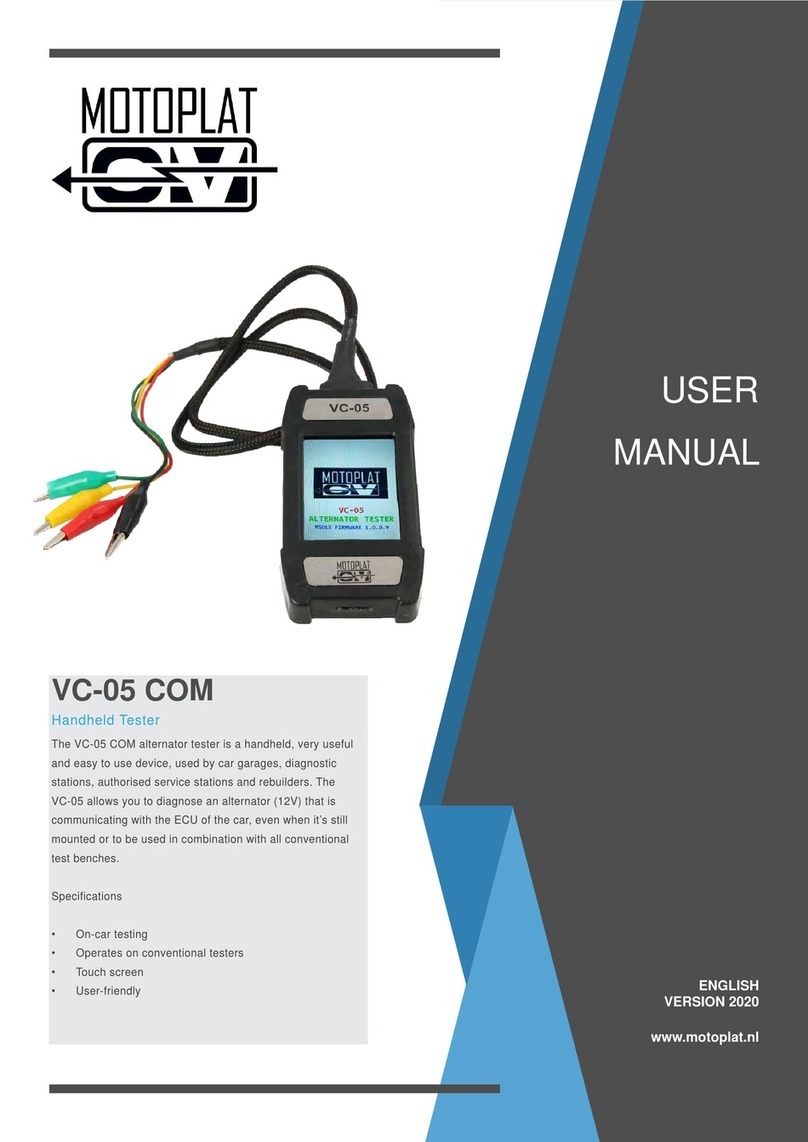
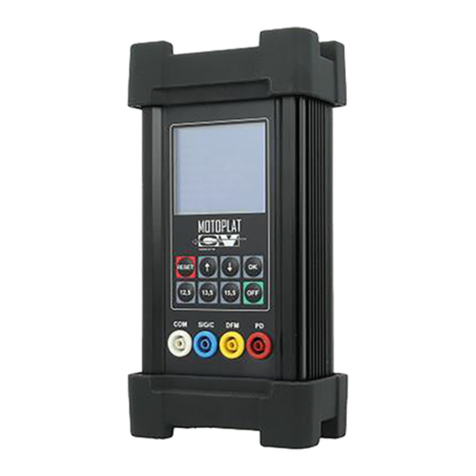
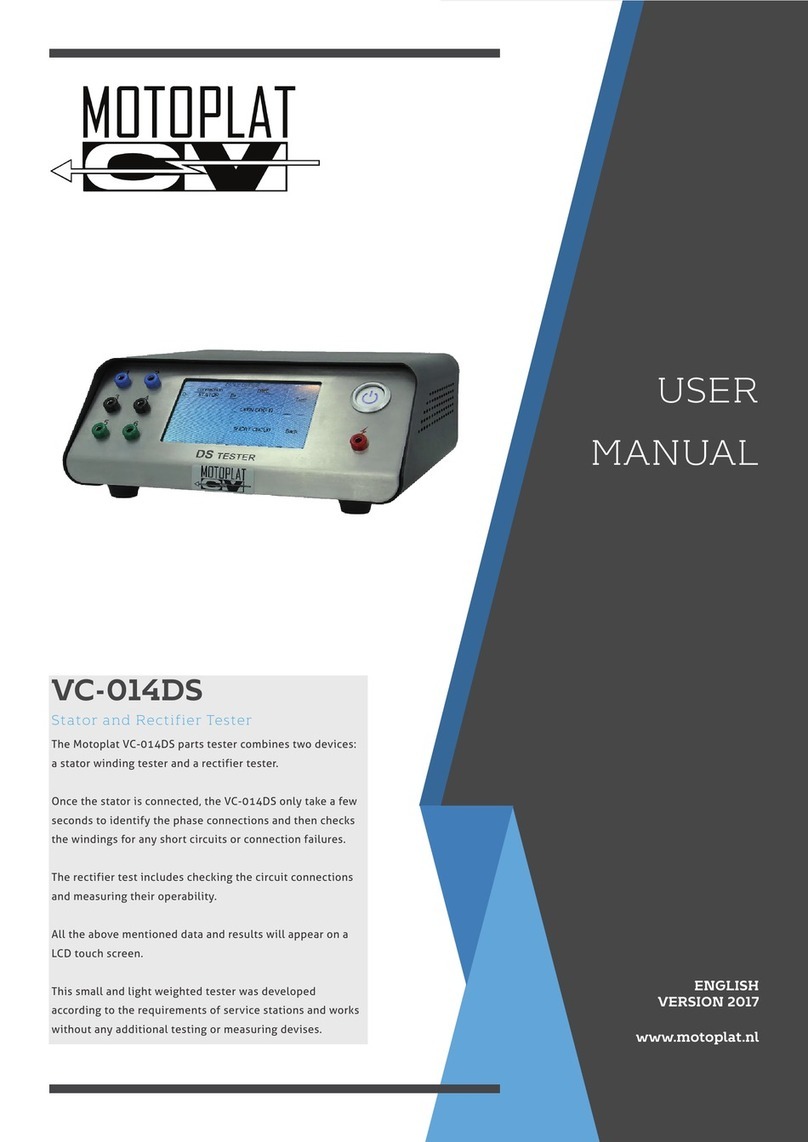
Motoplat CV-014DS User manual

Motoplat CV-014DS
TESTER FOR DIAGNOSTICS OF ALTERNATOR
STATOR WINDINGS AND DIODEBRIDGES
USER MANUAL
2016.09.07
QUALITY UNIQUENESS
INNOVATION TRAININGSERVICE
WARRANTY


3
CONTENTS
1. DESCRIPTION.......................................................................................................................................................4
2. TECHNICAL CHARACTERISTICS ........................................................................................................................5
3. CONTROL UNITS..................................................................................................................................................6
4. ALTERNATOR STATOR WINDINGS TESTING ..................................................................................................7
4.1 General Information.................................................................................................................................7
4.2 Stator Windings Most Common Failures............................................................................................11
4.3 Stator Windings Testing Mode Operation .........................................................................................11
5. ALTERNATOR DIODE BRIDGES TESTING........................................................................................................17
5.1 General Information............................................................................................................................................... 17
5.2 Diode Bridges Most Common Failures......................................................................................................... 18
5.3 Diode Bridges Testing Mode Operation............................................................................................18
User Manual - Tester

4
- inter-turn fault;
- inter-winding fault;
- winding breakdown to alternator body;
- open-phase fault.
Diagnostics of diode bridges involves establishing of circuit connection of diodes and measuring
their operability.
Diagnostic mode data appear on LCD display in real time. Stator or diode bridge testing lasts less
than a minute.
User Manual - Tester
1. DESCRIPTION
Motoplat CV-014DS Tester combines two devices: diagnostic tester of stator windings and diode
bridges of alternators. The device has small dimensions and a light weight, it was developed
according to the requirements of actual service stations. The feature of the tester is diagnostics
of stator windings and diode bridges with no additional testing and measuring devices.
Diagnostics of stator windings is carried out through automatic identification of phase connection,
detecting winding integrity and measuring the difference in phase distortion. The device detects
the following stator winding failures:

5
User Manual - Tester
2. TECHNICAL CHARACTERISTICS
Supply voltage, V 100-250
Supply frequency, Hz 50/60
Supply type Single-phase
Maximum consuming power, W 40
Dimensions, mm 219*214*80
Weight, kg 3
Stator windings testing
Voltage, V 12/24
Types ‘Star’, ‘delta’
Detected failures
- Inter-turn fault
- Inter-phase fault
- Phases to alternator body
- Open-phase fault
Error of measurement, % 1-3
Testing of short circuit to the body, kOhm 12
Diode bridges testing
Voltage, V 12/24
Current, А 30 (Pulse current)
Detected failures - Breakdown
- Open circuit

6
3. CONTROL UNITS
Fig. 1. Tester – Front panel
The tester is performed in black metallic frame with inclined front panel, made of stainless steel.
The front panel (Fig.1.) consists of:
1- connectionports to connect tested stator windings or diode bridges and stator windings through
1-6 connecting cables (included in the tester set);
2- colored LCD display;
3 - tester on/off switch;
4 - connection port to detect insulation resistance level of stator windings.
Fig. 2. Tester – Back panel
User Manual - Tester

7
User Manual - Tester
The back panel (Fig. 2) consists of:
1- mains cable connection slot;
2- fuse (2A).
4. ALTERNATOR STATOR WINDING TESTING
4.1 G I
Stator is a fixed element of electric unit, interacting with its moving part, the rotor. It consists of
magnetically conductive core with coil windings fixed circle-wise.
Rotatinginsideof thestator,therotorgeneratesalternatingcurrentinit.Thefrequency of generated
alternating current equals the rotor frequency, multiplied by the number of poles (usually 6).
Description of alternator stator winding (Fig. 3):
1- winding terminals, phases: А, В, С;
2- stator winding;
3- magnetically conductive core.
Fig. 3. Description of alternator stator winding

8
Fig. 4. Alternator stator winding phase displacement
The windings are placed into steel frame slots, the magnetic core, to conduct magnetic flow from
the exciting winding to the stator windings directly and to reduce area dissipation of magnetic
flow. Magnetic field is created both in coils and stator magnetic core, thus, parasitic eddy currents
appear, causing loss of power and stator heating.
Phase winding can be connected through ‘delta’ (Рic. 5, to the left) or ‘star’ diagram (Fig. 5, to the
right):
Fig. 5. Winding connection types
Thus, the magnetic core is produced from the set of steel plates (laminated iron) to reduce the
effect.
Several types of stator windings are presented below.
User Manual - Tester
Three-phase stator winding consists of three separate windings, called phase windings or simply
phases, wound in a certain order on the magnetic core. Current phases in the windings are displaced
by one third of a period respectively one another, i.e. by 120 degrees (Fig. 4).

9
User Manual - Tester
Fig. 6. Stator, windings are connected through ‘delta’ diagram
Fig. 7. Stator, windings are connected through ‘star’ diagram

10
Fig. 8. Stator, windings are connected through ‘star’ diagram with center point
Fig. 9. Stator, windings are connected through ‘star’ or ‘delta’ diagram with jumpers
in alternator diode bridge
User Manual - Tester

11
User Manual - Tester
4.3 S W T M O
Fig. 10.Tester – Main Menu
4.2 S W M C F
•Inter-turn fault (single-phase short circuit):
a) alternator overload – alternator operation mode, when alternator current exceeds the limit,
thus, stator windings overheat. Overheating causes damage of winding insulation, thus, inter-turn
fault arises;
b) short circuit due to mechanical damage of the stator;
c) manufacturing defect of winding laying, or its unsatisfactory winding sometimes occurs;
d) Incorrect use and storage of an alternator may cause moisture ingress into the unit, it may lead
to inter-turn fault as well.
•Inter-phase fault (short circuit between phases):
Inter-phase fault may be caused by the same reasons as inter-turn fault.
•Open fault of one or several windings:
Mechanical damage and/or long corrosion process, caused by moisture, may be the reasons for
the winding wire breakage.
•Phase to magnetic core fault:
The reasons of phase to magnetic core fault are the same as in case of inter-turn fault.
Connect the tester to AC socket that corresponds to the characteristics of the device.
Switch on the tester with on/off switch (3) on the front panel (the button is lightened, MSG logo
trademark appears on the display).
Then select stator windings testing mode on the touch display by pressing the button STATOR
(Fig. 10).

12
Stator testing mode menu appears on the display (Fig. 11).
Fig. 11. Stator testing mode menu
Connect stator winding terminals to 1,2,3,4,5,6 connection ports. There is no need to observe
polarity and order, the tester detects connected windings automatically.
In case when the stator has 3 outputs (connection diagram: ‘star without center point’ or ‘delta’),
connect any 3 cables (loose cables must be left disconnected and strictly isolated from each other
and/or the stator), press Scan. Then the tester detects the number of connected windings which will
be displayed on the screen as Total Сonnections: (Fig. 12) with the number of cables, connected to
the windings.
Fig. 12. Winding connection detection
In case when wire breakage is absent, 3 connections will be displayed on the screen. Otherwise,
stator winding has open circuit.
User Manual - Tester

13
User Manual - Tester
Make sure that the ‘crocodile’ type connector contact to windings terminals is safe and of low ohmic
resistance (on detecting connection of windings, pulse current exceeds 20A), otherwise, connection
is not found.
Incase whenthestatorhas 6 outputs(connectiondiagram:‘star’or‘delta’,commutatinginalternator
diode bridge), connect 6 cables and press Scan. The tester detects the number of connected
windings which will be displayed on the screen as Total Сonnections: (Fig. 13) with the number of
cables, connected to the windings.
Fig. 13. Detection of phase connection in stator winding with separate phases
Fig. 14. Detection of phase connection with exceeded number of commutations
If phase windings are closed in regard to each other (which is one of the reasons of failure) in the
process of detecting windings connection in Scan mode, the number of connections exceeds 6, the
notification Too many connections (Fig. 14) appears on the display.

14
When 3 windings are found, press Test button.
The tester measures windings. The measured values (Fig. 15) are displayed on the screen, where:
•Pins: numbers of terminals to which the measured winding is connected;
•Q, units: winging inductance (displayed in nominal units);
•Diff.,units: percentage difference between the measured values of winding inductance. The stator
is considered to be faultless if the difference between the measured values does not exceed 10
percent (%);
•Isol.,kOhm: insulation resistance. The value is indicated in kiloohm. The notification norm appears
on the display when the winding is faultless. The notification short appears on the display in case
of short circuit.
Fig. 15. Tested stator winding
CONCLUSION: Faultless stator winding. 1% difference between the phases which corresponds to the
acceptable limits (10%). Satisfactory insulation winding.
WARNING! After the results of measuring are displayed on the screen, to determine the
insulation state, it is necessary to touch stator magnetic core with the probe for several seconds
in the place free from varnish.
Whenthe testerdetects short circuitof winding to statormagnetic core,the repeatingsignalsounds,
the notification short (Fig. 16) appears in Isol. column in front of the corresponding connection.
User Manual - Tester

15
User Manual - Tester
Fig. 16. Tested stator winding
CONCLUSION: Stator winding failure. 1% difference between the phases which corresponds to the
acceptable limits (10%). Winding insulation is broken, 5-6 phase short circuited to the magnetic core
body.
Whenthe testerdetects thedecrease of windinginsulationresistance to statormagnetic core(lower
than 12 kOhm), resistance value in kiloohm is displayed in Isol. column in front of the corresponding
connection.
On testing stator winding through ‘star’ diagram, connecting the center point to the tester outputs
(4 tester cables must be connected), connection topology can be the same as in the Fig. 17.
Fig. 17. Detection of phase commutation in stator winding ‘star’
with connected center point of phases

16
Fig. 18. Tested stator winding
CONCLUSION: The contact with 2-5 and 5-6 windings is lost.
The difference between measured values of windings, exceeding 10%, is the confirmation of stator
failure (Fig. 19).
Fig. 19. Tested stator winding
CONCLUSION: Stator winding failure. The difference between phases exceeds 10%.
User Manual - Tester
Such connection is not a fault, disconnect center point for convenience in estimation of measured
values.
Further sequence of actions is the same as when testing the windings through ‘star’ diagram without
center point. When measuring, the risk of losing contact with winding is possible. The notification
break (Fig. 18) is displayed in the corresponding lines.

17
User Manual - Tester
5. ALTERNATOR DIODE BRIDGES TESTING
5.1 G I
Diode rectifier block on three parallel half-bridges (on six semiconductor diodes) converts
three-phase alternating current of the stator into direct current (rather in unidirectional pulsating
current) at the output of alternator unit.
A common diagram of rectifier on three parallel half-bridges is presented in the Fig. 20.
Fig. 20. Rectifier diagram
On increasing electrical consumers in modern cars, alternators are optimized for high current, up
to 200-220A. As known, the voltage on P-N junction of diode in open state is about 0.7-1.0 V, which
causes a big amount of heat generation. Heat sinks are used for cooling a diode bridge.
Alternator unit is exposed to contamination, overheat and overcooling as much as any other car
unit, thus, alternator diodes are water-proof and protected from other reacting substances (Fig. 21).
Fig. 21. Alternator diode bridge external view (BOSCH F00M133218)

18
5.2 D B M C F
The most common failures are:
•Short circuit of one or several diodes;
•Open circuit of one or several diodes, caused by mechanical damage, or prolonged exposure
to corrosion;
•Short circuit of positive and negative heat sinks, caused by foreign metal objects, formations
or contamination of current-conducting bridges.
I) diodes are pressed (sometimes soldered) into rectifier heat sink plates;
II) diodes are soldered on heat sinks with ribbed surface.
To avoid a short circuit of aluminium heat sinks, plates are fully or partially covered with a layer of
insulating material.
Statorwindingterminalsarewelded/solderedorfixedwithscrewconnectiontospecializedmounting
faces of alternator diode bridge.
5.3 D B T M O
The device tests unidirectional conduction of diode bridge elements, connected through measuring
cables, to detect failures. The testing is conducted by set current pulse. Both sides current-con-
ducting diode bridge element is indicated as SHORT CIRCUIT on the display, increased resistance
(semiconductordegeneracy)ornon-conductingelementisindicatedas OPENCIRCUITonthe display.
Besides, on finishing the measurement, the tester restores the diode bridge topology (В+, В- and
connection terminals of stator windings), if it is possible. Sometimes a diode bridge has a big
amount of short-circuited elements and elements under open circuit, which gives no possibility to
identify its topology. In such cases it is recommended to use the additional information (amount of
short-circuited elements and elements under open circuit) on the display.
Press DIODE BRIDGE to enter the testing mode of diode bridges (Fig. 10).
Diode bridges testing menu is displayed on the screen (Fig. 22).
User Manual - Tester
AssembledalternatordiodebridgeispresentedintheFig.21 (F00M33218diodebridge,manufactured
by BOSCH), where:
1– alternator diodes
2– positive heat sink
3– negative heat sink
Diode bridges can be divided into 2 types by construction:

19
User Manual - Tester
Fig. 22. Diode bridges testing menu
Description in the frames when testing diode bridges:
•connection: diode bridge topology display frame;
•FREE: disconnected measuring cables option frame;
•OPEN CIRCUIT: diode bridge elements under open circuit option frame;
•SHORT CIRCUIT: diode bridge short-circuited elements option frame;
•Test: button to start the measurement;
•Back: button to stop the measurement and return to the main menu.
Connect all the diode bridge leads to the tester through the required number of cables. There is no
need to observe polarity and order, the tester detects connected windings automatically.
Disconnected cables must be isolated from each other and diode bridge elements.
Fig. 23. Tested diode bridge

20
Fig. 24. Tested diode bridge
Testing of a diode bridge in failure (bus open circuit В+) is presented in the Fig. 25. The number of
elements under open circuit is displayed in OPEN CIRCUIT.
Fig. 25. Diode bridge in failure – open circuit
User Manual - Tester
Then press Test button. The device tests the connected diode bridge and displays the results on
the screen.
Faultless three-armed diode bridge testing is presented in the Fig. 23. Measuring cables 1,2,3,5,6 are
connected, cable 4 is disconnected.
Faultless three-armed diode bridge testing is presented in the Fig. 24. The order of connected
measuring cables was changed in comparison with the previous figure.
Table of contents
Other Motoplat Test Equipment manuals