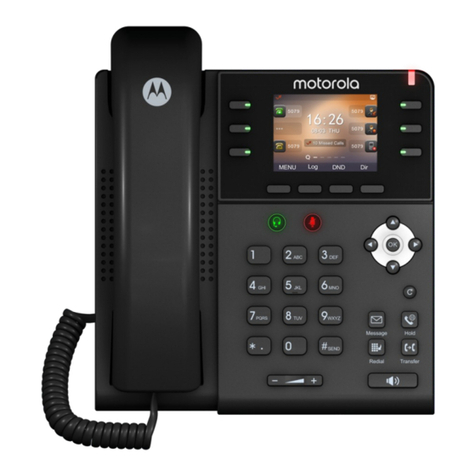
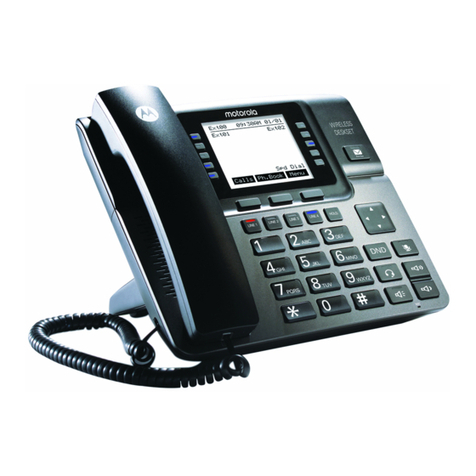
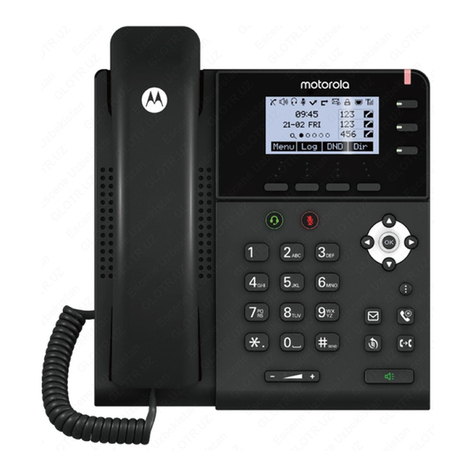
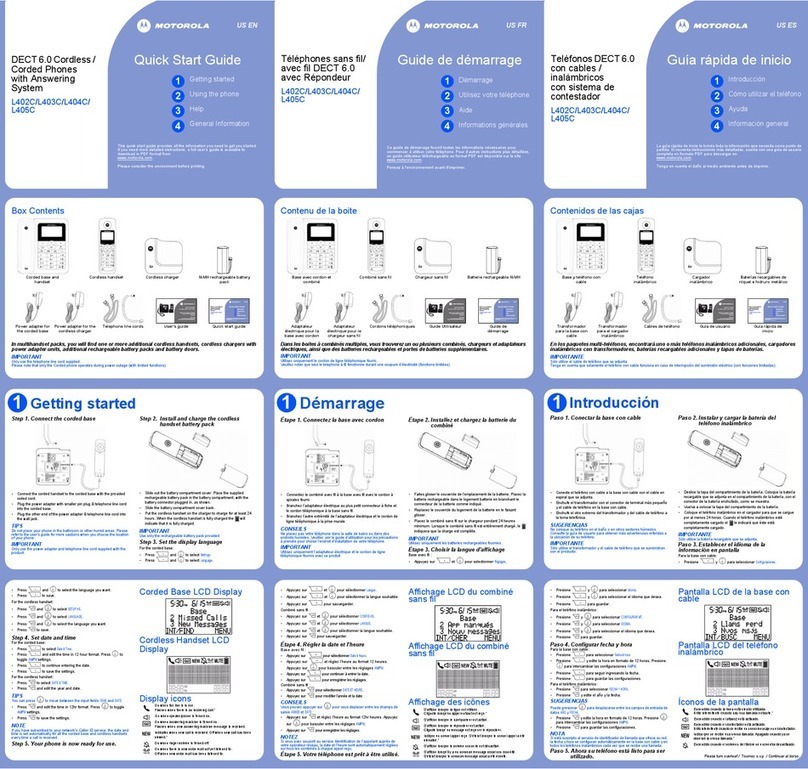
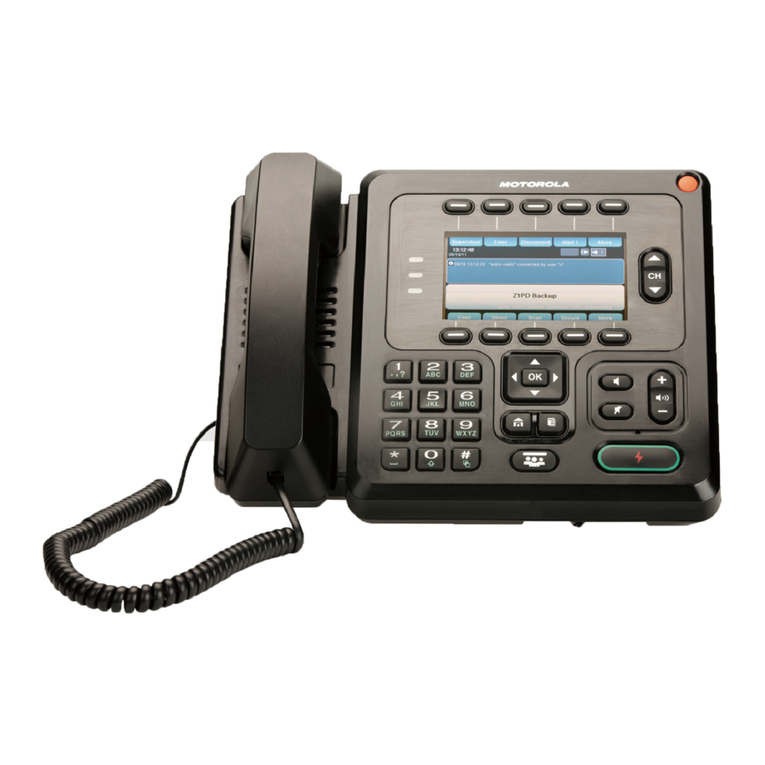
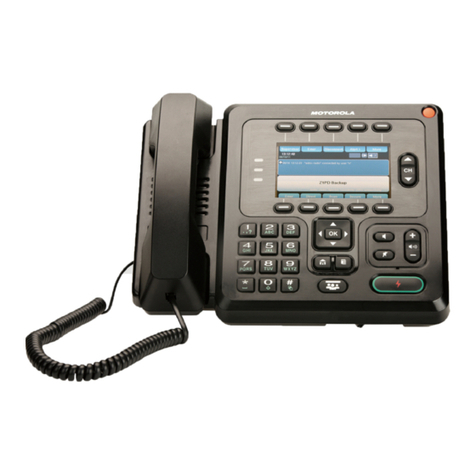
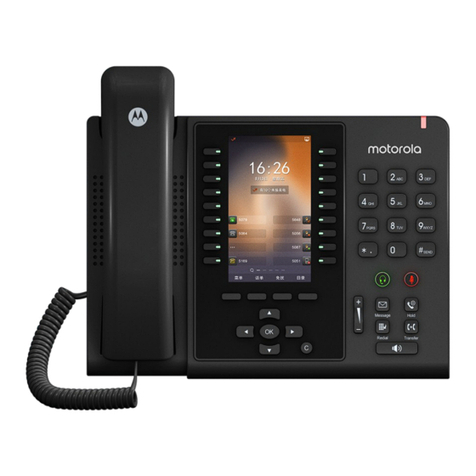
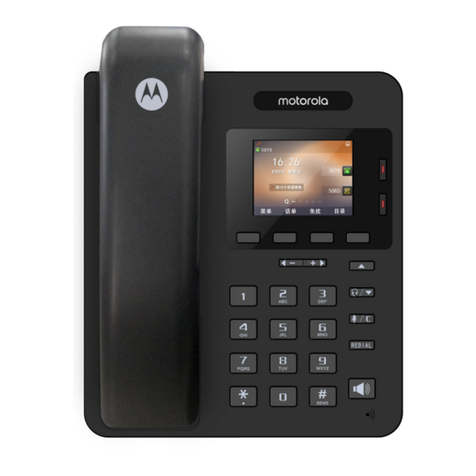
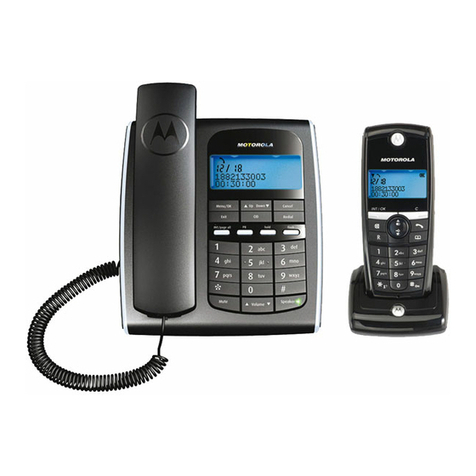
Motorola 100IP-2P User manual

100IP-2P&100IP-2 IP Smart VoIP
Phone User Manual
Motorola

INDEX
INDEX.............................................................................................................................................. 2
1. Getting Starte ........................................................................................................................... 4
About...................................................................................................................................... 4
Feature Highlights................................................................................................................... 4
2. Set up the Phone........................................................................................................................ 4
3. Phone User Interface.................................................................................................................. 6
3.1 Har ware Component Instructions...................................................................................6
3.2 Phone Screen Display Features......................................................................................... 7
3.3 Basic Network Settings...................................................................................................... 8
3.4 SIP Account Settings.......................................................................................................... 9
3.5 Basic Features................................................................................................................. 10
3.5.1 Making a Call........................................................................................................ 10
3.5.2 Anonymous Call.................................................................................................... 11
3.5.3 Re ial................................................................................................................... 11
3.5.4 Call History........................................................................................................... 11
3.5.5 Making Calls to Contact........................................................................................ 12
3.5.6 Multi-lines to Answer the Call..............................................................................12
3.5.7 Auto-Answer........................................................................................................ 12
3.5.8 En ing a Call......................................................................................................... 13
3.5.9 Using Hol an Recover (Switch Calling Line).......................................................13
3.5.10 Transferring Calls................................................................................................ 14
3.5.11 Using Mute......................................................................................................... 15
3.5.12 Do Not Disturb.................................................................................................... 15
3.5.13 3-way Conference............................................................................................... 15
3.5.14 Voice Mail........................................................................................................... 16
3.6 A vance Settings........................................................................................................... 16
3.6.1 Using the phone book..........................................................................................16
3.6.2 Using Call Logs...................................................................................................... 19
3.6.3 Peer-to-Peer......................................................................................................... 20
3.7 Keypa Setting................................................................................................................ 20
3.7.1 Language Setting..................................................................................................20
3.7.2 Message............................................................................................................... 20
3.7.3 Time & Date......................................................................................................... 21
3.7.4 Ring Tone an Volume Setting..............................................................................21
3.7.5 Searching Phone Book..........................................................................................22
3.7.6 Cannot Set the Features with Keypa ...................................................................22
4. WEB User Interface............................................................................................................... 22
Motorola

4.1 Network......................................................................................................................... 24
5 SIP Account............................................................................................................................. 30
5.1Basic............................................................................................................................... 30
5.2 Advanced...................................................................................................................... 32
6 SS Keys................................................................................................................................ 34
6.1 Line Keys.............................................................................................................. 34
6.3 Function Keys....................................................................................................... 35
6.4 Soft Key................................................................................................................. 35
7 Settings.................................................................................................................................... 36
7.1 Basic.............................................................................................................................. 36
7.2 Features........................................................................................................................ 37
7.3 Time Settings........................................................................................................ 40
7.4 Keyboard Lock..................................................................................................... 41
7.5 VoIP Call Forwarding........................................................................................... 42
7.6 Remote Control.................................................................................................... 42
7.7 Action URL............................................................................................................ 42
7.8 Audio...................................................................................................................... 43
7.9 Ring....................................................................................................................... 44
7.10 ial Plan.............................................................................................................. 45
7.11 BLF Setting......................................................................................................... 47
7.12 TR069.................................................................................................................. 48
8 Phone Book............................................................................................................. 48
8.1 Contact.......................................................................................................................... 48
8.2 Group............................................................................................................................ 49
8.3 L AP............................................................................................................................. 50
8.4 Blacklist......................................................................................................................... 51
8.5 Phone Call Info............................................................................................................. 52
9 Maintenance............................................................................................................................ 53
9.1 HTTP Upgrade..................................................................................................... 53
9.2 FTP Upgrade........................................................................................................ 54
9.3 TFTP Upgrade...................................................................................................... 54
9.4 Auto Provisioning................................................................................................. 55
9.5 Log......................................................................................................................... 57
9.5 Local Log.............................................................................................................. 58
Check the log file on the local................................................................................... 58
9.6 efault Settings.................................................................................................... 58
9.7 Reboot................................................................................................................... 58
10 Security.................................................................................................................................. 58
10.1 Password............................................................................................................................ 58
10.2 Trusted Certificates............................................................................................ 59
10.3 IP Strategy.......................................................................................................... 59
11 WEB Other Settings or Information - Appendix.................................................................59
11.1 Logout......................................................................................................................... 59
Motorola

11.2 Note Tips..................................................................................................................... 60
Motorola

1. Getting Started
About
Motorola 100IP-2P&100IP-2 is an compact office IP phone with rich features. It h
as 128*64 HD graphic LCD up to 4-line isplay; it also has HD Soun Quality, unique a
rt esign, emountable bracket to provi e multi-angle, 9 DSS keys, an frien ly user i
nterface to satisfy users's communication nee s.
Feature Highlights
128x64-pixel graphical LC screen;
2 SIP accounts;
H voice,H code, H handset, Full-duplex speakerphone;
9 SS keys(2 line keys, navigation keys up&down, redial key, 4 soft
keys);
LC support multi-language:
Chinese,English,French,Italian,Portuguese,Portuguese-
Brazil,Russian,Spanish, Turkish,Hebrew,
Chinese(Traditional),Korean,Netherlands,Slovak.
Web support multi-language:
Chinese, English, French, Italian, Portuguese, Russian, Spanish, Turkish,
Chinese(Traditional);
2*10/100M Ethernet ports,100IP-2P support integrated POE;
Support wall-mountable;
2. Set up the Phone
a) Pa king List:
Check the packing list before installation, if you fin anything missing, contact your system
a ministrator.
1*IP Phone
1*Han set
Motorola

1* Han set Cor
1*Ethernet Cable
1*Phone Bracket
1*Quick Setup Gui e
b) Phone Installation:
This section intro uces how to install the phone with the components in the packing list:
Attach the Bracket
Connect the Han set an optional Hea set
Connect the Network an Power
Atta h the Bra ket
Pls follow as below pictures to attach the bracket.
Conne t the Handset and optional Headset
Conne t the Network and Power
You have two options for power supply. Your system a ministrator will a vise you which one to
use.
AC power a apter
POE(Power over Ethernet) IEEE802.3af
Motorola

3. Phone User Interfa e
3.1 Hardware Component Instru tions
The main har ware components of the 100IP-2P&100IP-2 IP Phone are the LCD screen an
the keypa .
Har ware component instructions of the 100IP-2P&100IP-2 IP Phone are:
ITEM DESCRIPTION
1 LCD Screen Displaye information about calls, messages, soft keys, time, ate an
other relevant ata:
• Call information — caller ID, call uration
• Icons (e.g. )
• Misse calls or secon incoming caller's information
•Time an ate
2 Line Key Re , flashing: Incoming call, Hol
Re , stea y: Pick up but not on communication, on communication
Light off: I le
L1 orange stea y: Un er the i le status, the light will on when: There
has Misse Call, Forwar e Calls feature enable, Account enable DND
feature, SMS, Voice Message, Ring volume is 0, SIP account register fail,
Network fail.
NOTE: L1 has green an re LED, L2 only have re LED, L1's green LED
status only work with re LED, then they show Orange.
Motorola

3 Soft Key Labels automatically to i entity their context-sensitive features
4 Navigation
Key&Han set
Key&Volume Key
In the i le status, press UP key can check the call log:
UP: Open the "All CONTACT LOG",DOWN: Open the "Misse Calls",
RIGHT an LEFT can check other list, like "RECEIVED CALL\DAIL CALL".
In the i le or talking status, press RIGHT or LEFT key can a just the
volume.
5 Mute & C Key Cancels actions or rejects an incoming call, an the other feature:
In the i le: Open the "Phone Status".
Diagnosis: Press an hol 3 secon to open "Har ware Diagnosis".
MUTE: "MUTE" feature is enable if you press it while the conversation
making on the phone.
6 Re ial Key ial the latest number.
7 Programmable
Key
In the i le status, press an hol 3s will enter programmable function,
the efault passwor is empty:
Line 1 & 2: press an hol can quickly enter account setting. If you
want set it to another function, you nee to login into website to
change it.
Navigation key UP & DOWN, Re ial key press an hol can quickly
enter programmable key setting function, they can change to
Re ial\DND\Personal Phonebook\Enterprise Phonebook\LDAP
\Directory\Spee Dial\Call History\Receive Calls\Diale Calls\Main
Menu\New Message\Forwar e Calls\View Status\Enable/Disable SIP
Account\Default.
NOTE:MUTE&C key isn’t support programmable function.
8 Speaker Key Toggles the han s-free speaker phone mo e. Press an hol can
change to hea set mo e
9 MIC High sensitive pickup Mic.
10 Keypa Provi es the igits, letters an special characters in context-sensitive
applications.
11 Speaker HD speaker.
3.2 Phone S reen Display Features
If the phone has successfully starte up an after using, the i le LCD isplay will show
information as below:
Motorola

ITEM DESCRIPTION
1 TIME & DATE TIME & DATE isplay in the mi le of the screen.
2 Auto-Answer icon Enable this feature, it will isplay "AA" at the top right corner.
3 Misse Call Misse Call un er the TIME in the mi le of screen
4 Line Status There are four status as below:
a. :Disconnect the network
b. :Account faile to register
c. :Account successfully registere
. :Account successfully registere an DND feature is enable .
The DND icon also will isplay at the top right corner.
5 Soft Key Area Labels automatically to i entity their context-sensitive features
6 Screen Top Icon The Screen Top Icon from left to right is:
: Han set Han on status
:Speaker Han on status
:Hea set Han on status
:Call MUTE
:Misse Call
:Call Forwar
:Text Message
:Keypa Lock
:Network is unavailable
Motorola

3.3 Basi Network Settings
The phone supports Three Mo es of Network Setting. Inclu e PPPoE\Static IP\DHCP.
DHCP Setting
Feature Operating Steps
DHCP Press MENU> System Settings> Advan ed Settings> Password(Default is
Empty)> Network> LAN Port
Press LAN Port to login in to the menu
Select "DHCP" mo e
Press "Enter" key
Set the DNS\web port\telnet port
Press "Save" key to make it work
Tips "Network is hanged, press OK reboot "
Stati IP Setting
Feature Operating Steps
Static IP Press MENU> System Settings> Advan ed Settings> Password(Default is
Empty)> Network> LAN Port
Press LAN Port to login in to the menu
Select "Stati " mo e
Press "Enter" key
Set the IP\Mask\GW\DNS\web port\telnet port
Press "Save" key to make it work
Tips "Network is hanged, press OK reboot "
PPPoE Setting
Feature Operating Steps
PPPoE Press MENU> System Settings> Advan ed Settings> Password(Default is
Empty)> Network> LAN Port
Press LAN Port to login in to the menu
Select "PPPoE" mo e
Press "Enter" key
Set the User Name\Password\web port\telnet port
Press "Save" key to make it work
Tips "Network is hanged, press OK reboot "
Motorola

3.4 SIP A ount Settings
100IP-2P&100IP-2 IP phone makes calls base on sip accounts, It can support Single account or
Multi-account, Each account can be configure to the ifferent SIP server.
If you want to… Then...
Create an SIP account --1) Select “System setting” > “A vance setting”;
--2) Enter the passwor require (The efault is empty) ;
--3) Select “SIP” > “Account sip”;
--4) Select one of the account you want to setting, you can configure the
following parameters
-Enable a ount*: Select Enable
-Number of lines: Default is 2
-Des ription: escription of this account
-Display Name: The name isplaye on the screen
-Authenti ation user: the Authenticate users are matche with
the SIP server.(The efault With the same account)
-A ount*: the account matches with the SIP server.(extension
number)
-User pass word*: the user passwor matches with the SIP server
-SIP Server*: The primary SIP server, all calls through this server
-Out Bound Server: The out boun SIP server
-STUN Type: Enable/Disable STUN feature
-STUN: Input STUN URL
-Auto Answer: Enable/Disable this account auto answer feature
* Note: When you finish the setting, you can press Save to make it
work, an then you can see the status icon in the LCD i le.
The parameters with the * mark must be set.
Disable sip account --1) Select “System setting” > “A vance setting”;
--2) Enter the passwor require (The efault is empty) ;
--3) Select “SIP” > “Account sip”;
Motorola

--4) Select “Enable account” > “Disable”;
--5) Select “Save” to saves settings
3.5 Basi Features
3.5.1 Making a Call
Here are some easy ways to place a call on SayHi IP Phone:
If you want to... Then…
Place a call using
the han set
Pick up the han set --1) You can hear ial tone;
--2) Enter a number;
--3) Press # button ( efault),
-or wait 5s ( efault), then it sen the
number automatically.
Place a call using a
speakerphone
Press Speaker button
Place a call using a
hea set
Put on your hea set,
Press an hol the speaker
button to active Headset
feature, an then o as
using speakerphone
3.5.2 Anonymous Call
You can use anonymous call feature to block the i entity an phone number from showing up to
the calle party when you call someone. E.g, you want to call to consult some of the services, but
you on't want to be harasse .
Enable Anonymous Call Press MENU> Function Setting> Anonymous
--Press Enter button ,
-You can select which Account want to use, enable/ isable this
feature an enable/ isable reject anonymous
Motorola

3.5.3 Redial
To re ial the last place call from your phone
Re ial --Press REDIAL button to ial the last number
> “Diale number”, select a number, an press
3.5.4 Call History
Dial from a call History --1) Press MENU button > “Call history”, you can select "All Calls",
“Misse calls”, “Receive calls” an “Diale Calls”, “Forwar e
Calls”,
- or press Navigation UP button (in i le status) > select the esire
contact.
--2) Then press button.
NOTE: You also an press the "log" to login this menu when in the
idle.
3.5.5 Making Calls to Conta t
You can also ial a contact from the Personal Phone Book.
Placing Calls to
Contacts
--1) Press MENU button > “Phone Book”, you can select "Personal
Phone Book", “Enterprise Phone Book”, “LDAP” an “Black List”,
- or press Navigation UP button (in i le status) > select the esire
contact.
--2) Then press button.
NOTE: You also an press the "DIR" to login this menu when in the
idle.
Motorola

3.5.6 Multi-lines to Answer the Call
Multi-lines to Answer
the Call
--1) Another Line button is Re an flashing, Light strip is Re
an flashing;
--2) Press the flashing Line button to answer (at this time, the
original call will be hol .)
3.5.7 Auto-Answer
You can set the phone an let it auto-answer the coming call.
Auto-Answer the
Coming Call
--1) Enable the Auto-Answer feature.
--2) Auto-Answer mo e you can set in the MENU>Function Setting>
Auto Answer >Device
Speaker
Han set
Hea set
When you use the Han set mo e, at this time you nee to han s up
the han set an then it can work at this status.
--3)Filter Groups
Auto-answer the coming call in this special groups.
3.5.8 Ending a Call
To en a call, hang up. Here are some more etails. NOTE: Press an hol the speaker key can
change to Han set feature.
Hang up while using the
Han set
--Return the han set to its cra le,
-or press End
Hang up while using the --Press Speaker button,
Motorola

Speakerphone -or press Line button for the appropriate line,
-or press End
Hang up while using the
Hea set
--Press Handset button, (Do not keep the hea set mo e) ,
-or press End (keep the hea set mo e)
Hang up one call, but
preserve another call on
the other line
--Press End,
-or refer to the above three metho s
3.5.9 Using Hold and Re over (Swit h Calling Line)
You can hol an resume calls. You can take a call in one line at anytime, an the other lines
woul be hol . As a result of that, you can switch ifferent calling line on our phone.Note:If the
phone isn’t have the hol button, pls using the soft key.
If you want to... Then...
Put a call on hol --Press HOLD button,
-or press soft key
Hol a line an switch to
another line
Press another Line button for the appropriate line
Resume a call on current
line
--Press Line button,
Release a call on ifferent
line
Select the line want to release hol , press the line, so recovery;
NOTES
• Engaging the Hol feature typically generates music or a beeping tone.
• A hel call is in icate by the Yellow-green an flashing Line button or Hol in the LCD.
3.5.10 Transferring Calls
Transfer re irects a connecte call. The target is the number to which you want to transfer the
call.
Talk to the transfer
recipient before
transferring a call
--1) Press TRANSFER button or press XFER;
--2) Enter number;
--3) press “#”(efault) ,
Motorola

(consult transfer) -or press then transfer the call,
-or wait five secon s( efault)then transfer the call
Transferre to i le
lines or other
numbers without
talking to the transfer
recipient
(Blin transfer)
--1) Press TRANSFER button or XFER;
--2) Press ;
--3) Enter number;
--4) Press “#”(efault)
-or press , then transfer the call;
-or wait five secon s( efault)then transfer the call
Blin transfer to the
hel line
--1) Press TRANSFER button or press XFER;
--2) Press the Line button of hel line
3.5.11 Using Mute
With Mute enable , you can hear other parties on a call but they cannot hear you. You can use
mute in conjunction with the han set, speakerphone, or a hea set。
Toggle Mute on Press C button, then the screen top an left will have a MUTE icon
Toggle Mute off Press C button again, then the button light off
3.5.12 Do Not Disturb
You can use the Do Not Disturb(DND) feature to block incoming calls on your phone with a busy
tone(Can also be set to their voice mail or other extension numbers, etc.).
Enable global DND --1) Press DND;
--2) All enable line on the phone woul changes to status. an
the icon is .
Enable DND on a
single line
Press MENU button > “Function setting” > “DND” > (select line)
“Enable”
Disable DND --Global DND enable , press to isable global DND;
--Line DND enable , press twice ,
-or press MENU button > “Function setting” > “DND” >(select line)
Motorola

“Disable”
3.5.13 3-way Conferen e
You can enable a three-party conference, uring the conversation three phone parties can
communicate with every party.
If you want to... Then...
Invite the transfer
recipient into a
conference in a
transferring
--1) When the transfer recipient answer the call, press CONFERCENCE
button or "CONF" on your phone;
--2) Then the hel one, transfer recipient an you will be into a
conference, an the LCD will isplay status.
Invite the thir party
into a conference in a
active call
--1) Press "CONFERENCE" button or "CONF" in an active call;
--2) Enter the thir party number;
--3) After connecte the thir party, press "CONFERENCE" button or
"CONF" again
establish a conference
with hel line
--1) when one phone line is hol ing on an the other line is busy;
--2) Press "CONFERENCE" button,
-or Press "CONF" Soft key
--3)Press the hel line's programmable button, the 3-way Conference
is enable.
3.5.14 Voi e Mail
You can setting Voice Mail function in Menu> Message.
Voice Mail --1)Dial the voice mail number, e.g *97
--2)Enter the User Passwor
--3)It will login into the voice mail server. You nee to follow the IVR to
o it.
Motorola

3.6 Advan ed Settings
3.6.1 Using the phone book
Enterprise Phone Book
Search the Contacts
from Enterprise
Phone Book
--1) Press DIR in the i le status,
-or press "MENU" button > “Phone book”>“Enterprise Phone
Book”,
--2) Select “Enterprise Phone Book”, press "OK" button;
--3) Press "Fin " an input the name who you want to search.
Call the Contact
from Enterprise
Phone Book
--1) Press "DIR" in the i le,
-or press "MENU" button > “Phone book”>“Enterprise Phone
Book”,
--2) Select “Enterprise Phone Book”, press "OK" button;
--3) Press "Fin " an input the name who you want to search.
--4) When you search the person, you can ial it.
Personal Phone Book
A Contacts --1) Press Phone Book,
-or press "MENU" button > “Phone book”>“Personal phone
book>View All”,
-or press "OK" button > “Phone book”>“Personal phone book>View
All”;
--2) Select “A contact”, press "OK" button;
--3) Use the navigation keys to select content, press "OK" button to set
an mo ify:
Motorola

-Name: set the name of contact,
-Office Number: Setting the contact Office Number
-Mobile Phone Number: Setting the contact Mobile Phone
Number
-Others Number: Setting the contact Others Number
-SIP Account: Setting the contact call SIP account
-Group: the contacts be ivi e into ifferent user’s groups
--4) Press "Save" soft key to complete
A group --1) Press "DIR" soft key,
-or press "MENU" button > “Phone book”>“Personal phone book>View
All”,
-or press "OK" button > “Phone book”>“Personal phone book>View
All”;
--2) Select the “a group” then press OK button;
--3) Use the navigation keys to select content, press OK button to set
an mo ify:
-Group name: name of the group
--4) Press "Save "soft key to complete
Mo ify group --1) Press "DIR" soft key,
-or press "MENU" button > “Phone book”>“Personal phone
book>View All”,
-or press "OK" button > “Phone book”>“Personal phone book>View
All”;
--2) Select the “Mo ify group” then press "OK" button ;
--3) Select the group you want to mo ify, press the "OK" button to set
an mo ify, press "Save" to save the change
Delete group --1) Press "DIR" soft key,
-or press "MENU" button > “Phone book”>“Personal phone
book>View All”,
-or press "OK" button > “Phone book”>“Personal phone book>View
Motorola

All”;
--2) Select the “Delete group” button;
--3) Select a group you want to elete, press OK button
LDAP
Search the Contacts
from LDAP
--1) Press "DIR" in the i le,
-or press "MENU" button > “Phone book”>“LDAP”,
--2) Select “LDAP”, press "OK" button;
--3) Press "Fin " an input the name or number who you want to fin
search from the LDAP server.
Call the Contact
from LDAP
--1) Press "DIR" in the i le,
-or press "MENU" button > “Phone book”>“LDAP”,
--2) Select “LDAP”, press "OK" button;
--3) Press "Fin " an input the name or number who you want to fin
from the LDAP server.
--4) When you search the person, you can ial it.
Bla k List
A the Contacts --1) Press "DIR" in the i le,
-or press "MENU" button > “Phone book”>“Black List”,
--2) Select “Black List”, press "OK" button;
--3) Press "A " an input the name\office number\mobile
number\other number\SIP account who what you want to a into
the Black List.
View the Contact
from Black List
--1) Press "DIR" in the i le,
-or press "MENU" or "OK" button > “Phone book”>“Black List”,
--2) Select “Black List”, press "OK" button;
Motorola
This manual suits for next models
1
Table of contents
Other Motorola IP Phone manuals

Motorola
Motorola L702 User manual

Motorola
Motorola L601 User manual

Motorola
Motorola L403C User manual

Motorola
Motorola C401 Installation guide

Motorola
Motorola L402C - DECT 6.0 Corded/Cordless Phone User manual

Motorola
Motorola MCD 5000 Installation guide

Motorola
Motorola L704CBT User manual

Motorola
Motorola ML1100 User manual

Motorola
Motorola MCD 5000 Deskset User manual

Motorola
Motorola 200IP-2P User manual