— 1 — — 2 — — 3 —
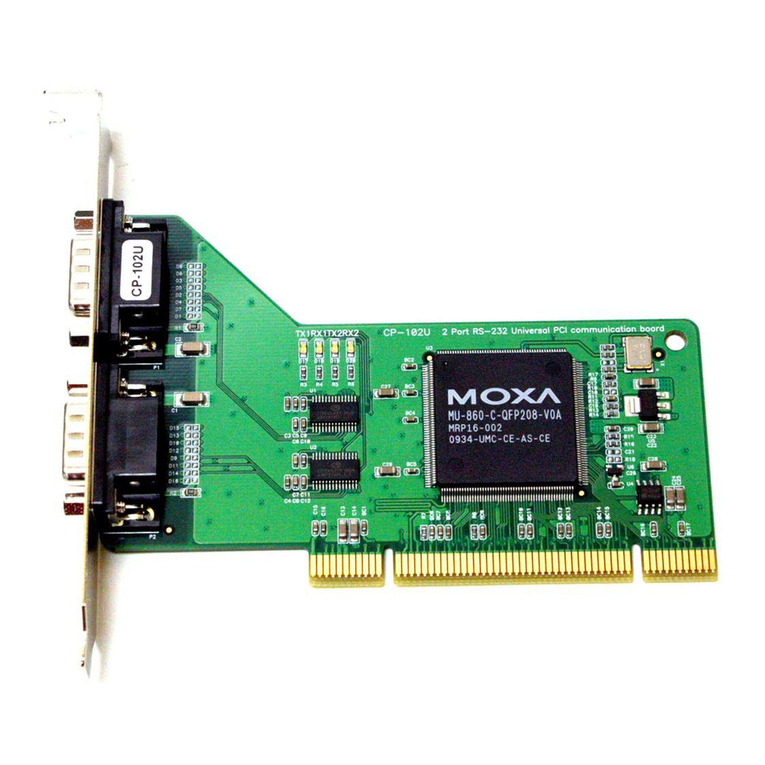
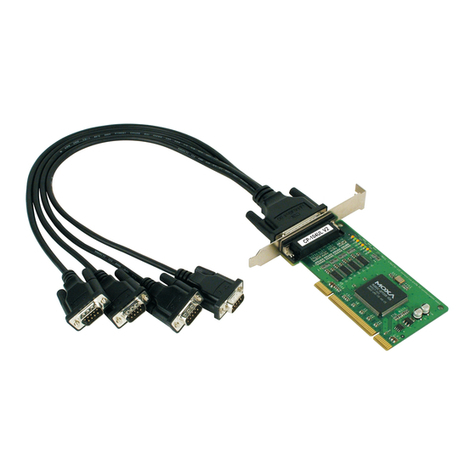
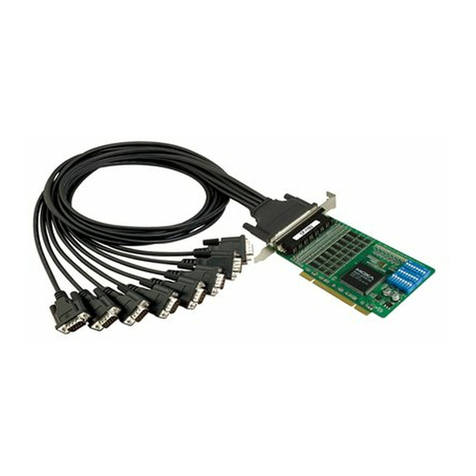
CP-118EL/CP-168EL/CP-104EL
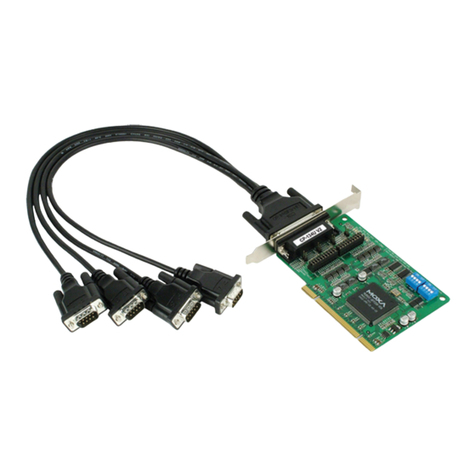
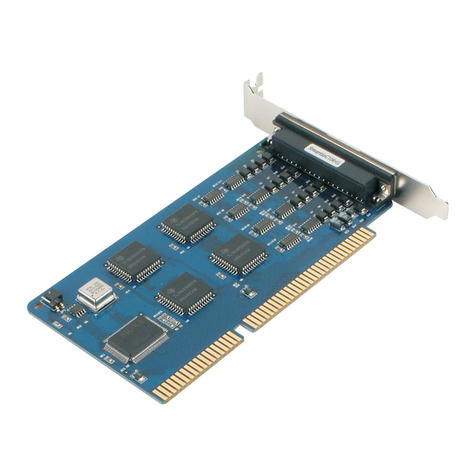
PCI Express Multiport Serial Board
Quick Installation Guide
Second Edition, September 2008
1. Overview
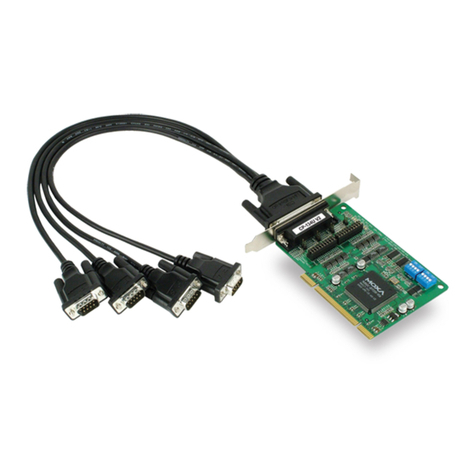
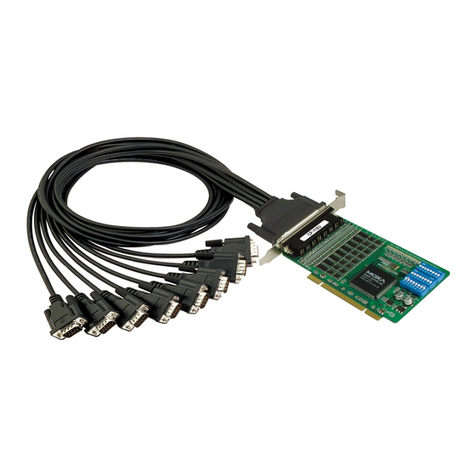
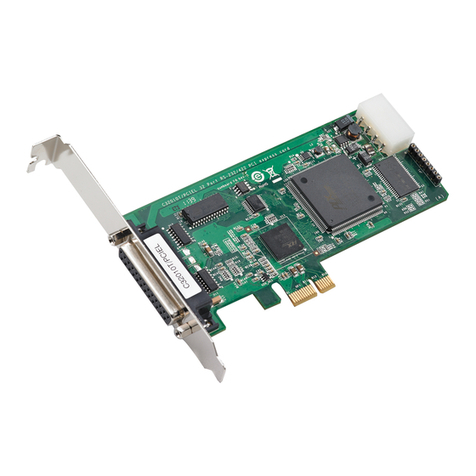
Moxa’s new PCI Express Multiport Serial Boards, named CP-118EL,
CP-168EL, and CP-104EL, are designed for POS andATM applications
and for use by industrial automation system manufacturers and system
integrators. The boards are compatible with all popular operating systems,
and each board supports data rates of up to 921.6 Kbps and provides full
modem control signals, ensuring compatibility with a wide range of serial
peripherals. In addition, CP-118EL, CP-168EL, and CP-104EL work with
PCI Express ×1, allowing the boards to be installed in any available PCI
Express slot (including ×1, ×2, ×4, ×8, ×16, ×32).
2. Package Checklist
Before installing the PCI Express board, verify that the package
contains the following items:
y1 PCI Express serial board
yDocumentation and Software CD
yQuick Installation Guide
yLow Profile Bracket
Notify your sales representative if any of the above items is missing or
damaged.
3. Hardware Installation Procedure
The PCI Express board MUST be plugged into the PC before the driver is
installed. Follow these steps to install the board in the PC.
STEP 1: Power off the PC. (If you are installing CP-118EL, go to STEP
2; otherwise, go to STEP 3.)
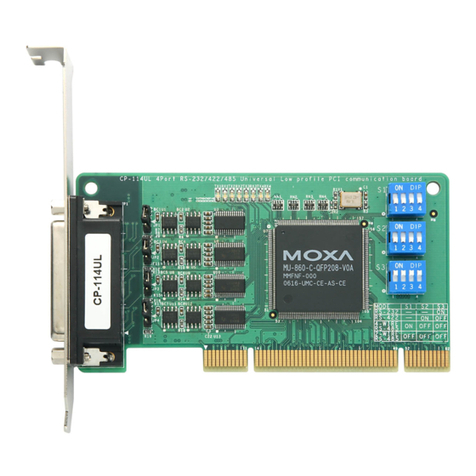
STEP 2:Use the DIP switches on the board to select the serial interface.
Refer to the Mode vs. DIP switch table below (also shown on
the CP-118EL board):
Mode S1 S2 S3
RS-232 --- --- ON
RS-422 --- ON OFF
4-wire RS-485 ON OFF OFF
2-wire RS-485 OFF OFF OFF
STEP 3: Plug the board firmly into an open PCI Express slot.
STEP 4: Fasten the holding screw to fix the control board in place.
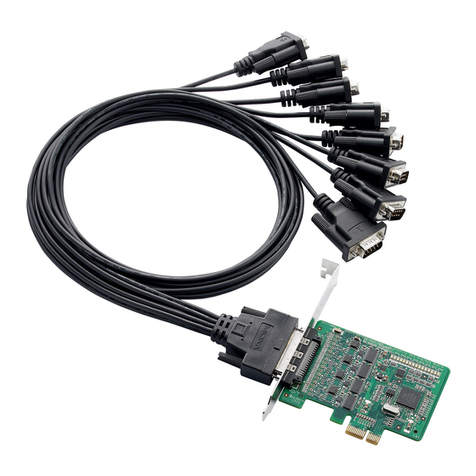
STEP 5: Connect the connection cable.
STEP 6: Power on the PC; the BIOS will automatically set the IRQ and
I/O address.
4. Software Installation Information
The board MUST be plugged in before installing the driver. See the
previous section for instructions on how to install the board in your PC.
Refer to the PCI Express Board User’s Manual for detailed instructions
on installing the drivers for this board.
NOTE: The following procedure shows how to install the CP-118EL
driver.
WARNING
1. If you are installing a PCI Express board on an ASUS A8N Series
(AMD CPU) motherboard and the installation process hangs the
first time, then restart the PC to reinstall it.
2. If you are using a Serial ATA HDD under DOS, the installation
process will also hang. In this case, change your HDD to IDE
drive.
Windows 2003/XP (32-bit/64-bit) Driver Installation
1. After powering on your PC, Windows 2003/XP will automatically
detect the PCIe board.
2. Insert the PCIe software CD in your CD-ROM drive.
3. Select Install from a list or specific location (Advanced).
4. After selecting Search for the best driver in these locations, select
the Include this location in the search, and then click Browse. If the
system is a 32-bit (x86) platform, navigate to the
\CP-118EL\Software\Windows XP_2003\x86 folder on the CD, if
the system is 64-bit (x64) platform, navigate to the
\CP-118EL\Software\Windows XP_2003\x64 folder on the CD, and
then click Next to continue.
5. Click Continue Anyway in response to any warnings that the
software has not passed Windows Logo testing.
6. After the board has been installed, the installation wizard will guide
you through the port installation procedure, starting with port 0.
7. Use the Device Manager to check the installation of the board and
ports. Click the + sign next to Hardware, and then check Multi-port
serial adapters and Ports (COM & LPT). If there are warning
marks, such as a question mark or exclamation point in front of the
board or port icons, examine the Event Log to determine the problem.
Windows 2000 Driver Installation
1. After powering on your PC, Windows 2000 will automatically detect
the PCIe board.
2. Insert the PCIe software CD in your CD-ROM drive.
3. Select Search for a suitable driver for my device (recommended).
4. Under Optional search location, select specify a location. Navigate
to the \CP-118EL\Software\Win2K folder on the software CD.
5. Click Continue Anyway in response to any warnings that the
software has not passed Windows Logo testing.
6. After the board has been installed, the installation wizard will guide
you through the port installation procedure, starting with port 0.
NOTE: Be sure to install the software from the
CD’s\CP-118EL\Software\Win2K folder.
7. Use the Device Manager to check the installation of the board and
ports. Click the + sign next to Hardware, and then check Multi-port
serial adapters and Ports (COM & LPT). If there are warning
marks, such as a question mark or exclamation point in front of the
board or port icons, examine the Event Log to determine the problem.
Linux Driver Installation
1. Execute the following commands from the Linux prompt:
#mount /dev/cdrom /mnt/cdrom
#cd /
#mkdir moxa
#cd moxa
#cp /mnt/cdrom/<driver directory>/mxser.tgz .
#tar xvfz mxser.tgz
2. #cd mxser
#make clean; make install
3. #cd /moxa/mxser/driver
#./msmknod
4. #modprobe mxser
5. Use the Moxa diagnostic utility to verify the driver status:
#cd /moxa/mxser/utility/diag
#./msdiag
6. Use the Moxa terminal utility to test the tty ports:
#cd /moxa/mxser/utility/term
#./msterm
5. PinAssignments
CP-118EL and CP-168EL
Opt8-D+/Opt8-M9+
Male DB9
15
69
Pin RS-232 RS-422/
4-wire RS-485 2-wire RS-485
1 DCD TxD-(A) ---
2 RxD TxD+(B) ---
3 TxD RxD+(B) Data+(B)
4 DTR RxD-(A) Data-(A)
5 GND GND GND
6 DTS --- ---
7 RTS --- ---
8 CTS --- ---
9 --- --- ---
P/N: 1802001181012
