3
Fitting Instructions
Warning!
Fitting position
Aperture size
Roof thickness
Fitting direction
Fitting screws
Sealing
Fitting
Never stand on the dome of the rooight!
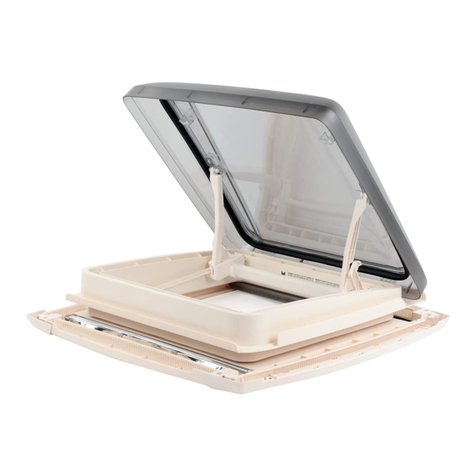
(See picture 1)
Choose a tting position that will not interfere with other roof
mounted components (e.g. roof-racks/antenna's etc.) and avoid
internally installed electrical cables and furniture, which could
impede the correct operation of the rooight.
The rooight should only be tted to a at roof surface, both in-
ternally and externally.
Depending on rooight model (see technical data page 6 - 7).
Ensure the correct rooight is selected for the roof thickness (for
available size options see page 6).
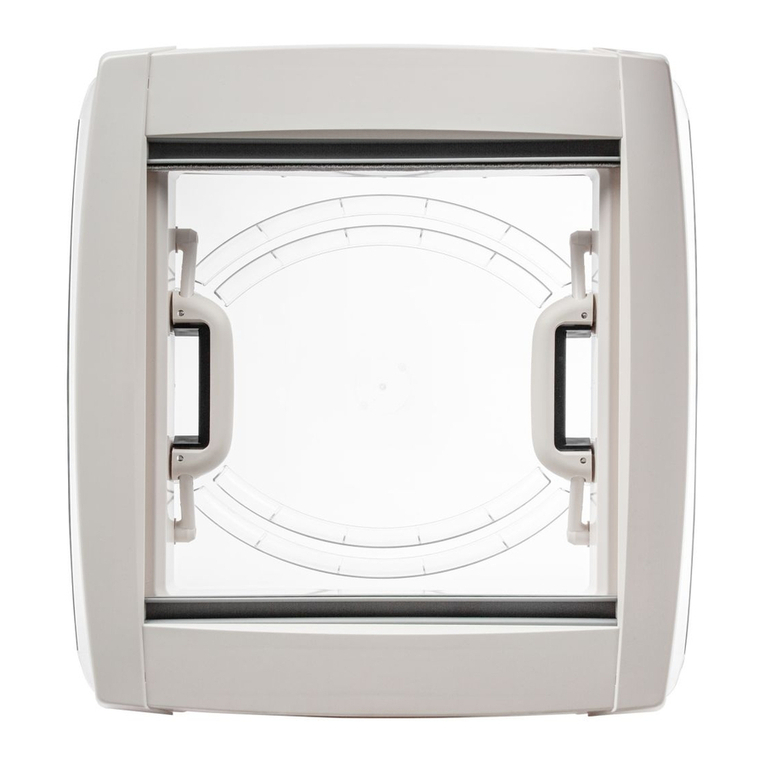
Rooights must only be tted with the operating handles facing
the front and rear of the vehicle, not across the vehicle.
The length of the screw should be determined by the roof thick-
ness, plus approximately 10 mm tor the screw to enter the upper
frame.
Secure only with pan, or round headed screws (not supplied), 3,5
mm/ head according to DIN ISO 7049 (DIN 7981). Do not
use
countersunk screws as they will damage the rooight frame.
(See picture 4).
Use only long term exible sealant, suitable for external use, (not
supplied), and also suitable for the material of the upper frame.
Consult your sealant supplier.
Before tting the rooight remove the proles covering the ynet
and blind rollers. These are temporarily/partially tted into place
when new. PLEASE NOTE: When fully tted these proles cannot
be removed without being damaged. It is therefore important to
make sure the rooight is tted and operates correctly, before fully
installing the proles.
Correctly align the upper and lower frames and secure evenly with
the screws. Do not over-tighten as this may damage the frame, or
affect the correct operation of the rooight. If the inner frame starts
to distort, the correct torque has been reached (See picture 2-3).
Screws not supplied!
