manuals.online logo
Brands
  1. Home
  2. •
  3. Brands
  4. •
  5. MPK
  6. •
  7. Lighting Equipment
  8. •
  9. MPK VisionVent M pro User manual

MPK VisionVent M pro User manual

1 Issue 01.2021
MPK Metall- und
Plastikverarbeitung GmbH & Co. KG
Friedrich-Ebert-Str. 298-300
D-58566 Kierspe
mpk-kierspe.de
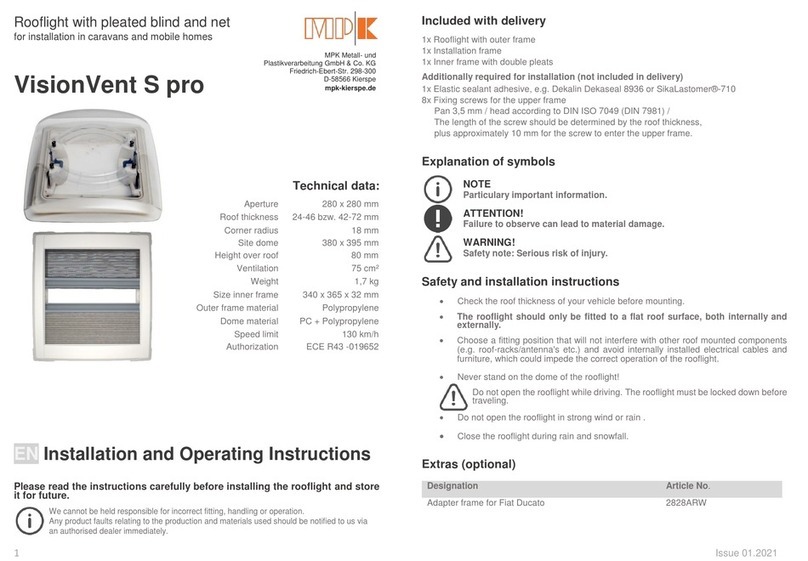
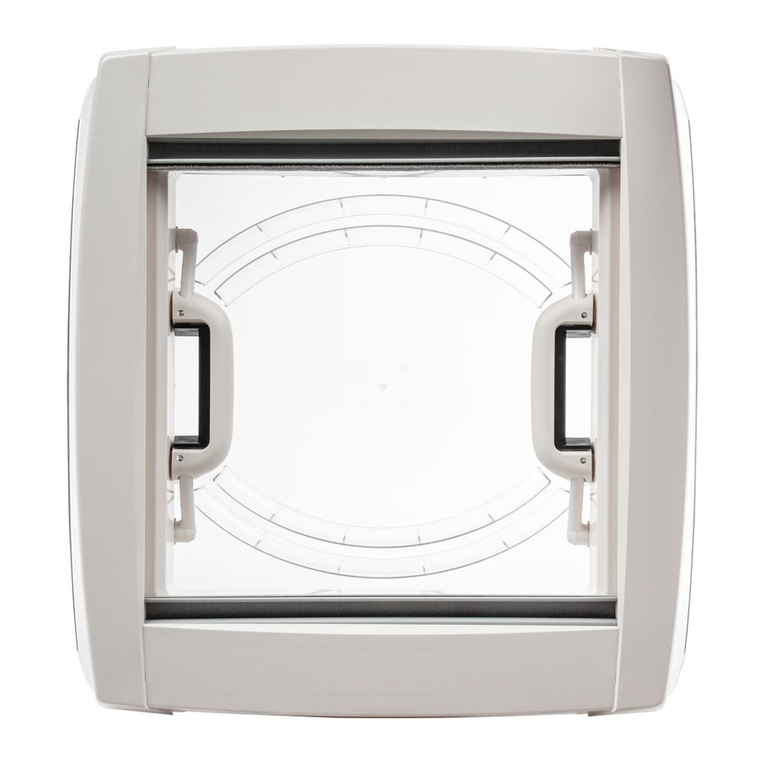
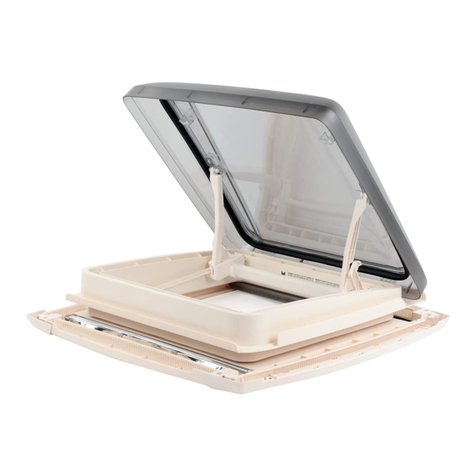
Rooflight with pleated blind and net
for installation in caravans and mobile homes
VisionVent M pro
Technical data:
EN Installation and Operating Instructions
Please read the instructions carefully before installing the rooflight and store
it for future.
We cannot be held responsible for incorrect fitting, handling or operation.
Any product faults relating to the production and materials used should be notified to us via
an authorised dealer immediately.
Included with delivery
1x Rooflight with outer frame
1x Inner frame with double pleats
1x Fixing parts (8x fixing brackets and 4x large plastic screw)
Additionally required for installation (not included in delivery)
1x Elastic sealant adhesive, e.g. Dekalin Dekaseal 8936 or SikaLastomer®-710
8x Fixing screws for the upper frame
Pan 3,5 mm / head according to DIN ISO 7049 (DIN7981) / The length of the screw should
be determined by the roof thickness, plus approximately 10 mm for the screw to enter the
upper frame.
With timber support under the roof lining:
4x Fixing screws for the inner frame:
Pan 3,5 mm / head according to DIN ISO 7049 (DIN 7981) / length max. 10 mm
Explanation of symbols
Safety and installation instructions
Check the roof thickness of your vehicle before mounting.
The rooflight should only be fitted to a flat roof surface, both internally and
externally.
Choose a fitting position that will not interfere with other roof mounted components
(e.g. roof-racks/antenna's etc.) and avoid internally installed electrical cables and
furniture, which could impede the correct operation of the rooflight.
Inner frame
Never stand on the dome of the rooflight!
Do not open the rooflight while driving. The rooflight must be locked down before
traveling.
Do not open the rooflight in strong wind or rain .
Close the rooflight during rain and snowfall.
Aperture
400 x 400 mm
Roof thickness
24-56 bzw. 42-70 mm
Corner radius
23 mm
Site dome
560 x 560 mm
Height over roof
96 mm
Ventilation
150 cm²
Weight
4,0 kg
Size inner frame
565 x 530 x 35 mm
Outer frame material
Polypropylene
Dome material
PC + SAN
Speed limit
130 km/h
Authorization
ECE R43 -019650
NOTE
Particulary important information.
ATTENTION!
Failure to observe can lead to material damage.
WARNING!
Safety note: Serious risk of injury.
2 Issue 01.2021
Installation
Please clean the frames carefully before mounting the
sealant.
Follow the instructions of the sealant manufacturer.
Separate the inner and outer frames and fit the outer frame
to the outside of the roof aperture onto a bed of sealant.
The operating handles facing the front and rear of the
vehicle!
Place over the screw holes on the inside of the frame, the 8
fixing brackets; four in each corner, four in the centre of each
side. Secure with screws, stop as soon as the brackets start to
distort.
Max. Torque 0.5 Nm.
Remove the small tabs on the corner bracket before installing
the inner frame.
To fit the inner frame, gently pull out the pointed ends of the
cover profiles to release them and reveal the fixing points.
Version 1: Timber support under the roof lining
Offer up the inner frame into the outer frame. Use the four small
holes to fix the inner frame withstandard screws into the timber
support.
Version 2: Inner lining made of plywood / polyester layer
Offer up the inner frame into the outer frame and mark drill
holes (large screw hole).
Pre-drill the screw holes and screw the inner frame tight with
the supplied plastic screws.
Refit the inner frame covers by locating the securing lugs
and keeping the covers parallel against the roof whilst sliding
them carefully onto the frame, ‘clicking’ back into position,
without distorting.
Operation
To open the rooflight, press both locking buttons and push the handles upwards.
The rooflight can be opened fully by the handles or in four different directions, so that the
dome can be angled against driving weather conditions.
To close the rooflight, press the locking buttons again and pull the handles down. The roof
hood is locked.
Keep the pleated blinds open while driving to avoid driving noise and damage
from the airstream.
To avoid heat accumulation do not close blind completely during the day. Open
both pleats when not using the vehicle.
Cleaning For easier cleaning of the dome it can be removed from the frame
by releasing the four screws holding the handle arms.
Never remove the screws holding the dome and the
handles together. These are secured by a torque
screwdriver and should only be handled by an approved
dealer.
Use only clear water and a soft sponge.
Solvents may attack the plastic and make it brittle.
Clean the gaps by immersing the hood in a container filled with
water. Let the dirt soak a little.
Use the two handles to pull the hood through the water so that the
dirt can be washed out.
Make sure that only the original screws are used when
replacing the dome and they enter the thread in the plastic
correctly. Do not over-tighten.
Clean the pleated blinds with a soft brush, dry cloth or feather duster.
We strongly advise against wet cleaning, as this can damage the insect screen and
blackout pleated blind.
Extras (optional)
Designation
Article No.
Adapter frame for Fiat Ducato
4040ARW
Warranty
The legal warranty applies.
Var.1
Var. 2
mpk-kierspe.de/Downloads

Other manuals for VisionVent M pro

2

Other MPK Lighting Equipment manuals

MPK VisionVent S pro User manual

MPK

MPK VisionVent S pro User manual

MPK VisionVent M pro User manual

MPK

MPK VisionVent M pro User manual

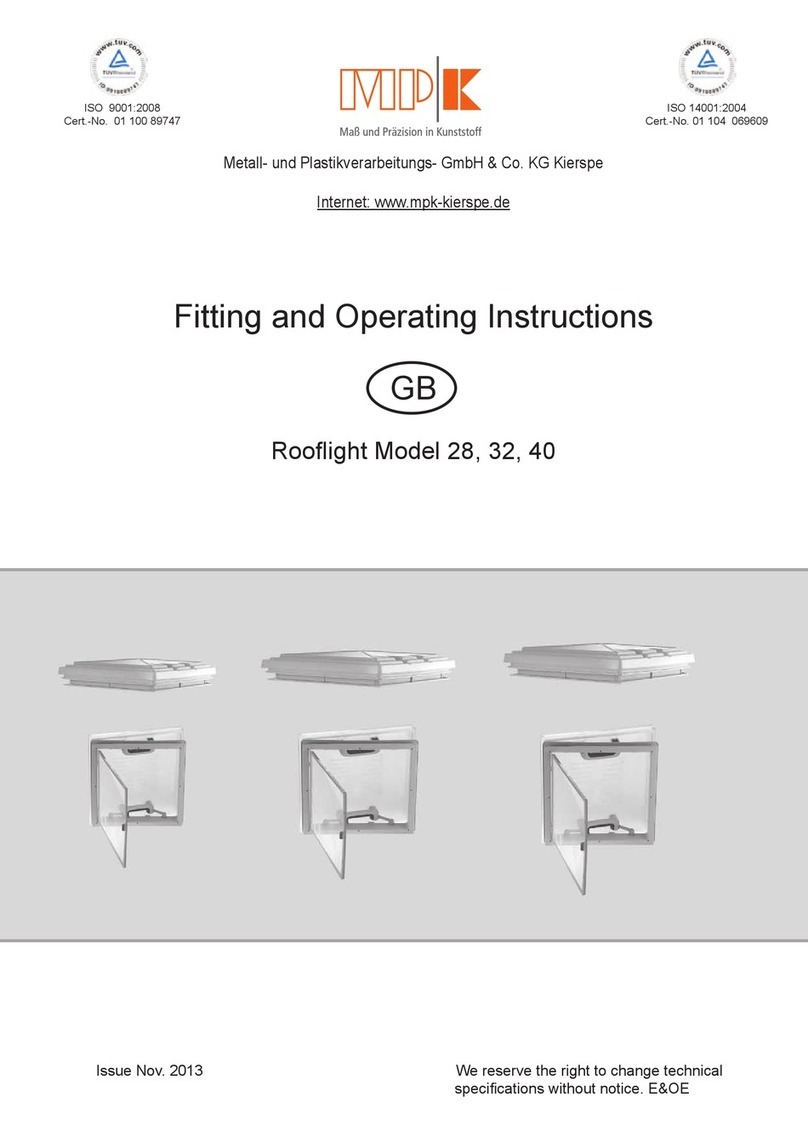
MPK 28 Manual

MPK

MPK 28 Manual

MPK VisionStar L pro LED User manual

MPK

MPK VisionStar L pro LED User manual

MPK VisionStar M pro LED User manual

MPK

MPK VisionStar M pro LED User manual

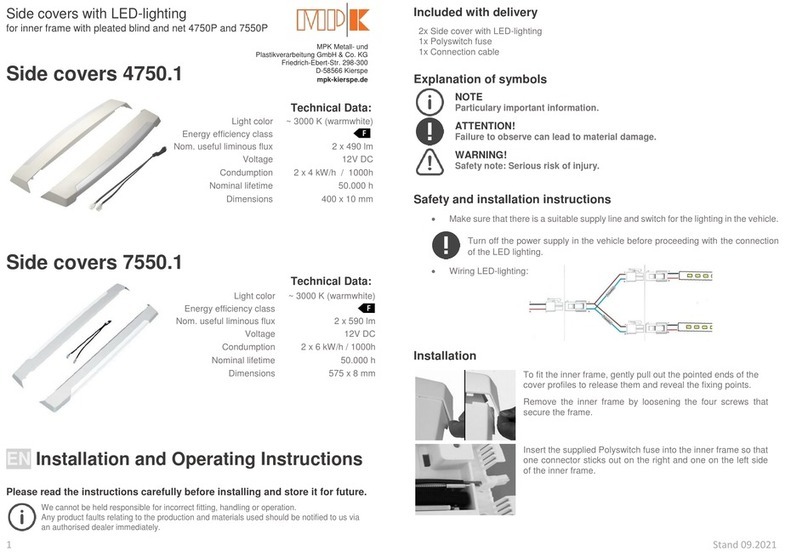
MPK 4750.1 User manual

MPK

MPK 4750.1 User manual

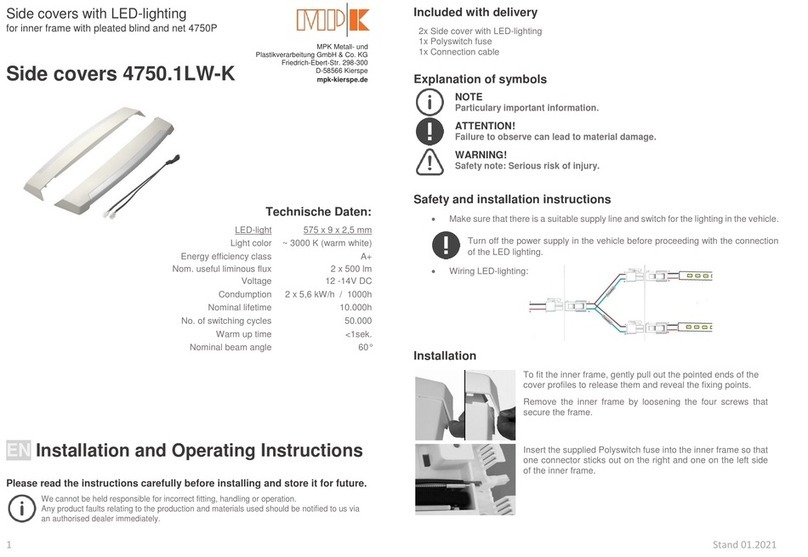
MPK 4750.1LW-K User manual

MPK

MPK 4750.1LW-K User manual

MPK VisionVent M pro Manual

MPK

MPK VisionVent M pro Manual

Popular Lighting Equipment manuals by other brands

Clas Ohlson APL-FL8WJJ13Y instruction manual

Clas Ohlson

Clas Ohlson APL-FL8WJJ13Y instruction manual

Brighter FW200CTO user manual

Brighter

Brighter FW200CTO user manual

ALPHA LITE A Series user manual

ALPHA LITE

ALPHA LITE A Series user manual

Grower's Choice TSL-800 user manual

Grower's Choice

Grower's Choice TSL-800 user manual

PXM PX314 manual

PXM

PXM PX314 manual

Sensio Strata manual

Sensio

Sensio Strata manual

V-TAC VT-5167 Installation instruction

V-TAC

V-TAC VT-5167 Installation instruction

Future light PCC-575E CMY user manual

Future light

Future light PCC-575E CMY user manual

Federal Signal Corporation SIGNALMASTER SM518A instruction sheet

Federal Signal Corporation

Federal Signal Corporation SIGNALMASTER SM518A instruction sheet

EuroLite 52500222 user manual

EuroLite

EuroLite 52500222 user manual

EuroLite LED ML-56 user manual

EuroLite

EuroLite LED ML-56 user manual

Ketra N3 Satellite installation guide

Ketra

Ketra N3 Satellite installation guide

Stagg HEADBANGERXT SLI MHW HBXT user manual

Stagg

Stagg HEADBANGERXT SLI MHW HBXT user manual

Osram ARCHISHAPE Media Tube installation guide

Osram

Osram ARCHISHAPE Media Tube installation guide

Velleman Luxibel CUBIX VDPL302FD user manual

Velleman

Velleman Luxibel CUBIX VDPL302FD user manual

LEGO 76139 manual

LEGO

LEGO 76139 manual

Nice LLW Instructions and warnings for installation and use

Nice

Nice LLW Instructions and warnings for installation and use

Namron PETIT instruction manual

Namron

Namron PETIT instruction manual

manuals.online logo
manuals.online logoBrands
  • About & Mission
  • Contact us
  • Privacy Policy
  • Terms and Conditions

Copyright 2025 Manuals.Online. All Rights Reserved.