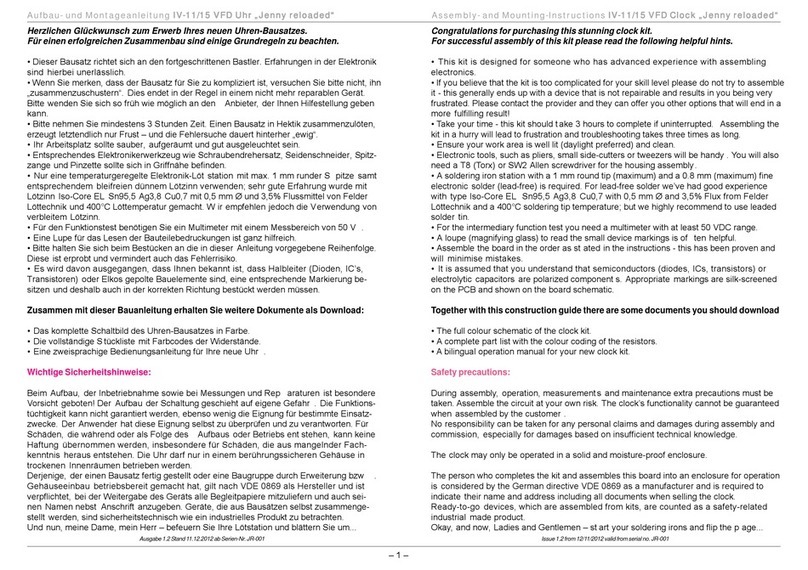
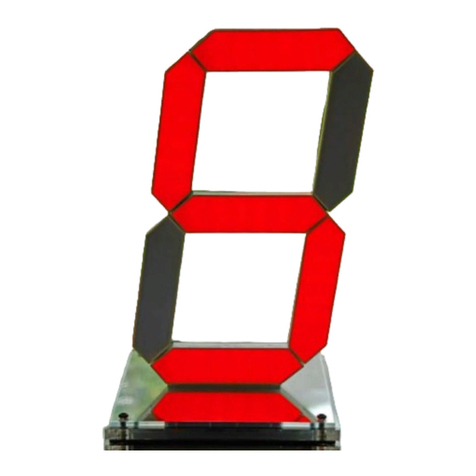
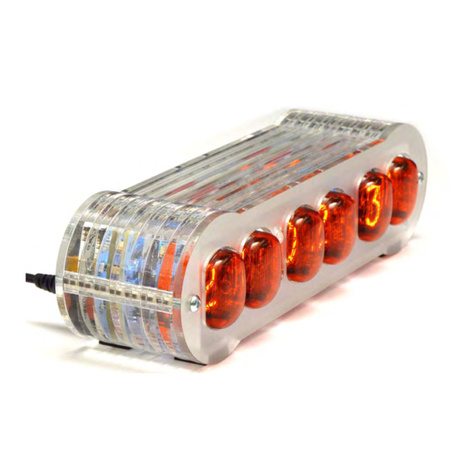
Mr. Nixie IV-12 VFD-Clock Jenny User manual

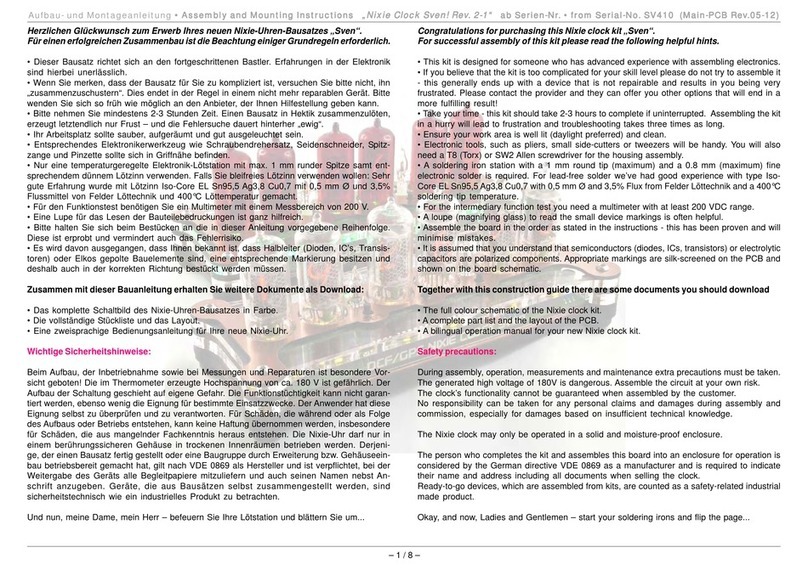
Congratulations on your purchase
of this exceptional piece of jewelry.
Please take some time to read this manual
carefully.
Doing so will ensure your happiness with your
IV-12 VFD clock „Jenny“ for many years.
IV-12VFD-Clock
Jenny
Owners manual
The RGB-Controller
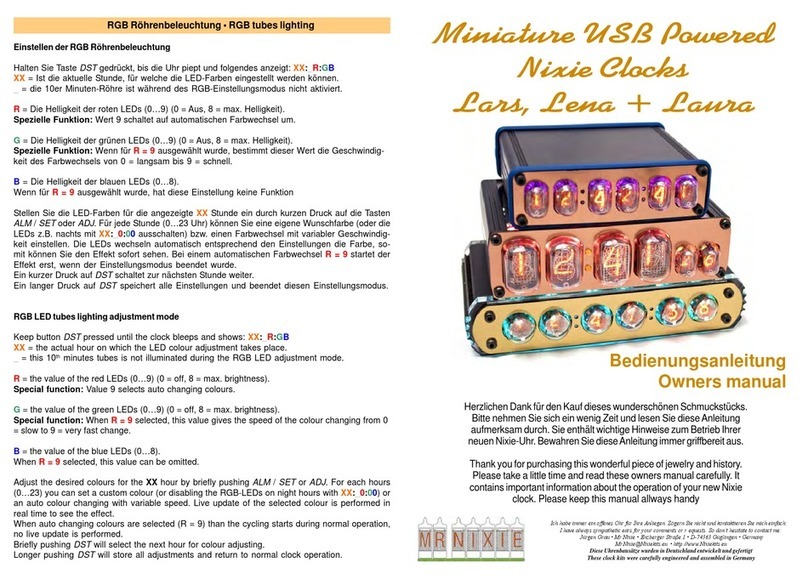
A built in RGB controller, together with the RGB lighting
through the tube sockets makes a seemingly endless play
of millions of color combinations.
Briefly pushing button LED
will stop and start the running sequence.
Press and hold (about 1.5 s) button LED
turns the RGB controller off and on.
2 x briefly pushing button LED
will step through all available sequences as shown below.
Included RGB-sequences
Marker2xblueflashing
Marker2xpurpleflashing
Marker2xwhiteflashing
Breathingcolours
withhighbrightness
Marker2xredflashing
Fadefastthroughfullcolour
spectrumwithhighbrightness
Fadefastthroughfullcolourspectrumwithlowbrightness
Marker2 xyellow flashing
Fadeslowthroughfullcolour
spectrumwithhighbrightness
Marker2xgreenflashing
Pastellcoloursfast
withhighbrightness
Marker2 xcyanflashing
Fadecyantogreenwithhighbrightness
Brieflypushing twicebutton „LED“
(likea „doubleclick“with acomputer mouse)
willclockwisestep throughall sequences.
Fadeslowthroughfullcolour
spectrumwithlowbrightness
Pastellcoloursfast
withlowbrightness
Pastellcoloursslowwithhighbrightness
Pastellcoloursslowwithlowbrightness
Fadecyantogreenwithlowbrightness
Fadepinktopurple
withhighbrightness
Fadepinktopurple
withlowbrightness
Breathingcolourswithlowbrightness

IV-12 VFD Clock JennyIV-12 VFD Clock Jenny
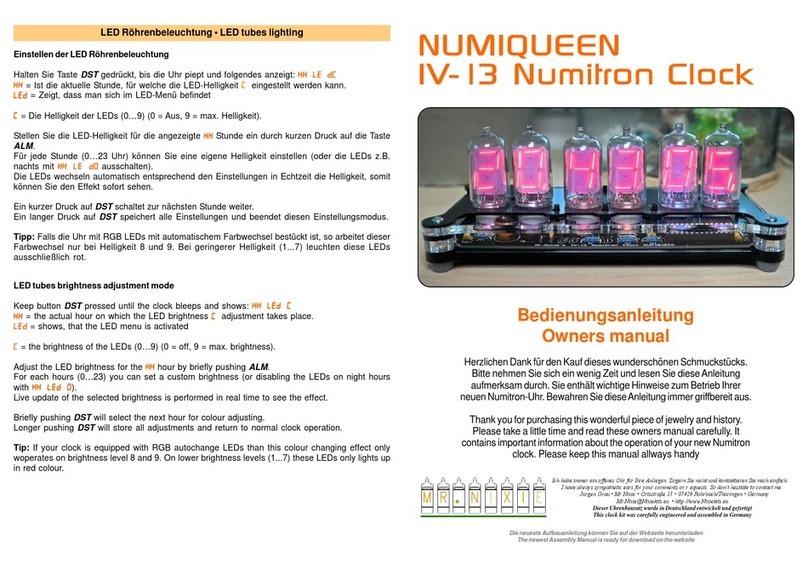
Technical Data
Display: IV-12 VFD tubes, 21 mm numerals.
Tubes plugged on pins.
Flashing decimal points.
Programmable brightness.
Programmable RGB tube lighting.
Buzzer: Programmable alarm sound.
Programmable snooze.
Time: 24- or 12-hours format.
Effects: Programmable digit cross fading.
Programmable date display.
Programmable digit scrolling.
Power: 12VDC from included power supply.
Power-Conn.: 5,5 mm DC plug (Ø 2,1 mm inner).
Polarity of power supply is negligible.
Consumption: max. 6 VA
Timekeeping: 1F GoldCap capacitor for backup built-in.
Precision: Internal 4 MHz crystal. Adjustable with the
buttons for minimal deviation.
Seconds can easily set to zero by button.
Enclosure: Laser milled Plexiglas „sandwich-principle“.
Deimensions: ca. 198 mm (w), 23 mm (h), 65 mm (d)
without tubes, 75 mm (h) with tubes.
Weight: ca. 350 g (without power supply)
Specifications subject to change without notice.
Updated 29-11-2010
Enabling / disabling the alarm
During display mode the alarm can be toggled by
pushing the SET button.
The red LED behind push button switch „Alarm/Set“
shows whether the alarm is enabled
(on=enabled).
When alarm is sounding, press button ADJUST to
activate the snooze function.
Pressing button SET at any time will cancel snooze.
Alarm will be switched off automatically after one
minute.
Example: Date setup
Starting at display mode push button MODE twice to
activate the date display, then hold SET button for 2s.
Years starts to flash ...................................
1919
1919
19
0909
0909
09
Push button ADJUST as needed to set
the correct year of the date .........................
11
11
199
99
9
00
00
099
99
9
Push button SET (months are flashing) .........
1919
1919
19
1010
1010
10
Push button ADJUST as needed to set
the correct month of the date ......................
1919
1919
19
1010
1010
10
Push button SET (days are flashing) .............
0303
0303
03
1010
1010
10
Push button ADJUST as needed to set
the correct day of the date ..........................
0303
0303
03
1010
1010
10
Now hold button SET for 2s to exit setup mode.The clock
returns to the standard display mode.
Do you have any questions, suggestions or problems?
I am always available for your comments or requests.
Please don’t hesitate to contact me:
Jürgen Grau • Feiningerweg 28/1 • D-72622 Nürtingen • Germany
This clock kit was carefully engineered and assembled in Germany.
211

IV-12 VFD Clock JennyIV-12 VFD Clock Jenny
Example: Time setup
Starting at display mode hold button SET for 2s.
Seconds starts to flash................................
1414
1414
14
5656
5656
56
Push SET (minutes are flashing)...................
1414
1414
14
1616
1616
16
Push button ADJUST several times and set
the correct minutes time .............................
1414
1414
14
2424
2424
24
Push button SET (hours are flashing) ............
0000
0000
00
3232
3232
32
Push button ADJUST several times and set
the correct hours time .................................
0000
0000
00
4141
4141
41
Push button SET (seconds are flashing) ........
1616
1616
16
0000
0000
00
Push button ADJUST ...................................
1616
1616
16
0000
0000
00
Every time when pushing the button ADJUST the seconds
are set to „00“. Repeat this step until the correct time is
valid.
Now hold button SET for 2s to exit setup mode.The clock
returns to the standard display mode.
Example: Alarm setup
Starting at display mode push button MODE once to
display the alarm time, then hold button SET for 2s.
Hours starts to flash ...................................
0000
0000
00
11
11
1
Push button ADJUST several times and set
the correct hour for the alarm ......................
0000
0000
00
11
11
1
Push button SET (minutes are flashing) ........
0606
0606
06
11
11
1
Push button ADJUST several times and set
the correct minutes for the alarm .................
0606
0606
06
11
11
1
Push button SET (seconds are flashing) ........
0606
0606
06
1515
1515
15
Push button ADJUST several times ...............
0606
0606
06
1515
1515
15
Pushing ADJUST sets the snooze delay between 1 and 9
minutes.
Now hold button SET for 2s to exit setup mode.The clock
returns to the standard display mode.
10 3
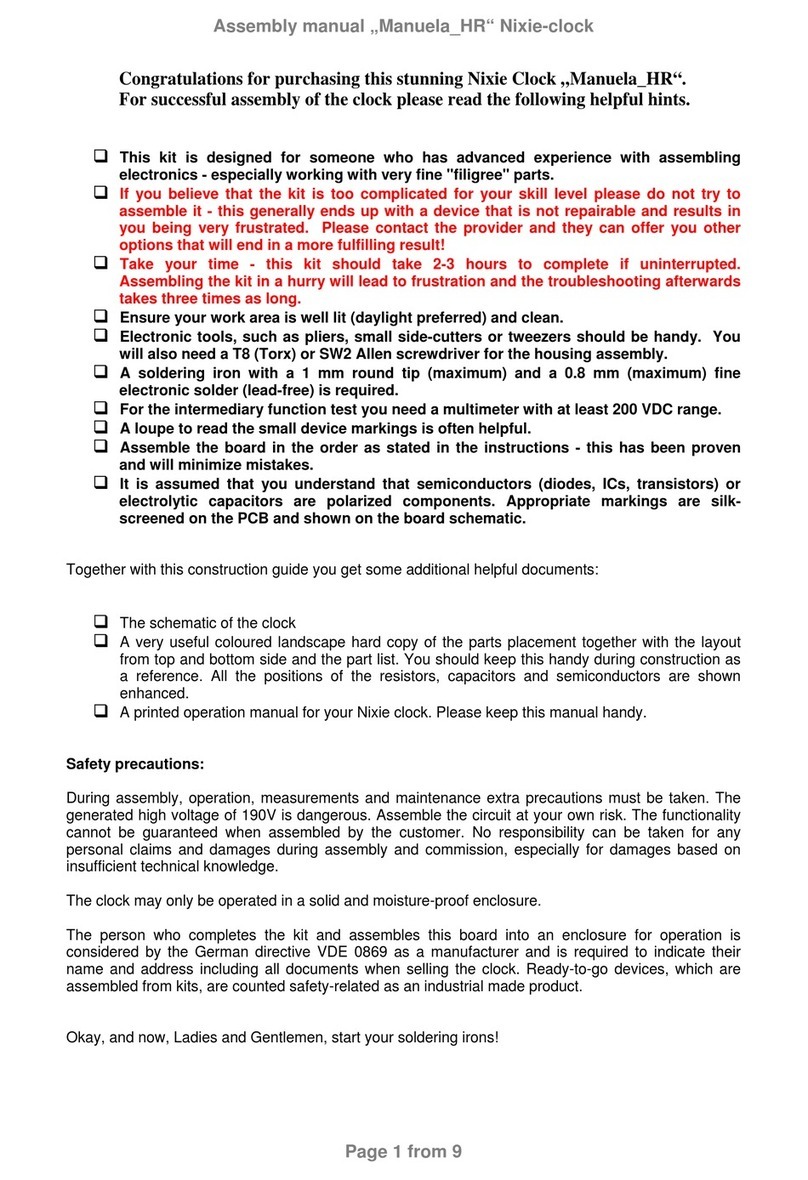
For your safety – please read carefully!
•Don’t open the enclosure when the clock is
powered up. There are no serviceable parts inside.
•Danger! High voltage exists on the board. Do not
touch parts of the circuit during testing other than
the switches while the clock is under power.
•Do not operate the clock with damaged or
removed tubes.
•Handle the clock with care.
•Beware of hard impacts.
•Use the clock only in a dry environment.
•Don’t expose the clock to moisture or rain.
•The clock warms up during operation. Don’t
operate near heat sources or cover the clock.
•Don’t place or use the clock on metal surfaces.
•Only replace the AC power adapter with one
with similar ratings as stated in the technical
data sheet.
Starting up
Simply plug in the DC connector of the supplied wall power
supply to the 12V= jack on rear and plug the power supply
to your wall socket.
The clock is powered up and shows the time
00
00
0
0000
0000
00
0000
0000
00
.
Three different modes
Three different modes are used to maintain the clock, the
buttons MODE and SET toggles between these modes:
• display mode (mode for display time / date)
• setup mode (to setup the clock)
• option mode (for customizing your clock)
If no buttons are pressed for several seconds while
within either setup mode or option mode the clock
will automatically exit to the standard display mode.

IV-12 VFD Clock JennyIV-12 VFD Clock Jenny
Display Mode
This is the standard display mode.
The clock shows the actual time and fades the date display
or scrolls the digits for time to time as customized in the
option menu stated at page 6.
Button MODE
Briefly pushing button MODE rotates the display showing
time – alarm – date.
No keypress for several seconds returns to the time display.
Longer pushing button MODE enters the option mode.
Button SET
Briefly pushing button SET toggles the alarm.
The red LED behind this button switch indicates the
activation of alarm.
Longer pushing button SET enters the setup mode.
Button ADJUST
Pushing button ADJUST quickly fades for around four
seconds to the date display.
Button LED
Pushing this button activates the RGB controller for the
tube’s lighting. Detailed informations are found on the
last page of this manual.
The value is automatically stored in the EEPROM and
is recalled even in the event of a total power loss.
Tips for fine adjusting the accuracy.
Set the time to an accurate reference clock, eg. a DCF or GPS controlled
radio clock. Then check regularly how many full (!) seconds your clock runs
fast or slow within a specific timespan.
The following formula calculates the necessary correction value:
(550 / timespan in hours) * deviation in seconds within this timespan
Example: Your clock lost 2 seconds within 72 hours. With the formula you’ll
get a correction value of around 15 the clock needs to speed up. Add this
value now to the saved (!) value.
Set „170“ as start value for the beginning of the adjusting sequence.
Option 11
Alarm tone sound
1111
1111
11
0101
0101
01
fast bleep (Std.)
1111
1111
11
0909
0909
09
slow bleep
1111
1111
11
1010
1010
10
no function
Option 12
Dimmed brightness
1212
1212
12
0000
0000
00
Display is turned off
1212
1212
12
1010
1010
10
maximum brightness (Std.:
0404
0404
04
)
Option 13
Start time of dimmed brightness
Set hour of time to start dimming.
1313
1313
13
0000
0000
00
Start at midnight (Std.)
1313
1313
13
2323
2323
23
Start at 23.00 (11.00 PM)
Option 14
Timed dim duration in hours
1414
1414
14
0000
0000
00
Dimming disabled (Std.)
1414
1414
14
2323
2323
23
23 hours (maximum)
1414
1414
14
2424
2424
24
Dimming always enabled
4 9

IV-12 VFD Clock JennyIV-12 VFD Clock Jenny
Option 7
Digit cycling mode
This is an interesting eye-catching feature. The display
scrolls through all (also unused) digits like a slot machine.
0707
0707
07
00
00
0
Effect disabled (Std.)
0707
0707
07
11
11
1
Slots cycle every minute
0707
0707
07
22
22
2
Wave cycle every minute
0707
0707
07
33
33
3
Slots cycle every ten minutes
0707
0707
07
44
44
4
Slots cycle every full hour
0707
0707
07
55
55
5
Slots cycle only at midnight
Option 8
Slot stop format
0808
0808
08
11
11
1
Digits from left to right
0808
0808
08
22
22
2
Digits from right to left
0808
0808
08
33
33
3
All at once
0808
0808
08
44
44
4
Random sequence
For saving tubes life option 2 should be enabled.
Option 9
Brightness of standard tube display
0909
0909
09
11
11
1
minimum brightness
0909
0909
09
1010
1010
10
maximum brightness (Std.:
0909
0909
09
)
Option 10
Clock’s precision setup
This option adjusts the timekeeping for excellent accuracy
based on crystals’s frequency deviation.
1010
1010
10
11
11
1
7070
7070
70
Standard value
Adding „1“ (Press button ADJUST) will speed up the clock
by around 1.3 seconds per month, substracting „1“ (Press
button SET) will slow down the clock in similar way.
8 5
Setup Mode
In this mode time, alarm and date values can be modified.
Entering the setup mode
To enter setup mode, hold Button SET for 2s during display
mode. The value of the flashing digit can now be adjusted.
First choose in display mode by briefly pushing the
button SET which item you want to to adjust
(time, alarm or date), then hold the button SET for
2 seconds.
Button SET
Briefly pushing button SET toggles through the digits to
adjust (e.g. seconds -> minutes -> hours).
Longer pushing button SET returns to display mode.
Button ADJUST
Briefly pushing button ADJUST increases the value of the
fashing digit.
If seconds are selected, every push on button ADJUST
resets the seconds to „00“. Repeat this until the
correct time is valid.
Button MODE
Briefly pushing button MODE selects the display to adjust
(time -> alarm -> date).
Longer pushing button MODE enters the option mode.

IV-12 VFD Clock JennyIV-12 VFD Clock Jenny
Option 3
Digit cross fading
This option will enable and setup the speed of cross fading
the digits.
0303
0303
03
00
00
0
fading disabled (Std.)
0303
0303
03
11
11
1
fast fading digits
0303
0303
03
99
99
9
slow fading digits
Option 4
Date format
This option sets the date format during display.
0404
0404
04
11
11
1
DD / MM / YY (Std.)
0404
0404
04
22
22
2
MM / DD / YY
Option 5
Date display
Enables and adjusts automatic date display frequency.
0505
0505
05
00
00
0
date display disabled (Std.)
0505
0505
05
11
11
1
every 10 s
0505
0505
05
22
22
2
every 20 s
0505
0505
05
33
33
3
every 30 s
0505
0505
05
44
44
4
every 40 s
0505
0505
05
55
55
5
every 50 s
0505
0505
05
66
66
6
at the top of the hour
0505
0505
05
77
77
7
only at midnight
Option 6
Date display scrolling speed
This option setup the speed for the „left-out direction“
scrolling of time display before showing the date.
0606
0606
06
11
11
1
fast scrolling (Std.)
0606
0606
06
44
44
4
slow scrolling
6 7
Option Mode
With the option mode you can customize your clock for
your pleasure and interesting optical effects.
To enter this mode, hold Button MENU for 2s during display
mode or setup mode.
The option mode consists of 14 different menu selections.
The option is displayed on the hours tubes with the
corresponding value flashing on the seconds tubes.
Pressing button ADJUST will increase the value.
Pressing button MENU cycles through all options.
The clock will automatically return to the display mode
if no keys are pressed for a few seconds.
All adjusted values will then be saved and activated.
The (Std.) values are automatically recalled after a total
power loss (if the SuperCap capacitor was discharged).
Option 1
Time display format
0101
0101
01
2424
2424
24
24 hours format (Std.)
0101
0101
01
1212
1212
12
12 hours format
During setup mode and / or adjusting time / alarm the
display allways is in 24 hours format.
Option 2
Leading zero suppression
Will suppress the leading „0“ between midnight and
10 ‘o’clock.
Than the time is shown as
99
99
9
5858
5858
58
1212
1212
12
not as
0909
0909
09
5858
5858
58
1212
1212
12
.
0202
0202
02
00
00
0
suppression disabled
0202
0202
02
11
11
1
suppression enabled (Std.)
For saving tubes’ life please leave this option enabled.
Table of contents
Other Mr. Nixie Clock manuals

Mr. Nixie
Mr. Nixie Lars User manual

Mr. Nixie
Mr. Nixie Anita User manual

Mr. Nixie
Mr. Nixie Strawberry User manual

Mr. Nixie
Mr. Nixie NUMIQUEEN IV-13 User manual

Mr. Nixie
Mr. Nixie Anita User manual

Mr. Nixie
Mr. Nixie Jenny reloaded Quick start guide

Mr. Nixie
Mr. Nixie Manuela HR User manual

Mr. Nixie
Mr. Nixie Strawberry IN-28 User manual

Mr. Nixie
Mr. Nixie Manuela HR User manual

Mr. Nixie
Mr. Nixie SV410 Quick start guide