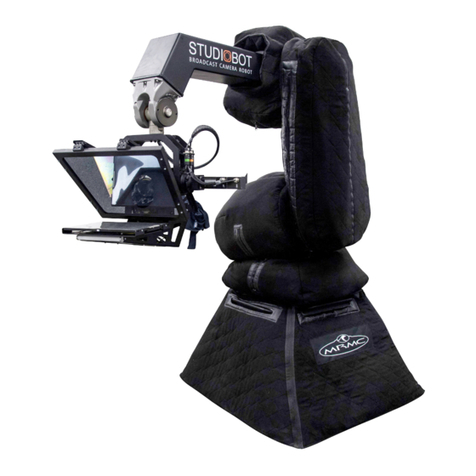
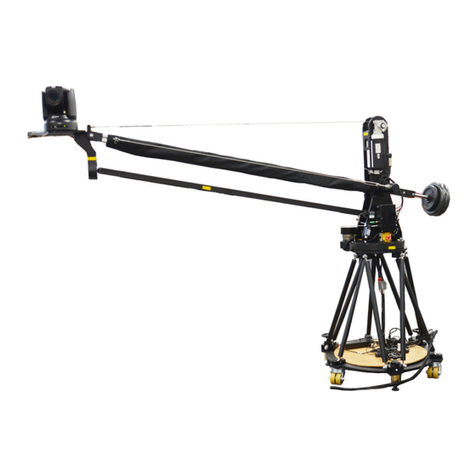
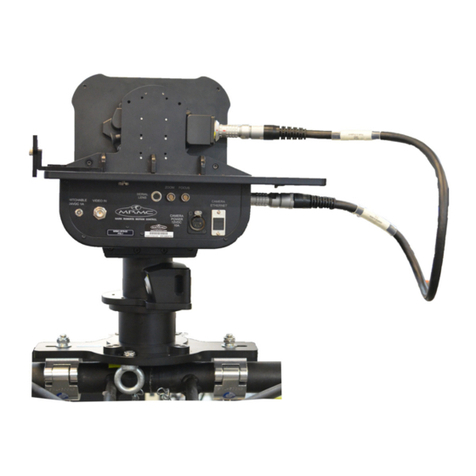
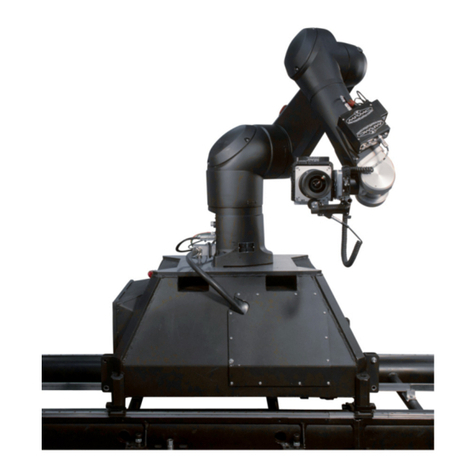
MRMC BROADCAST TALOS User manual

ii
Broadcast Talos Quick Start Guide
QSG Product code: MRMC-2113-00
Product Covered: MRMC-2081-00
© 2021 Mark Roberts Motion Control Ltd. All rights reserved.
No part of this publication may be reproduced, transmitted, or translated
by any means — graphical, electronic, or mechanical — including
photocopying, recording, taping, or storage in an information retrieval
system, without the express written permission of Mark Roberts Motion
Control.
Although every care has been taken to ensure that the information in this
document is accurate and up to date, Mark Roberts Motion Control
continuously strives to improve their products and may make changes to
the hardware, firmware, and software described in this document. Mark
Roberts Motion Control therefore cannot be held responsible for any
error or omission in this document.
All product names mentioned herein are the trademarks or registered
trademarks of their respective owners.
Contact information
Mark Roberts Motion Control Ltd.
Unit 3, South East Studios
Blindley Heath
Surrey
RH7 6JP
United Kingdom
Telephone: +44 (0) 1342 838000
Web: www.mrmoco.com
www.mrmocorentals.com

Broadcast Talos Quick Start Guide
iii
Broadcast TalosQuick Start GuideBroadcast TalosQuick Start Guide
Contents
Chapter 1 Assembling the hardware .............................................. 1
Safety........................................................................................1
Overview .................................................................................1
General procedure .................................................................3
Mounting the head.................................................................4
Mounting Talos on the Track ...............................................5
Connecting the cables ...........................................................8
Umbilical cable - base - turret connections ..............8
Rail Connector Panel - Flight Case connections .......
9
Attaching the track motor pinch wheel to Talos ....11
Removing the trolley wheels .....................................13
Appendix 1 Talos panels.................................................................. 16
Panel summary.....................................................................16
Appendix 2 Specifications............................................................... 18

Broadcast Talos Quick Start Guide
iv

Broadcast Talos Quick Start Guide
1
Broadcast TalosQuick Start GuideBroadcast TalosQuick Start Guide
Chapter 1 Assembling the hardware
Safety
•Due to the size and weight of Talos components, it is recommended
that you use at least two people to assemble it.
•Do not use around flammable gas. All electrical equipment can
generate sparks that can ignite flammable gas.
•Talos has powerful motors that can pinch, so take care not to get
your hands trapped in the rig or cabling.
•Keep the equipment dry. The system has not been made
weatherproof. Do not use with wet hands.
•Keep cables tidy. Use cable ties to keep them out of harm’s way. If
you have a head with slip rings then make use of them; avoid
running any cables between Talos and the rotating head or camera if
possible.
•Use a 240V AC power supply that is properly earthed (grounded).
This is not only for safety reasons; electrical noise on an unearthed
system can make axes controller boards trip out unpredictably,
interrupting the shoot and creating intermittent problems that can
be difficult to trace.
Overview
Thank you for using the Broadcast Talos motion control rig from Mark
Roberts Motion Control (MRMC). Talos is designed for reliable day-in,
day-out use in professional studio and Outside Broadcast environments.
Broadcast Talos is typically part of a complete motion control system that
includes:

Broadcast Talos Quick Start Guide
2
Talos itself.
A head such as an Ulti-Head or SFH-50, on which you mount
your video camera.
A Teleprompter
A Windows PC running MRMC Software.
Additional controllers such as a Broadcast Panel, Hand-Held
Box (HHB), Mimic Handwheels or Pan Bars.

Broadcast Talos Quick Start Guide
4
Mounting the head
If not already mounted, you can mount the head under-slung as shown or
over-slung.
Mount the head to the swan neck with the single bolt and disk,
making sure that the key on the head fits into the slot in the neck.
Key
Slot
Disk
Example: Ulti-Head

Broadcast Talos Quick Start Guide
5
Mounting Talos on the Track
1. Roll the Talos to a position just off the end of the track, raise the rig
on its wheels high enough to go over the track using the wheel
cranks, and rotate the Talos on its wheels to be the correct way
around so that the track motor gear on the Talos underside is on the
toothed side of the rack. Do not engage the teeth yet; just make
sure the rig is the correct way around for the track.
2. On the underside of the Talos, remove the pinch wheel if you haven’t
already done so and push the track motor out of the way on its
sliding bearings, so that the track motor gear will not interfere with
the Rack on the track. (For details of removing the pinch wheel,
follow the procedure on page 11 in reverse order.) Do not slide the
pinion gear too far away from the rack when moving it into place,
the rear (inner) track motor mounting bolt will hit the racking as
you drop the rig down.
3. Push the Talos on its wheels over the track about a metre, being
careful not to push the track motor gear against the rack while
moving.
4. Carefully lower the Talos onto the track, ensuring that the track
motor gear on the underside of the Talos clears the rack.
5. Apply the brakes to the wheels to keep them from pivoting against
the track (the brakes affect both rotation and pivot), and raise the
wheels off the ground so the full Talos weight is taken by the track.
Broadcast Talos Quick Start Guide
6
6. .Add the cable chain to the tray such that the panel can be mounted
at the end of the rails and the bracket at other end can be secured
with Talos.
7. Secure the cable chain with the cable tray top.
8. Attach the track motor pinch wheel on the underside of the Talos,
described in Attaching the track motor pinch wheel to Talos on page
11.
9. Add the cable tray cover strips along the length of the track. The
thicker one is for the side closer to the edge of the rail and thinner
one for the other side. Secure using nylocks.
Thicker strip Thinner strip

Broadcast Talos Quick Start Guide
7
10. Secure the cable tray cover (using 2 x screws) at the end of the round
rail track to close the tray opening.
Tray cover

Broadcast Talos Quick Start Guide
8
Connecting the cables
Umbilical cable - base - turret connections
MAINS IN
ETHERCAT
Video
signals
Talos base panel
Talos turret panel
MAINS
OUT Wired to the Track
Connector Panel
Umbilical
Cable
Chain
Picture of umbilical - base - turret connections:
Turret
Base
Umbilical cable chain
Additional
panel

Broadcast Talos Quick Start Guide
9
Rail Connector Panel - Flight Case connections
Ethernet
Power Supply:
120-240 Volts
hub
5V
24V IN
E-stop
Bypass
jumper*
Bypass jumper*
HEAD
ETHERCAT
ETHERCAT
ETHERNET
for HEAD
ETHERNET
for CAMERA
VIDEO
ESTOP
Software PC
Rail Connector Panel

Broadcast Talos Quick Start Guide
10
Example: Connections to the slip ring base on the Ulti-head:
Important
For more information on using the Universal Robot system, refer to
the Universal E-stop System Quick Start Guide.

Broadcast Talos Quick Start Guide
11
Attaching the track motor pinch wheel to Talos
1. On the separately supplied pinch wheel assembly, remove the brass
retaining pin by pulling on the ring.
2. Mount the pinch wheel assembly onto the track motor on the Talos
underside, by sliding the track motor gear against the rack and
putting the pinch wheel Socket onto the track motor Mounting bar.
3. Push the track motor slightly towards the rail racking so that the
track motor gear is in mesh with the rack.
4. Replace the retaining pin in the pinch wheel assembly by pushing on
the ring (not the sleeve), to hold the assembly in place on the track
motor.
Mounting bar
2
6
5Socket
3
Anti skip block
1

Broadcast Talos Quick Start Guide
12
5. Use the lever into the pinch wheel CAM to pull it towards the rack
until it snaps into position. This holds the track motor gear firmly
against toothed side of the rack.
6. Connect the pinch wheel cable and use cable ties to hold it securely
up away from the track.

Broadcast Talos Quick Start Guide
13
Removing the trolley wheels
If you mount Talos onto a track or permanent base then you can remove
the two trolley wheel units that are on either side of the Talos base.
1. With the base of Talos supported by the track or other base mount,
turn the crank on each end of the wheel unit so that the wheels are
suspended in the air, just above the ground.
2. Lift the wheel unit slightly to take the stress off the brass retaining
pins, and pull out the retaining pin at each end of the wheel unit.
Top vie w
Oblique view
1
1
2
2
2
Retaining pin

Broadcast Talos Quick Start Guide
14
3. Lift the wheel unit away from the Talos base.
4. Insert the retaining pins back into the Talos base, for safe keeping.
5. If you are going to store the wheels for weeks or months, release the
wheel brakes so they don’t leave a dent in the wheel rubber. You can
also retract the wheels into their narrowest position if you want.
3
4
5

Broadcast Talos Quick Start Guide
15

Broadcast Talos Quick Start Guide
16
Broadcast TalosQuick Start GuideBroadcast TalosQuick Start Guide
Appendix 1 Talos panels
Panel summary
1, 10. LIFT Ethernet RJ45 connector to connect to the Ethernet connector
on the turret (10) to service the lift arm.
2, 13. E-stop used to connect the two Estop connectors on the base and
the turret.
1
2
3 4
5
710
12
8
11
6
9
Turret
panel
Base
panel 13
14
15
This manual suits for next models
2
Table of contents
Other MRMC Robotics manuals

MRMC
MRMC CINEBOT Bolt Jr+ User manual

MRMC
MRMC Bolt Junior User manual

MRMC
MRMC SHOWBOLT JUNIOR User manual

MRMC
MRMC STUDIOBOT XL User manual

MRMC
MRMC UR10 ROBOT Mover User manual

MRMC
MRMC MRMC-2165-00 User manual

MRMC
MRMC STUDIOBOT TX90 User manual

MRMC
MRMC Bolt Jr+ User manual

MRMC
MRMC CINEBOT MINI User manual

MRMC
MRMC Studiobot-165 User manual