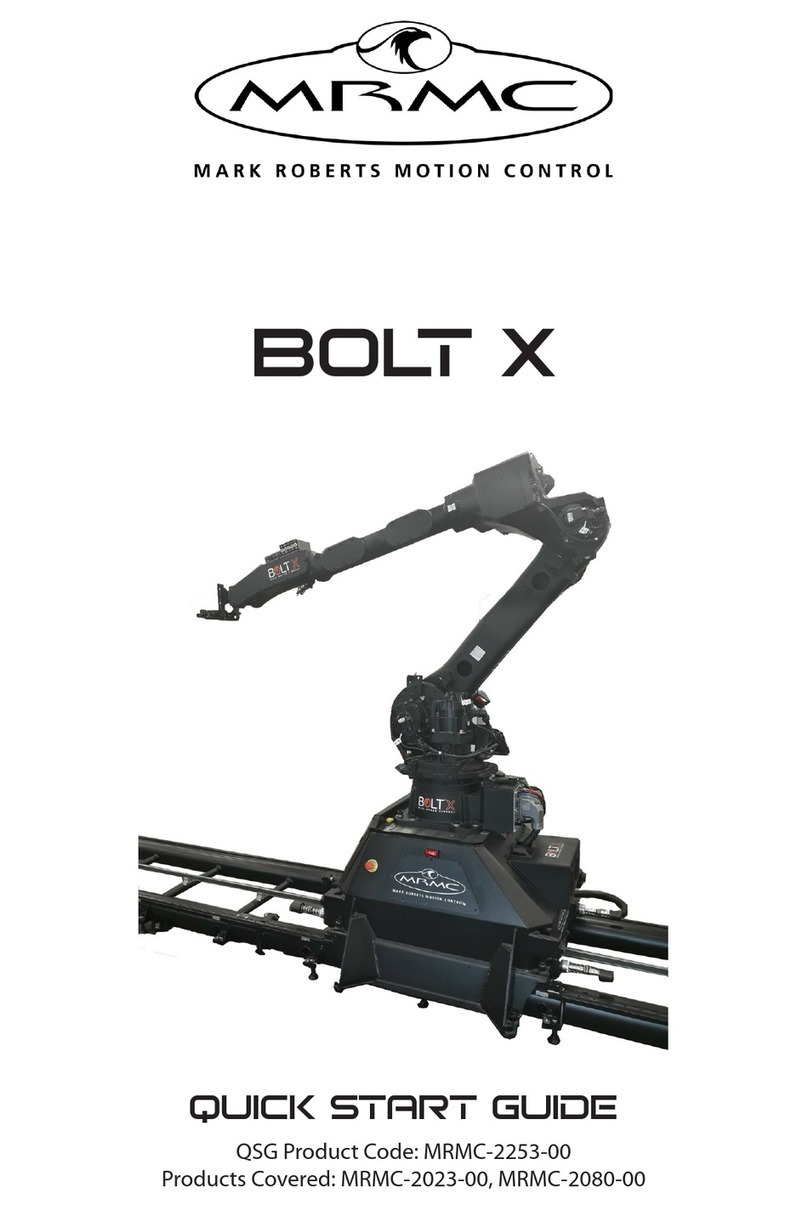
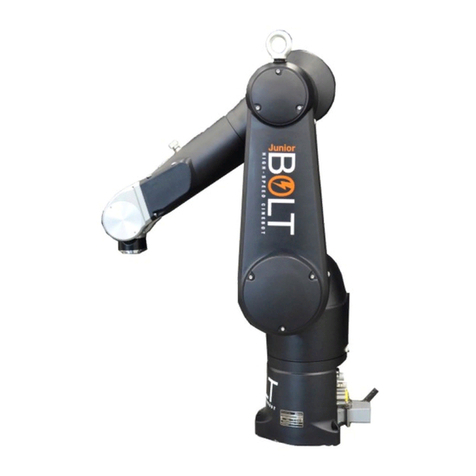
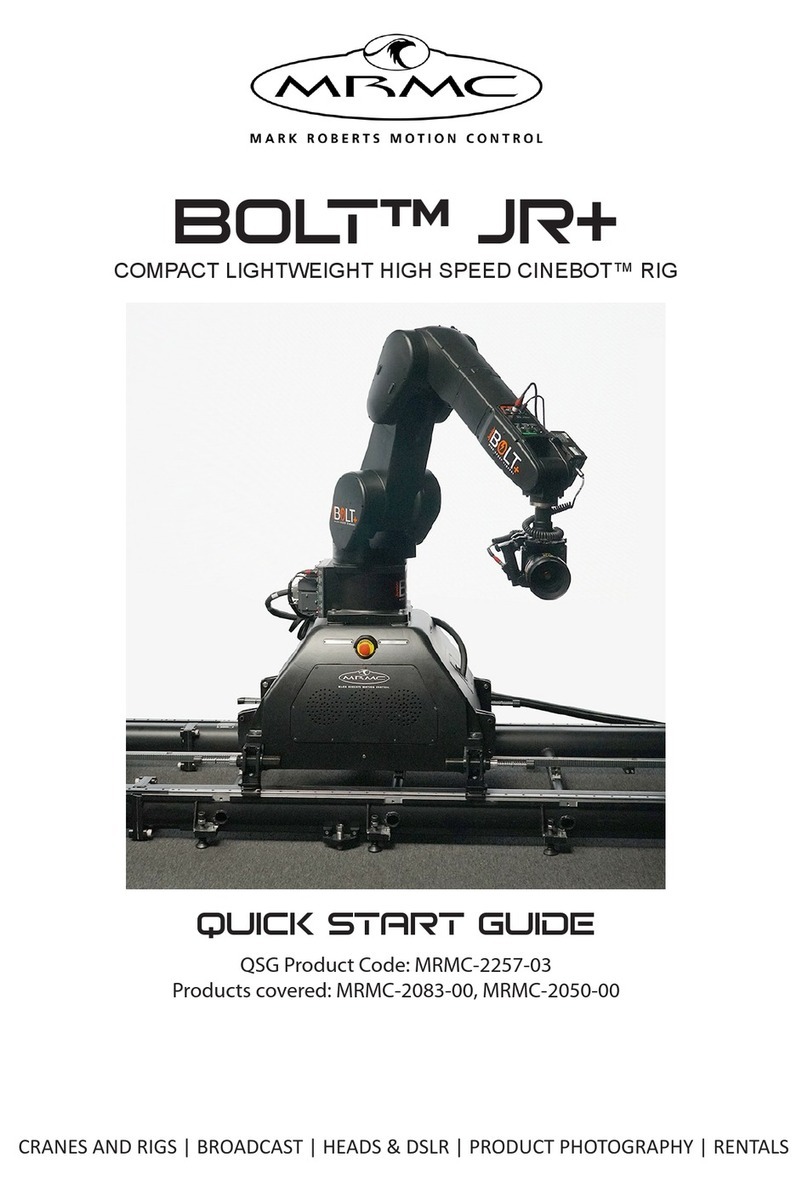
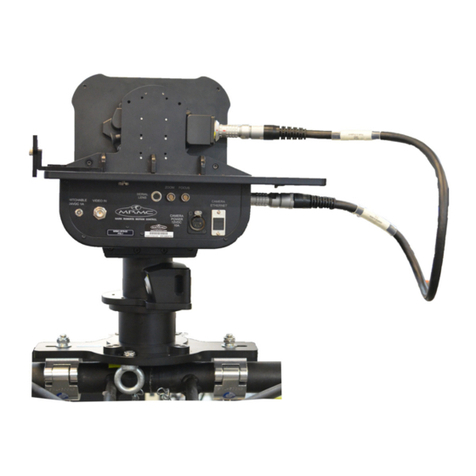
MRMC SHOWBOLT JUNIOR User manual

Showbolt
Junior
Quick Start Guide
QSG Product Code: MRMC-2191-00
Products Covered: MRMC-2186-00

ii
Showbolt Junior Quick Start Guide
QSG Product Code: MRMC-2191-00
Products Covered: MRMC-2186-00
© 2022 Mark Roberts Motion Control Ltd. All rights reserved.
No part of this publication may be reproduced, transmitted, or translated
by any means — graphical, electronic, or mechanical — including
photocopying, recording, taping, or storage in an information retrieval
system, without the express written permission of Mark Roberts Motion
Control.
Although every care has been taken to ensure that the information in this
document is accurate and up to date, Mark Roberts Motion Control
continuously strives to improve their products and may make changes to
the hardware, firmware, and software described in this document. Mark
Roberts Motion Control therefore cannot be held responsible for any
error or omission in this document.
All product names mentioned herein are the trademarks or registered
trademarks of their respective owners.
Contact information
Mark Roberts Motion Control Ltd.
Unit 3, South East Studios
Blindley Heath
Surrey
RH7 6JP
United Kingdom
Telephone: +44 (0) 1342 838000
Web: www.mrmoco.com
www.mrmocorentals.com

iii
Showbolt Junior Junior Quick Start GuideShowbolt JuniorQuick Start Guide
Contents
Chapter 1 Quick Start..................................................................... 1
Overview ................................................................................. 1
How it Works.................................................................2
Setting up the Showbolt Junior System......................2
Connecting the cables ...........................................................3
Connecting the Cables - Showbolt Arm.............................4
Starting up the Showbolt system..........................................6
Showbolt Jr start-up summary....................................8
Showbolt Bridge Application................................................9
Network setup ...............................................................9
Using the Showbolt Bridge..........................................9
Web interface...............................................................10
Operational modes .....................................................11
zCam recording .................................................12
Checking the zCam Video Feed ......................13
Modifying zCam’s IP Address.........................13
Batch file commands ..................................................14
Showbolt Bridge Editing Sequence .................15
Error Message..............................................................17
Debugging interface ...................................................19
Additional Notes.........................................................22
Chapter 2 Safety and Installation................................................. 25
Safety procedures for using industrial robots,
including high speed track..................................................25
Assessing a site ............................................................26
Installation safety........................................................26
Software setup .............................................................27
Operational safety.......................................................28
Mounting the Weight Plates ..............................................30
Mounting the Castor Wheels..............................................33
Mounting the Optional Riser(s).........................................36
Anchoring Showbolt Jr to the floor ...................................38
Setting up the “SICK” Proximity Safety Device...............40
Appendix 1 Troubleshooting........................................................... 53
Sick Sensor Troubleshooting ..............................................53
Flight Case Cable Connections .........................................54
Showbolt Junior Quick Start Guide
iv
Appendix 2 Showbolt Jr panels ....................................................... 58
Showbolt Jr arm panels connector summary ...................58
Connector pin-out information.........................................60
Mains Out connector .................................................60
Video/Sync connector................................................60
48V Out connector (3-way XLR) ............................60
Power 48V 6A connector ..........................................61
Power 12V connector ................................................61
Power (Max 8A)..........................................................61
Ulti-box connector summary.............................................62
Ulti-box connector pin-out information ..........................65
Servo motor connector ..............................................65
Program serial connector ..........................................65
Power connector .........................................................66
Camera Accessory connector....................................66
Data In connector.......................................................67
Brake 24V connector..................................................67
E-Stop connector ........................................................68
CAN connector...........................................................68
Appendix 3 Specifications............................................................... 69
Rig Weights ...........................................................................69
Rig Performance...................................................................69
Dimensions ...........................................................................70
Showbolt Jr Base Cavities ..........................................70
Power Requirements............................................................71

1
Showbolt Junior Junior Quick StartGuideShowbolt JuniorQuick Start Guide
Chapter 1 Quick Start
Overview
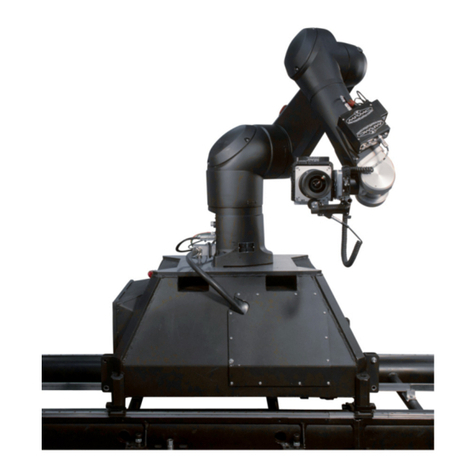
Thank you for using the Showbolt Junior rig from Mark Roberts Motion
Control (MRMC). Showbolt Junior is a lighter-weight high-speed robot
arm and camera capable of shooting and editing cinematic quality
content in seconds that can be used as a reliable solution for your
experience and event.
Showbolt Junior is complete motion control system that includes:
The Showbolt Junior rig
The weights and weight wings mounted on the rig
Zcam camera mounted on the Showbolt Junior arm to shoot
the footage
A SICK safety scanner for area and access protection around
the robot
A flight case that includes: a PC running Flair and Showbolt
Bridge application, RT-14, switch and other connection boxes
Showbolt Junior has a stationary base which you either hold down
with weights or, for more permanent installations, attach to the floor.

Showbolt Junior Quick Start Guide
2
How it Works
Once the Showbolt Junior system is set up, every time a move is run on
MRMC’s Flair software application, Zcam is triggered and when the move
is stopped, Zcam is stopped and the recording from the camera is
downloaded on to the Showbolt Junior PC. Showbolt Bridge Program
processes the recording and sends, shares or transfers it to a defined
media. The Showbolt Bridge program allows you to set various
operational modes such as:
Triggering the camera when the robot starts shooting or on a
desired frame
Auto-processing the Zcam video footage
Auto file transfer of the recording to the local PC, share drive
or an FTP server.
Setting up the Showbolt Junior System
To setup the Showbolt Junior system, perform the following:
1. Mount the weight wings, page 30, or anchor to the floor, page 38, as
required.
2. Connect the cables including those between the flight case, the rig
and the Showbolt Bridge PC, page 3. For detailed information of
other connections within the flight case, refer to page 54.
3. Start the Showbolt Junior system, page 6.
4. Set up the SICK proximity scanner, page 40. The proximity device
will enable the E-stop when any object comes in the ‘safe zone’. If
you are only testing the system, this step can be performed after step
5.
5. Set up a robotic move on Showbolt Junior in Flair. Instructions on
setting up a move in Flair are out of scope of this Quick Start Guide.
For more information, refer to Flair 6.4 Operator’s Manual.
6. Set up the Showbolt Bridge program and editing sample batch files
to define how the Bridge program processes the video files and
shares them on the choice of media, page 9.

Showbolt Junior Quick Start Guide
3
Connecting the cables
POWER
ULTI ETH*
Robot power:
Single phase AC
200 to 230V
VIDEO 2
VIDEO 1
CAMERA POWER
CAMERA
ETHERNET
ULTI POWER
Robot Controller CR800 (Rear)
Robot Arm (Rear)
Sick Scanner cable
or bypass plug

Showbolt Junior Quick Start Guide
4
Connecting the Cables - Showbolt Arm
1. Mount the camera platform on the Showbolt. Also add the matte
bars and focus and zoom motors on the matte bars. For more
information, refer to the Camera Platform for Bolt Family Quick
Start Guide.
2. Add the connections for the Ulti-box mounted on the arm, and for
the camera.
POWER output:
48 Volts DC
POWER
input: 24-48
Volts DC
ETHERNET
Video 1
Video 2
Ulti-box, which provides various
connectors for camera and lens
controls. For details see Ulti-box
connector summary on page 43.
for camera
ETHERNET
for Ulti
ETHERNET for
Ulti box

Showbolt Junior Quick Start Guide
5
3. Attach the power cable from the Camera Power connector on the
arm to the 12V distribution box.
12v distribution box - To supply
power to Camera, Light Ring and
HDMI converter

Showbolt Junior Quick Start Guide
6
Starting up the Showbolt system
Once you have attached all the cables, you power up the rig by switching
on the components in the order described below.
1. Make sure you have secured the area around Showbolt
Jr. Put up guard rails around Showbolt Jr (and the
track) as necessary, and tell others on the set that you
are now powering up the rig.
2. Power up the Flight Case switch. Wait for the robot to boot up for a
few seconds.
The state of LEDs show the booting up sequence of the CR800 controller
Note.
The window in the flight case can be used to
observe the LEDs on the CR800 controller.
Booting
sequence
Time
(sec)
Power Auto Error Ready
120IIII
211IIIF
35I FFF
4fraction IIII
53IIOO
63IOFO
77IFOF

Showbolt Junior Quick Start Guide
7
(I=On; O=Off; F=Flashing)
3. Power up the Flair computer system and all of its components,
including the RT-14 interface box. You can do this while the robot is
powering up (step 2).
4. On the Flair PC, start the Flair application by double-clicking on the
Flair icon on the Desktop.
Flair automatically loads the relevant firmware into all attached axis
boards, including:
The Ulti-box that is mounted on the Showbolt Jr arm
Any additional interface boxes or model movers that are
attached to the computer stack such as Turntable
Booting
complete
Robot status Power Auto Error Ready
Robot engaged IIFI
(Fast)
Robot disengaged IIFI
(Slow)
ESTOP IIFF
Booting
sequence
Time
(sec)
Power Auto Error Ready

Showbolt Junior Quick Start Guide
8
5. Release the E-stop that is plugged into the
computer stack, by turning the button clockwise
until the red button pops up and then pressing
the Enable button.
6. In Flair, click on the Engage Robot button.
7. Zero the axes as required in Flair. The Showbolt
Jr arm itself does not require zeroing but you
need to zero other axes such as:
Any external Lens Control Motors (LCMs) that you are using.
To zero these you first set the focus to infinity (), zoom to
wide-angle (zoomed out all the way), iris/aperture to wide
open and then use the relevant Zero >Direct Zero Axis menu
option to set those lens positions as the zero points in Flair.
Any model mover axes like Turntable.
8. In Flair, move the Showbolt Jr arm to its home position (rotated
straight forward and tucked under).
9. Set the soft limits for the rig axes in Flair as required:
Lens Control Motor limits (if using external LCMs)
Any model mover limits
It is not recommended that you change the soft limits on the
arm; if not done correctly it can lock up the arm.
Showbolt Jr start-up summary
1. Secure the area
2. Switch on Showbolt Jr
3. Switch on the Flair PC
4. Check networking lights for robot in Ready state
5. Start Flair
6. Release the E-stop on the computer stack
In Flair:
7. Engage Robot
8. Zero the track and Lens Control Motor axes
9. Home the arm, carefully
10. Set the soft limits
The rig is now ready to use.
ENABLE button

Showbolt Junior Quick Start Guide
9
Showbolt Bridge Application
Network setup
The zCam connected to the Showbolt Jr arm network
connection
Showbolt Jr PC: PC running Flair Motion Control software
and the Showbolt bridge program.
Your FTP server (if used)
IP settings (for reference):
Showbolt Jr PC: 192.168.1.200
zCam (static): 192.168.1.77
Using the Showbolt Bridge
1. On the Showbolt Junior PC, launch the SB-MP-Bridge.exe by
double-clicking the Desktop icon if not launch at Windows startup.
2. After that you will see a black icon in the taskbar with a capital M in
the middle like this:
Note
There is no DHCP server running on that network so all IP
addresses are set up as a static IP.

Showbolt Junior Quick Start Guide
10
3. Left clicking the icon will display the default web interface. Right
clicking it presents the following options:
Using the Exit will close the application.
Web interface
The Web Interface allows you to view and change many settings on the
Showbolt Bridge while the application is running. You can open the
bridge’s web interface by using the following URL:
http://localhost:7980
You can read the current Flair status, Frame number and zCam status.

Showbolt Junior Quick Start Guide
11
Operational modes
By default the bridge will trigger the camera when Flair is moving the
arm (shooting) and will stop the camera when it is stopped (changing
from shooting to anything else) and download the footage from the
camera to the local folder (next to the SB-MP-Bridge.exe) and delete the
footage from the camera.
Trigger mode (tmode):
–Move: Trigger the camera when the
robot moves (flair: shoot)
–Frame: Start the camera at the
specific (Flair) frame and stop it at
the specific (Flair) frame number or
when the move stops.
– Start frame/stop frame can be changed independently by
clicking the Frame option
Delivery mode (dmode):
– Local: deliver the captured footage
to a local computer (or to locally
mapped network drive)
– Ftp: deliver the footage to an ftp
server
Ftp server address (ftpip):

Showbolt Junior Quick Start Guide
12
– Enter both the FTP server address (can be hostname or
IP address) and its port number separated by a colon
zCam recording
By default, running a Flair move will automatically
change the state of the camera to recording.
This switch can also be toggled manually, if you need
the camera to record in the current position.
Note
To change any settings on the zCam, access the zCam web interface
using the IP address on page 9. When the zCam webpage is open, the
Showbolt Bridge will not work.
zCam is capable of recording using H264 or H265 compression.
H265 allows the camera to record at up to 240FPS but H264 only
allows up to 120FPS. The advantage of H264 is that it is readily
viewable and editable by Windows or third party editors but H265
requires conversion to H264 for which Showbolt Bridge program
uses FFMPEG by default in the batch files, see Batch file commands
on page 14.

Showbolt Junior Quick Start Guide
13
Checking the zCam Video Feed
1. Open the browser and click on “CAMERA CONTROLLER” at the
top of the screen. This will open the LIVE camera view and a menu
of all the camera functions available.
2. Click the Record tab and check the frames rates and camera settings
in this display and apply to the camera. Click on the Playback tab
and check the playback settings are as required.
Modifying zCam’s IP Address
Use the Rec option to change the IP address of the zCam, if required.
Note
If the camera is mounted upside down, the software does not have
the ability to invert this live image in this main window. (If required
for viewing live, please use a regular video viewing monitor and
invert it).
The Screen Rotation option on the side menu will invert the final
recorded image automatically, but it does not invert the live image.
Note
Procedure to download the video files to external devices or software
is outside the scope of this Quick Start guide.

Showbolt Junior Quick Start Guide
14
Batch file commands
If you need to execute a set of commands on the
recording from zCam, these can be included in a
batch file called readyexec.bat and included in the
same folder as the SB-MP-Bridge.exe. Once, the
switch is toggled to On, all the commands in the file will be executed
when the move is run in Flair. A few such example files with commands
that uses FFMPEG are included in the Showbolt folder. This can be
modified to commands as per your need:
any_input_FFMPEG_edit.bat: This sample file uses FFMPEG
commands to decode video (any format), segment and resize
the input video, concentrate the parts and speed up the first
part, play the second part backwards, play the third part
normally, rotate the movie 180 degrees and does CUDA
encoding to H264 and then creates a thumbnail.
any_input_FFMPEG_edit_with_logo.bat: Does the same edit
as any_input_FFMPEG_edit.bat, in addition overlays the PNG
file (logo).
h264_forward_reverse_to_premier: This batch file takes an
H264 file and makes two copies, one going forwards and the
other going backwards and saves them at a lower bandwidth
ready for Adobe Premier Pro or alternative editor.
h265_forward_reverse_to_premier: This batch file takes an
H265 file and makes two copies, one going forwards and the
other going backwards and saves them at a lower bandwidth
ready for Adobe Premier Pro or alternative editor.
h265_FFMPEG_edit: This sample batch file takes an H265
video file as input and uses FFMPEG commands to decode the
H265 video, segment and resize the input video, concentrate
the parts and speed up the first part, play the second part
backwards, play the third part normally, rotate the movie 180
degrees and does CUDA encoding to H264 and then creates a
thumbnail.
h265_FFMPEG_edit_with_logo.bat: Does the same edit as
h265_FFMPEG_edit.bat, in addition overlays the PNG file
(logo).

Showbolt Junior Quick Start Guide
15
readyexec.bat: This sample batch file runs the h265_
FFMPEG_edit_with_logo.bat.
Showbolt Bridge Editing Sequence
When a Flair move is run, zCam records with H264 or H265 compression
and downloads the video to the Showbolt PC in the “SB-MB-BRIDGE”
folder next to the SB-MP-Bridge.exe.
Once the video is downloaded, the batch file run by the Showbolt Bridge
application initiates the media editing programs like FFMPEG or Adobe
Premier Pro to do the video editing.
When using Adobe Premier Pro, you can create proj files to:
Note
The sample batch files provided with the Showbolt include FFMPEG
commands as a preferred tool to edit the zCam footage. You can use
Adobe Premier Pro or any other media editor of your choice. The
FFMPEG solution does not have a user interface is faster when doing
simple edits like:
Play 4X the speed forwards
Play at original speed backwards
Rotate the whole footage 180 degrees
Transcode it to H264 using 6Mbps fixed rate using an
MP4 container
An example of an efficient method to edit your video files could be
that you use FFMPEG for simple edits and then use the batch files to
pass the videos to Adobe Premier Pro where you set up a proj file to
further add video compositing effects, such as fading and
kaleidoscope, to your video files.
Note
As the video files are being downloaded, the software makes at
“TMP” (temp) file while it gathers the info from the camera. This
changes into a MP4 file when it is complete.

Showbolt Junior Quick Start Guide
16
Set up initial auto-editing to be performed on your media files.
Place them in a ‘watch’ folder being watched by Adobe Media
Encoder that is running in the background.
The Adobe Media Encoder creates temporary files for processing,
transcodes and outputs to a chosen format. The Showbolt Bridge makes
them available to be downloaded for transfer on a media of choice (FTP
server, share drive or USB stick) and then deletes the temporary files. In
this manner, it waits for files to be dropped again in the ‘watch’ folder to
process when the Flair move is run next time.
CUDA acceleration is already enabled in settings in Adobe Media
Encoder. When setting up Adobe Media Encoder it is best to only allow
hardware acceleration with the NVIDIA graphics card so that it doesn’t
accidentally use the onboard Intel graphics card which is slower.
This manual suits for next models
2
Table of contents
Other MRMC Robotics manuals

MRMC
MRMC UR10 ROBOT Mover User manual

MRMC
MRMC Bolt X User manual

MRMC
MRMC STUDIOBOT XL User manual

MRMC
MRMC MOVER RV13 User manual

MRMC
MRMC Studiobot-165 User manual

MRMC
MRMC CINEBOT Bolt Jr+ User manual

MRMC
MRMC Bolt Jr+ User manual

MRMC
MRMC CINEBOT MINI User manual

MRMC
MRMC MRMC-2165-00 User manual

MRMC
MRMC PTA-1 User manual