MS3C MS3C-300WC User manual

toll free: 1-877-706-4480
international/local: 713-706-4480
fax: 713-706-4161
www.MS3C.co
MS3C-300WC Battery Operated Stair Climbing Trolley for Wheelchairs
User Manual
Deploying Wheelchair Stair Chair:
1. To unfold chair, grasp backrest with one hand
and grasp the seat with other hand. Slowly
guide chair into a fully open position.
2. Chair will automatically lock when it reaches
its fully open position. You may now roll chair.
Battery Installation:
1. Align battery power along battery support
rail located on the back of chair.
2. Slide battery into place.
3. Lock battery onto rail by turning locking key.
4. Chair is now ready for use.
IMPORTANT: Follow all local safety protocols
Loading Wheelchair into Trolley:
1. Position wheelchair in front of trolleys red wheel
supports tohave a visual reference of the distance
needed between the supports.
2. Pull red wheel support adjustment knob out and up
to release locking mechanism ontrolleys wheel
supports.
3. Slide the red wheel supports in or out to the
distance necessary to allow for wheelchairs wheels
to slide onto wheel supports.

toll free: 1-877-706-4480
international/local: 713-706-4480
fax: 713-706-4161
www.MS3C.co
Note: Adjust wheelchair so that it is centered on the trolley before locking the wheel support knob.Wheelchair
should be all the way back, with trolley frame centered between the wheelchair push handles.
Note: The red wheel supports are depth adjustable. If the back of the chair is not touching the trolleys frame, you
can adjust the depth of the support to accommodate your specific wheel size. There are 2 bolts on each support.
4. Lock wheel supports into place by pulling red knob out
and down.
5. Next, you will need to adjust locking side supports to
lock your wheelchair onto trolley.
6. Secure the wheelchair into place with red wheelchair
frame locking supports located on each side of the
trolley.
7. To adjust width of the locking supports, pull out on
black knob located on each side support. Slide the
locking side supports in or out to the necessary
position.
8. Lock the side supports by releasing black knob.
NOTE: Locking side supports should grab wheelchairs back
frame uprights, either above or below the armrests. Some
armrests may need to be removed to secure wheelchair
to trolley.
Note: If the side supports need to be height adjusted to
accommodate the chairs arm rests, you can adjust
them with the black knobs located on the front side of the
trolleys frame. Unscrew knobs on both sides,
slide the supports to the desired height and lock both knobs.
Preparing for passenger loading:
1. Roll wheelchair evacuation trolley next to patient, once
chair is in position, LOCK rear casters.
2. To lock rear casters, push down red lever located on top of rear wheels.
3. Make sure locks are engaged by trying to move chair.
4. If chair does not move, you are ready to seat and secure your passenger.
Loading your Passenger:
1. Assist your passenger into seat using wheelchairs handlebars for support and balance if necessary.
2. Secure your passenger with horizontal lap belts (if provided)
Patient Transport Descending: cont’d next page

toll free: 1-877-706-4480
international/local: 713-706-4480
fax: 713-706-4161
www.MS3C.co
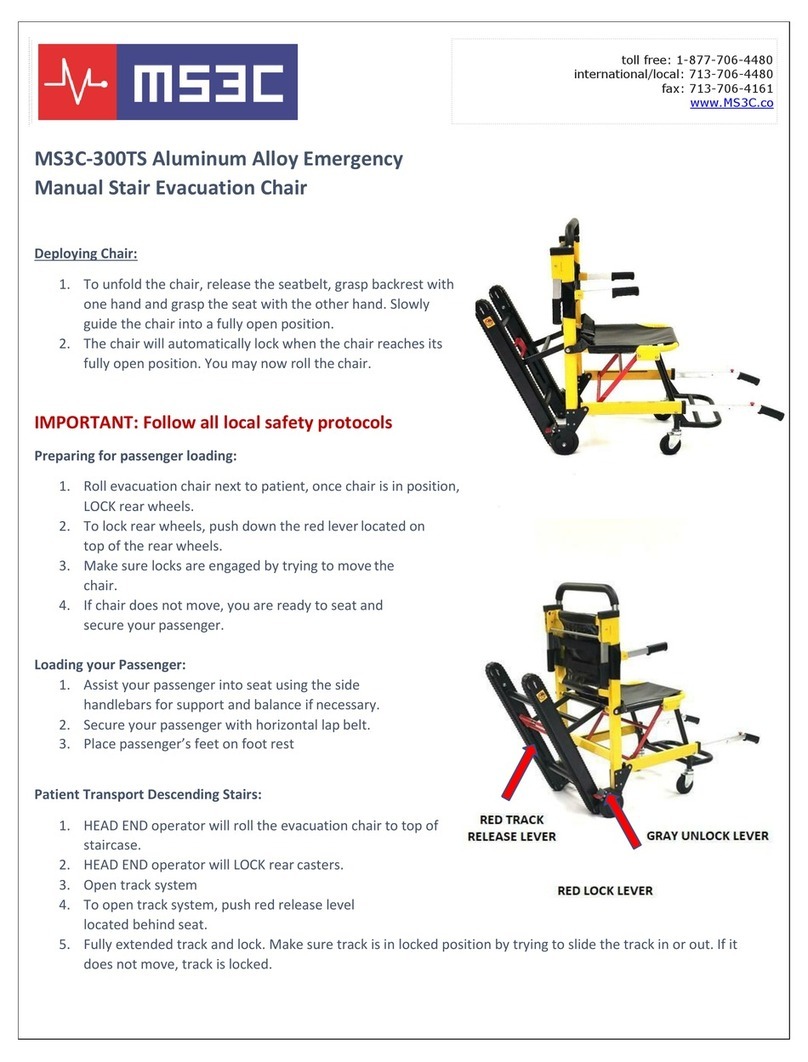
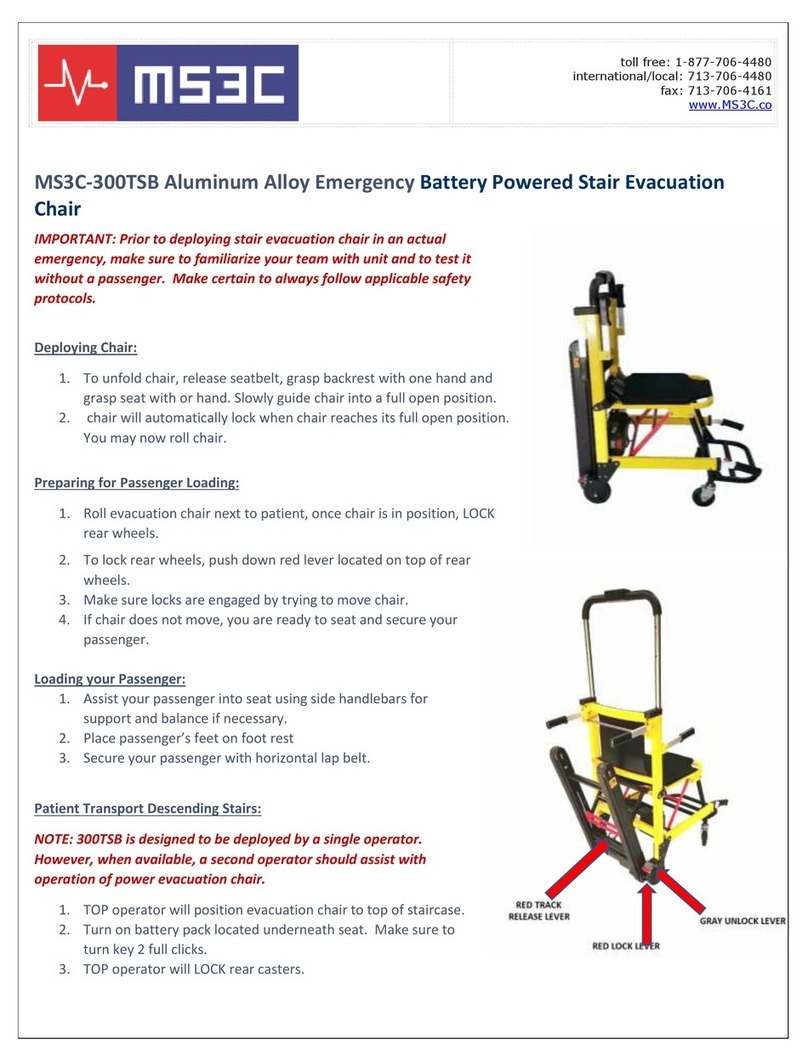
1. Operator will roll the evacuation chair to top of the
staircase.
2. Turn on battery with red button located on the bottom of
the battery pack.
3. Operator will LOCK rear casters.
4. Open track system
5. To open track system, push red release level located behind
seat.
6. Fully extended track and lock. Make sure track is in locked
position by trying to slide the track in or out. If it does not
move, track is locked.
7. Raise guide bar located behind passenger’s head to full
extension. To extend guide bar squeeze red horizontal
bar located across back of seat.
8. Attach passenger head support around upright guide bar,
firmly secure with Velcro.
9. When ready operator will disengage locked casters by
pushing red unlock tab located on top of rear casters.
10. Slowly, tilt chair back keeping tracks aligned with staircase and begin descent.
11. Operator will push the “DOWN” button on control panel to start descent while maintain a reclined
angle by applying pressure slightly down. This will keep tracks engaged with stairs.
12. When chair reaches bottom steps, operator will tilt chair back to upright position making sure front
wheels are securely placed on ground.
13. Operator will then disengage track by pushing red release bar located on the back of the chair and
pushing in. Make sure track is in closed locked position.
14. Make sure track is locked by pulling in or out. If track does not move, track is locked. Disengaging
track will engage rear wheels.
15. To roll chair, operator will lower the HEAD END push handle and extend rear push handles.
Patient Transport Ascending Stairs:
1. Position evacuation chair with patients back to the stairs.
2. Slowly, tilt chair back keeping tracks aligned with staircase and begin ascent.
3. Operator(s) will maintain guide angle.
4. HEAD END operator will apply pressure slightly down. This will keep tracks engaged with stairs.
5. Operator will push the “UP” button on control panel and guide chair up one stair at a time.
6. Once at top of the stairs, operator will back up far enough to safely lower chair into its full upright

toll free: 1-877-706-4480
international/local: 713-706-4480
fax: 713-706-4161
www.MS3C.co
position making sure front wheels are securely placed on ground.
7. Operator will then disengage track by pushing red release bar located on the back of chair and
pushing in. Make sure track is in closed locked position.
8. Make sure track is locked by pulling in or out. If track does not move, track is locked. Disengaging
track will engage rear wheels.
9. To roll chair, operator will lower push handle to a comfortable height.
To Fold Trolley:
1. Grab backrest with one hand and pull red folding bar located under chair with other hand.
2. Guide trolley into its folded position.
To Charge Battery:
1. Turn locking key to release battery lock
2. Slide battery off rail
3. Plug battery charger cord into battery
4. Plug power outlet cord into wall socket
5. Turn “ON” battery power switch to start charging battery
6. Push charge level display button on battery to view charge level.
7. When battery is sufficiently charged, un-plug cord from wall socket and remove charger cord from
battery. Repeat Battery Installation steps above.
Digital Display:
1. When digital display is working properly, there will be an
illuminated green bar that only displays the battery charge
level.
2. There are six buttons on control panel. (1) Green Arrow
DOWN/DESCEND (2) RED POWER Button (3) Yellow Night
Light (4) Blue UP/ASCEND (5) Blue + Increase Speed (6) Blue –
Decrease Speed
Accessories Available:
•Wall mount bracket
YouTube Demo Video:
https://youtu.be/7aTLYxFfLvw
Table of contents
Other MS3C Safety Equipment manuals
Popular Safety Equipment manuals by other brands

HACA LEITERN
HACA LEITERN 0529.1913 Instructions for assembly and use

pizzato
pizzato AN G Series operating instructions

TIE DOWN
TIE DOWN Parapet Anchor instruction manual

STI
STI STI-7534 quick start guide

Thermokon
Thermokon Z220 Mounting instructions

Honeywell
Honeywell Miller SCORPION 1016840 Series User instruction manual