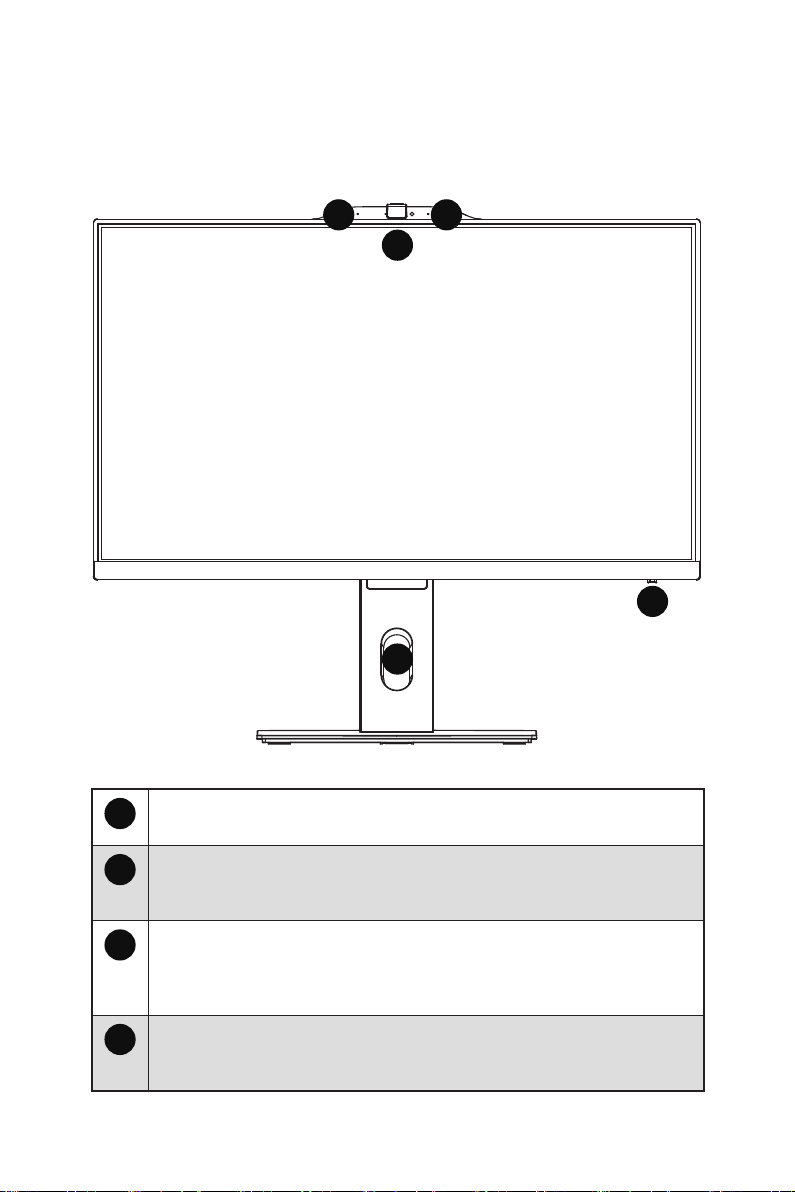
MSI PRO AP242P 14M User manual

PRO Series
All-in-One PC
PRO AP242 14M (MS-AE06)
PRO AP242P 14M (MS-AE06)
PRO AP272 14M (MS-AF83)
PRO AP272P 14M (MS-AF83)
User Guide

2
Contents
Getting Started.............................................................................................................. 3
Package Contents................................................................................................... 3
Safety & Comfort Tips ............................................................................................ 3
System Overview..................................................................................................... 4
Installing the Monitor Stand................................................................................... 9
Connecting the Power .......................................................................................... 10
Adjusting the Monitor ........................................................................................... 11
Component Replacement & Upgrade .................................................................. 12
Windows 11 System Operations................................................................................ 13
Power Management ............................................................................................. 13
Network Connections........................................................................................... 17
System Recovery .................................................................................................. 25
F3 Hotkey Recovery (Optional) .................................................................................. 27
Troubleshooting.......................................................................................................... 28
Safety Instructions...................................................................................................... 30
TÜV Rheinland Certification....................................................................................... 32
Regulatory Notices..................................................................................................... 33
Revision
V1.2, 2023/12

3
Getting Started
This chapter provides you with the information on hardware setup procedures. While
connecting devices, be careful in holding the devices and use a grounded wrist strap
to avoid static electricity.
Package Contents
All-in-One PC
PRO AP242 14M
PRO AP242P 14M
PRO AP272 14M
PRO AP272P 14M
Documentation
User Guide (Optional)
Quick Start Guide (Optional)
Warranty Card (Optional)
Warranty Book (Optional)
Accessories
Power Cord
External Power Supply
Mouse (Optional)
Keyboard (Optional)
⚠
Important
∙
Contact your place of purchase or local distributor if any of the items is damaged or
missing.
∙
Package contents may vary by country.
∙
The included power cord is exclusively for this personal computer and should not be
used with other products.
Safety & Comfort Tips
∙Choosing a good workspace is important if you have to work with your PC for a long
period of time.
∙Your work area should have enough illumination.
∙Choose the proper desk and chair and adjust their height to fit your posture when
operating.
∙When sitting on the chair, sit straight and keep a good posture. Adjust the chair’s
back (if available) to support your back comfortably.
∙Place you feet flat and naturally on the floor, so that your knees and elbows have the
proper position (about 90-degree) when operating.
∙Put your hands on the desk naturally to support your wrists.
∙Avoid using your PC in a place where discomfort may occur (such as on the bed).
∙The PC is an electrical device. Please treat it with great care to avoid personal
injury.

4
System Overview
Front View
1
2
4
1
3
1Digital Microphone
The built-in microphone can be used for video chatting online.
2IR Webcam Module/ Webcam Privacy Shutter
The IR Webcam Module supports infrared-based facial recognition for
instant access to your computer.
3Power LED
The power LED glows when the system is turned on and goes off when
the system is shut down. In terms of power saving, the LED blinks in S3
(Suspend to RAM) mode and goes off in S4 (Suspend to Disk) mode.
4Cable Routing Hole
Route the cables through the cable routing hole to avoid cable spaghetti
when connecting devices.

5
Rear View
1
2 3
1
4 4 5
6 7 8 9
11
10
12
12 13 14
1Ventilator
The ventilator on the enclosure is used for air convection and to prevent the
equipment from overheating. Do not cover the ventilator.
2Power Button
Press the power button to turn the system on and off.
3Brightness Button
These buttons adjust the brightness level.

6
4Stereo Speakers
The built-in stereo speakers deliver high quality sound with stereo system.
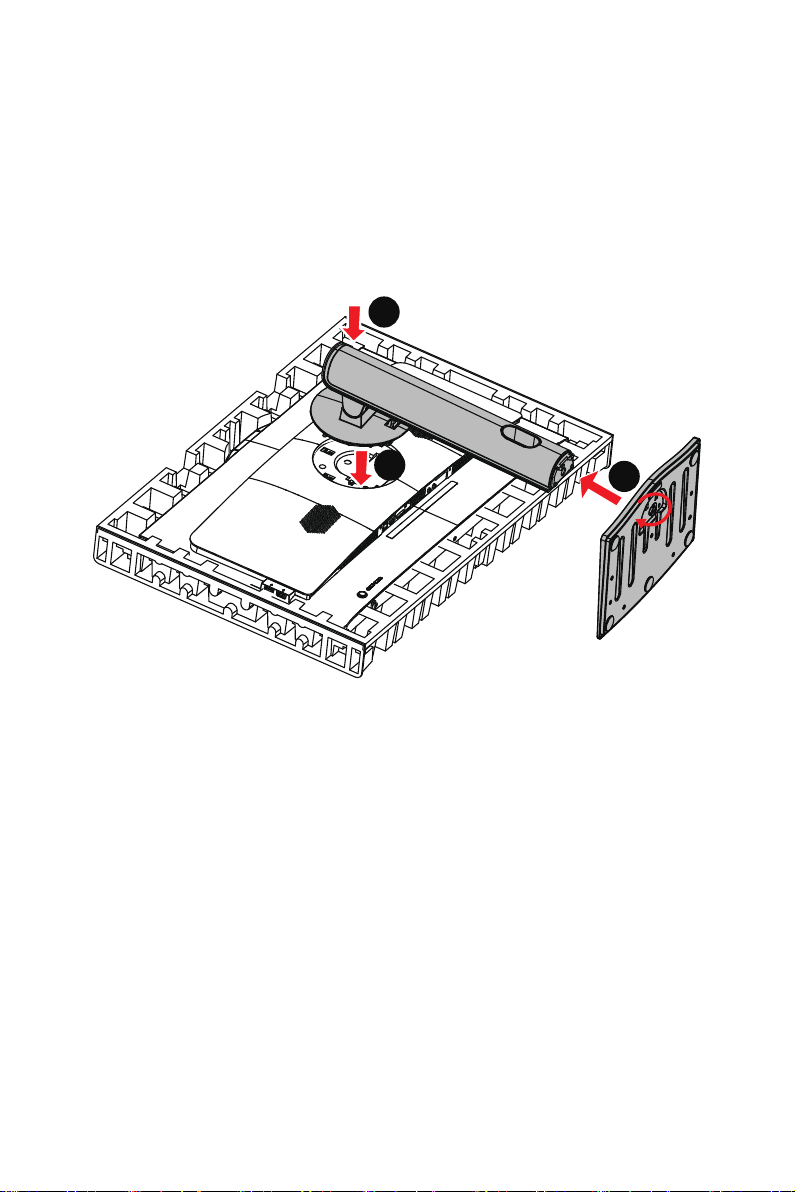
5Kensington Lock Port
This PC provides a Kensington lock port, which allows users to secure the
PC in place with a key or some mechanical PIN device and attached through
a rubberised metal cable. The end of the cable has a small loop which
allows the whole cable to be looped around a permanent object, such as a
heavy table or other similar equipment, thus securing the PC in place.
6Power Jack
Power supplied through this jack supplies power to your system.
⚠
Important
We suggest that you connect the AC/DC adapter to your PC first and then
connect the AC power cord to the socket-outlet for safety concerns.
7HDMI™ Connector
Supports 4K@60Hz as specified in HDMI™ 2.1.
⚠
Important
∙
Available for the processor with integrated graphics.
∙
Graphics specifications may vary depending on the installed CPU.
8DisplayPort
Supports 4K@60Hz as specified in DisplayPort 1.4.
⚠
Important
∙
Available for the processor with integrated graphics.
∙
Graphics specifications may vary depending on the installed CPU.
9LAN Jack
The standard RJ-45 LAN jack is provided for connection to the Local Area
Network (LAN). You can connect a network cable to it.
LINK/ACT
LED
SPEED
LED
LED Status Description
Link/ Activity
LED
Off No link
Yellow Linked
Blinking Data activity
Speed LED
Off 10 Mbps
Green 100 Mbps
Orange 1 Gbps
10 USB 3.2 Gen 2 Type-C Port
This connector is provided for USB peripheral devices. This connector can
provide up to 5V/3A of power. (Speed up to 10 Gbps)

7
11 USB 3.2 Gen 2 Port
This connector is provided for USB peripheral devices. (Speed up to 10
Gbps)
12 USB 2.0 Port
This connector is provided for USB peripheral devices. (Speed up to 480
Mbps)
⚠
Important
High-speed devices are recommended for USB 3.2 ports whereas low-
speed devices, such as mouse or keyboard, are suggested to be plugged
into the USB 2.0 ports.
13 Microphone Jack
This connector is provided for microphones.
14 Headphone Jack
This connector is provided for headphones or speakers.

8
Side View
1
1USB 3.2 Gen 1 Port
This connector is provided for USB peripheral devices. (Speed up to 5 Gbps)

9
Installing the Monitor Stand
1. Leave the monitor in its protective packaging. Align the stand to the monitor
groove.
2. Push the stand towards the monitor groove until it locks in place.
3. Connect the base to the stand and tighten the base screws to secure the base.
4. Make sure the stand assembly is properly installed before setting the monitor
upright.
1
23
⚠
Important
∙
Do not use any sharp objects on the panel.

10
Connecting the Power
Connect the external power supply to the AIO PC and plug in the power cord.
∙External Power Supply 120W
• Input: 100-240V~, 50-60Hz
• Output: 19.5V 6.15A
1
2
4
3
⚠
Important
∙
The illustrations are for reference only. Your AIO PC may vary in appearance.
∙
Please make sure the AIO PC has been grounded to earth through the AC power
cord and the electrical outlet before powering on the AIO PC.

11
Adjusting the Monitor
This AIO PC is designed to maximize your viewing comfort with its adjustment
capabilities.
PRO AP242/ AP242P 14M
110 mm
-5° 20°
PRO AP272/ AP272P 14M
130 mm
-4° 20°
⚠
Important
∙
Do not use any sharp objects on the display panel.
∙
Avoid pressing the display panel when adjusting.

12
Component Replacement & Upgrade
Please note that certain components preinstalled in the product may be upgradable or
replaceable by user’s request depending on the models users purchased.
For any further information on the product users purchased, please contact the local
dealer. Do not attempt to upgrade or replace any component of the product if you are
not an authorized dealer or service center, since it may cause the warranty void. It is
strongly recommended that you contact the authorized dealer or service center for
any upgrade or replace service.

13
Windows 11 System Operations
⚠
Important
All information and Windows screenshots are subject to change without prior notice.
Power Management
Power management of personal computers (PCs) and monitors has the potential to
save significant amounts of electricity as well as deliver environmental benefits.
To be energy efficient, turn off your display or set your PC to sleep mode after a period
of user inactivity.
1. Right-click [Start] and select [Power Options] from the list.
2. Adjust [Screen and sleep] settings and select a power mode from the list.
3. To choose or customize a power plan, type control panel in the search box and
select [Control Panel].
4. Open up [All Control Panel Items] window. Select [Large icons] under [View by]
drop-down menu.
5. Select [Power Options] to continue.
6. Select a power plan and fine-tune the settings by clicking [Change plan settings].
7. To create your own power plan, select (Create a power plan).
8. Select an existing plan and give it a new name.
9. Adjust settings for your new power plan.
10.The [Shut down or sign out] menu also presents power saving options for rapid and
easy management of your system power.
Energy Savings
The power management feature allows the computer to initiate a low-power or
“Sleep” mode after a period of user inactivity. To take advantage of these potential
energy savings, the power management feature has been preset to behave in the
following ways when the system is operating on AC power:
∙Turn off the display after 10 minutes
∙Initiate Sleep after 30 minutes
Waking the System Up
The computer shall be able to wake up from power saving mode in response to a
command from any of the following:
∙the power button,
∙the network (Wake On LAN),
∙the mouse,
∙the keyboard.
Energy Saving Tips:
∙Turn off the monitor by pressing the monitor power button after a period of user
inactivity.

14
∙Tune the settings in Power Options under Windows OS to optimize your PC’s power
management.
∙Install power saving software to manage your PC’s energy consumption.
∙Always disconnect the AC power cord or switch the wall socket off if your PC would
be left unused for a certain time to achieve zero energy consumption.
2
3
1

15
7
4
5
6

16
10
8
9

17
Network Connections
Wi-Fi
1. Right-click [Start] and select [Network Connections] from the list.
2. Select and turn on [Wi-Fi].
3. Select [Show available networks]. A list of available wireless networks pops up.
Choose a connection from the list.
4. To establish a new connection, select [Manage known networks].
5. Select [Add network].
6. Enter information for the wireless network you intend to add and click [Save] to
establish a new connection.
1
2

18
3
4

19
5
6

20
Ethernet
1. Right-click [Start] and select [Network Connections] from the list.
2. Select [Ethernet].
3. The [IP assignment] and [DNS server assignment] are automatically set as
[Automatic (DHCP)].
4. For a Static IP connection, click [Edit] of [IP assignment].
5. Select [Manual].
6. Switch on the [IPv4] or [IPv6].
7. Type the information from your Internet Service Provider and click [Save] to
establish a Static IP connection.
1
2
This manual suits for next models
6
Table of contents
Other MSI Desktop manuals

MSI
MSI Cubi 5 10M 008BEU User manual

MSI
MSI MS-B0A2 User manual

MSI
MSI 005XEU User manual

MSI
MSI PRO DP20ZA User manual

MSI
MSI MS-9A07 User manual

MSI
MSI Aegis B917 User manual

MSI
MSI MAG Infinite S3 13th i5-13400F User manual

MSI
MSI Creator P100A 10th 10SI-238EU User manual

MSI
MSI Hetis 865GV User manual

MSI
MSI MEGA 180 MS-6265 User manual
Popular Desktop manuals by other brands

Torch Computers
Torch Computers EN083K Series Service guide

Gateway
Gateway E-1500 user guide

Schneider Computer Division
Schneider Computer Division CPC 664 Micro Computer Service manual

Sealey
Sealey AP760M Series instructions

Dell
Dell Precision MD506 Quick reference guide

Dell
Dell PRECISION WCM Information guide