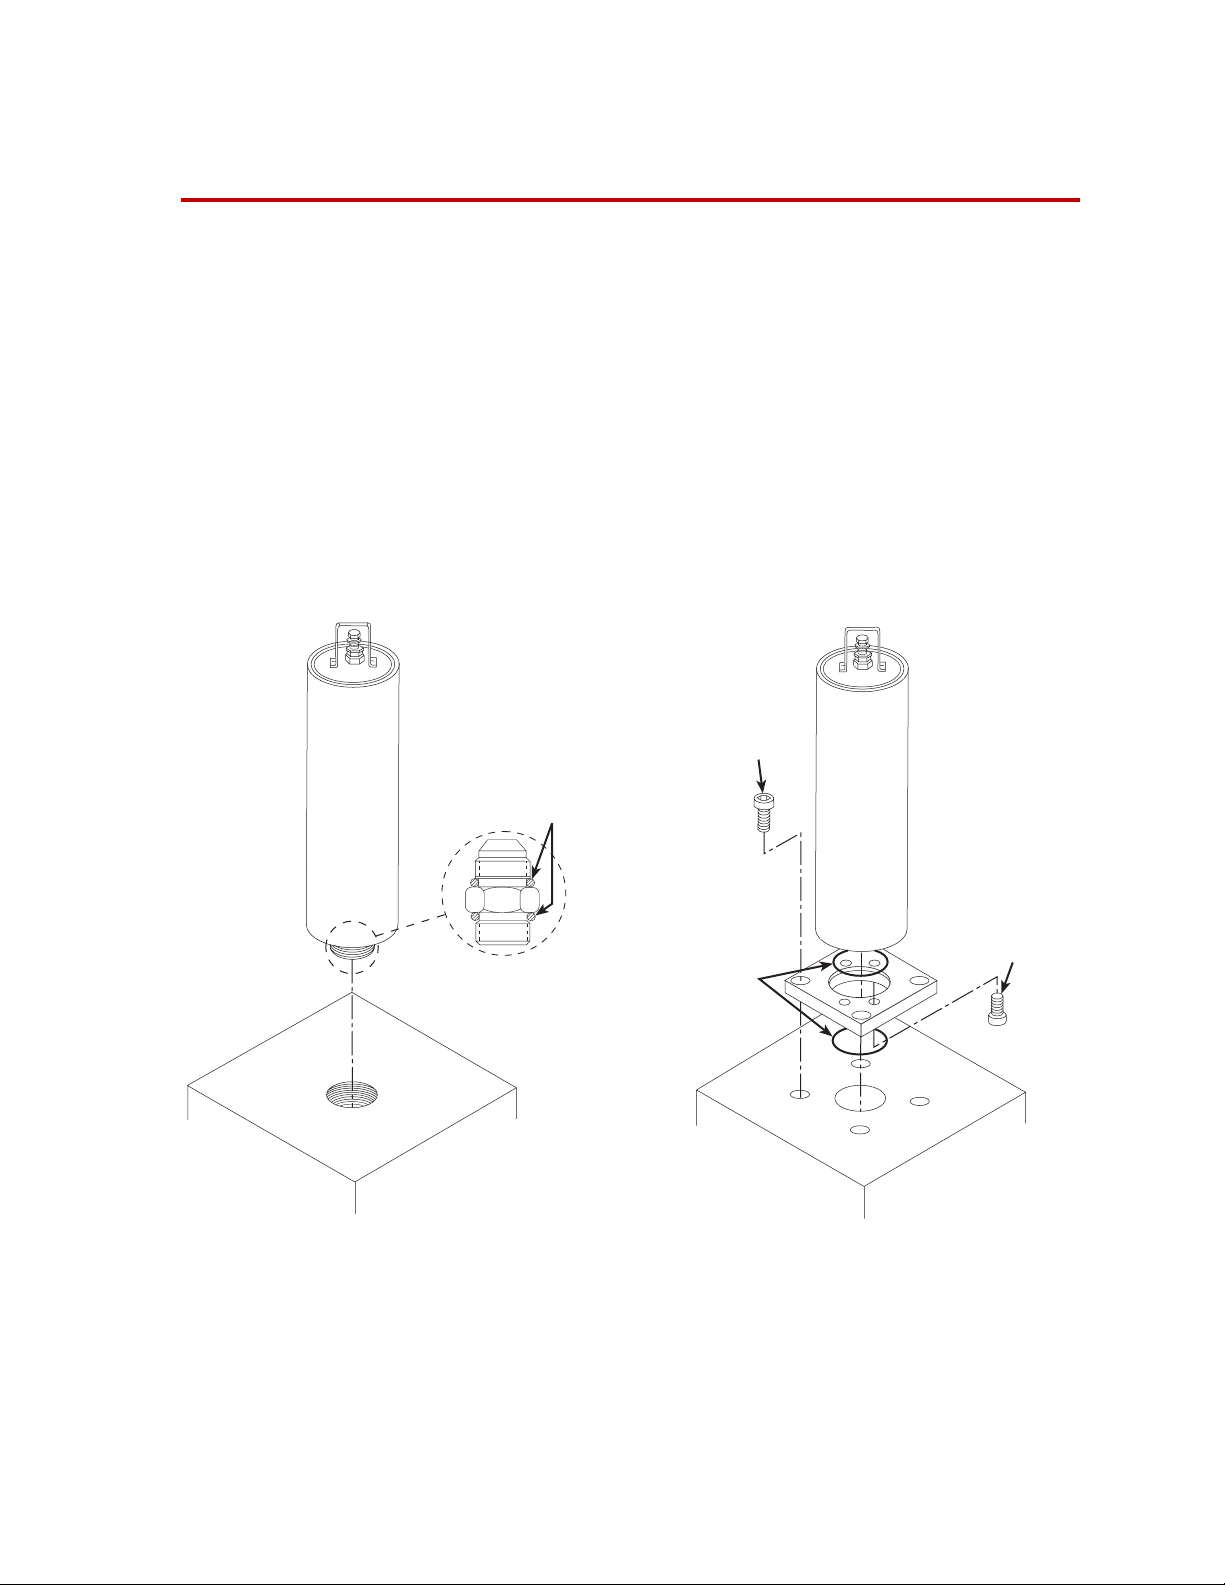
Series 111 Accumulators
6
Introduction
Functional Description
The MTS Series 111 Accumulators can reduce fluctuations hydraulic lines
due to sudden changes in hydraulic flow rate. They also act a short term
energy source for high-rate tests by providing additional hydraulic flow for
short periods to meet irregular peak demands. Like a capacitor,
accumulators filter out pulses in the hydraulic fluid to provide steady
hydraulic pressure.
Accumulators are like a hydraulic
version of a capacitor. They are
hydro-pneumatic devices located at
strategic points in a hydraulic
system. They may be connected to
the pressure line and to the return
line.
Accumulators are precharged with
pressure. Precharge pressure is the
pressure of the compressed gas
(usually nitrogen) before hydraulic
fluid is introduced.
Inserting accumulators into the
hydraulic lines permits some fluid to
be stored under pressure a short
distance from the servovalve and
actuator. This has the effect of
keeping fluid in the lines in motion
and reducing the inertia and line
restriction considerations. When the
servovalve opens and line pressure begins to drop, the accumulator in the
hydraulic service manifold (HSM) immediately supplies part of the fluid
volume and maintains the line pressure. Then, when the servovalve closes,
the hydraulic power supply (HPS) recharges the accumulator, causing fluid
in the lines to remain in motion.
The pattern and frequency of the signal that drives the servovalve will have
considerable effect on the HSM accumulator efficiency. Square wave
signals, for example, cause a greater demand than sine wave signals or
ramp signals.
At some frequencies, fluid flow in the lines may stop completely, and
overcoming the fluid inertia may become a more significant operational
factor.
An accumulator in the return line damps the pulsing effect caused by
“slugs” of fluid being injected into the line as the actuator moves.
Movement of hoses and/or hammering of hard lines is also reduced.
Nitrogen
Side
Fluid
Side
Hydraulic Fluid
Piston
Accumulator