© MuxLab Inc. 94-000747-A SE-000747-A
8495 Dalton Road, Mount Royal, Quebec, Canada. H4T 1V5
Tel: (514) 905-0588 Fax: (514) 905-0589
Toll Free (North America): (877) 689-5228
Specifications
Environment HDMI 1.3a(Supports the 3D feature of HDMI 1.4)
Devices DVD, plasma, projectors, monitors, TV, PC, laptops, servers supporting
HDMI.
Transmission Transparent to the user
Bandwidth 340 MHz
Signals HDMI 1.3a protocol
Connectors One (1) HDMI receptacle.
One (1) RJ45S for Cat 5e/6 unshielded or shielded twisted pair.
Two (2) 3.5mm jacks for IR emitter and sensor
One (1) DB9 Connector for RS-232
Note: HDMI cables not included.
Maximum Distance
Based on a maximum
length of 6.6 ft (2 m) of
HDMI cable per end.
Cat 5e/6: 230 ft (70 m) up to 1080P Deep Color
115 ft (35 m) for 4K; 3840 X 2160/24,25,30 Hz
Note: When installed in an electrically noisy environment, an STP cable
must be used. Also, cross-connection reduces the effective distance
depending on the grade of twisted cable used.
RJ45 Pin Configuration
Reverse Polarity
Sensitive. Use EIA/TIA
568A or 586B straight-
through wiring.
RJ45 Link
Pin 1 (R) Pin 2 (T)
Pin 3 (R) Pin 6 (T)
Pin 4 (R) Pin 5 (T)
Pin 7 (R) Pin 8 (T)
Cable One (1) Cat 5e/6 or better twisted pair cable required
Power Supply 500454: Two (2) 110-240V/5VDC power supplies with interchangeable
blades
500454-POE: One POE power supply
Power Consumption Transmitter: 1.6 Watt Receiver: 3.2 Watt
Temperature Operating: 0° to 40°C Storage: -20° to 85°C
Humidity: Up to 95% non-condensing
Enclosure Metal
Dimensions 4.40” x 3.00” x 1.00” (11.2 x 7.6 x 2.5 cm)
Weight 1.4 lb (0.6 kg)
Compliance Regulatory: FCC, CE, RoHS Flammability: 94V0
Warranty 2 years
Order Information 500454 HDMI / RS232 Extender Kit
500454-RX HDMI / RS232 Receiver
500454-POE HDMI / RS232 Extender Kit with POE
500454-POE-RX HDMI / RS232 Receiver with POE
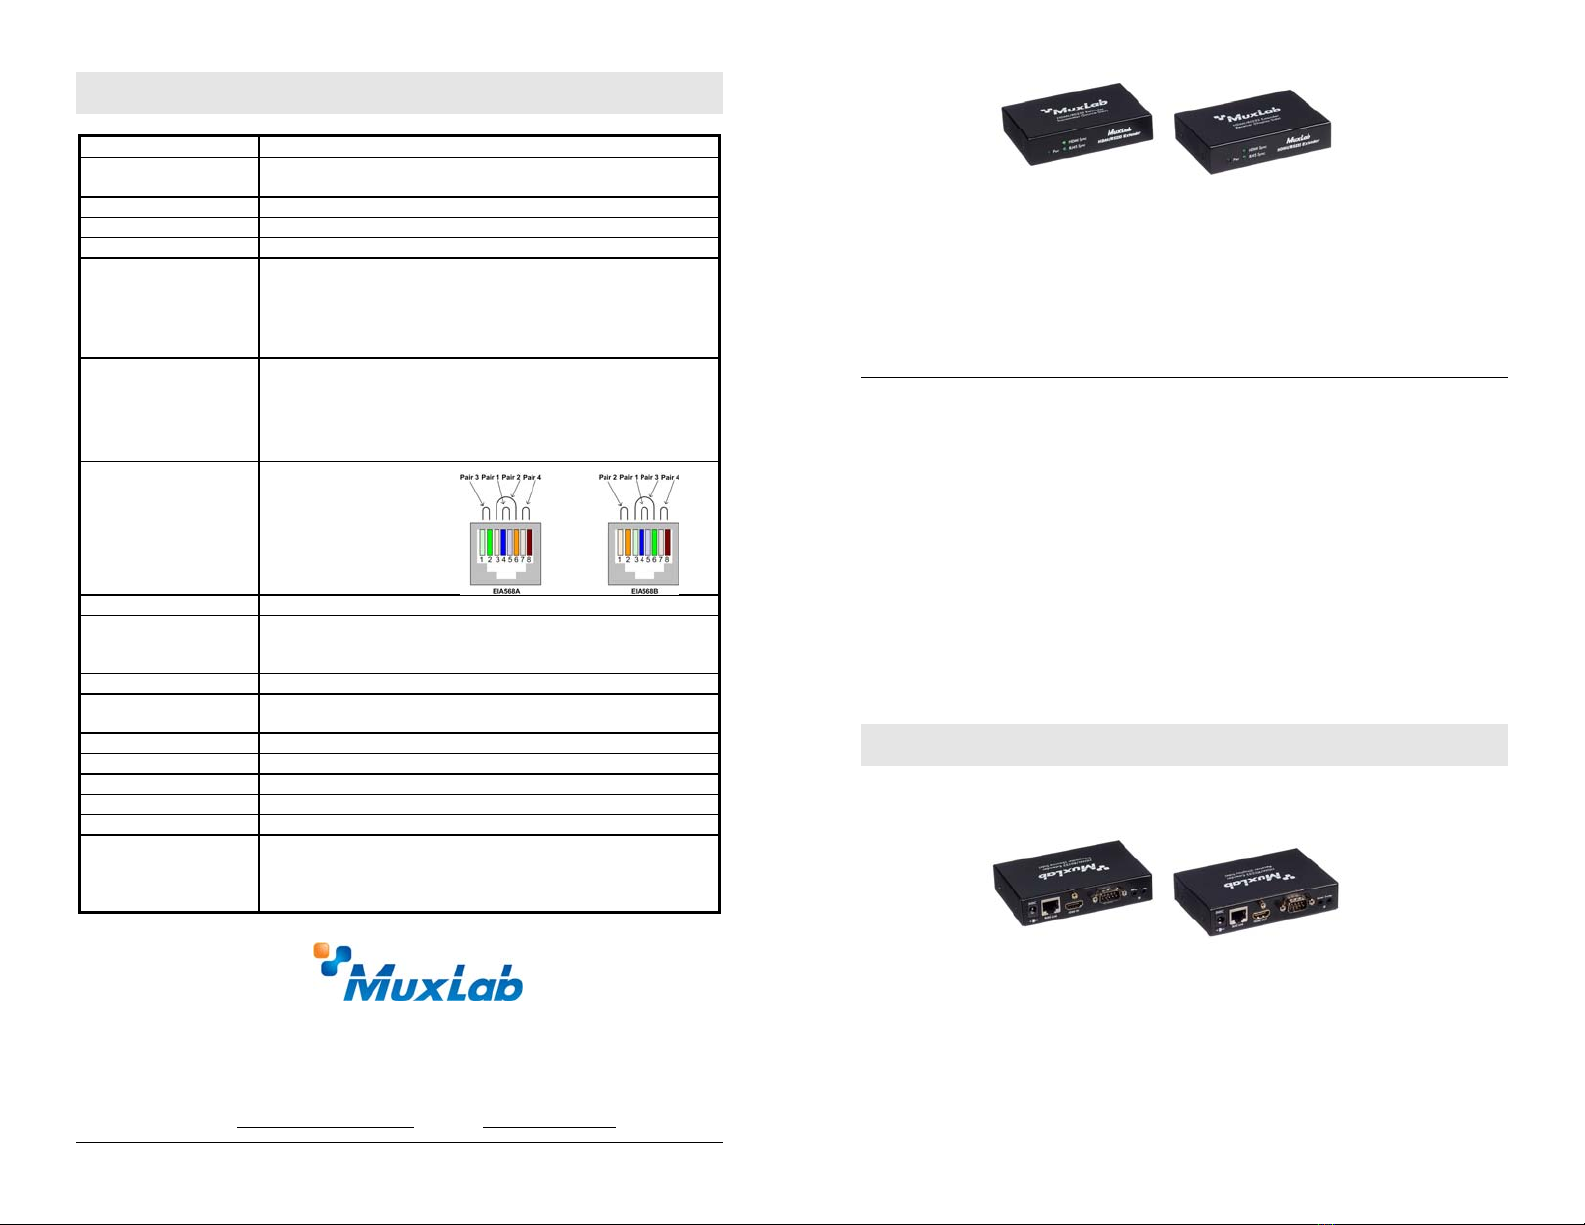
HDMI / RS232 Extender Kit
500454 (Kit), 500454-RX (Receiver only)
500454-POE (Kit), 500454-POE-RX (Receiver only)
Quick Installation Guide
Overview
The HDMI / RS232 Extender Kit (500454 or 500454-POE) allows HDMI equipment to
be connected up to 230 ft (70 m) @ 1080p via one (1) Cat 5e/6 unshielded twisted pair
cable in a point-to-point configuration. The 500454 includes one (1) Transmitter and
one (1) Receiver as well as an IR Emitter (500998) and IR Sensor (500999) for remote
control applications. The 500454-POE comes with one (1) power supply, as it does not
require a power supply on the receiver side. The 500454-RX or 500454-POE-RX
receivers are used in conjunction with MuxLab’s HDMI Matrix Switch. For installation
instructions, please refer to the HDMI Matrix Switch Installation Guide.
Applications
Applications include digital signage, commercial and residential AV systems, classroom
projector systems, boardroom systems, collaborative PC systems, and medical
information systems.
Installation
1. Identify the connectors on the Transmitter and Receiver as indicated on the
product end panels.
2. Verify that the distance between the HDMI Transmitter and Receiver is within
MuxLab specifications (see specifications table).
3. To install the Transmitter:
3a. Connect the Transmitter to the HDMI video source with an HDMI compliant
cable.
3b. Connect one (1) length of Cat 5e/6 (or higher) grade UTP cable to the
RJ45 LINK connector on the Transmitter.


