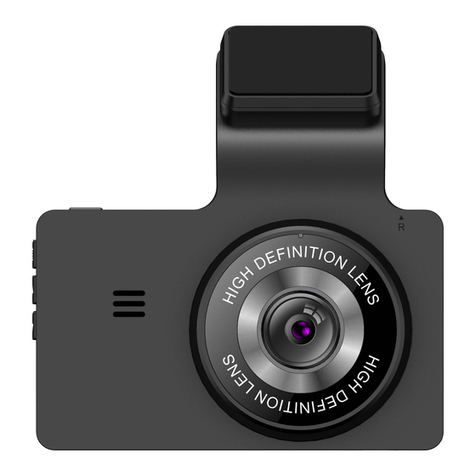
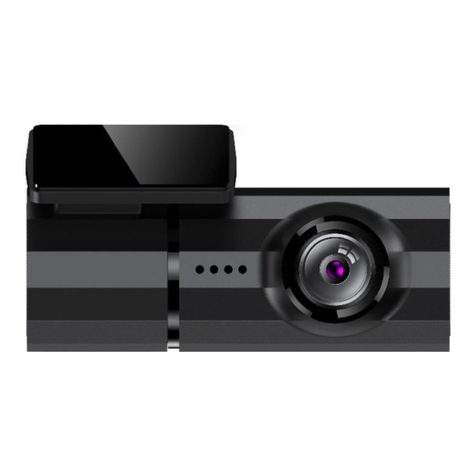
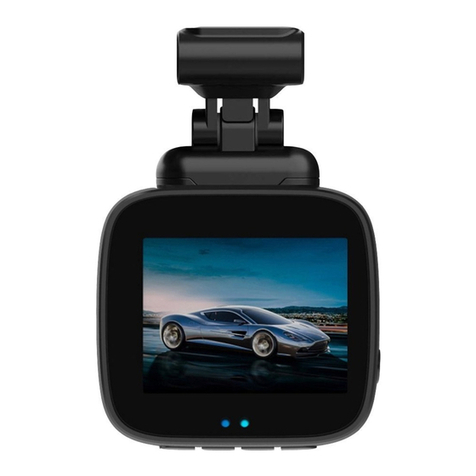
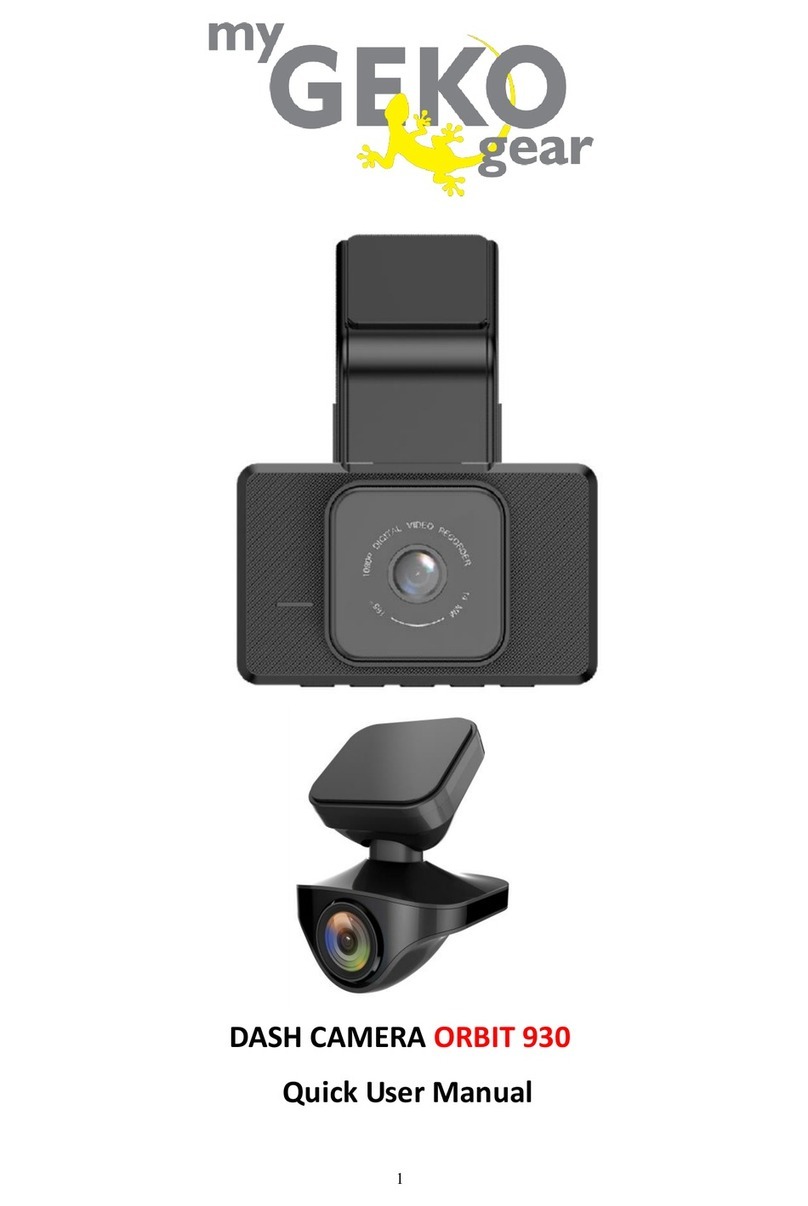
myGEKOgear Orbit 960 Owner's manual

DASH CAMERA Orbit 960
Quick User Manual


1. Please follow the set-up and usage instrucons in the print material that came
with this Dashboard Camera (dash cam) product.
2. You should not set/install this dash cam at a place that would obstruct or
reduce a driver’s view; make sure your usage complies with pernent vehicle
codes of your state, province, territory or country.
3. You should post the required noces of recordaon to occupants inside the
vehicle, if voices or other informaon/signal pertaining to in-vehicle acvies
will be recorded.
4. You should not change the dash cam’s seng or mode of operaon or when
the vehicle is in moon.
5. The oponal driving warning signals, including any visual or audible reminding
signals, should not replace your decision-making and judgment that are needed
for the proper operaon of the vehicle.
6. You should not leave the dash cam in a visible spot when no one is inside the
vehicle, to avoid aracng break-ins to steal the unit, or other property.
7. You should avoid extended exposure of the dash cam to direct sunlight or
extreme temperatures (either high or low temperature) which tend to degrade
or damage the unit and its normal funconality.
8. You should examine, check and/or verify the dash cam at least every six (6)
months, including the associated memory cards, to ensure the video recepon
and recording are working properly. For each use, you should verify that the
dash cam unit, the visible lights and the audible sounds are working normally.
If there are signs of non-operaon or mal-funcon, you should immediately
seek to replace the product and check to see if the product is covered under
any applicable warranty.
9. The dash cam unit may have addional funconality, such as transmission and
recordaon of audible or GPS signal or other idenficaon informaon.
If you have privacy concerns about these funcons, make sure you follow the
instrucon to disable these funcons.
10. You should use the dash cam unit in the way it is intended. You should not use
the dash cam unit in a way that would be illegal or that tends to physically
damage the unit or tends to cause danger to the safe operaon of the vehicle
or the occupants.
Disclaimer
1
① If your vehicle sll provides power to your cigaree 12-volt charger, please
unplug the device when you turn off your vehicle and plan to have it
parked for a long period of me to avoid draining the power from your
vehicle's baery.
② The embedded super capacitor can help to save your recorded file even
if the power is off.
③ To avoid breaking down the files recorded, don’t eject the Micro SD Card
immediately aer powering off.
④ We suggest using the adapter provided.
⑤ To enable detecng and monitoring funcon, the power supplier must be
enabled.
① Please use microSD card with the size / memory at least 16GB, Class 10
(up to 512GB).
② Be sure to format microSD card before usage.
To format card, please press once and it will get to sengs.
Select “Format” and press .
③ The following informaon is the card capacity and recording me.
(Reference only)
Aenon Please!
【About Usage】
【About Micro SD Card】
Resoluon
3840x2160P30
2560x1440P30
16G
55min
91min 182min 364min
2304x1296P30 109min 218min 436min
1920x1080P30 136min 273min 546min
109min 218min
32G 64G
Product features may change without noce according to
the region where it's purchased in.
Thank you for purchasing the Orbit 960 dash camera.
This user manual contains technical specificaons and instrucons for use,
operate, and install. Please read this manual carefully before using.
Thank You!
2

Product Overview
Package Content
Orbit 960 Dash Cam
USB Car Charger with Cable
Windshield Sucon Mount &
Windshield 3M Scker Mount
Quick User Guide
16GB microSD Card
Product Features
3
Sleek and compact dash cam, 140-degree wide viewing angle, rotatable mount,
and shoong in ultra high-definion resoluon.
● 2.7-inch TFT LCD Display.
● Sony Starvis Imaging Sensor
● 8 Layered All Glass Lens, Focusing Range: 60CM to Infinity. Maintains crystal
clear imaging, even in 75-degree temperature.
● F1.8 aperture to enable excellent QR and sharpness of image.
The Orbit 960 is an ultra high-definion dash cam recording in 4k resoluon,
along with GPS logging, Wi-Fi APP control. and the Sony Starvis sensor.

Dash Cam Overview
1. Photograph Buon 2. Return /Menu Buon
3. Emergency Recording Buon
4. Up/ Screen Saver Buon 5. Recording/ OK buon
6. Down Buon/ Instant Mute Buon 7. Reset Buon
8. Sucon Cup & 3M Sck Mounng Socket 9. USB Power Cord Connecon
10. Power Buon 11. microSD Card Slot
4
1
2
3
4
5
6
7 8 9 10
11
● Video Format: MP4
● Built-in Microphone/ Speakers
● Baery Capacity: 3C 320mAh/3.7V Li-ion baery
● Compable with TF(SDHC) memory card up to 512GB.
● Automac Screensaver (Wake up the screen by pressing any buon on the panel).
● Loop Recording /Moon Detecon
● Recycle Recording: 1 Minute, 3 Minutes, 5 minutes.
● Image Resoluon: 8M Pixels (3840 x 2160)
● Video Resoluon: 3840 x 2160P30, 2560 x 1440P30, 1920 x 1080P60,
1920 x 1080P30
● Warning Voltage: Automacally power off and save videos under 3.65V,
Recharge Reminder, Working Voltage: 3.7V
● The dash cam is automacally powered on, once your vehicle is started.
● Time-lapse powers off aer it’s disconnected with the car power.
● Instant Mute Funcon: By clicking the boom right buon, it will automacally
mute the recording.
● The G-Sensor will detect drasc braking or a collision and will automacally lock
onto emergency files.
● Parking Monitor: Collision or shaking will trigger the dash cam to start recording.
Minimum power 0.6mw , addional power bank to support longer recordings.

Where to Install Your Dash Cam
① To have a beer view, try to install in the center of the windshield.
② Make sure the lens is located in a place where the windshield wiper can clean
the window to ensure view is clear.
③ Make sure the device is not installed in a place where it will interfere with the
safety bag.
④ Make sure the device will not be obstructed by the windshield’s sun control
film (window nt).
⑤ Clean the area you desire to have the dash cam placed before scking the
device, and DO NOT move the device for a 24-hour period.
Power On
Insert the car charger cable into the car’s cigaree lighter and the other end into
the Micro-USB port on the device. Make sure to install the microSD Card into the
microSD Card slot on device. Aer turning on, the system will start recording
automacally. The LED light will turn flashing when recording mode has started.
*Reminder: Please format microSD card before you start recording. Please refer
to page 3 for instrucons.
5

Power Off
Hold down the power buon at least 5 seconds to turn off device. To avoid
breaking down the last file recorded, do not eject the microSD Card immediately
aer powering off. If you need to turn it back on simply hold the power buon
for at least 3 seconds.
Buons Funcons
Buons Definion
6
Recording Mode: Snapshot
Playback Mode: Delete
Recording Mode: Seng Menu
Preview Mode: Return to Previous Page
Playback Mode: Return to Previous Page
Recording Mode: Emergency Recording
Playback Mode: Fast Forward
Recording Mode: Screen Off
Preview Mode: Select Video/Photo
Playback Mode: Select Previous Video/Photo
Recording Mode: Pause/Start Video Recording
Preview Mode: Enter Playback Mode
Playback Mode: Pause/Play Video
Recording Mode: Off/On Audio Recording
Preview Mode: Select Video/Photo
Playback Mode: Select Next Video/Photo

Baery Charge
1. Connect to Car Cigaree Lighter: Connect car cigaree lighter power cable to
USB interface of Orbit 960.
2. USB charging: Connect Orbit 960 to computer USB port with USB cable
microSD Card Installaon and Removal
1. Look for the microSD card slot located on the right side of the dash cam.
2. To insert the microSD card, make sure the back panel of the SD card (gold card
reader side) is facing you.
3. Slowly push card in and it will click in.
4. To remove the SD card, please gently press on the SD card and it will simply pop out.
Cauon!
3. Please pay aenon to the direcon of the microSD card when inserng.
4. If the device and microSD card is incompable, please insert a different
microSD card to try again. (Please refer to the compable microSD card brands
on www.mygekogear.com)
5. Please use a high-speed microSD card (Class 10 or above).
7
To enter the menu, press the "Menu" buon twice.
1. APP Download
Scan the QR code to download the app.
2. Resoluon:3840x2160P30, 2560x1440P30, 1920x1080P60, 1920x1080P30.
Choose the video resoluon, the higher it is, the clearer the videos will be.
3. Split Time: 1 min / 3min/ 5min
Set the me length of each video secon for loop recording. If loop recording is
disabled, recording will be stopped while memory space runs out
4. WDR: ON/OFF
The wide dynamic range funcon will automacally adjust the video to handle
too bright or too dark situaons.
5. Sensivity: OFF/ LOW/ MIDDLE/ HIGH
If any shaking or collision occurs while recording, the dash cam will automacally
lock the video in recording. A lock icon will appear on the top right corner of the
screen. Aer recording, the video will be protected from loop recorded over.
Seng Menu

8
6. Screen Dormant: Off/ 1min/ 3min
To set the screen saver me, the dash cam’s LCD screen will turn off when it
goes without a handle period.
7. Key Tone: Off/On
Turn On/ Off Key Buon Sound
8. Volume: Off/60%/80%100%
To control the noise level of the key buon sound.
9. Language: EN/ZH
10. Time Setup: DD/MM/YY
Set the date and me. Press Up/Down buon to properly set your date, press
OK to save your sengs and then exit.
11. OSD: Date Stamp, LOGO Stamp, GPS Locaon stamp, Speed Stamp.
Date, me, LOGO, GPS locaon and speed will be stamped at the right boom
corner of videos if it is enabled.
12. Driving Safety:
A: Driver Fague Alarm--off/ 1 hour/ 2 hours/4 hours: This seng is to alert and
remind the driver to take a rest from driving to promote safe driving habits.
B: Light Reminder—Off /On: The dash cam will make an alert sound to remind
the driver to turn their headlights on.
13. Record Mode: 1PFS/ Moon Detecon/ Parking/ OFF
A: 1FPS
B: Moon Detecon--If any movement is detected by the lens, the dash cam
will automacally start recording, and will stop recording when there is no
movement detected.
C: Parking Monitor – This funcon is triggered by the G-sensor embedded in
the dash cam. When parking mode is turned OFF, the G-sensor and CPU will
not work. When parking mode is turned ON, the dash cam will switch to
Parking Mode when the car is turned off.
14. Wi-Fi: OFF/ ON
Open Wi-Fi funcon
15. Format SD Card :OK/ Cancel
Format the Memory Card
16. Format Warning: OFF, 15 days, 30 days, 60 days
To set the days to format the SD card, the dash cam will wipe the SD card data
at the set me.

When connected to a car charger, the device turns on and start recording
automacally. The red ● icon will show on the screen. The flashing red ● icon
indicates that the device is recording.
If you want to protect/lock the current recordings, please press the buon
and the icon will appear on the screen. To stop recording, press up buon
and the red dot disappears, indicang that the recording has stopped.)
Recording:
1) If the dash cam is sll recording (Indicated on the top le corner), press the
"OK" buon twice to stop recording.
2) Press the "Emergency Recording Buon" twice.
3) Choose "Video", "Emergency Recording", or "Photo" to view and playback.
Note
● Improper operaon will cause the device to be crash. If the dash cam crashes,
press the reset buon to reset the camera.
● Don’t leave the camera in direct sunlight or where the temperature could go
above 60 degrees Celsius or 140 degrees Fahrenheit for a long period of me.
9
17. Reset system: Cancel/ Confirm
Reset the unit to default sengs
18. About: Unit firmware version informaon
Playback Mode:
1. Connect the dash with PC through USB wire, the dash cam will be in mass
storage mode. All videos are stored in Even and Normal folders of memory
card. All locked videos are stored in Event folder, and others are stored in
Normal folder
2. PC Operaon System:Windows 7/Windows 8/Windows 10/MAC
Videos Backup

Need more informaon? Visit our website via www.mygekogear.com
Feel free to contact our service team at service@mygekogear.com if you have any
addional quesons.
Technical Specificaons
Before Contacng a Service Team Member
Please back up all important data stored in the microSD card. The data in the
microSD card may be deleted during repair.
The customer service team does not back up your data.
myGEKOgear is not responsible for any loss on data.
10
Display 2.7-inch TFT LCD monitor
Lens F 1.8 ,140 degree wide viewing angle and 7 layer all
glass lens plus IR . TTL:21~22mm
Languages English /Chinese/French
Video Format MP4
Video Resoluon
Moon Detecon ON/OFF
Audio Recording ON/OFF
Image Resoluon 8M Pixels
Image Format JPEG
Memory Card Micro SD card up to 512GB
MIC/Speaker Built In
Auto Power Off OFF/1 Minute/3 Minutes/5 Minutes
USB Port USB 2.0
Baery Capacity 320mAh 3C
PC Operaon System Windows 7/Windows 8/Windows 10/MAC
3840 x 2160P30, 2560 x 1440P30, 2304 x 1296P30, 1
920 x 1080P30

CAMÉRA DE TABLEAU DE BORD Orbit 960
Manuel d’ulisateur

Avis de non-responsabilité
1. Veuillez suivre les instrucons de configuraon et d’usage se trouvant dans les
documents qui sont venus avec cee caméra de tableau de bord.
2. Vous ne devriez pas mere/installer la caméra à un endroit qui obstruerait ou
réduirait la vue du conducteur; assurez-vous que son usage soit conforme aux
codes rouers de votre état, province, territoire, ou pays.
3. Vous devriez aviser les occupants à l’intérieur du véhicule si leur voix ou tout
autre informaon/signal à propos de leurs acvités sera enregistré par la caméra.
4. Vous ne devriez pas changer les paramètres ou le mode d’opéraon de la
caméra pendant que le véhicule est en mouvement.
5. Les signaux d’averssement de conduite oponnels, incluant tous les signaux
visuels et audifs, ne devraient pas remplacer le jugement et la prise de
décisions nécessaires à l’opéraon adéquate d’un véhicule.
6. Vous ne devriez pas laisser la caméra dans un endroit visible quand il n’y a
personne à l’intérieur du véhicule pour éviter d’arer le cambriolage de
l’appareil et autre propriété.
7. Vous devriez éviter l’exposion prolongée de la caméra aux rayons du soleil ou
à des températures extrêmes (soit hautes ou basses) qui pourraient détériorer
ou endommager l’appareil et son fonconnement normal.
8. Vous devriez examiner, tester et/ou vérifier la caméra au moins à tous les (6)
mois, incluant les cartes mémoires, pour s’assurer que la récepon et
l’enregistrement vidéo fonconnent adéquatement. À chaque ulisaon, vous
devriez vérifier que la caméra, les lumières visibles et les sons audifs
fonconnent normalement. S’il y a des signes de panne ou de défaillance, vous
devriez immédiatement entreprendre les démarches pour remplacer le produit
et voir si le produit est couvert par une quelconque garane valable.
9. La caméra pourrait être munie de fonconnalités addionnelles, telles que la
transmission ou l’enregistrement de signaux audio ou de GPS, ou d’autres
informaons d’idenficaon. Si vous avez des inquiétudes vis-à-vis ces
foncons, assurez-vous de suivre les instrucons pour les désacver.
10. Vous devriez uliser la caméra de la manière dont elle a été conçue. Vous ne
devriez pas l’uliser d’une façon qui serait illégale, qui pourrait l’endommager
physiquement, ou qui pourrait porter aeinte à la sécurité des passagers ou la
conduite sécuritaire du véhicule.
1

① Veuillez uliser une carte microSD qui a une mémoire d’au moins16Go,
Classe 10 (jusqu’à 512Go).
② Assurez-vous de formater la Micro SD avant l’ulisaon.
Pour formater, appuyer sur et vous entrerez dans les paramètres.
Choisissez « Formater » et appuyer sur .
③ Voici les informaons sur la capacité des cartes et le temps d’enregistrement.
(En tant que référence seulement)
Résoluon
3840x2160P30
2560x1440P30
16G
55min
91min 182min 364min
2304x1296P30 109min 218min 436min
1920x1080P30 136min 273min 546min
109min 218min
32G 64G
Aenon !
【À propos de l’ulisaon】
【À propos de la carte micro SD】
*Les caractérisques du produit peuvent changer selon la
région où il a été acheté, sans préavis.
Merci !
2
① Si votre véhicule alimente toujours le chargeur 12 volts même quand il est
éteint, veuillez débrancher l’appareil lorsque vous planifiez le laisser staonné
pendant une longue période de temps pour éviter de vider la baerie de votre
véhicule.
② Le super condensateur intégré peut aider à sauvegarder les fichiers même
quand l’appareil est éteint.
③ Pour éviter de briser les fichiers sauvegardés, ne pas éjecter la carte micro SD
immédiatement après avoir éteint l’appareil.
④ Nous suggérons d’uliser l’adaptateur fourni.
⑤ Pour acve les foncons de détecon ou de surveillance, le fournisseur de
courant doit être acvé.
Merci d’avoir acheté la caméra de tableau de bord Orbit 960.
Ce manuel d’ulisateur conent les spécificaons techniques et les instrucons
pour son ulisaon, son opéraon, et son installaon. Veuillez lire ce manuel
aenvement avant l’ulisaon.

Vue d’ensemble du produit
Contenus du paquet
Manuel d’ulisateur
Carte microSD 16Go
Caractérisques du produit
Caméra mince et compacte, angle de vue large de 140 degrés, support pivotant,
et enregistrement ultra haute-définion.
● Écran TFT LCD de 6.8cm
● Capteur d’images Sony Starvis
● Lenlles en verre à 8 couches, distance de mise au point : 60cm à l’infini. Images
claires comme du cristal, même sous des températures chaudes.
● Ouverture F1.8 pour permere une excellente finesse d’images.
3
L’Orbit 960 est une caméra de tableau de bord ultra haute-définion avec
résoluon 4K, enregistrement GPS, contrôle Wi-Fi, et capteur Sony Starvis.
Caméra Orbit 960 Support à ventouse & Support
collant 3M
Chargeur USB avec câble

4
1
2
3
4
5
6
7 8 9 10
11
● Format vidéo :MP4
● Microphone/Haut-parleurs intégrés
● Capacité de la baerie : Baerie Li-ion 3C 320mAh/3.7V
● Compable avec carte mémoire TF(SDHC) jusqu’à512Go.
● Écran de veille automaque(Appuyer sur n’importe quel bouton pour éveiller)
● Enregistrement en boucle / Détecon de mouvements
● Recyclage d’enregistrement : 1 Minute, 3 Minutes, 5minutes
● Résoluon d’images : 8M Pixels (3840 x2160)
● Résoluon vidéo : 3840 x 2160P30, 2560 x 1440P30, 1920 x1080P60,
1920 x 1080P30
● Tension minimale : Éteint automaquement la caméra et sauvegarde les vidéos
lorsqu’en-dessous de 3.65V. Recharger. Fonconne au-dessus de 3.7V.
● La caméra est automaquement démarrée quand le moteur est mis en marche.
● S’éteint après un certain temps une fois le courant coupé.
● Foncon de coupage de son instantané : En cliquant le bouton en bas à droite,
le son sera instantanément coupé.
● Le capteur de chocs détectera un freinage soudain ou une collision et
verrouillera automaquement les fichiers.
● Mode staonnement : Une collision ou une vibraon démarrera
l’enregistrement de la caméra. Alimentaon minimale de 0.6mw, d’avantage
pour supporter de plus longs enregistrements.
Vue d’ensemble de la caméra

Où installer la caméra de tableau de bord
Allumer l’appareil
5
Aenon : Nous ne sommes pas responsables de tout dommage
causé à, ou causé par, le sac gonflable à cause du mauvais
emplacement de la caméra à proximité de celui-ci.
Meilleur endroit
de montage
Pare-brise
Brancher au chargeur
de la voiture
① Pour une meilleure vue, essayer d’installer au milieu du haut du pare-brise.
② S’assurer que les lenlles sont situées là où les essuie-glaces peuvent neoyer
le pare-brise pour garanr une vue claire.
③ S’assurer que l’appareil n’est pas installé là où il pourrait entraver le sac
gonflable.
④ S’assurer que l’appareil ne sera pas obstrué par la pellicule pour soleil du
pare-brise (teintage du pare-brise).
⑤ Neoyer la zone où vous désirez installer la caméra avant d’y coller celle-ci,
et NE PAS déplacer l’appareil pendant 24 heures.
Insérer le câble du chargeur dans le briquet de la voiture et l’autre bout dans le
port Micro-USB de l’appareil. S’assurer d’insérer la carte microSD dans la fente
appropriée. Après avoir allumé l’appareil, celui-ci commencera à enregistrer
automaquement. La lumière LED clignotera quand le mode enregistrement
aura débuté.
*Note : Veuillez formater la carte microSD avant de l’uliser. Se référer à la
page 3 pour les instrucons.

Boutons Foncons
Éteindre l’appareil
Définion des boutons
6
Tenir le bouton d’alimentaon enfoncé pendant au moins 5 secondes pour
éteindre l’appareil. Pour éviter de briser les fichiers sauvegardés, ne pas éjecter la
carte micro SD immédiatement après avoir éteint l’appareil.
Si vous avez à le rallumer, tenir le bouton enfoncé pendant au moins 3 secondes.
Mode enregistrement : Prendre une photo
Mode lecture : Supprimer
Mode enregistrement : Menu des paramètres
Mode aperçu : Retourner à la page précédente
Mode lecture : Retourner à la page précédente
Mode enregistrement : Enregistrement d’urgence
Mode lecture : Accélérer
Mode enregistrement : Aperçu
Mode aperçu : Séleconner Vidéo/Photo
Mode lecture : Séleconner Vidéo/Photo précédente
Mode enregistrement : Pauser/Débuter enregistrement vidéo
Mode aperçu : Entrer en mode lecture
Mode lecture : Pauser/Jouer la vidéo
Mode enregistrement : Acver/Désacver enregistrement audio
Mode aperçu : Séleconner lecture Vidéo/Photo
Mode lecture : Séleconner Vidéo/Photo suivante

Aenon !
7
Chargement de la baerie
1. Brancher directement le câble au chargeur pour voiture et dans la fente USB de
l’Orbit 960.
2. Chargement USB : Connecter l’Orbit 960 au port USB de l’ordinateur avec le
câble USB.
Insérer et rerer une carte microSD
1. Repérer la fente pour carte microSD sur le côté droit de la caméra.
2. Pour insérer la carte microSD, s’assurer que l’arrière de la carte (avec les
plaquees dorées) vous fait face.
3. Pousser doucement la carte et elle fera un pet clic.
4. Pour rerer la carte Micro SD, appuyer doucement sur la carte microSD et elle
devrait sorr de la fente.
1. Veuillez faire aenon à l’orientaon de la carte Micro SD lors de l’inseron.
2. Si la caméra et la carte microSD sont incompables, veuillez insérer une autre
carte microSD et réessayer. (Se référer à la liste des cartes compables
auwww.mygekogear.com)
3. Veuillez uliser une carte Micro SD à haute vitesse (classe 10 ou supérieur).
Menu des paramètres
Pour entrer dans le menu, appuyer sur le bouton « Menu » deux fois.
1. Téléchargement de l’applicaon
Scanner le code QR pour télécharger.
2. Résoluon:3840x2160P30, 2560x1440P30, 1920x1080P60, 1920x1080P30.
Choisir la résoluon vidéo. Plus elle est haute, plus les vidéos seront claires.
3. Temps intermédiaire : 1 min / 3 min/5 min
Établir la durée de temps de chaque clip vidéo pour l’enregistrement en boucle.
Si l’enregistrement en boucle est désacvé, celui-ci s’arrêtera quand il ne restera
plus d’espace mémoire.
4. WDR :Acvé/Désacvé
La foncon de plage dynamique étendue (WDR) ajustera automaquement la
vidéo si les condions sont trop éclairées ou trop sombres.
Table of contents
Languages:
Other myGEKOgear Dashcam manuals

myGEKOgear
myGEKOgear Orbit 118 User manual

myGEKOgear
myGEKOgear ORBT 956 Owner's manual

myGEKOgear
myGEKOgear Infiniview User manual

myGEKOgear
myGEKOgear ORBIT 500 Owner's manual

myGEKOgear
myGEKOgear Orbit 510 Owner's manual

myGEKOgear
myGEKOgear ORBIT 1400 Owner's manual

myGEKOgear
myGEKOgear Orbit 530 Owner's manual

myGEKOgear
myGEKOgear ORBIT 130 Owner's manual

myGEKOgear
myGEKOgear ORBIT 950 Owner's manual

myGEKOgear
myGEKOgear ORBIT 1120 Owner's manual