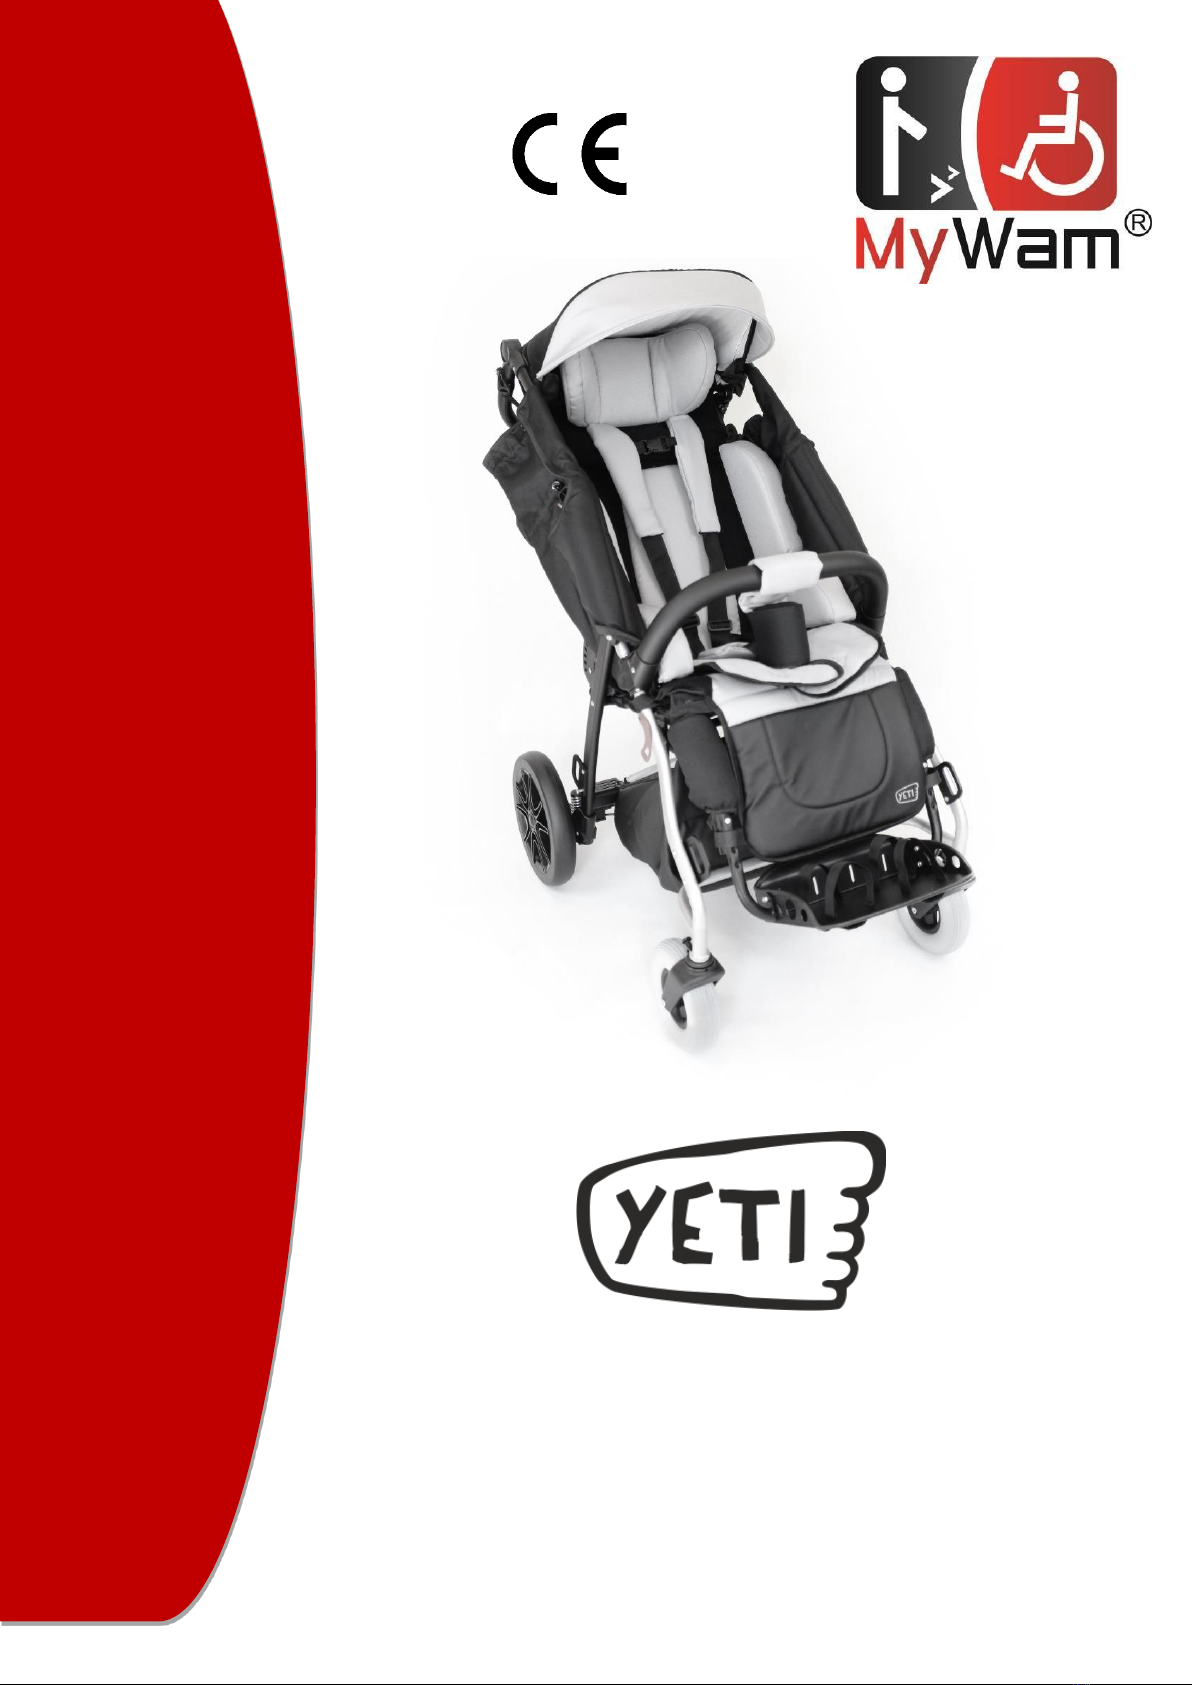
YETI Edition 7 / 2022-10-25
3 | P a g e
Table of Contents
Introduction ........................................................................................................................................................................... 5
1. Intended use of the Yeti/Yeti Young stroller .................................................................................................................... 5
2. Basic information about the Yeti stroller.......................................................................................................................... 5
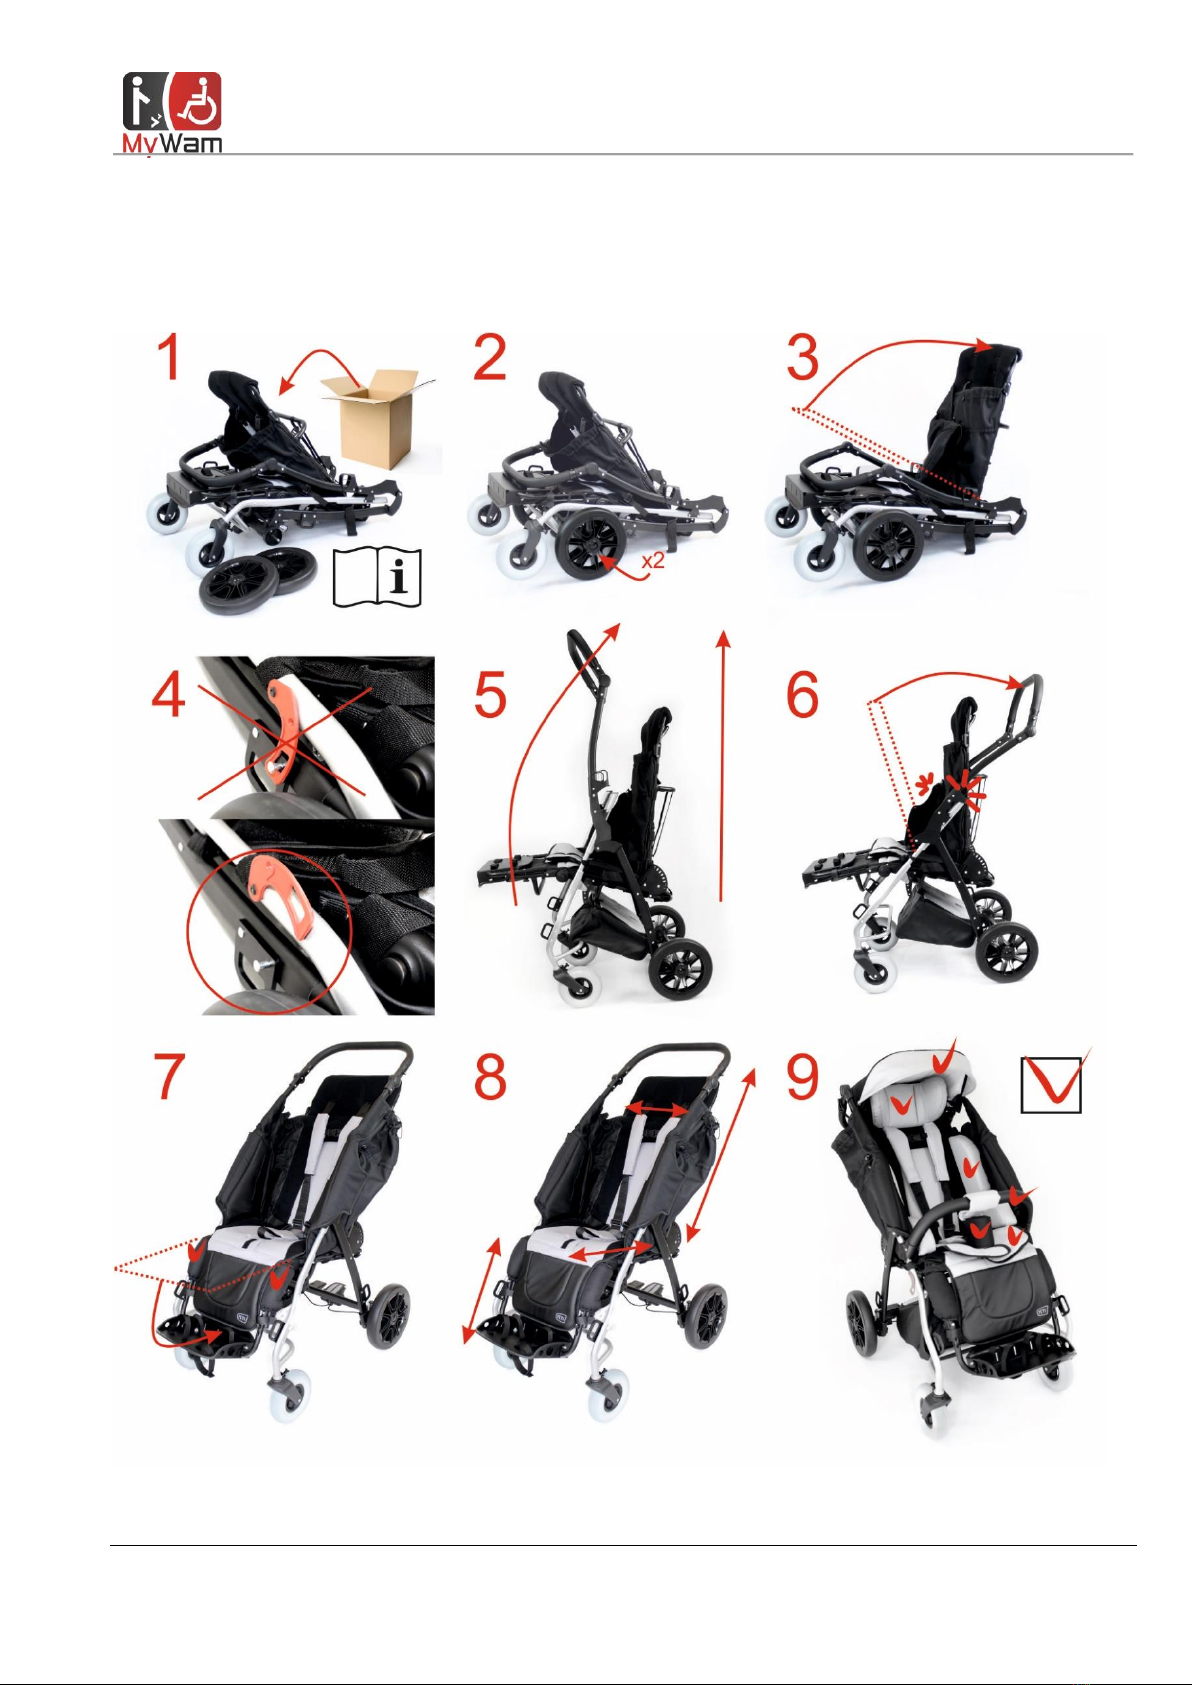
3. Quick start ........................................................................................................................................................................ 6
Safety ..................................................................................................................................................................................... 7
4. Important instructions and safety rules .......................................................................................................................... 7
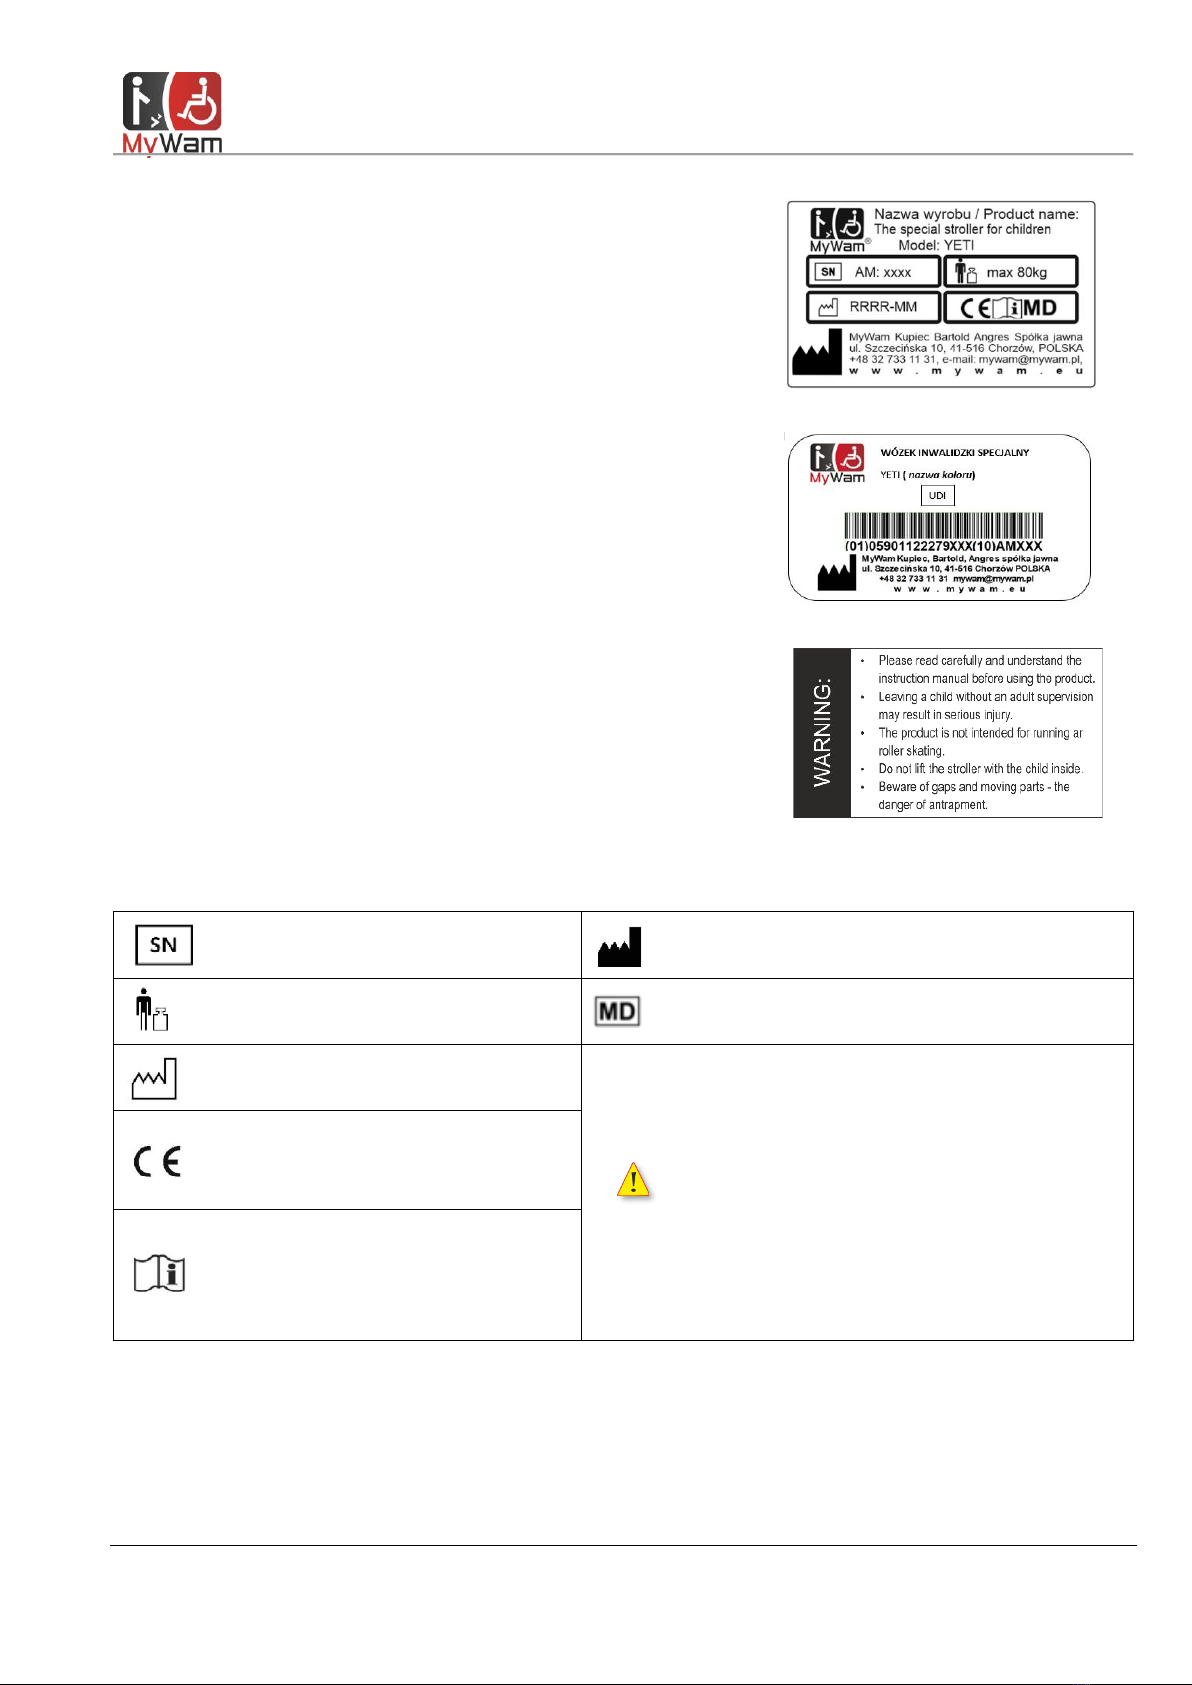
5. Identification plate ........................................................................................................................................................... 8
6. Warning labels .................................................................................................................................................................. 8
7. Marking of symbols .......................................................................................................................................................... 8
Product .................................................................................................................................................................................. 9
8. General construction of the stroller ................................................................................................................................. 9
9. Configuration and use –stroller frame.......................................................................................................................... 11
Frame folding mechanism...................................................................................................................................... 11
Unfolding the stroller frame .................................................................................................................................. 11
Folding the stroller frame ...................................................................................................................................... 12
Transport lock. Installing and removing the transport lock ................................................................................... 12
Swivel front wheels. Locking the direction of travel of the front wheels .............................................................. 12
Rear wheels. Installation and removal of rear wheels on the axle ....................................................................... 13
Rear wheel amortization system ........................................................................................................................... 13
Ergonomic handle for pushing the stroller. Mechanism and angle adjustment of the handle. ............................ 13
Central brake. Applying and deactivating the brake............................................................................................. 14
Tilting foot............................................................................................................................................................. 14
Frame adjustment in terms of seat depth ............................................................................................................. 14
Adjusting the frame in terms of changing the seat angle. .................................................................................... 15
Frame adjustment in terms of backrest height..................................................................................................... 15
Adjusting the frame within the angle of the backrest ........................................................................................... 15
Footrest. Regulation and use. ................................................................................................................................ 16
10. Configuration and use - therapeutic seat with backrest ............................................................................................ 17
Stroller upholstery. Installation of upholstery on the stroller frame. Disassembly............................................... 17
Adjustable tension system ..................................................................................................................................... 18
Seat and backrest upholstery adjustment ............................................................................................................. 18
Five-point belts ...................................................................................................................................................... 19
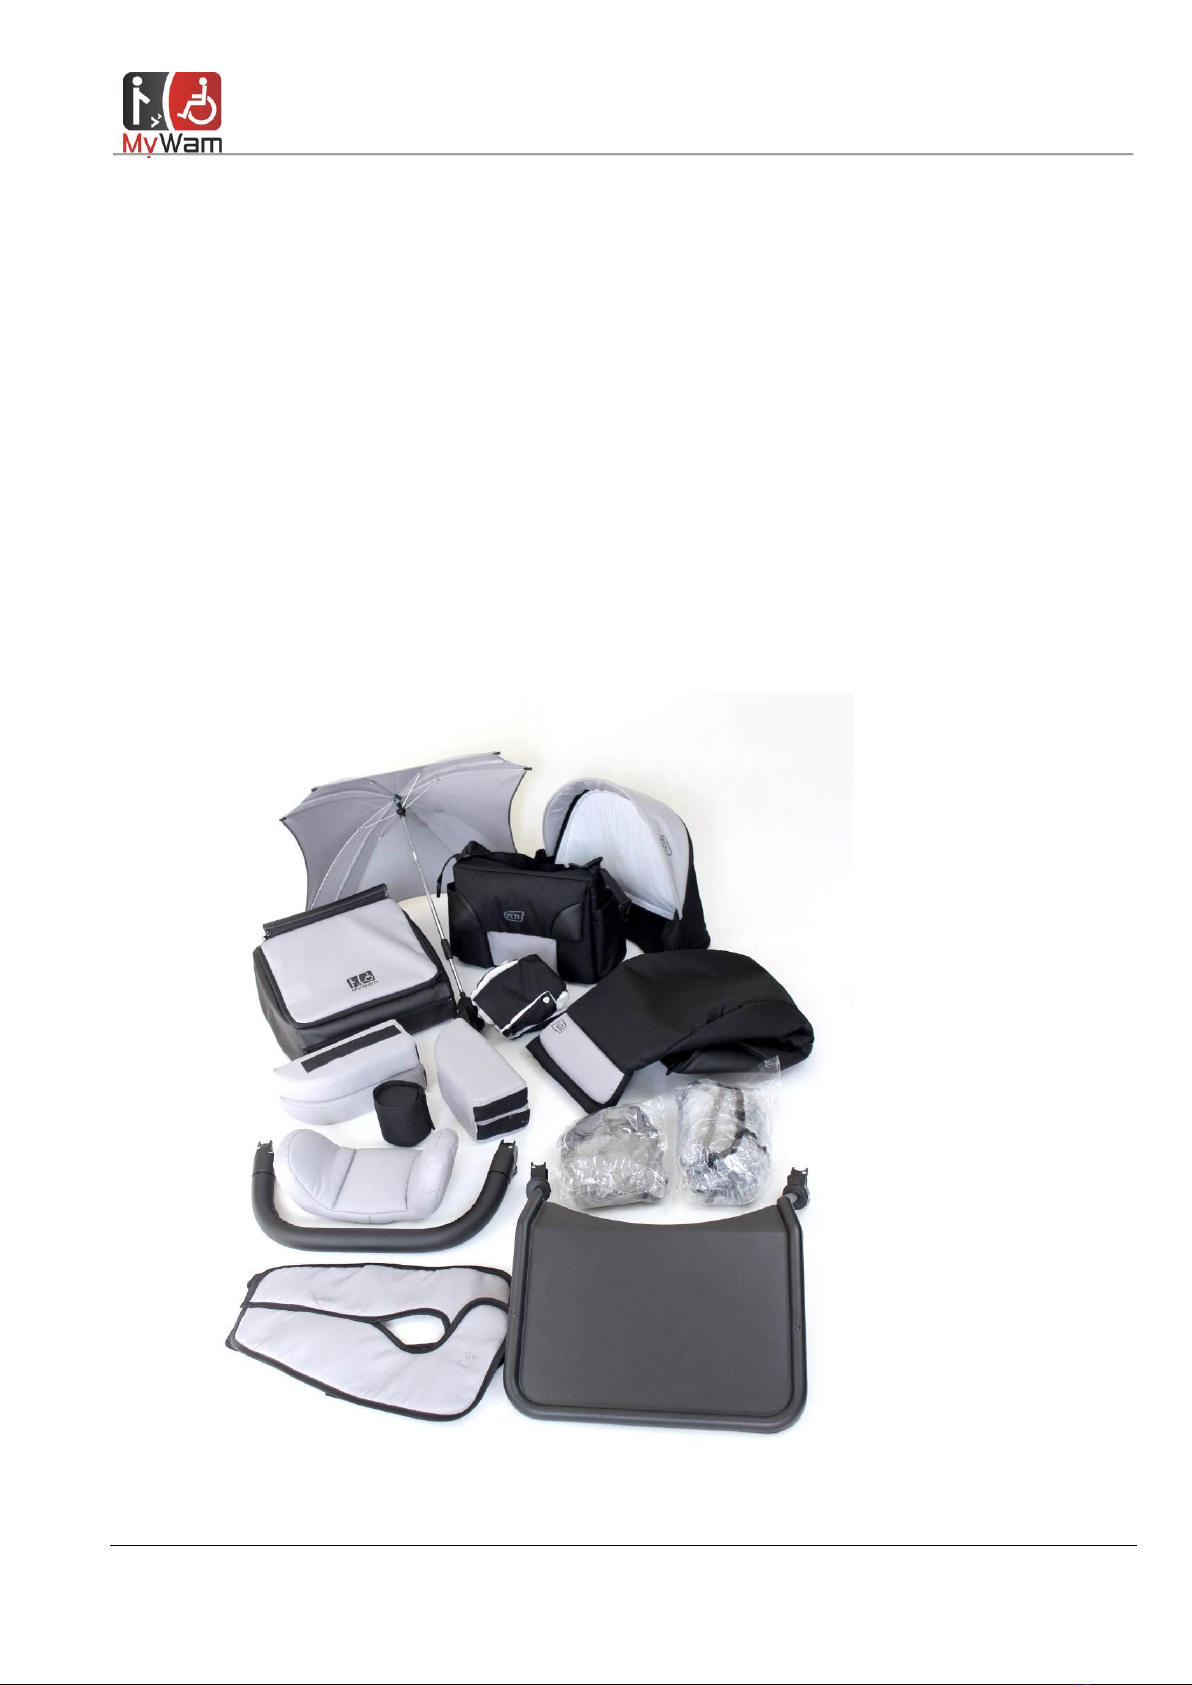
11. Additional equipment ................................................................................................................................................ 20
Safety barrier ......................................................................................................................................................... 20
Therapeutic table .................................................................................................................................................. 20
Abduction and stabilizing belts ............................................................................................................................. 20
Seat minimizing kit................................................................................................................................................. 21
The head restraint.................................................................................................................................................. 21
Adjustable canopy with window ........................................................................................................................... 22
Travel bag.............................................................................................................................................................. 22
Shopping basket..................................................................................................................................................... 22