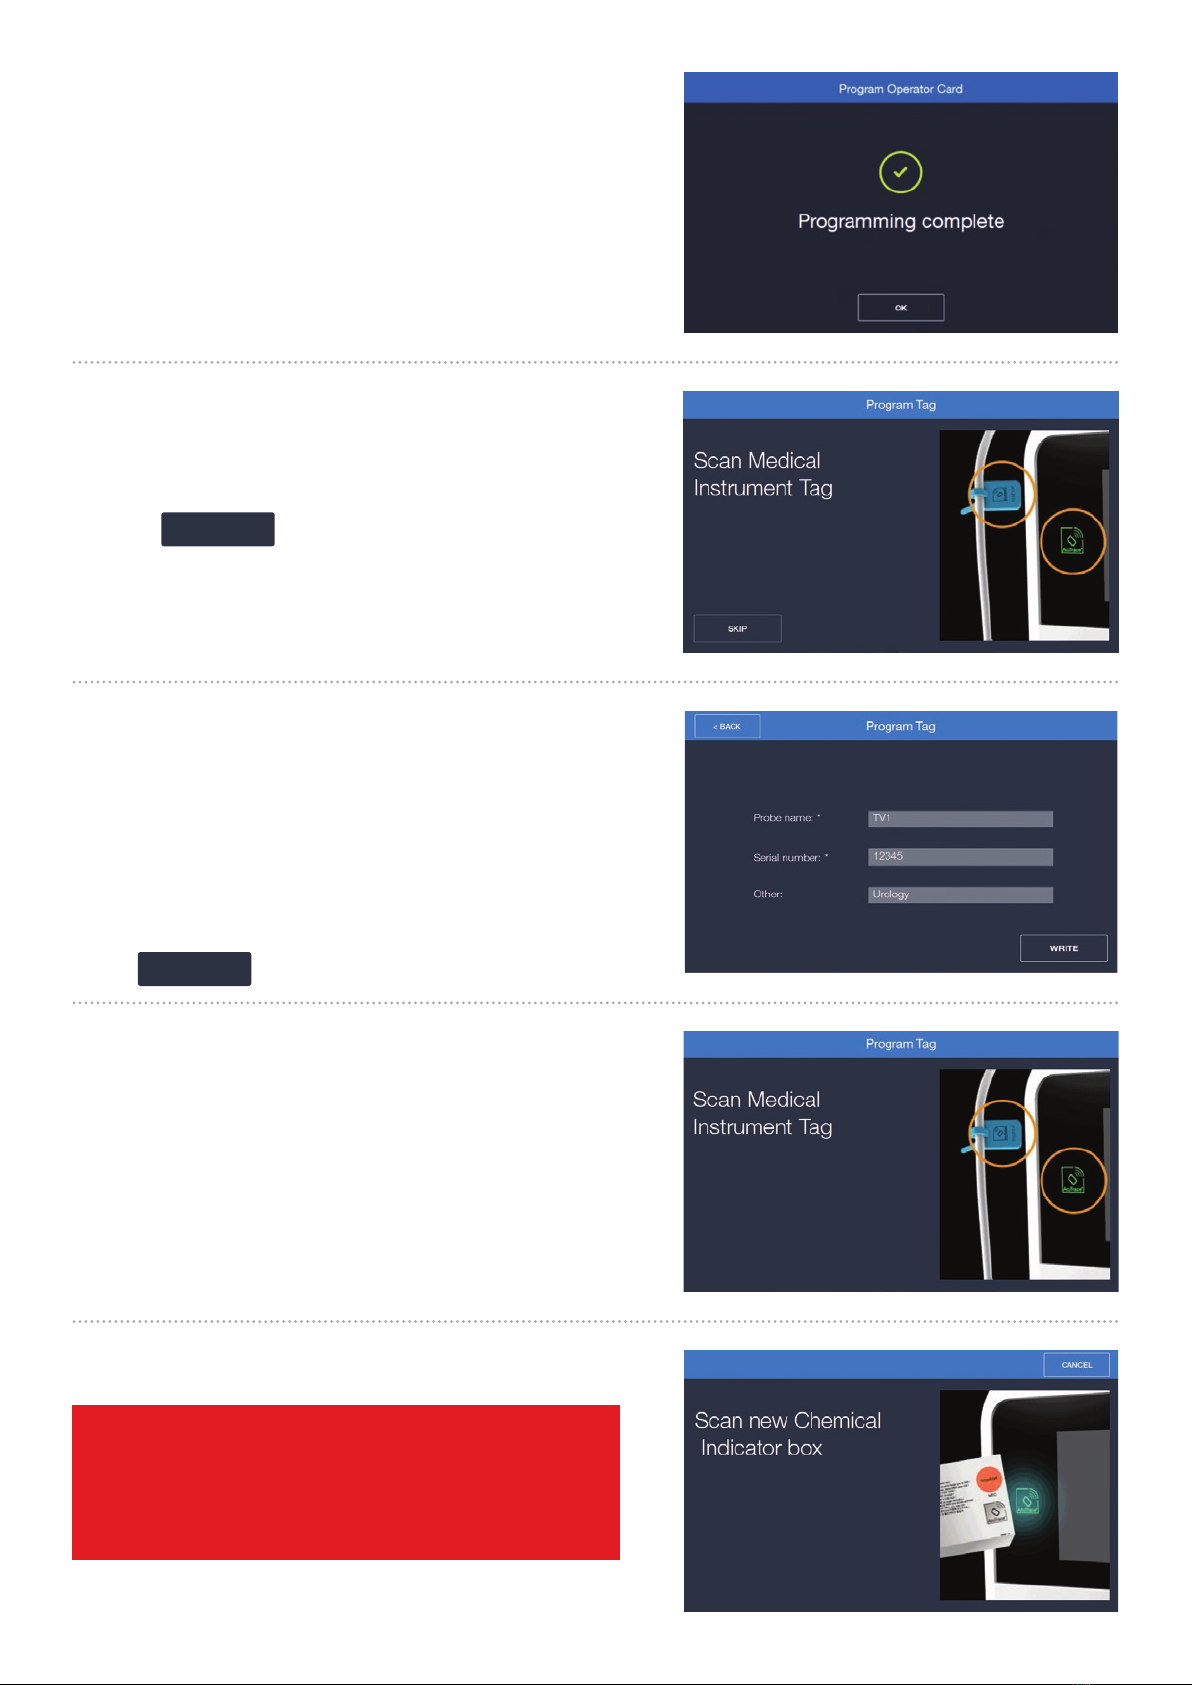
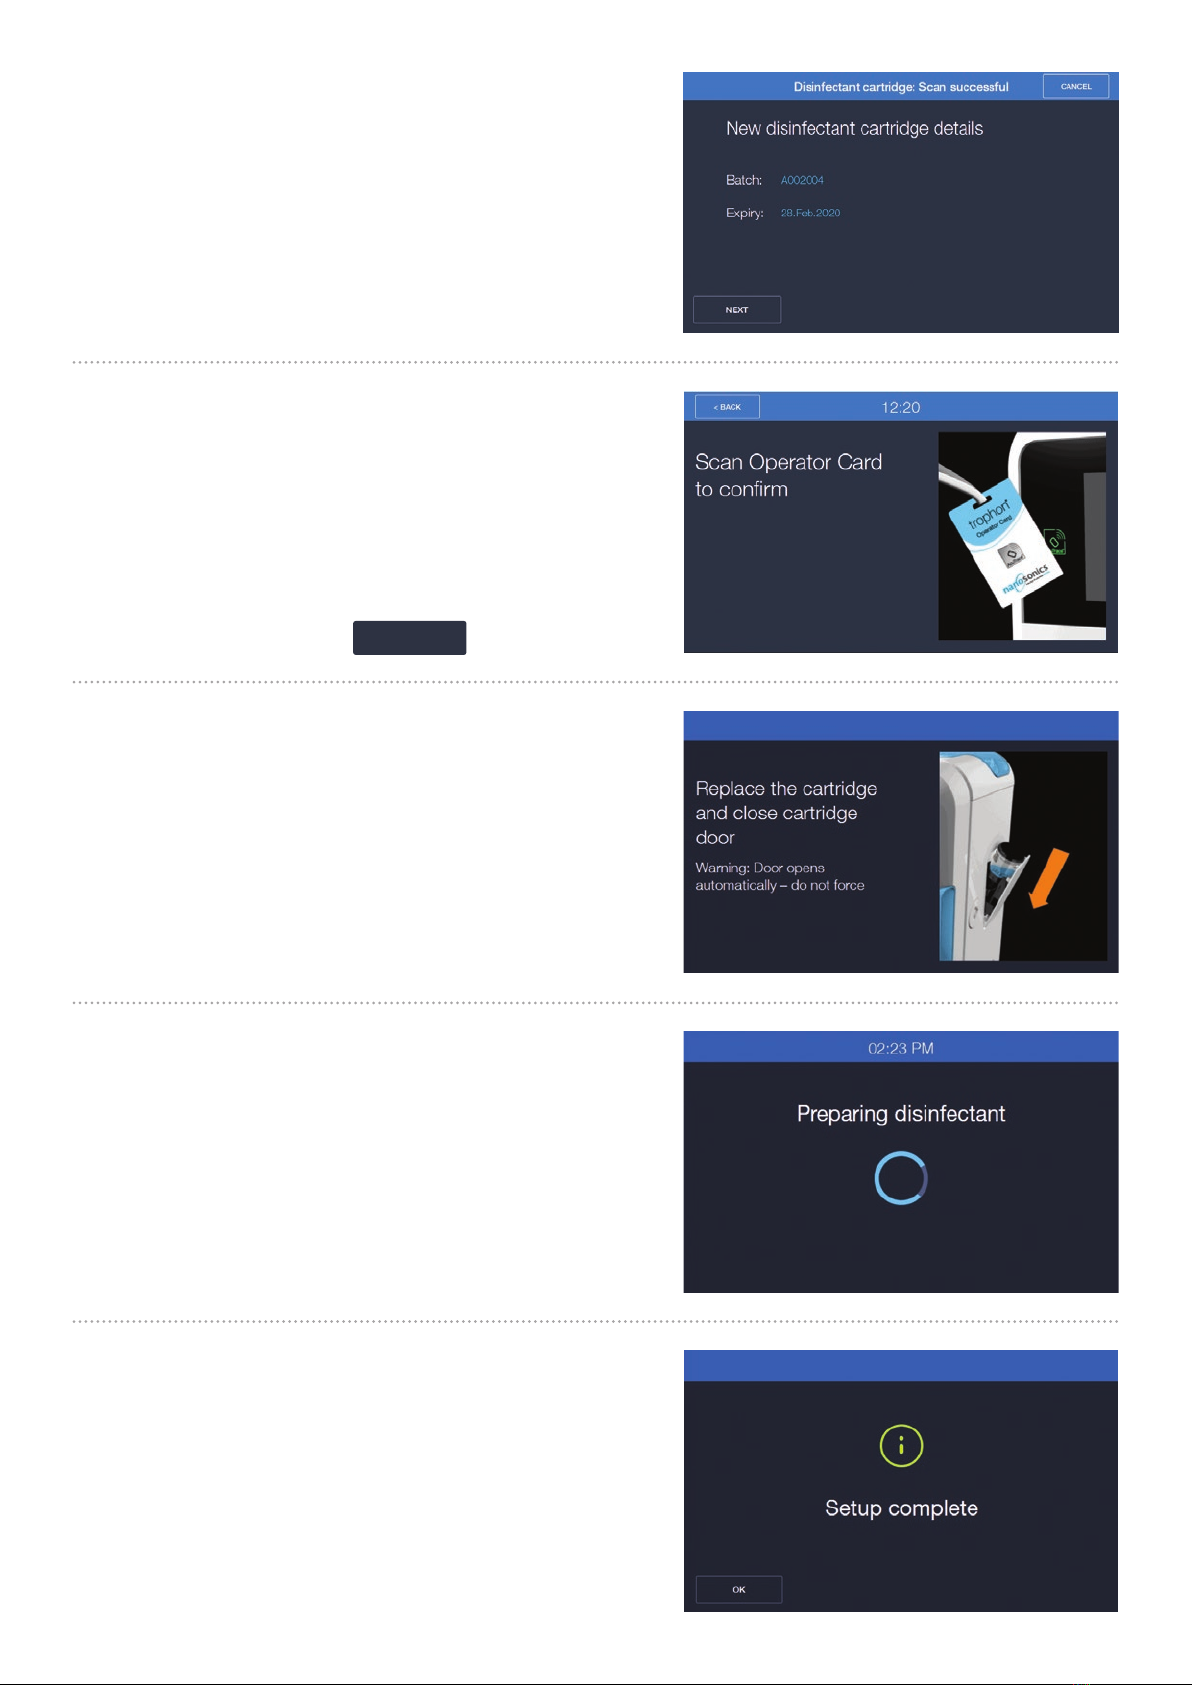
Your operator card is now programmed.
Note:
To ensure the accuracy of disinfection records, users should
never share Operator Cards. Doing so may compromise the
traceability of the Operator/s using trophon2.
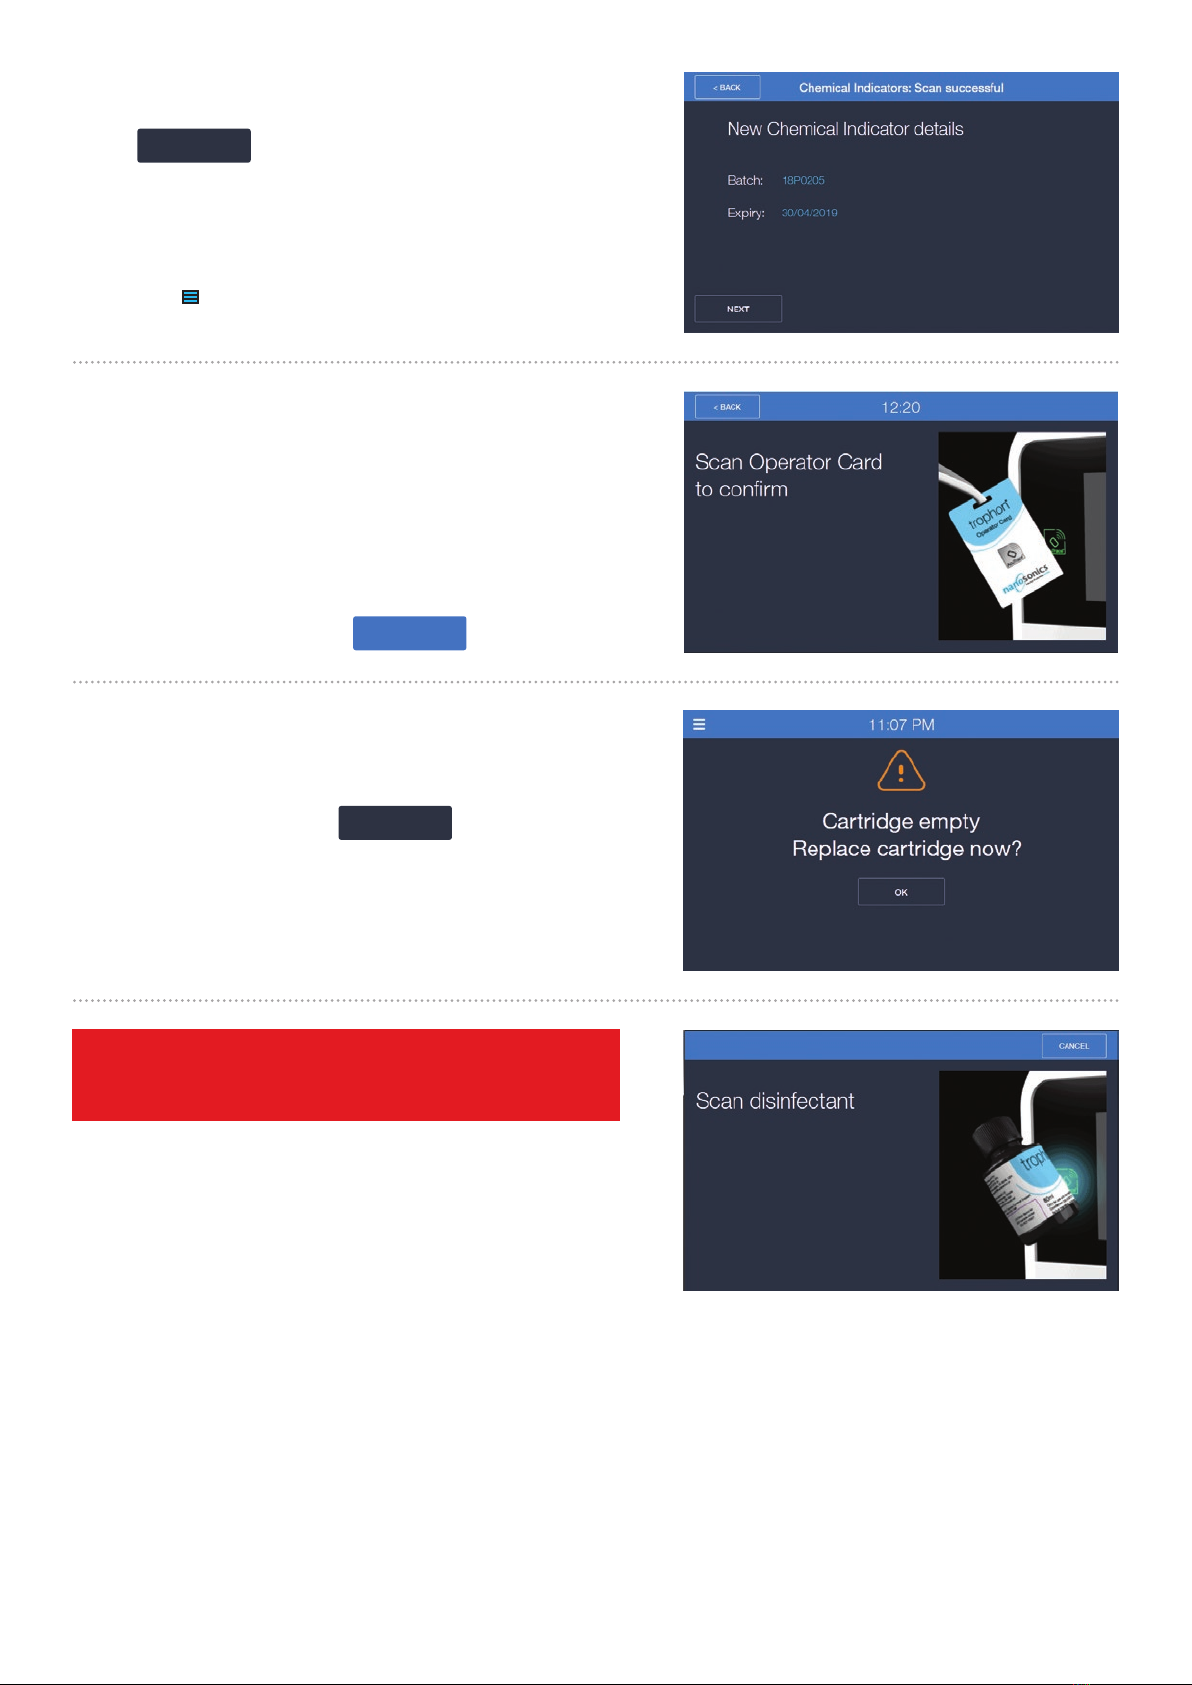
Scan the AcuTrace symbol on your Chemical Indicator box
against the AcuTrace reader on trophon2.
A “Scan Successful” screen will display once completed.
On the trophon2 touch screen type in the Probe name (max 25
characters), the probe serial number (max 20 characters) and Other
(max 10 characters) e.g. department and/or manufacturer.
Note:
It is recommended to enter the Probe Model number into the Probe
Name field. trophon2 Software Version 1.3.10.2 onwards requires the
Medical Instruments ‘Serial number’ to be entered as a mandatory
field. The ‘Other’ field can be updated with other relevant information
related to the probe such as department and/or manufacturer.
Select WRITE
Scan your Medical Instrument Tag again to confirm.
Your Medical Instrument tag is now programmed.
Note:
To ensure the accuracy of disinfection records Medical
Instrument Tags should not be shared across medical devices.
A “Programing complete” screen will display when programming
has been completed.
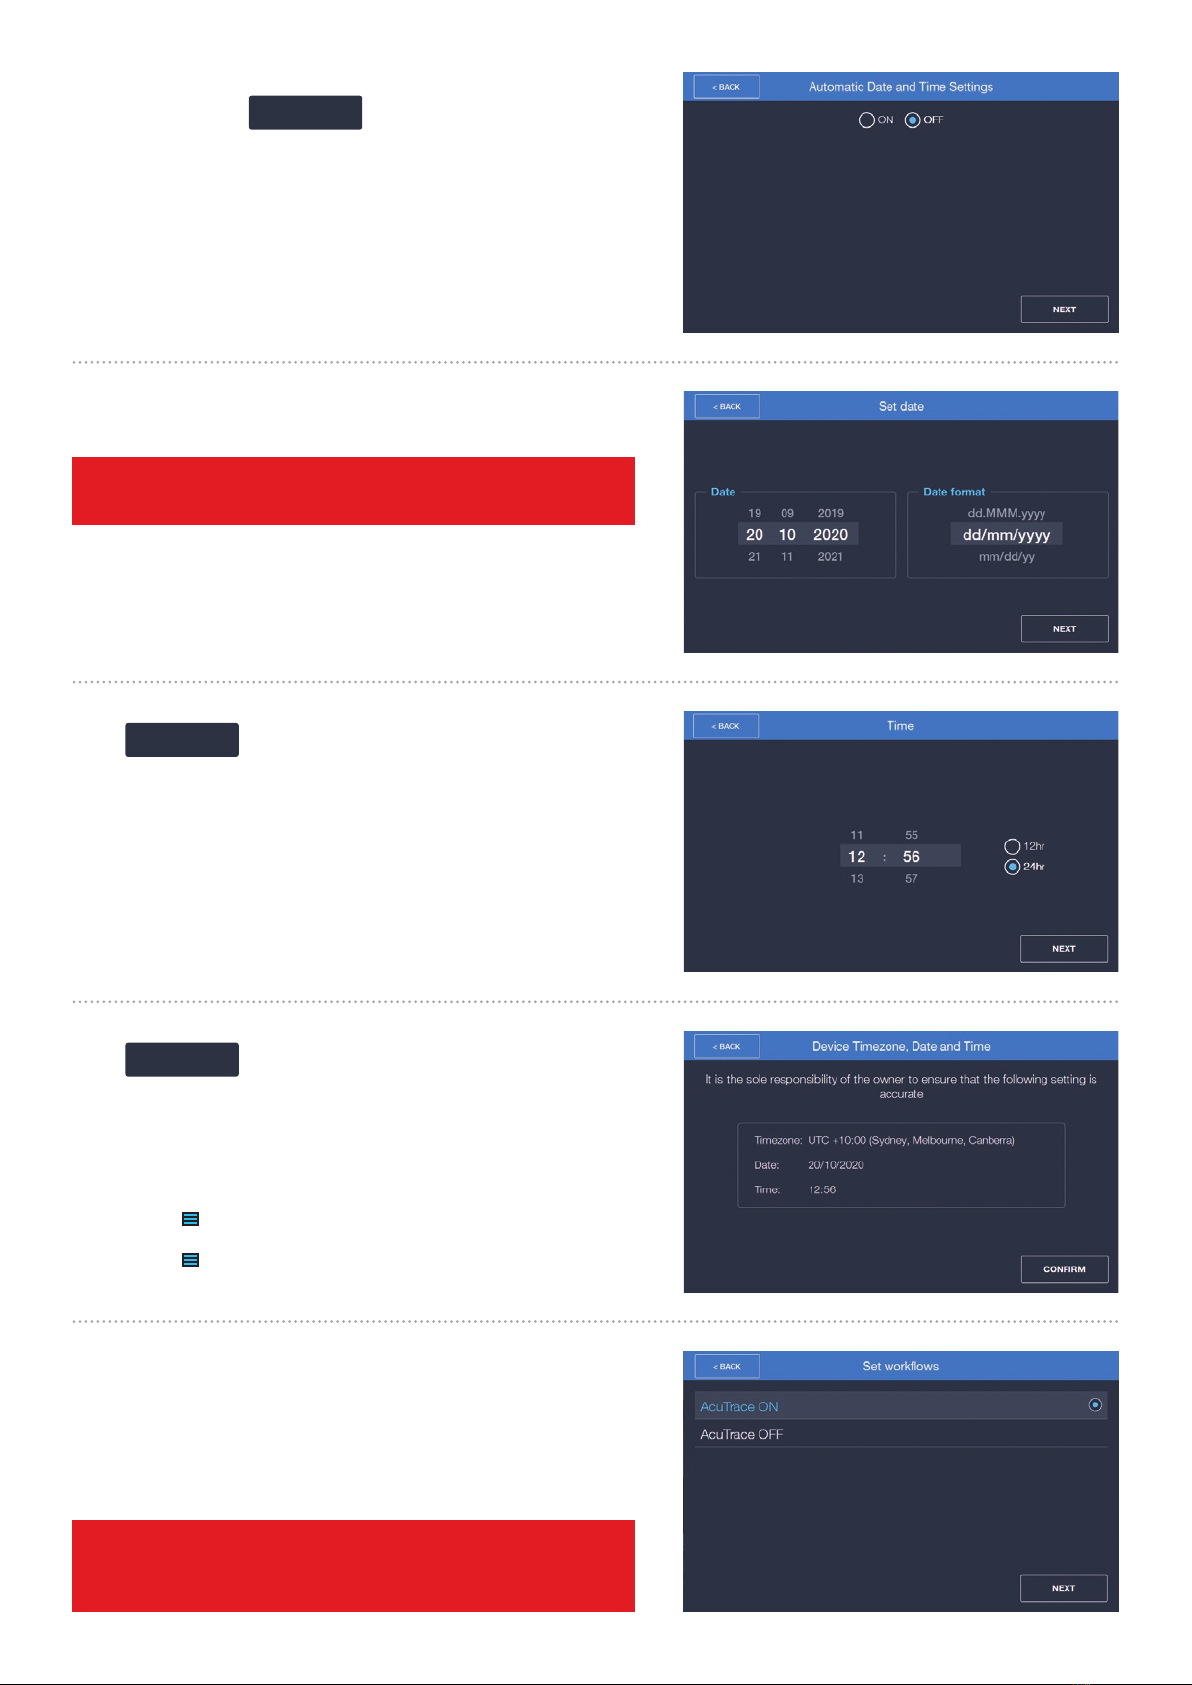
1.10
1.9
All Medical Instruments intended to be reprocessed using
trophon2 should be issued with a new Medical Instrument Tag.
Or select SKIP if this is not applicable.
Note:
Additional Medical Instrument Tags can be programmed at a
later stage and this is covered in Section 3 of this guide.
IMPORTANT: Chemical Indicators must be scanned at
the start of every new box. As this is a manual process
it is important for users of trophon2 to complete this
step each time a new Chemical Indicator box is opened.
Chemical indicators must be stored in their original
packaging and not be shared across trophon devices.