Slide 3© Narda Safety Test Solutions GmbH www.narda-sts.com
SignalShark -User Interface Manual
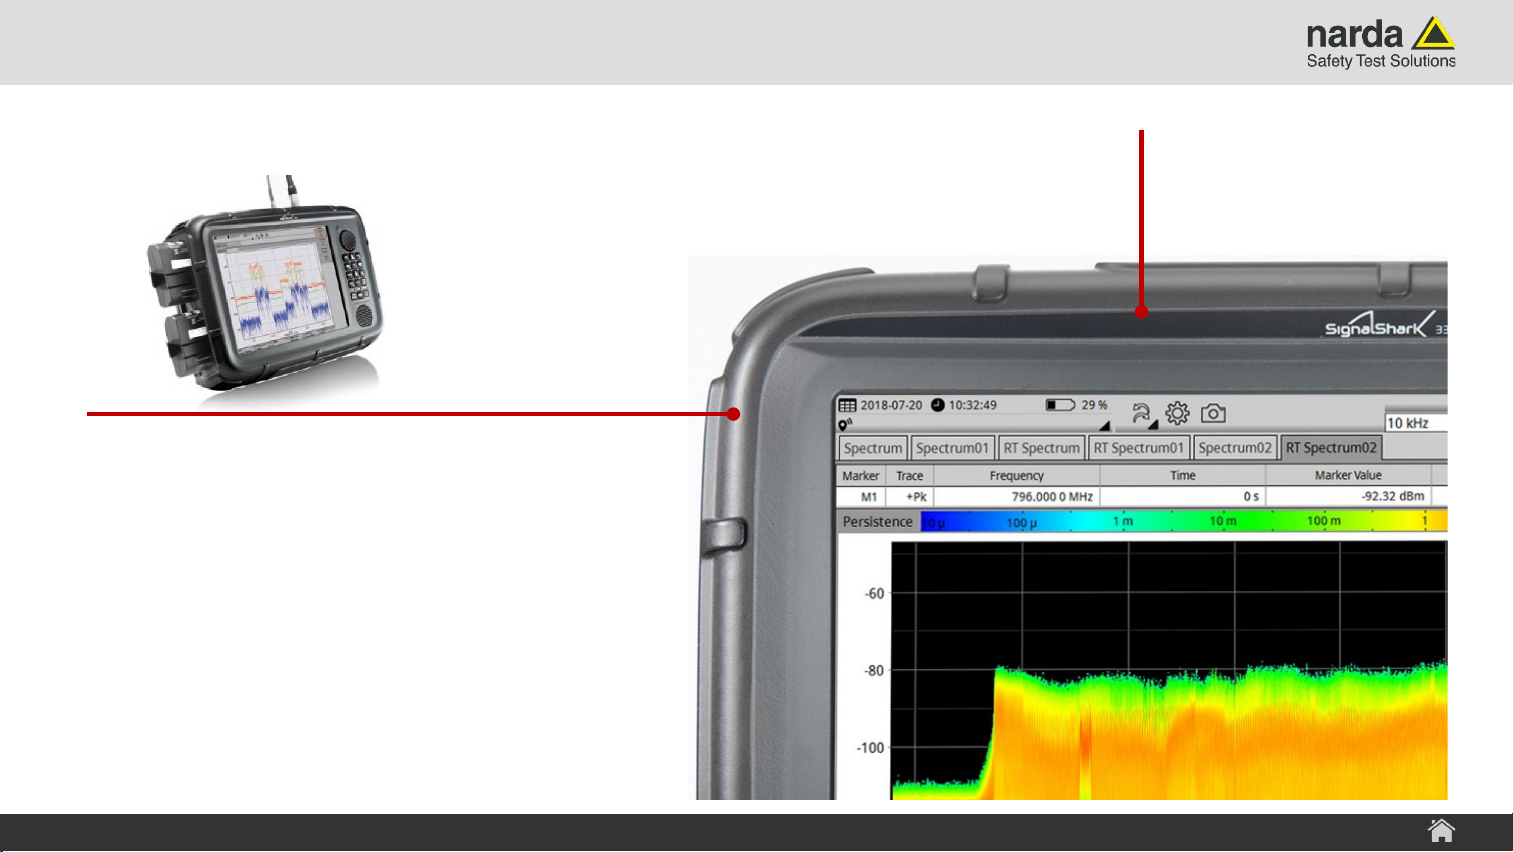
SignalShark 3310 Device Overview
›2 x smart technology lithium-ion
internal and external rechargeable
battery packs
›Hot-swappable for interruption-free
long-term measurements
›Batteries commercially available,
Type: RRC2057, Li-ion, 48 Wh
›Internal and external charging
›Car-charger available
›Operating time: approx. 3 hours
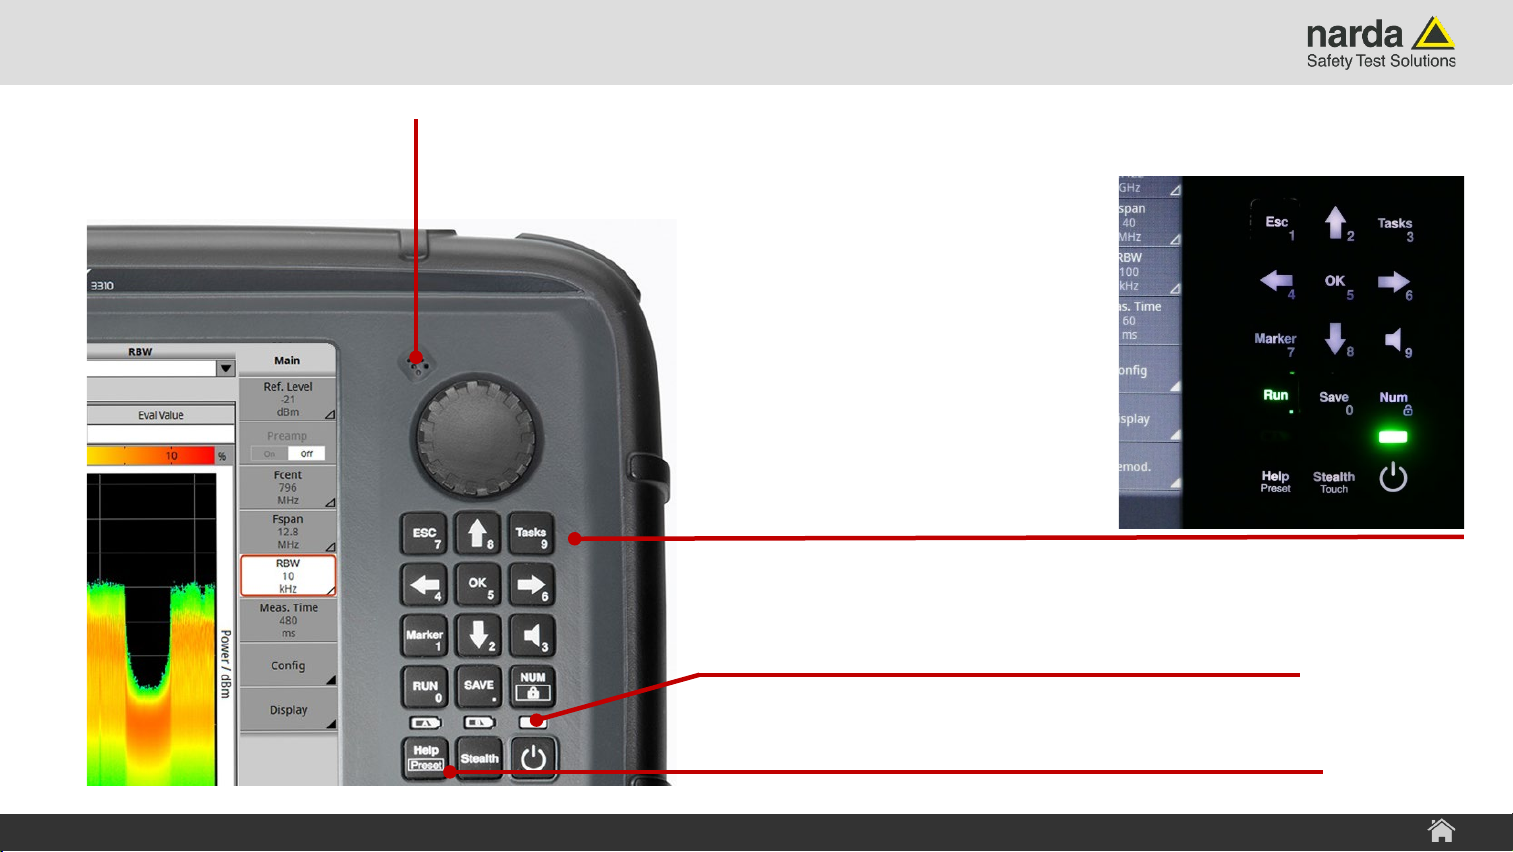
Rugged design for mobile use, even in harsh
environments MIL-PRF-28800F class 2