Page 6
CALIBRATING THE EML-2.
First the set damping level to zero. With the boat at rest in still water, a small (usually
less than 2Kts) steady error may occur. This can be trimmed out by pressing the ZERO
SET key. Only press this key when the water speed in truly zero. The setting can be
cancelled by, disconnecting the power and reconnecting while the ZERO SET key is
depressed.
If the speed reading requires adjustment then carefully turn the calibration control,
clockwise to increase the reading or anticlockwise to reduce the reading.
IMPORTANT: Do not attempt to adjust the speed calibration until the ZERO SET
procedure has been correctly performed.
USING THE CLIPPER EM LOG.
A brief press on the ILLUM key will roster the character in the lower left of the display
between H and L. When showing H, a long press on the key will increase the
backlighting. When showing L, a long press will reduce the lighting. Pressing SPEED
will show the boat speed in knots with a symbol at the centre, bottom of the screen.
When this symbol is a straight line the average speed is constant, an arrow to the right
shows the average is increasing while an arrow to the left shows the average is
decreasing.
Pressing trip shows the distance travelled, in nautical miles, since the unit was turned
on. Pressing TOTAL shows the cumulative distance in nautical miles. Note, for clarity,
the units of 1000nm are displayed at the top left of the display.
INSTALLING THE TARGET EM LOG DISPLAY.
Select a convenient position for the display on a panel or bulkhead. The site must be
flat and the cavity behind the panel must always remain dry. (The cable entry boss is
not sealed to allow free passage of air to and from the unit and prevents misting of the
display.)
The positions for the fixing holes can be marked on the panel using the drill template
on the inside cover of this manual. Before drilling check that there is enough space
behind the panel to route the cables and to allow access to tighten up the wing fixing
nuts.
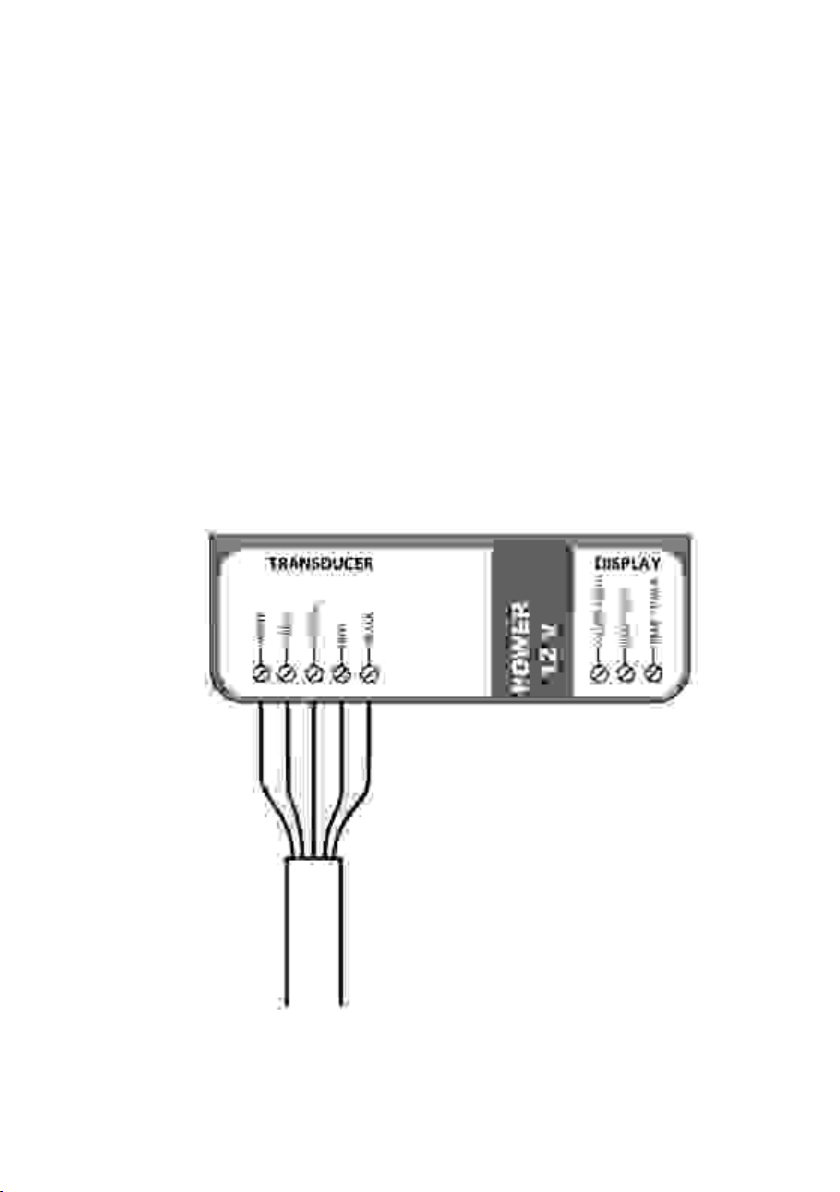
Drill the five holes and check that the unit fits. It may be wise to connect the cables
before finally fixing the unit in position. Fit the sponge rubber O-ring seal into the groove
in the mounting face of the display unit.
Fit the display unit into the panel and tighten the four wing nuts finger tight only. It is
important that the sponge rubber seal makes good contact with the panel or water may
get behind the unit and enter the cavity behind the panel.
It is good practice to run the cables vertically downwards from the unit. Doing so
prevents any moisture that may collect on the cables from running back into the unit.