NATURE LOO CLASSIC 850 User manual
CLASSIC 850
INSTALLATION AND OPERATION MANUAL
©Ecoo Wastewater Management Pty Ltd
IMNL-008.151121

©Ecoo Wastewater Management Pty Ltd
IMNL-008.151121 Page 2
TABLE OF CONTENTS
WHAT’S IN THE BOX? 3
TOOLS REQUIRED 3
CLASSIC 850 SCHEMATICS 4
INSTALLATION 5
POWERING YOUR FAN 12
EXCESS LIQUID ABSORPTION TRENCH 12
COMPOSTING ACCELERATORS 13
CARE & MAINTENANCE 14
ROTATION OF CHAMBERS 15
TROUBLESHOOTING 16
PRODUCT & COMPONENT WARRANTY 18
MAINTENANCE SCHEDULE 19
APPENDIX 1 20
©Ecoo Wastewater Management Pty Ltd
IMNL-008.151121 Page 3
Please check the packing slip to ensure everything has been delivered. If anything is missing, please
notify your supplier within 72 hrs of receipt.
Items you will need to complete your installation:
• Wall brackets to x the vent pipe to the building
• A length of 100mm DWV vent pipe to connect to the air exhaust (length depends on specic
installation)
• Dektite if DWV vent pipe will penetrate the roof
You will also require the following materials for the Excess Fluid Absorption Trench (check with your
local Authority):
• 2.0m length of 100mm diameter agricultural pipe
• 2.0m x 0.5m synthetic or Hessian geotextile mat
• 0.30 cubic metre 20 mm Aggregate
• 50mm PVC pipe to connect the hose to the agricultural pipe
OR
Purchase a Drain Kit from Ecoo.
WHAT’S IN THE BOX?
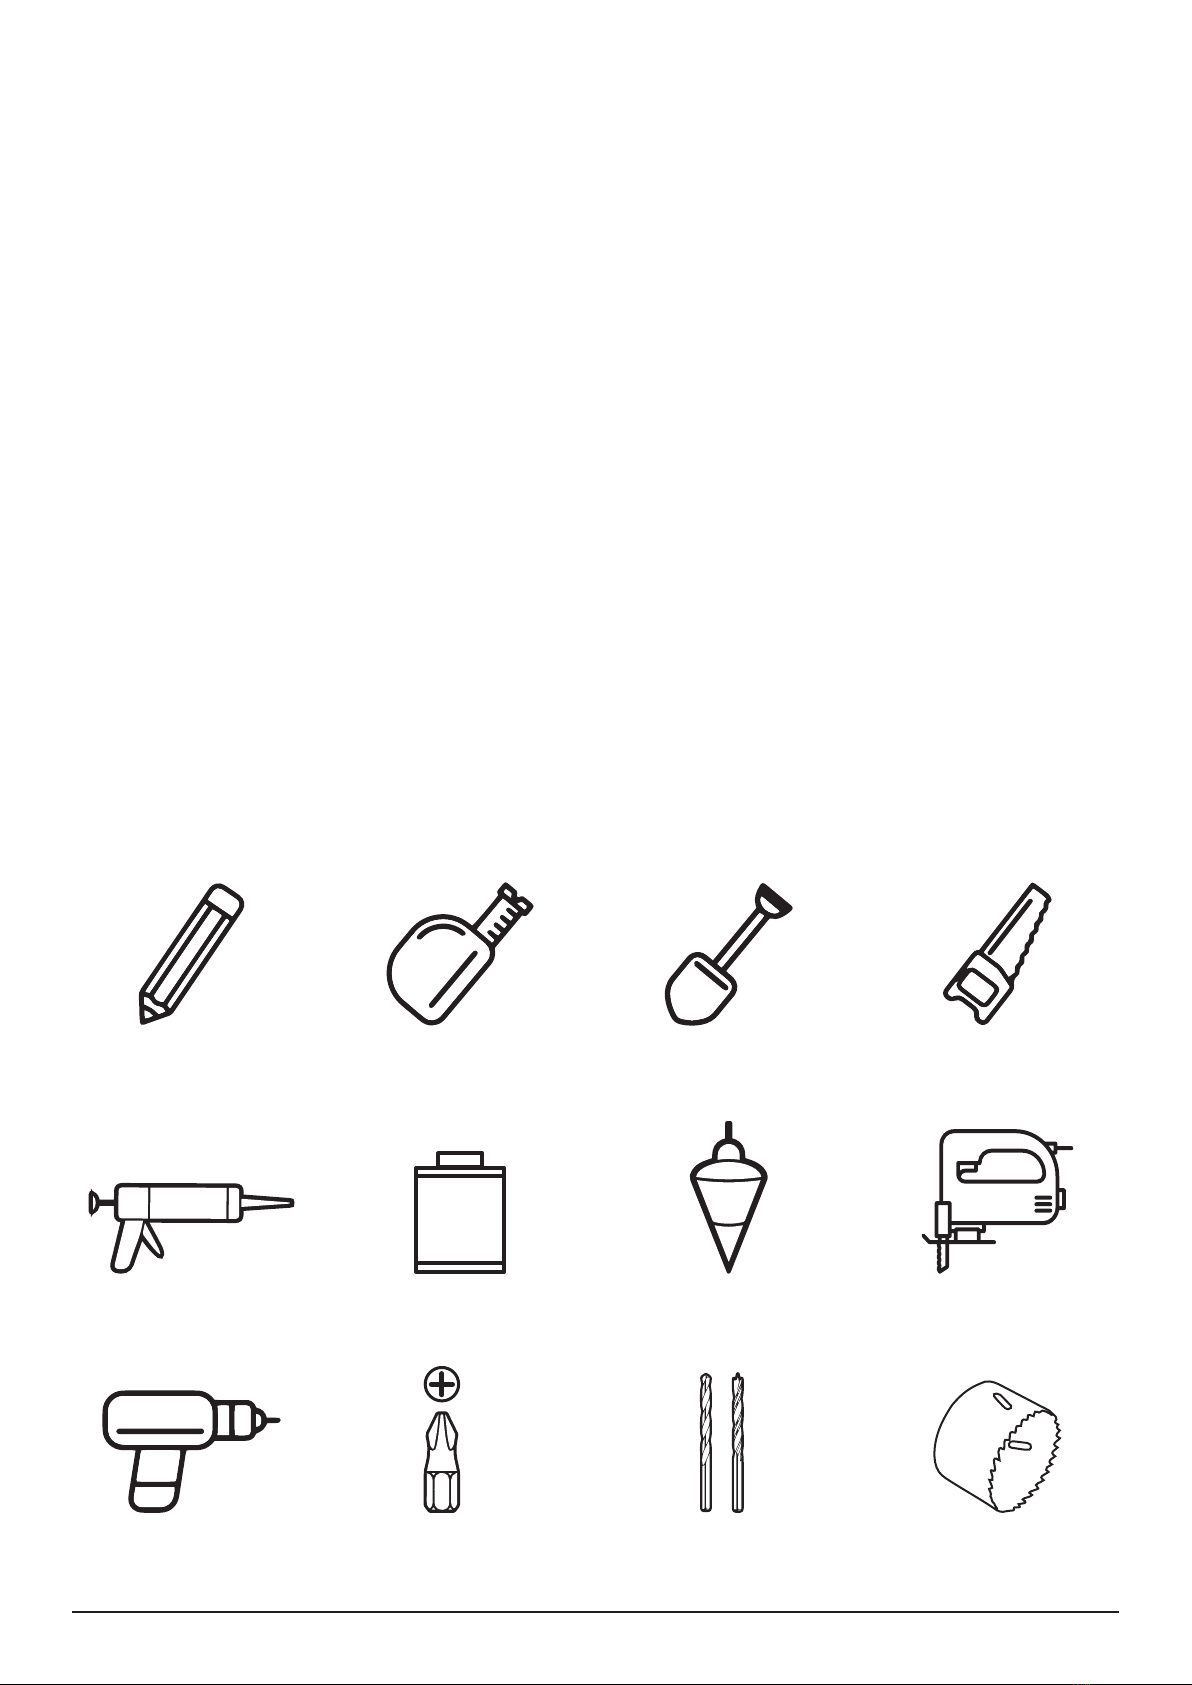
TOOLS REQUIRED
PVC
CEMENT
SILICONE
Marker Tape Measure Shovel Hand Saw
JigsawPlumb BobPVC CementCaulk Gun
Power Drill Philips Drill Bit Masonry and Brad Point
Drill Bits
Hole Saw Drill Bit

©Ecoo Wastewater Management Pty Ltd
IMNL-008.151121 Page 4
CLASSIC 850 SCHEMATICS
If you are planning to excavate an area under the house for the compost
chambers, please ensure the area is well-drained and any retaining walls are
built to the satisfaction of the local authority.
Vent Installation
Option 1 Vent Installation
Option 2
Optional

©Ecoo Wastewater Management Pty Ltd
IMNL-008.151121 Page 5
INSTALLATION
STEP 1: POSITION THE PEDESTAL DIAGRAM
Locate the approximate area where you want the pedestal to go before cutting the hole.
The usual position for pedestals is centred between side walls.
NOTE: Due to the pedestals being man made, the distance to the centre may vary from 245 to 255mm.
Please check before cutting the hole.
STEP 2: POSITION THE WASTE CHUTE
A 240mm hole must be cut in the toilet room oor to accommodate the waste chute.
1 2

©Ecoo Wastewater Management Pty Ltd
IMNL-008.151121 Page 6
Go to the underoor area and look for the hole you have drilled.
Check to see if there is a oor joist, water pipe or electrical wiring under
the area you are going to cut.
View from under oor
NOTE: If there is a joist in the way, either reposition the waste hole OR install trimmer joists to each
end of the cut joist, and x all connections with galvanised framing anchors with 4 nails each leg
(refer to diagram below).
3 4

©Ecoo Wastewater Management Pty Ltd
IMNL-008.151121 Page 7
STEP 3: INSTALL THE WASTE CHUTE
First ensure the pad or ground level on which the ‘In-service’ chamber will reside is at its nal level beneath
the toilet room.
Insert the chute into the hole
Mark position
1
5
3
6
4
2
©Ecoo Wastewater Management Pty Ltd
IMNL-008.151121 Page 8
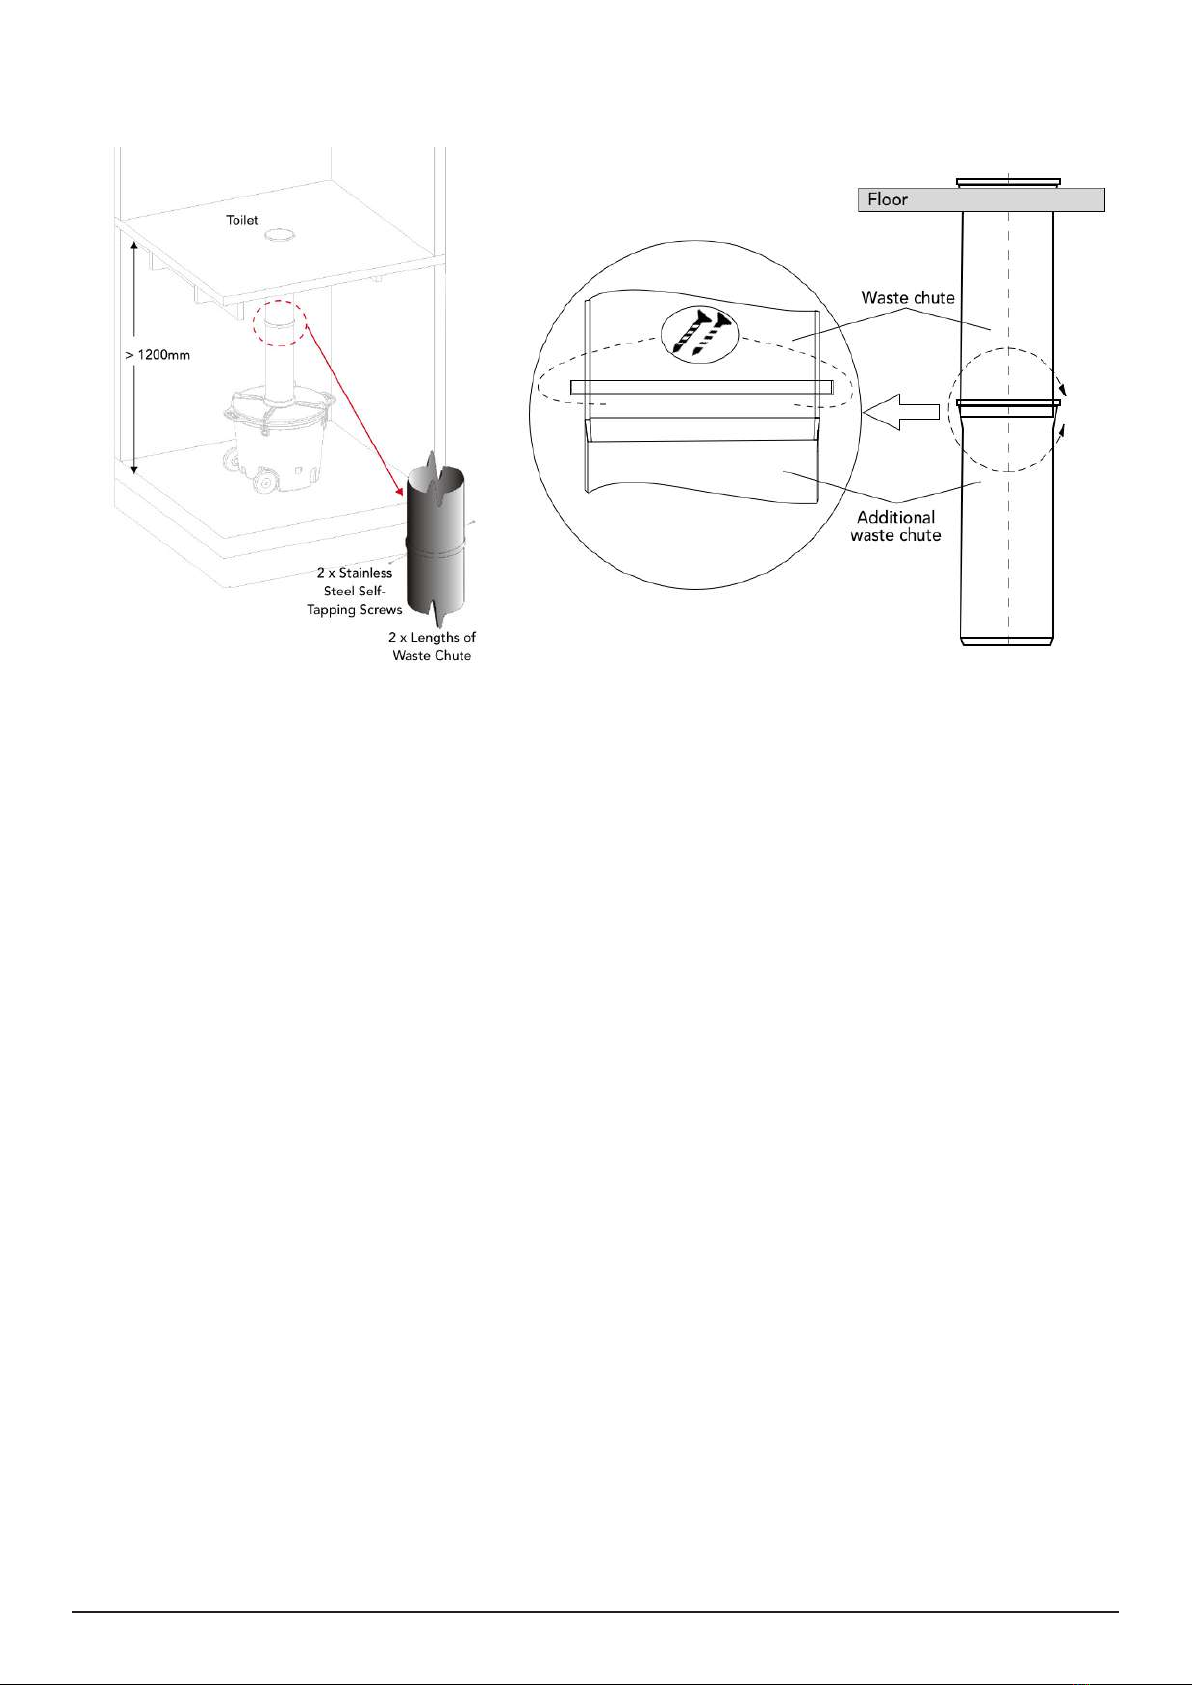
Extra Length Required for Under-Floor Areas
If the underoor height exceeds 1200mm (oor-to-oor), you will require additional lengths of chute,
xed together with small stainless steel self-tapping screws below the ange of the additional waste
chute.
As the chute joints are tappered, the top waste chute must be inserted through the toilet room oor
rst with additional waste chutes added from below.

©Ecoo Wastewater Management Pty Ltd
IMNL-008.151121 Page 9
STEP 4: INSTALL THE WHEELS
STEP 5: INSTALL THE COMPOST CHAMBER
1. Add 50mm Bulking Agent to the Chamber. 2. Connect the lid to the waste chute, position
the chamber under the lid, then hook the bungee
loops around the lid.
©Ecoo Wastewater Management Pty Ltd
IMNL-008.151121 Page 10
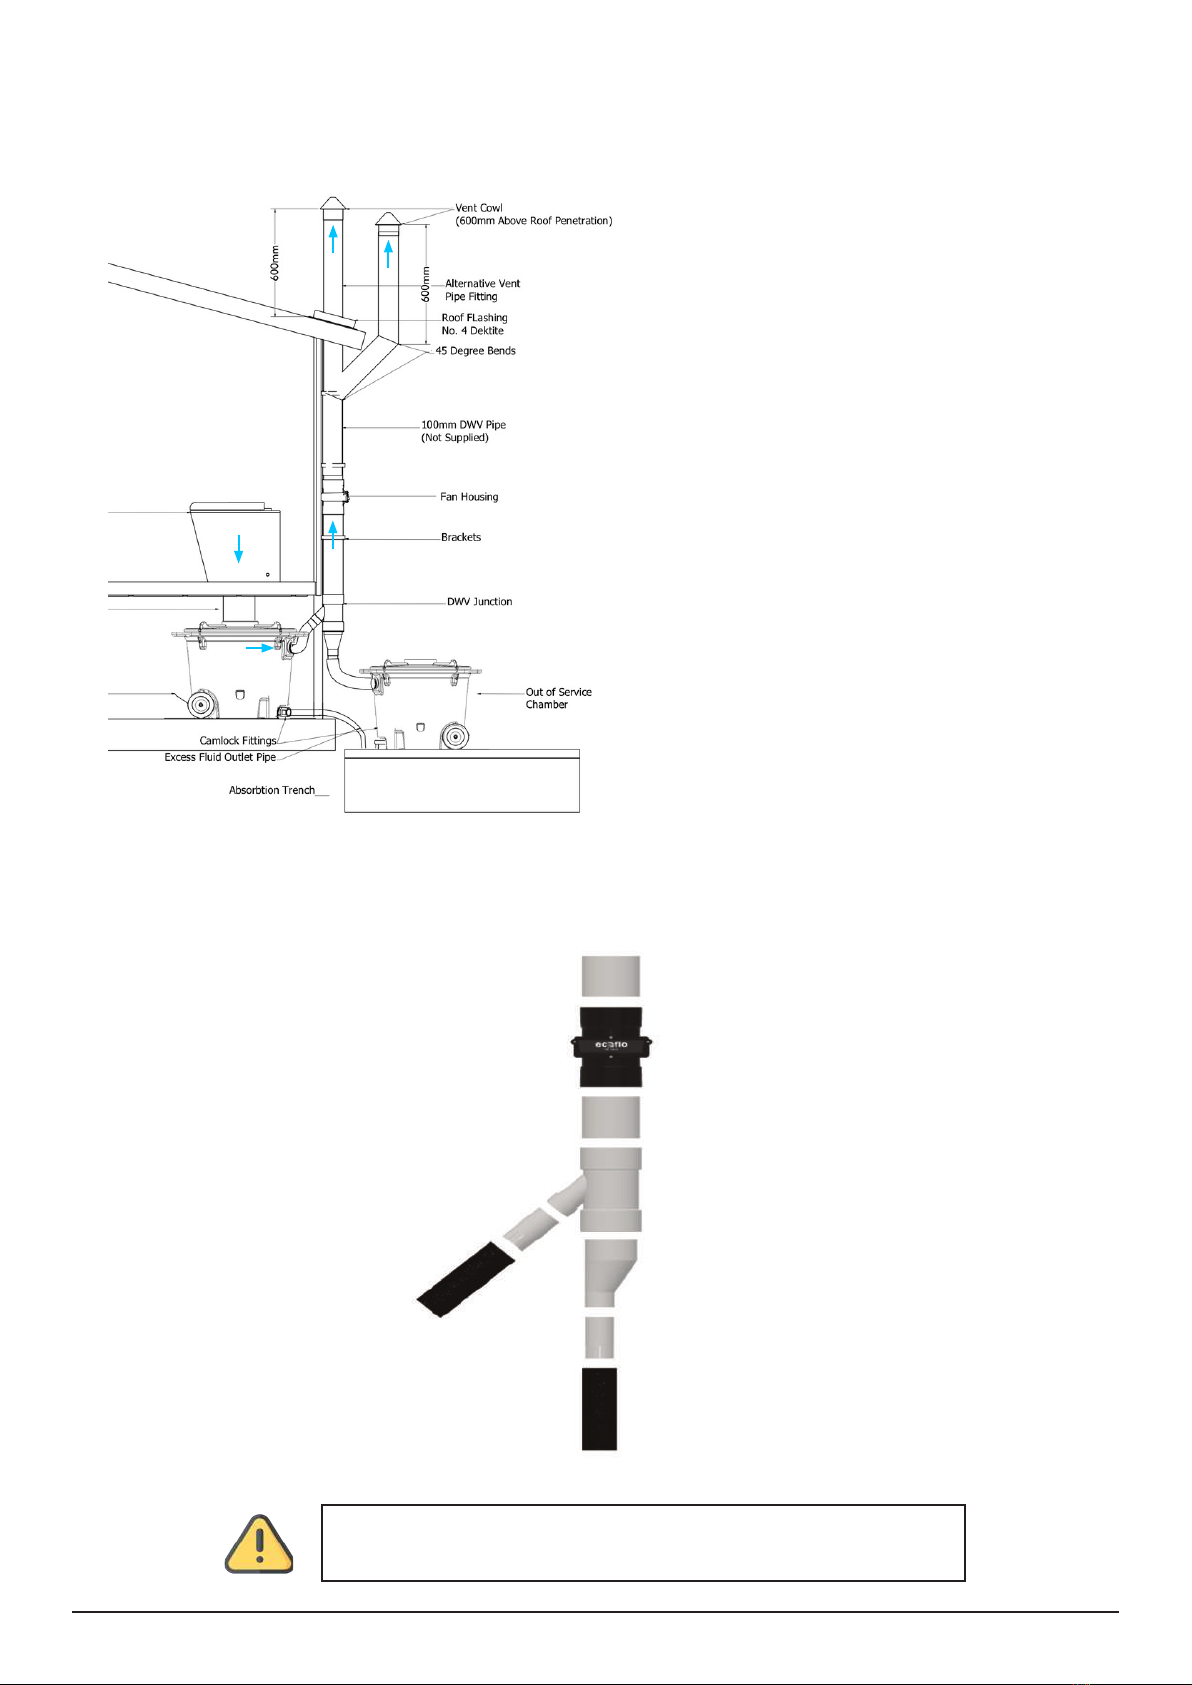
STEP 6: CONNEC THE VENT PIPE AND FAN TO THE ‘IN-SERVICE’
CHAMBER
The fan runs 24 hours a day to continuously
circulate air through the compost heap.
Air is drawn down the toilet pedestal through
the compost chamber and out the vent pipe.
Fan and Vent Pipe Installation Details
The fan is IP68 rated so will not be effected by moisture.
Do not glue the fan housing to the DWV ttings.
Fan in housing
100mm Pipe
100mm Pipe
“T” Junction Moisture Trap
L.I.T Reducer 100-50mm
Slotted Pipe Connector
Slotted Pipe Connector
Flexible Air Pipe
Flexible Air Pipe
Airow
Table of contents
Other NATURE LOO Toilet manuals


Popular Toilet manuals by other brands


Better Bathrooms
Better Bathrooms BUN/BeBa 27555/78725 user manual

American Standard
American Standard CONCEPT Cube TF-2704 installation manual

BIOLAN
BIOLAN ECO Instructions for installation, use and maintenance

Thetford
Thetford C260 Series user manual

KELISS
KELISS T162A Series instruction manual

Kohler
Kohler K-22241K Installation and care guide


