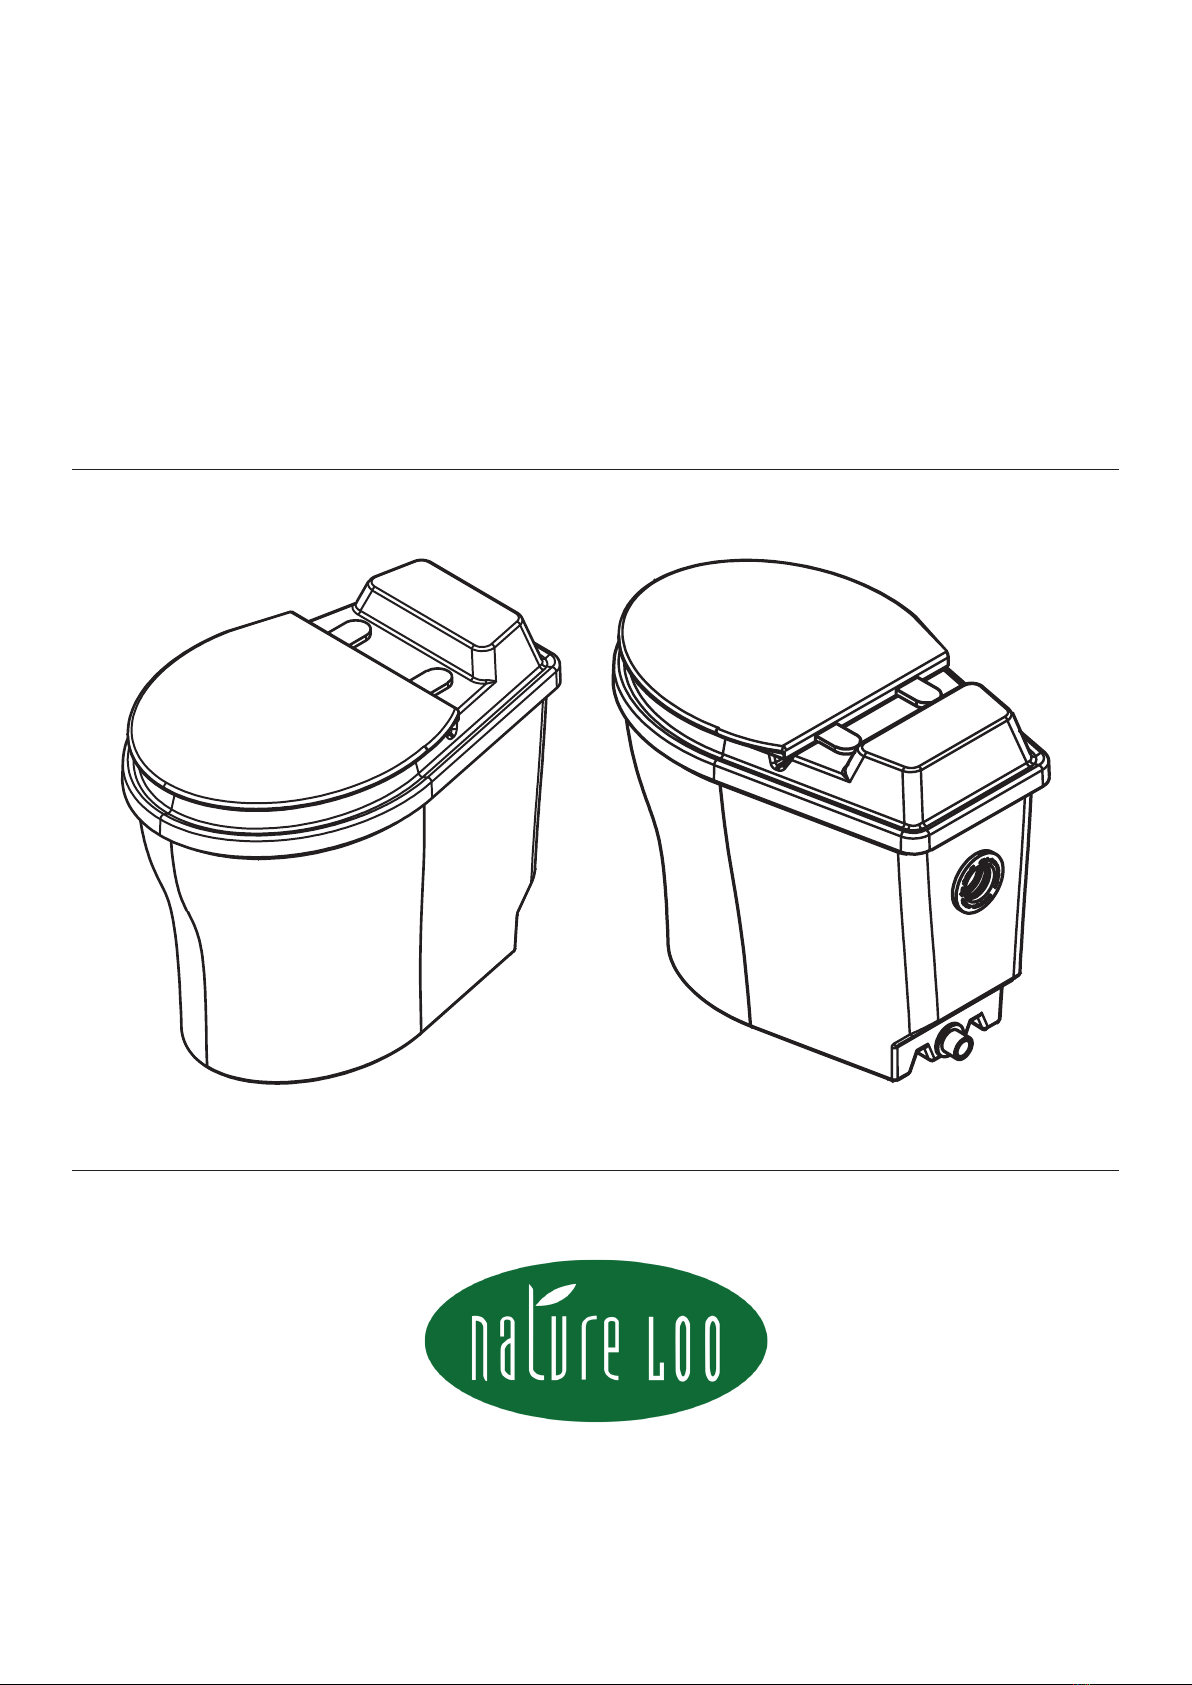
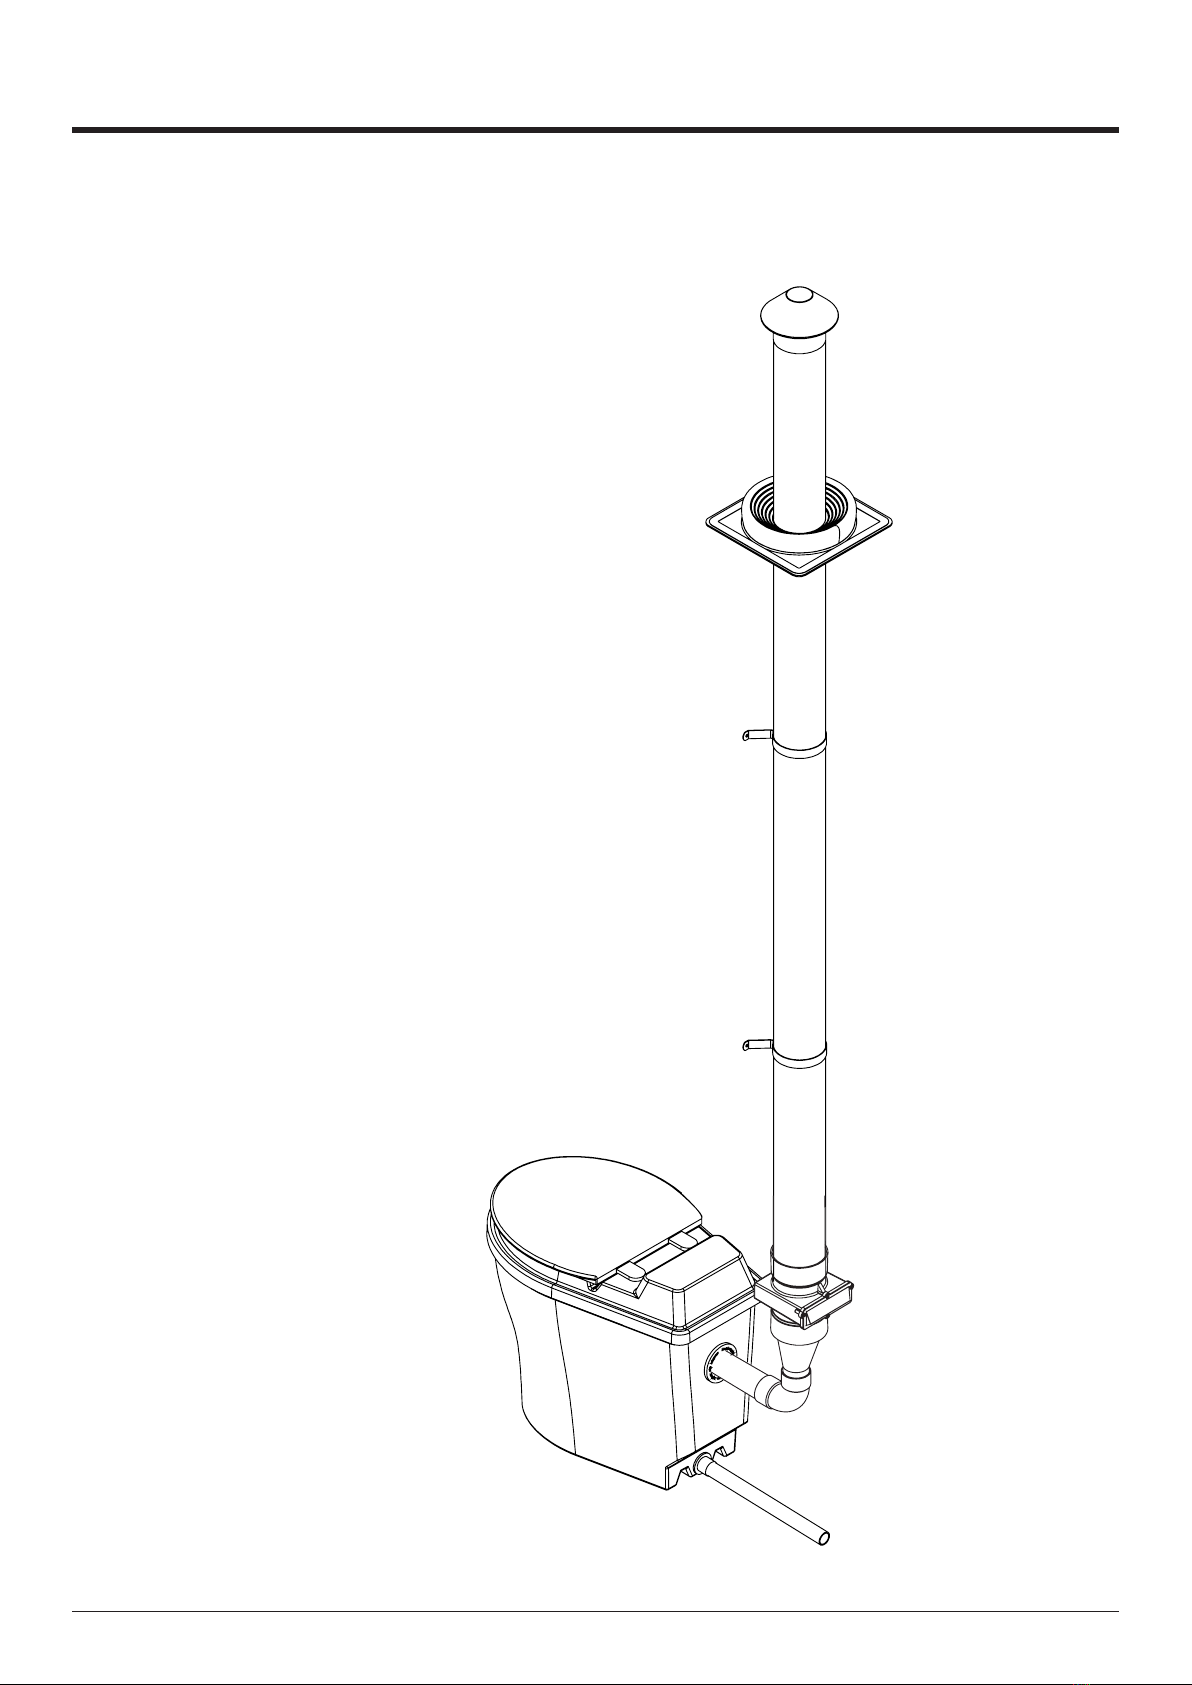
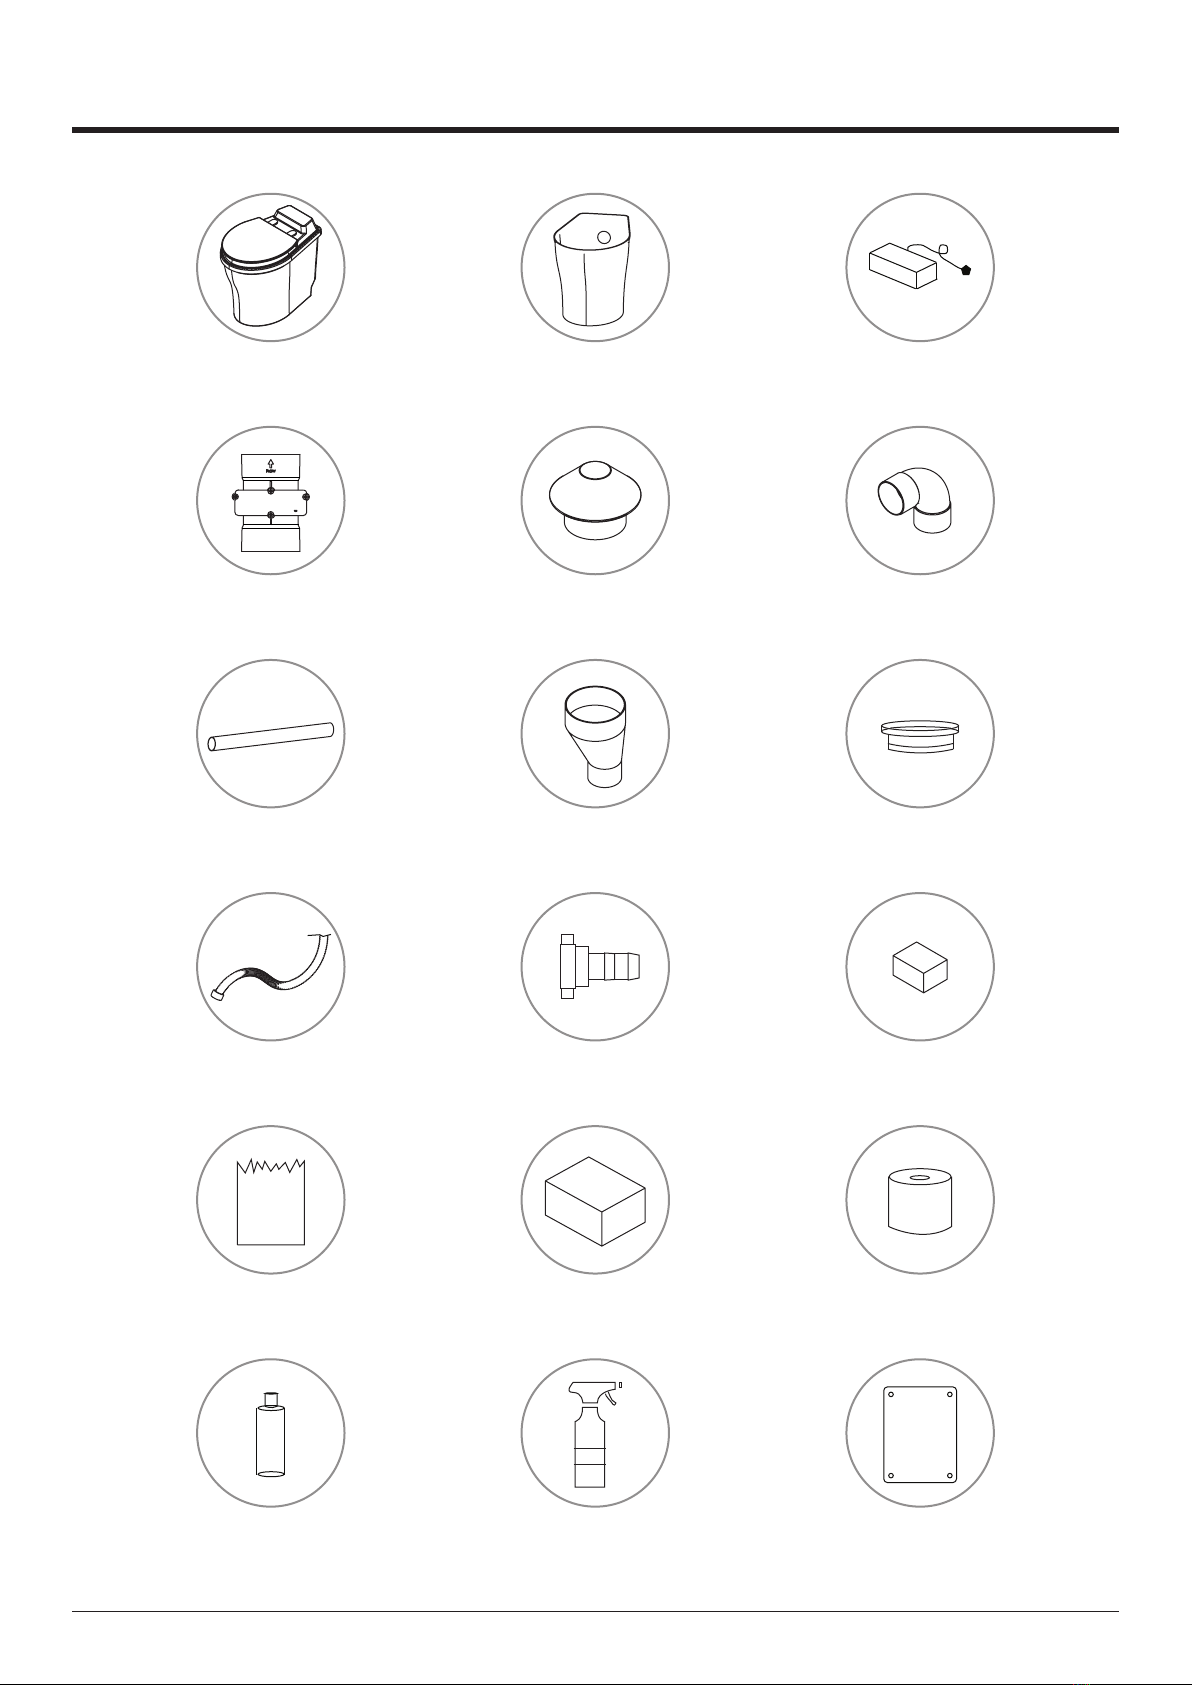
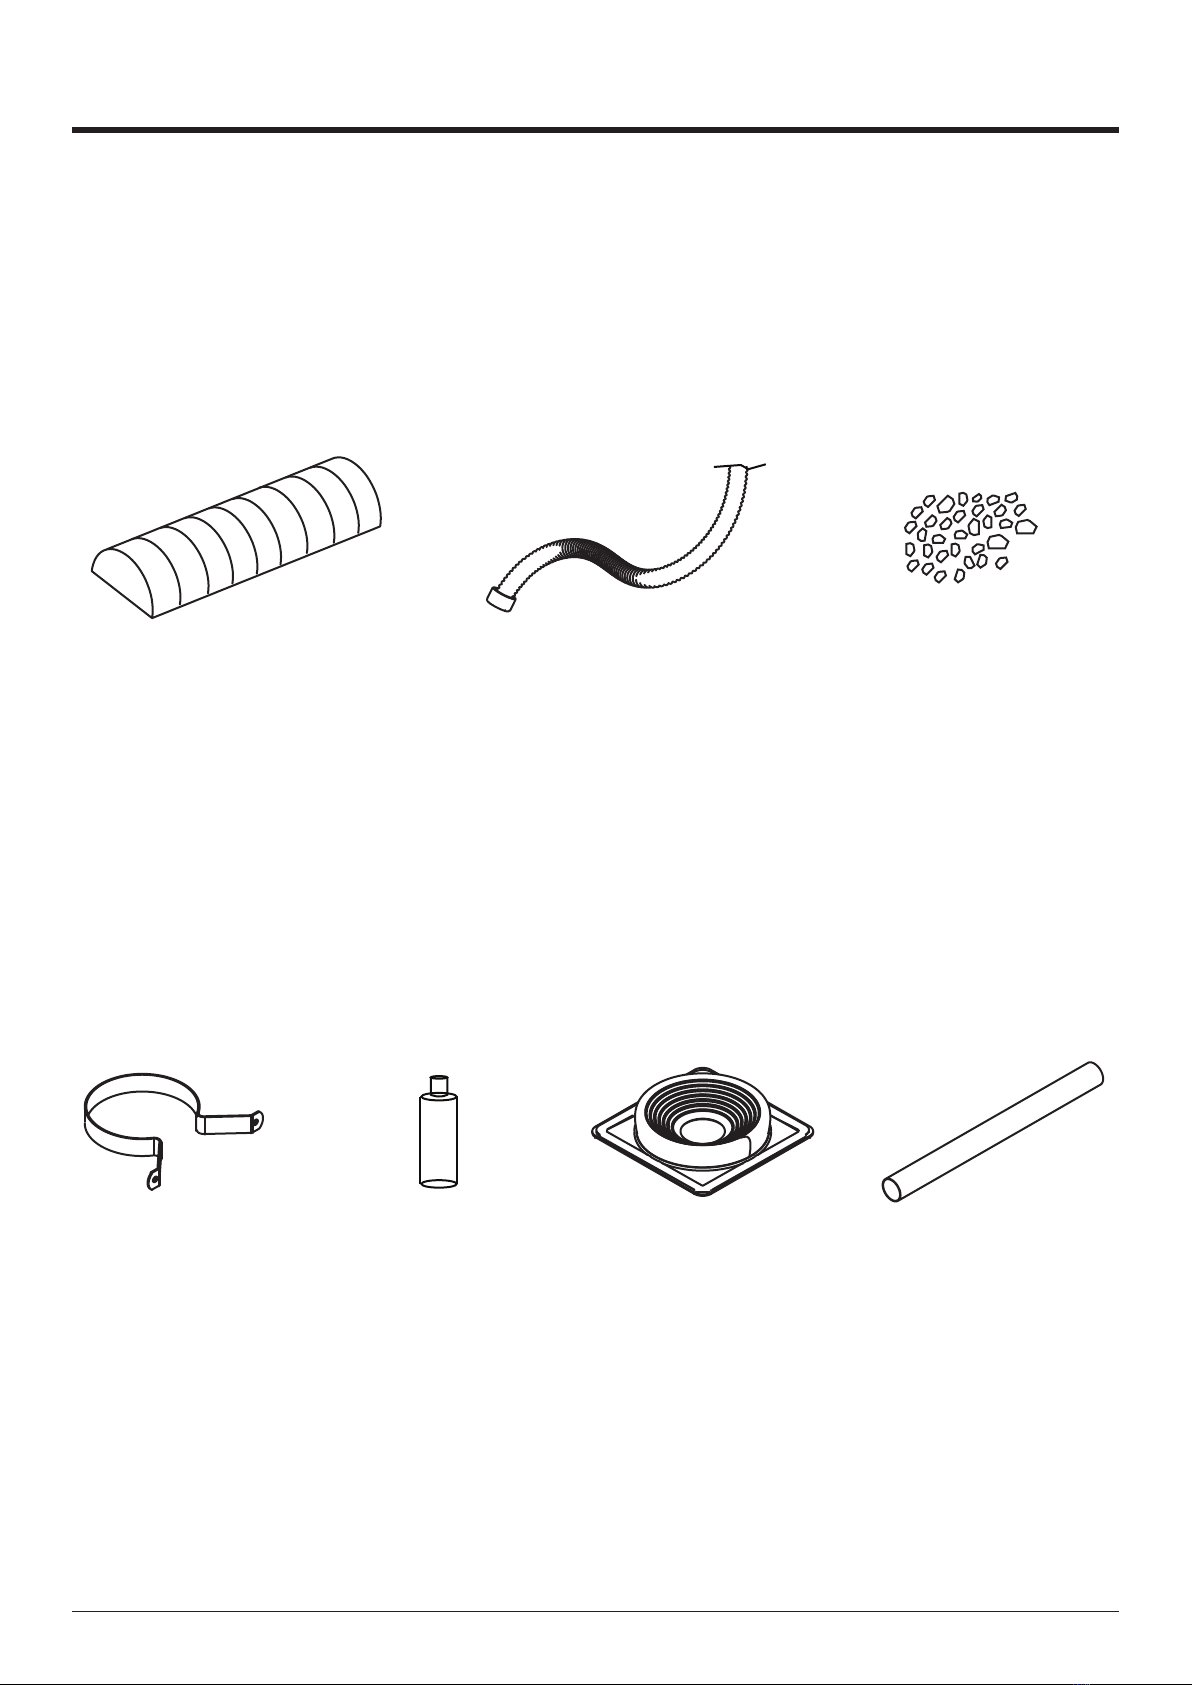
NATURE LOO NL3 User manual

NL3
OWNER’S MANUAL
AUS | NZ
ecoflo.com.auIMNL-010-2024-01-08

TABLE OF CONTENTS
SPECIFICATIONS 1
WHAT’S IN THE BOX? 2
ADDITIONAL ITEMS (NOT INCLUDED) 3
TOOLS REQUIRED 4
NL3 INSTALLATION OPTIONS 4
NL3 INSTALLATION INSTRUCTIONS 5
POWERING THE FAN 9
EXCESS LIQUID DRAIN 10
USING THE NL3 11
HOW COMPOSTING WORKS 12
COMPOST ACCELERATORS 13
MAINTENANCE 14
TROUBLESHOOTING 14
WARRANTY 15
CONTACT US 15

1
IMNL-010-2024-01-08 ecoflo.com.au
PH 1300-138-182
VENT COWL
DEKTITE
(NOT SUPPLIED)
FAN IN HOUSING
L.I.T REDUCER
PIPE BRACKET
(NOT SUPPLIED)
DWV PIPE
(NOT SUPPLIED)
OUTLET PIPE
TO ABSORPTION TRENCH
SPECIFICATIONS
Capacity: 2 person full time use
Max. Load Bearing: 130kg
Material: LDPE
Dimensions: 620L x 395W x 500H
ELECTRICAL REQUIREMENTS
Ventilation Fan: 5W 12V DC

2
IMNL-010-2024-01-08 ecoflo.com.au
PH 1300-138-182
BULKING MATERIAL
MOUNTING BLOCKS
TOILET ROLL
50MM WALLACE SEAL
CHAMBERS
VENT COWL
12V TRANSFORMER
90° 50MM DWV BEND
REDUCER
HOSE TAIL
‘HOW TO USE’ SIGN
WHAT’S IN THE BOX?
ENZYMES
MICROBES
25mm SULLAGE
HOSE
PEDESTAL WITH SEAT,
SPIGOT & CHAMBER SCREEN
FAN IN HOUSING
50MM DWV PIPE
SPRAY BOTTLE

3
IMNL-010-2024-01-08 ecoflo.com.au
PH 1300-138-182
ADDITIONAL ITEMS (NOT INCLUDED)
Depending on the circumstances of your installation you may require the following items.
TRENCH ARCH
DRAIN
FOR THE EXCESS FLUID DRAIN
AGI DRAIN WITH
SOCK GRAVEL
A Drain Kit can be purchased from ecoflo.com.au
FOR THE VENT PIPE
PIPE
BRACKETS DEKTITE 100mm DWV
PIPE
PVC GLUE
A Vent Kit can be purchased from ecoflo.com.au

4
IMNL-010-2024-01-08 ecoflo.com.au
PH 1300-138-182
Screwdriver
(Philips/
plain)
Jigsaw Tape Measure
Caulking gun
Marker
Spade
Spirit Level
NL3 INSTALLATION OPTIONS
The toilet can be installed close to a wall with the vent pipe exiting directly through the rear wall (See
OPTION 1). Alternatively, the vent pipe can be installed on the inside, exiting up through the ceiling (See
OPTION 2. This must be indicated at the time of purchase).
Hole Saw
38mm & 65mm
(Min. sizes)
PPE
Silicone
Adhesive
Sealant
TOOLS REQUIRED
OPTION 1
Ventilation Pipe Installed Outside
12v Fan in
Housing
OPTION 2
Ventilation Pipe Installed Inside
SEALANT
600mm
600mm

5
IMNL-010-2024-01-08 ecoflo.com.au
PH 1300-138-182
Mark holes on rear
wall with pencil.
Ensure the hole is
sloping downwards
to the outside.
SIDE VIEW
BACK VIEW
NL3 INSTALLATION INSTRUCTIONS
1
2
Drill 38mm Ø hole
Drill 65mm Ø hole

6
IMNL-010-2024-01-08 ecoflo.com.au
PH 1300-138-182
DWV Pipe
Sullage Hose
Hose tail
Insert rubber wallace
seal (use soapy water
if difficult to insert)
Feed vent pipe & sullage hose through
the wall. Ensure the hose end point is
lower than the pedestal outlet.
3
4

7
IMNL-010-2024-01-08 ecoflo.com.au
PH 1300-138-182
Cut PVC if
required
Connect the 90° DWV Bend and the
Reducer to the DWV Pipe.
OUTDOOR VIEW
Secure pedestal
to wall with
mounting blocks
5
6

8
IMNL-010-2024-01-08 ecoflo.com.au
PH 1300-138-182
Connect the Fan
Housing to the
Reducer.
Min 600mm
7 8
9
Installation
complete!

9
IMNL-010-2024-01-08 ecoflo.com.au
PH 1300-138-182
POWERING THE FAN
Mains Power
A 240/12 volt regulated transformer is included to run the fan from mains power. The positive wire
on the transformer is marked with a white line. The fan has anti-polarity protection and would not
run if connected incorrectly. NOTE: The fan should run 24 hours a day to continuously circulate air
through the compost heap.
Connect the fans to the transformer as follows:
1
3
5
2
4
6
Unscrew the fan housing cover.
Attach the transformer cables to the
terminal block as shown below.
Pull out the transport spacers.
Insert the fan and fan mesh into the
housing, with the fan mesh on top.
Screw fan cover back onto housing. Test the fan. Airflow should be directed
upwards, towards the top of the fan
housing (see arrow).
Black to black (negative)
Red to black with white stripe (positive)

10
IMNL-010-2024-01-08 ecoflo.com.au
PH 1300-138-182
EXCESS LIQUID DRAIN
The drainage system to be chosen depends entirely on the soil condition, ground water level, and
local regulations. Please ensure you choose your location with this in mind.
ABSORPTION TRENCH INSTALLATION
Figure 5: Durable Self Supporting Arch
Trench (all dimensions in mm)
This is the normal method for disposal of excess
liquid, but refer to council for permit for any
specific requirements. These instructions apply to
installation of the drain kit items available from
Ecoflo.
1. Dig a trench in a position located in front of
the liquid end product drain.
2. The trench is to be located in soil of good
permeability and in a position where ground
water will not flood the unit.
3. If there is some doubt as to the permeability
of soil, extra trenching length may be required
especially if a hand basin or other fittings will
also drain into the same trench.
4. The liquid leaving the compost unit when in
use is not expected to exceed 1 litre per day
per resident.
5. In some locations it may be desirable or
necessary to connect the excess liquid drain
to a grey water system or an alternative
disposal method complying with AS/NZS
1547:2012.
6. Trench dimensions and construction are to
be in accordance with AS/NZS 1547:2012, as
shown in Figure 5.
It is important to ensure that the trench is level
along its length. Ensure the liquid drain pipe
slopes away from the toilet and towards the
trench. The trench should be protected from
surface water, flooding, and vehicle traffic.

11
IMNL-010-2024-01-08 ecoflo.com.au
PH 1300-138-182
USING THE NL3
STARTING WITH AN EMPTY CHAMBER
1. Once the pedestal has been installed, place one compost chamber inside the pedestal.
2. Remove the chamber lid and put back the pedestal lid. Do not misplace the chamber lid and
make sure it is kept somewhere safe.
3. Connect the power outlet for the ventilation fan to power source.
4. Add 2.5 litres of bulking agent into the composting chamber.
5. NL3 is ready to be used!
OPERATION
It is important to place bulking material into your toilet, we suggest 1 cup per day directly into the
compost chamber. This amount is based on two people using the system full time.
In times of heavy use, if the liquid is not draining well through the compost or if the compost appears
too dry, we suggest mixing the additional bulking agent through the compost pile. By mixing the solid
waste, paper and bulking material, the compost will be kept porous and moist and the supply of
oxygen will increase, which substantially speeds up the transformation of waste materials into humus.
Bulking material: Hemp, wood shavings or other carbon rich fibrous material. (Sawdust is not
recommended)
ROTATING THE CHAMBER
The active compost chamber should be replaced with an empty one when it is approximately 75% full
or when the pile is approximately 200 mm from top of the toilet seat.
6. Remove the pedestal lid and place the chamber lid on.
7. Swing the handle upright and lift the chamber out from the pedestal. When lifting the chamber,
please be cautious incase of droplets from the chamber floor holes.
8. Place the chamber outside for secondary composting. The chamber should be placed in a warm
sunny position (where direct access is restricted).
9. Put the empty second chamber into the pedestal. Remove the chamber lid and keep it in a safe
place.
10. Add bulking agent and microbes.
11. Replace the pedestal lid.
12. NL3 is ready to be used again.
WARNING
Never put cigarettes or other burning material, or any sanitary products into your toilet.

12
IMNL-010-2024-01-08 ecoflo.com.au
PH 1300-138-182
HOW COMPOSTING WORKS
When do I empty the secondary chamber?
As a general rule, you should leave the material in the compost chamber as long as possible. This
toilet has been designed for 2 people full time where the average monthly temperature is greater
than 18°C in any given month. The higher the temperature (within the optimum range), the faster
the compost process. As a reference, 50 days is required to reach 50% (half life) decomposition with
a compost temperature ranging between 22-24°C. If there is more than 2 people using the toilet or
you are in a colder area then additional compost chambers may be required. Additional compost
chambers can be purchased from Ecoflo WM.
How can I tell if my compost is ready?
The size of the pile should have reduced in size by approximately 20%. Finished compost should
appear crumbly and moist (similar to fresh potting mix), not sodden or dry. It should not have any
offensive odour, just an earthy one. Also, the pile should not be producing high heat any longer.
How do I dispose of composted material?
All composted product should be handled and treated with caution as there is a risk of exposure to
pathogens particularly if the product is not properly composted. Recommended protective clothing
includes gloves, appropriate footwear, a face mask and eye protection.
You should dispose of the composted waste in accordance with any and all local authority
regulations. For an on-site burial of composted end product, it should be undertaken in a location
where direct access by humans and animals is restricted. It should be buried with a minimum cover
of 100mm within soil that is not intended for the cultivation of root vegetables or nearby a water
catchment area.
Explanation of the Composting Process
Our composting toilet uses a natural aerobic process called Thermophilic composting. Basically,
aerobic microbes, actinomycetes bacteria and fungi generate heat and break down waste into
odourless compost that’s safe to handle.
To explain it in detail, it begins with the piling and layering of waste and carbon-rich materials
like wood shavings. Initially, mesophilic microorganisms break down easily decomposable
materials, releasing energy in the form of heat. As the temperature surpasses 45°C (113°F),
thermophilic microorganisms, including heat-tolerant bacteria and fungi, become dominant. These
microorganisms rapidly decompose complex organic compounds, generating even more heat.
The sustained high temperatures in the thermophilic phase accelerates the breakdown of organic
matter, kills pathogens, and promotes nutrient release. The compost pile naturally cools down after
the thermophilic phase, allowing mesophilic microorganisms to continue decomposition at a slower
pace.

13
IMNL-010-2024-01-08 ecoflo.com.au
PH 1300-138-182
For optimal performance, microbes require composting conditions that include:
• a minimum temperature of 12°C
• moisture content of about 70%
• 30:1 carbon-nitrogen ratio
• oxygen/airflow
Microbes require a balanced diet of carbon and nitrogen to thrive and carry out their metabolic
processes effectively. Simply put, carbon provides a source of energy, and nitrogen in the urine and
faeces is for growth and metabolic activity.
COMPOST ACCELERATORS
Whilst Clivus Multrum users report successful composting without the use of any additives, we strongly
recommend the use of the following items in order to optimize composting, particularly when the
toilet is in permanent use by more than two people.
Bulking Agent
When starting or restarting with an empty chamber, add a 50mm starter bed of
bulking agent.
This should be added on a regular basis, preferably a handful after each solid use.
Alternatively, if this is not possible, add the equivalent of this on a daily or weekly
basis. The bulking agent can be added through the pedestal.
For best results use pine wood shavings or hemp bedding (available to purchase from Ecoflo, or find
at your local hardware or pet store).
We do NOT recommend the use of:
• Sawdust - as the small particles can create an anaerobic condition within the chamber and
small particles can disrupt ventilation.
• Cypress, cedar or eucalyptus wood shavings - due to their antimicrobial properties.
• Sugar cane mulch - as it makes using the mixer difficult. Any excess sugar leaching into the
compost can attract bugs.
Liquid Enzymes
Enzymes are a natural detergent, not harmful to the culture of microorganisms in the
compost pile. The enzymes act as catalysts, breaking down grime and mineral deposits
into their basic elements, and helping to accelerate the composting process. Any stain on
the pedestal can be removed with the solution. Refer to instructions on the bottle.
Microbes
Microorganisms aka microbes are the ones doing the composting in your toilet. Each
microbe packet is full of aerobic microbes, actinomycetes bacteria and fungi which combine
with the natural bacteria in the waste to convert it into nutritious fertile compost. Refer to
instructions on packet.

14
IMNL-010-2024-01-08 ecoflo.com.au
PH 1300-138-182
MAINTENANCE
GENERAL CARE
The NL3 should be examined regularly to ensure correct operation. The key areas to be checked are
listed below:
• Check ventilation fan is running.
• Check there is no excess liquid in the compost chamber and pedestal. Refer to Section 7.0 for
troubleshooting.
CLEANING
Use mild detergents on your NL3. Never use scouring powder or other strong detergents that could
scratch the surface, or kill off your good bacteria. We recommend green friendly or septic safe
products.
TROUBLESHOOTING
WHY IS THE COMPOST CHAMBER FILLING TOO QUICKLY?
This can be caused by ineffective composting processes due to a number of issues as listed below:
Compost pile being too wet
This means liquid is trapped in the compost chamber contributing to build-up. Check if the drainage
outlet is being blocked. If drainage outlet is okay, this could be caused by prohibited solids blocking
the perforated holes in the floor of the compost chamber.
Insufficient air flow
Without sufficient air flow, the evaporation process will be slowed and odours may start to escape
into the toilet room. This can be caused by a malfunctioning fan or the ventilation system has been
blocked. Check if the fan is properly connected or replace the fan if broken. Check if the insect netting
has been blocked.
WHY IS THE COMPOSTING PROCESS SLOW TO COMPLETE?
The composting process is dependent on temperature and humidity.
Is your compost pile too wet?
The addition of bulking agent is an imperative part of the operation of a composting toilet. Bulking
agent will assist with the absorption of liquid in your composting toilet and will aid in improving the
carbon/nitrogen ratio (important for composting) and will allow air to flow more freely through the
system as it loosens the compost pile.

Is your compost pile surrounding temperature too low?
In cool climates do not insulate the toilet; turn down the fan voltage to lessen cool air being drawn
into the system. If odour occurs due to the fan voltage being turned down, simply turn it up slightly to
increase airflow.
When taking the compost chamber out for secondary composting, make sure it is located in a warm
spot preferably in direct sunlight.
How to deal with insects attracted to compost pile?
To break the breeding cycle of insects (most commonly vinegar flies) spray the compost pile with
pyrethrum based insect spray for 7 consecutive days (ensure the fan is turned off while spraying).
Always place a layer of bulking agent over the top of the pile in the out of service chamber to
eliminate the possibility of insects laying eggs.
WARRANTY
Pedestal
• 10 years warranty.
• Any damage caused by exceeding the maximum recommended weight listed in specifications
will/may void your warranty.
Chamber Screen
• 2 years warranty.
Ventilation Fan
• 12 months limited warranty.
• Powering the fan with an unregulated power source exceeding 12V or using power supply not
recommended by Ecoflo will/may void your warranty.
• Any faulty fan during the warranty period should be returned to Ecoflo WM before a replacement
can be provided.
All other components come with a standard 12 month warranty.
CONTACT US
We are available from 8am to 5pm, Monday to Friday (excluding public holidays).
PHONE: 1300 138 182
EMAIL: [email protected]
WEBSITE: ecoflo.com.au
15

Table of contents
Other NATURE LOO Toilet manuals